By Justin Gerard
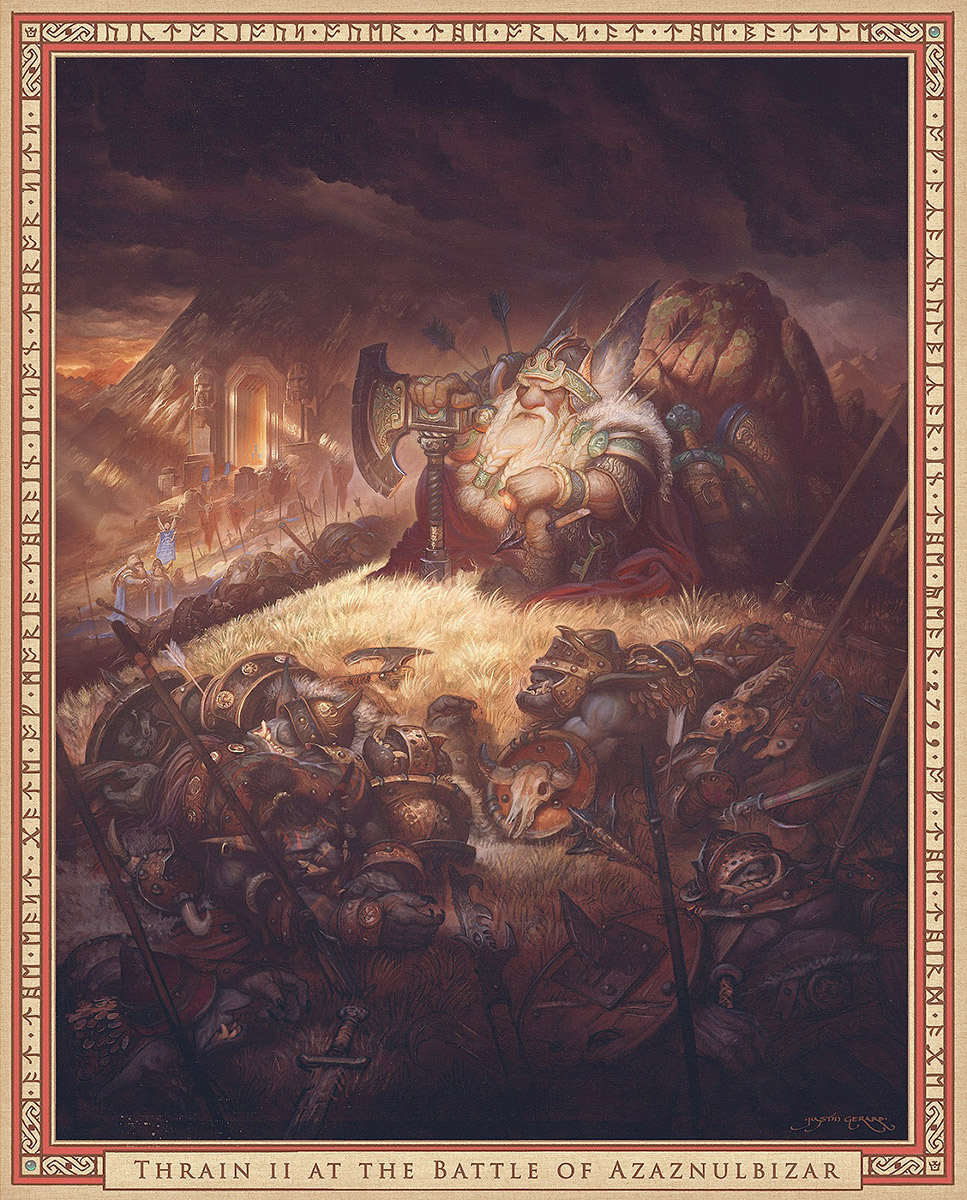
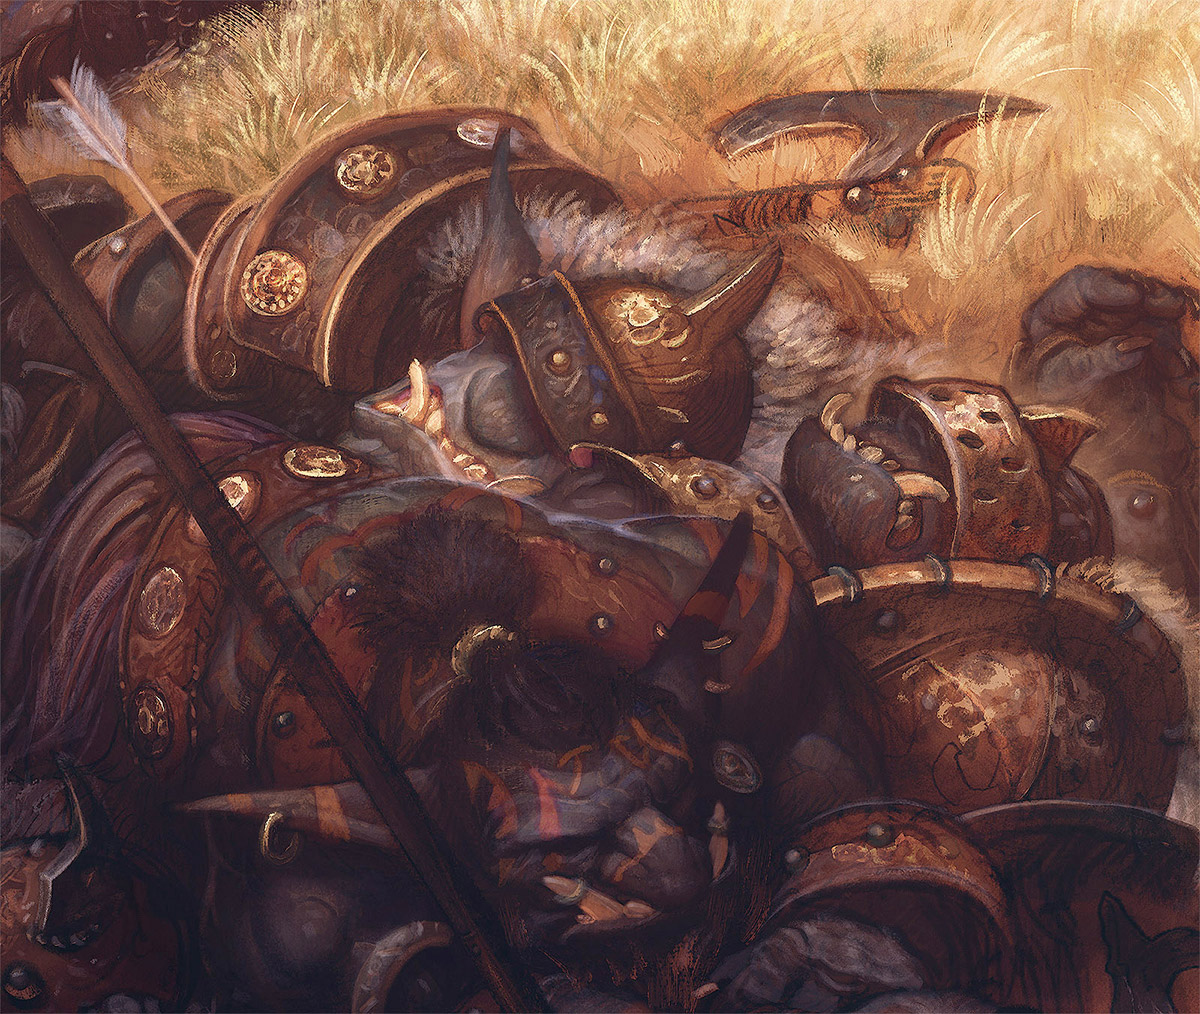
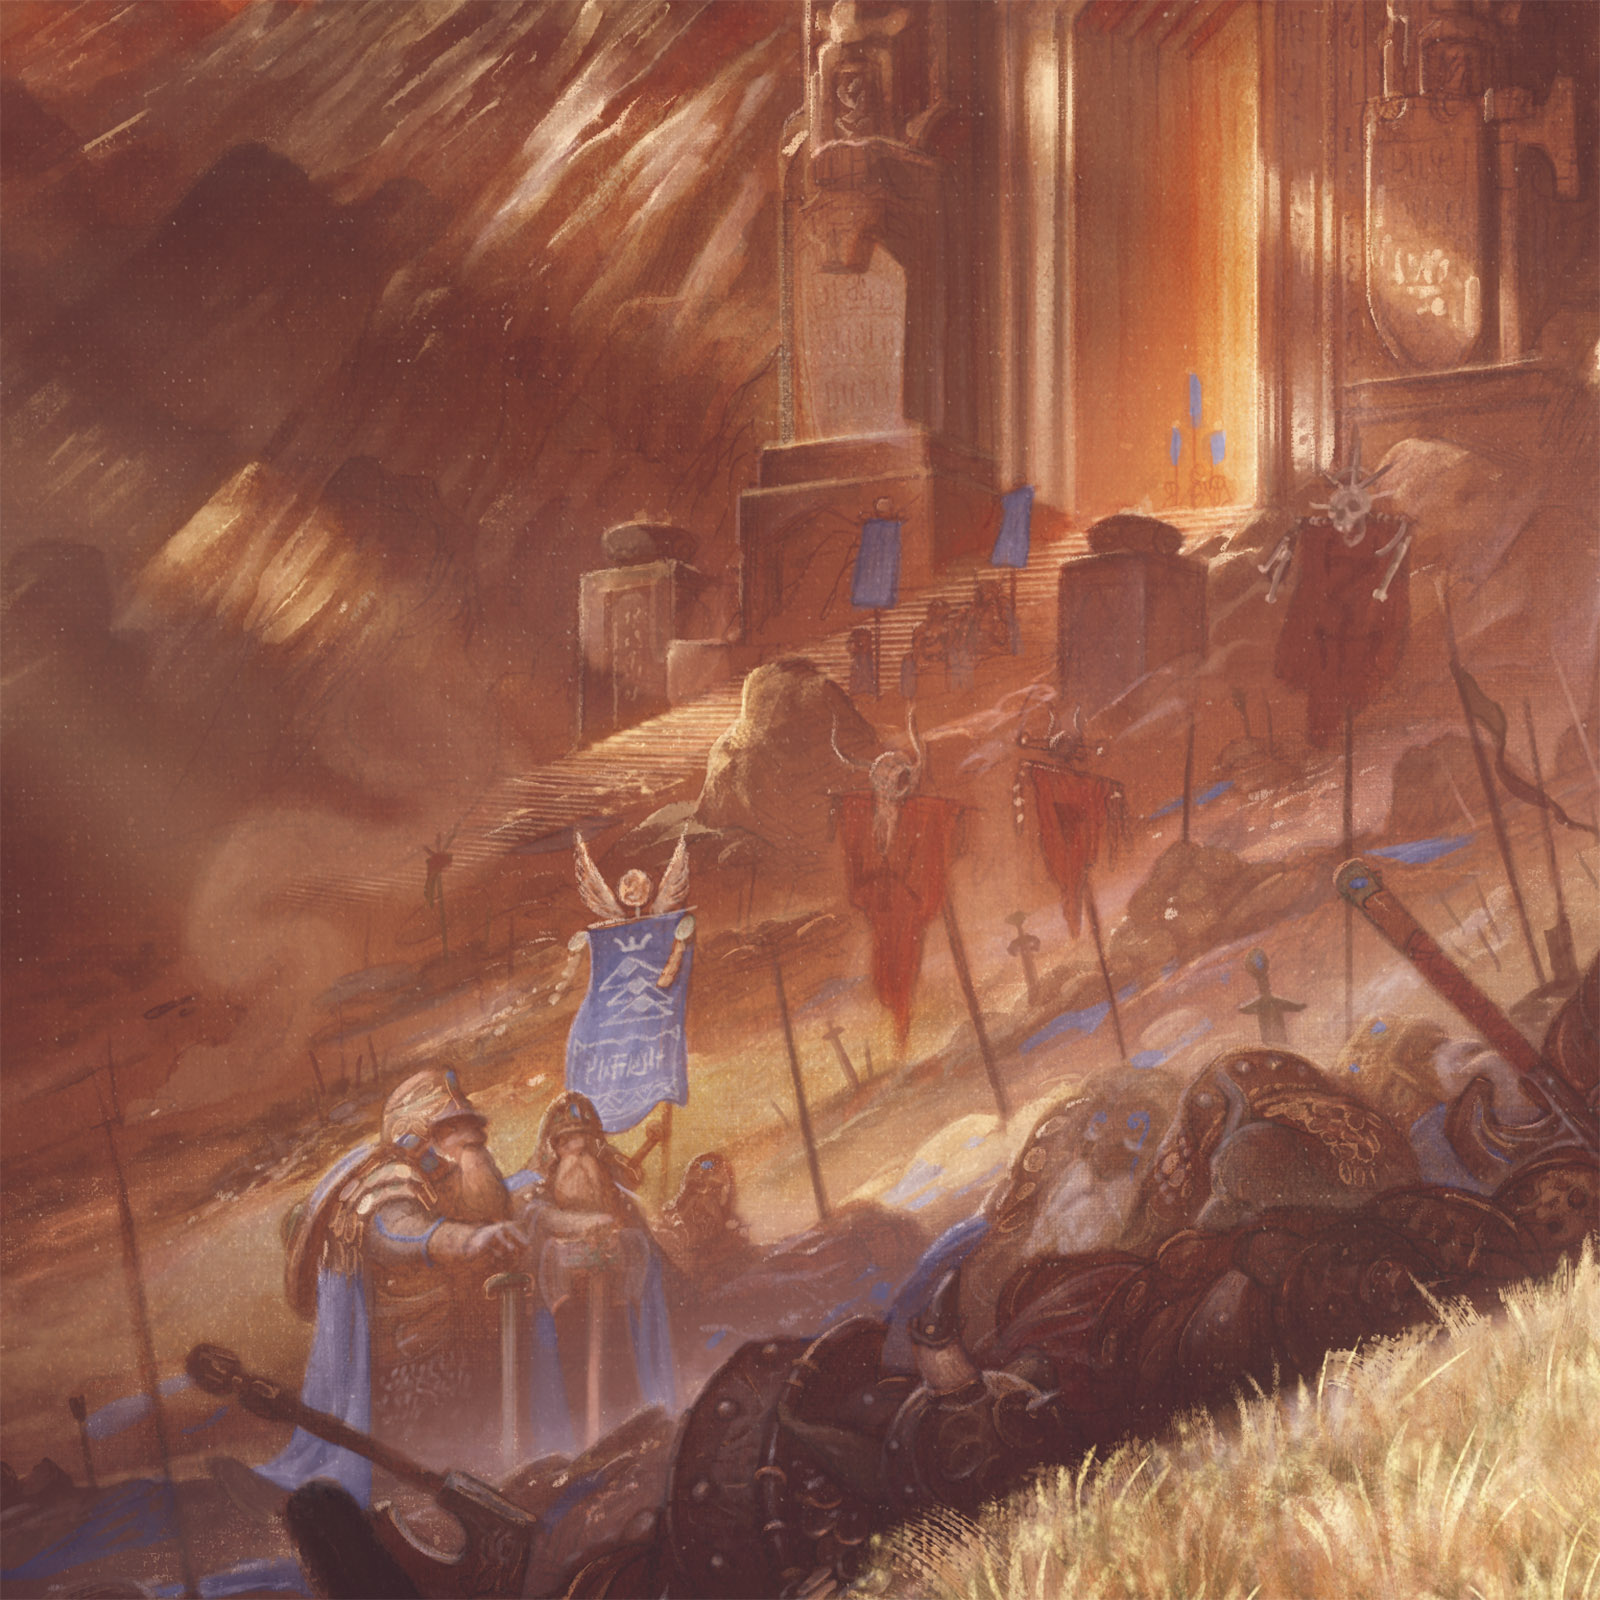
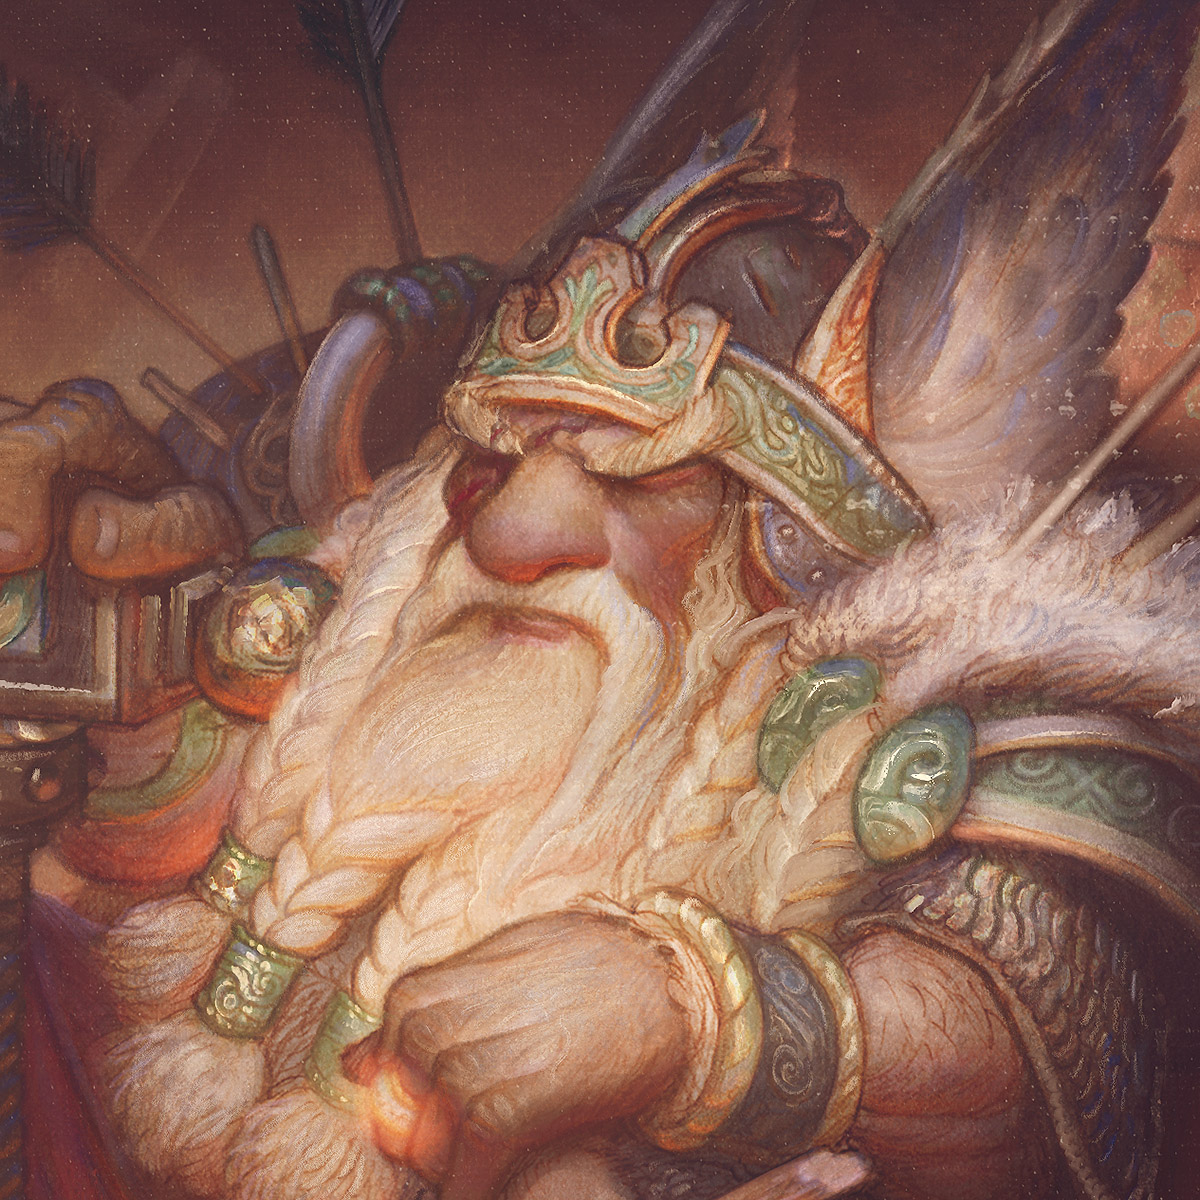
I’m back this week with some new Lord of the Rings imagery! This time, from the Appendices. The image is of Thrain II at the East Gate of Moria, after defeating the orcs at the Battle of Azaznulbizar. This scene is of a victory, but one of the most costly ones for the dwarves of Middle Earth.
Today I’ll be briefly covering a classical oil technique that I use to help me when working in color.
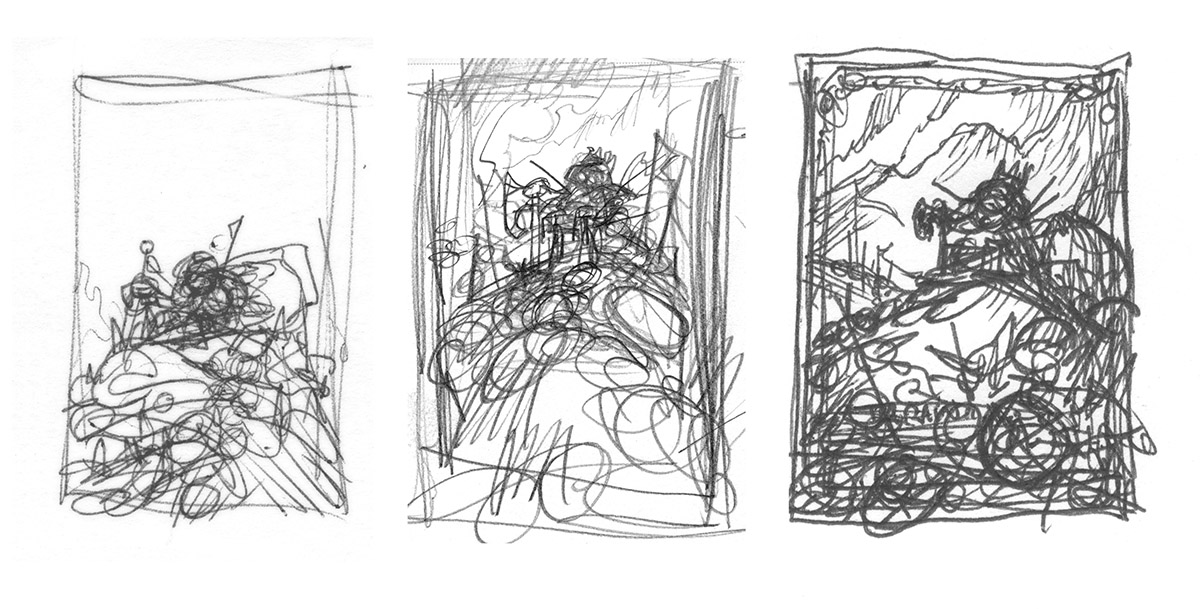
To begin, I start in the usual way, working from tiny thumbnails up into tight drawings. Thumbnailing is a proven, reliable way to keep me from lighting myself on fire in the later stages of the painting. It works 75% of the time, every time.

Drawing
Once I arrive at a satisfactory drawing I bring it into Photoshop and lay in a toned underpainting.
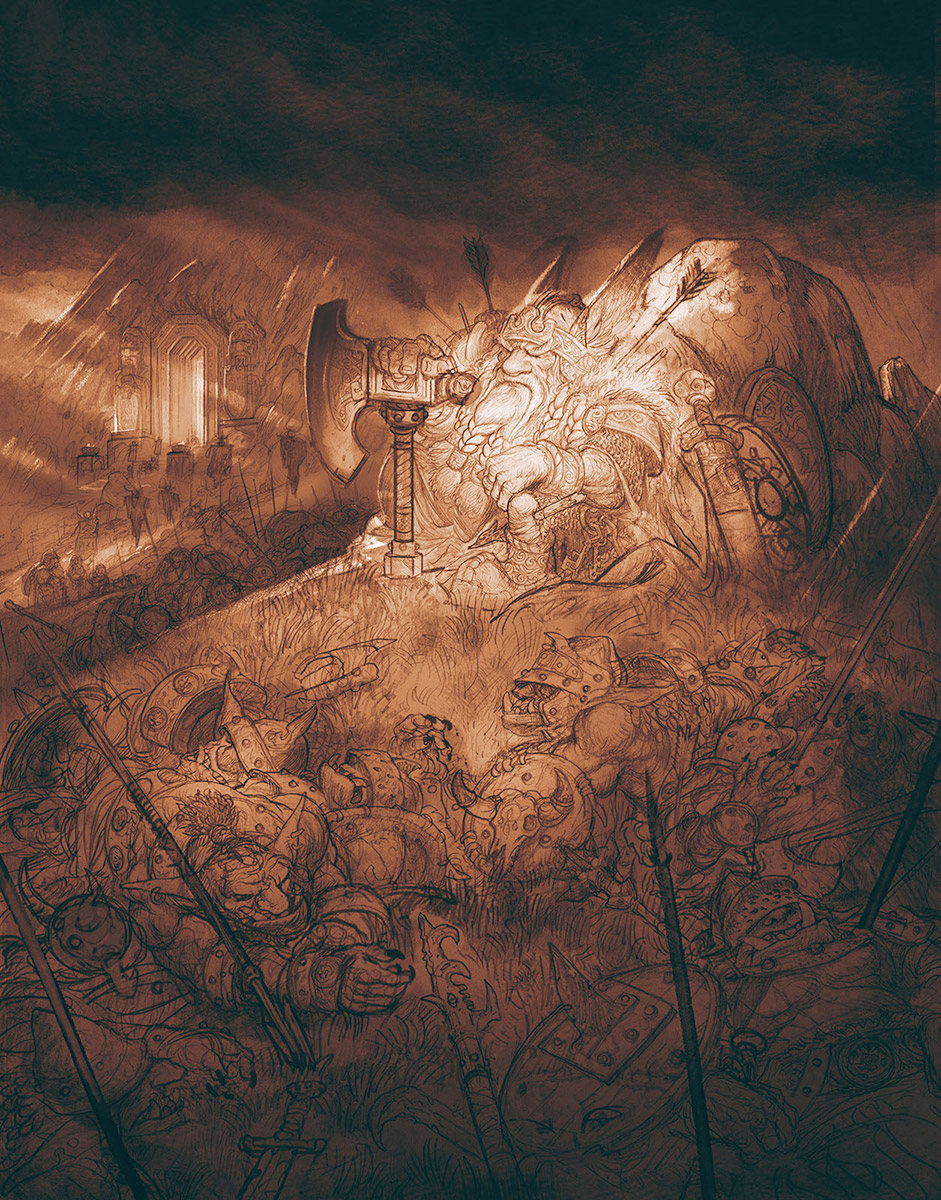
Digital Comp
For this image, I knew that I was going to want a more saturated evening light. Usually, I prefer to work from a desaturated underpainting to a higher saturated final image. For this image, I decided to flip things and begin from a place of higher saturation, and then use grays and muted complimentary colors to push the saturation back and arrive at the color I am looking for. This is called “killing chroma,” and is something I learned from the dutch-flemish painters, who use the technique to give life-like color to the faces of their portrait subjects.
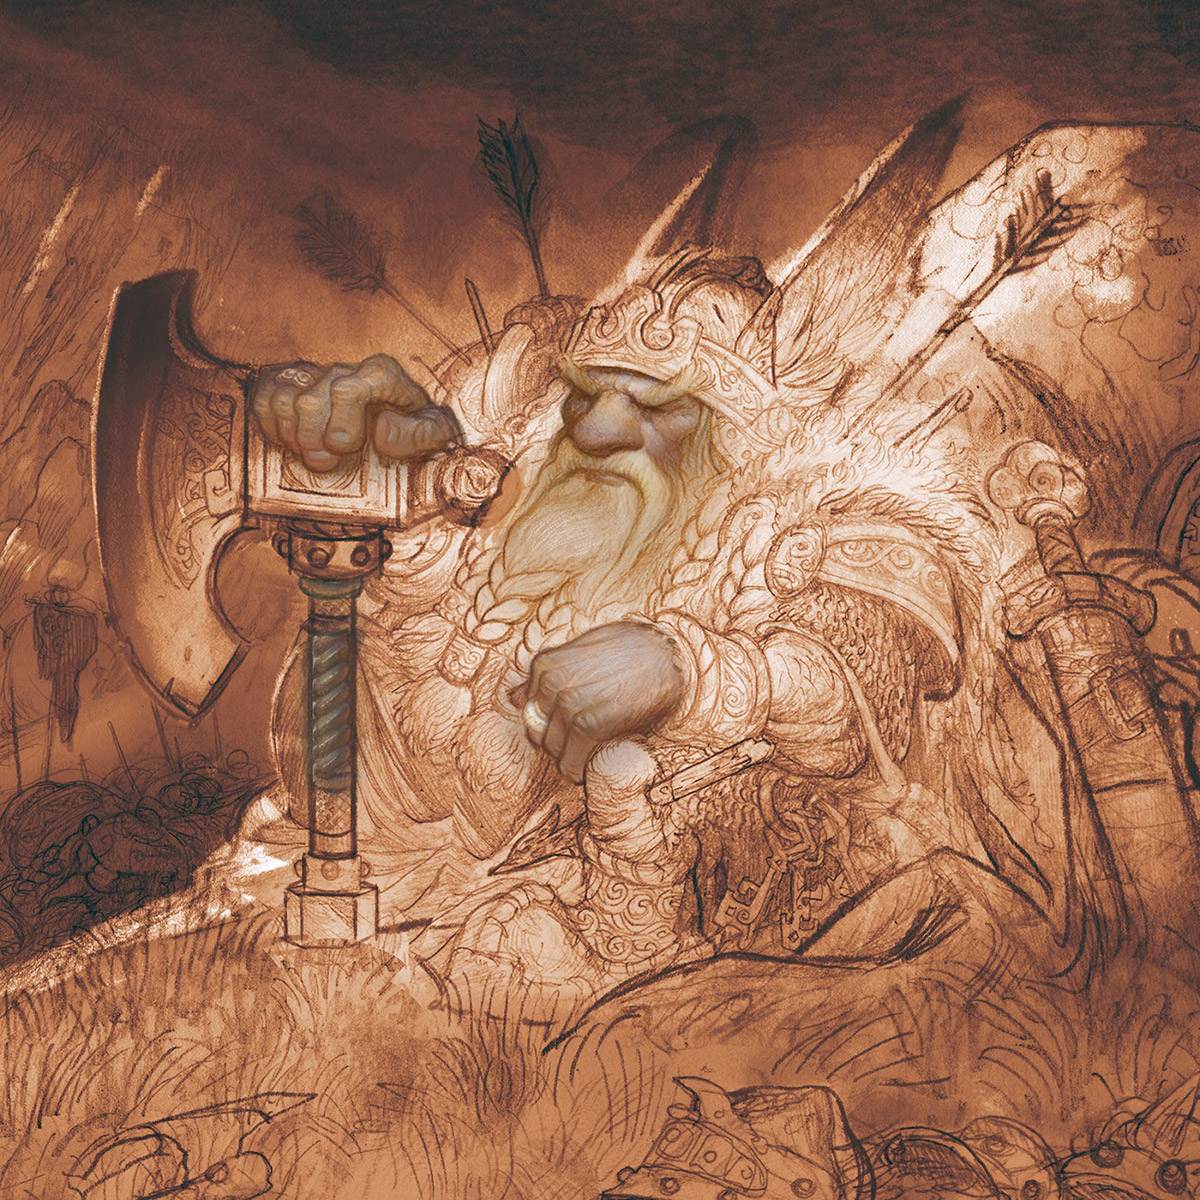
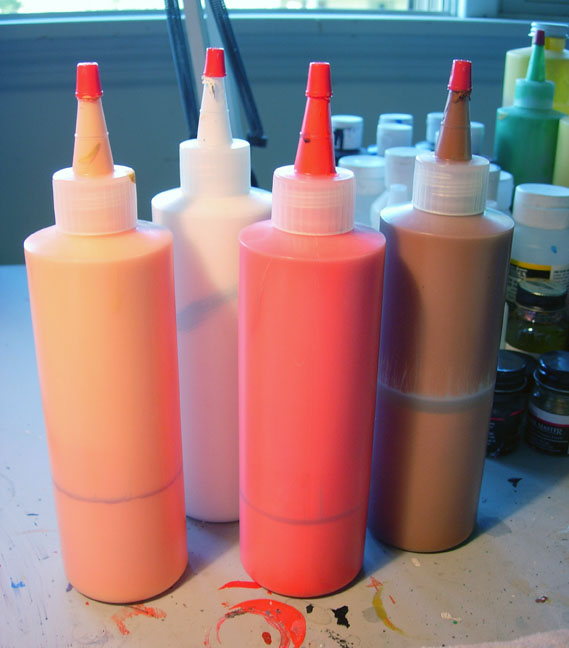
The trick is to find the color that works as the perfect compliment to your background fill color. In this case, a payne’s grey mixed with white offers an excellent counter to the warm umber tones.
While it’s always best to have solid photo-reference and a good color study to help you choose your colors, I do find this technique very useful for keeping a unified palette when working from imagination/memory. Since I have started from a place of such high-saturation many of the color decisions are already made for me. It then becomes a matter of how much I want to push and pull the blues and greens to offset the warm tones of the image.
For shadows and colors I use semi-transparent Normal layers. For highlights and details I use Screen layers. For a more in-depth look at how I work with Photoshop Layers, check out my previous post here. And to see the brushes I use for my work, you can check them out here!


Bang up job on this guy Justin. The spotlight on Thrain as he sits there surveying the carnage is killer. 2 stubby Dwarf thumbs up!
Suh—-weeet!
Stunning piece! As always the light is the shining element 😉 again, creating strong focus on well-designed characters and colors. Is any of this actual oil paint?
Wonderful and magical painting!
Thanks Nicolay! The linework and shading is traditional pencil and graphite on Canson Mixed Media paper (a new favorite of mine). The color is in Photoshop!
Thank you, Justin!