Last time we took a look at the drawing process for a recent piece from my upcoming sketchbook, The Little Hills.

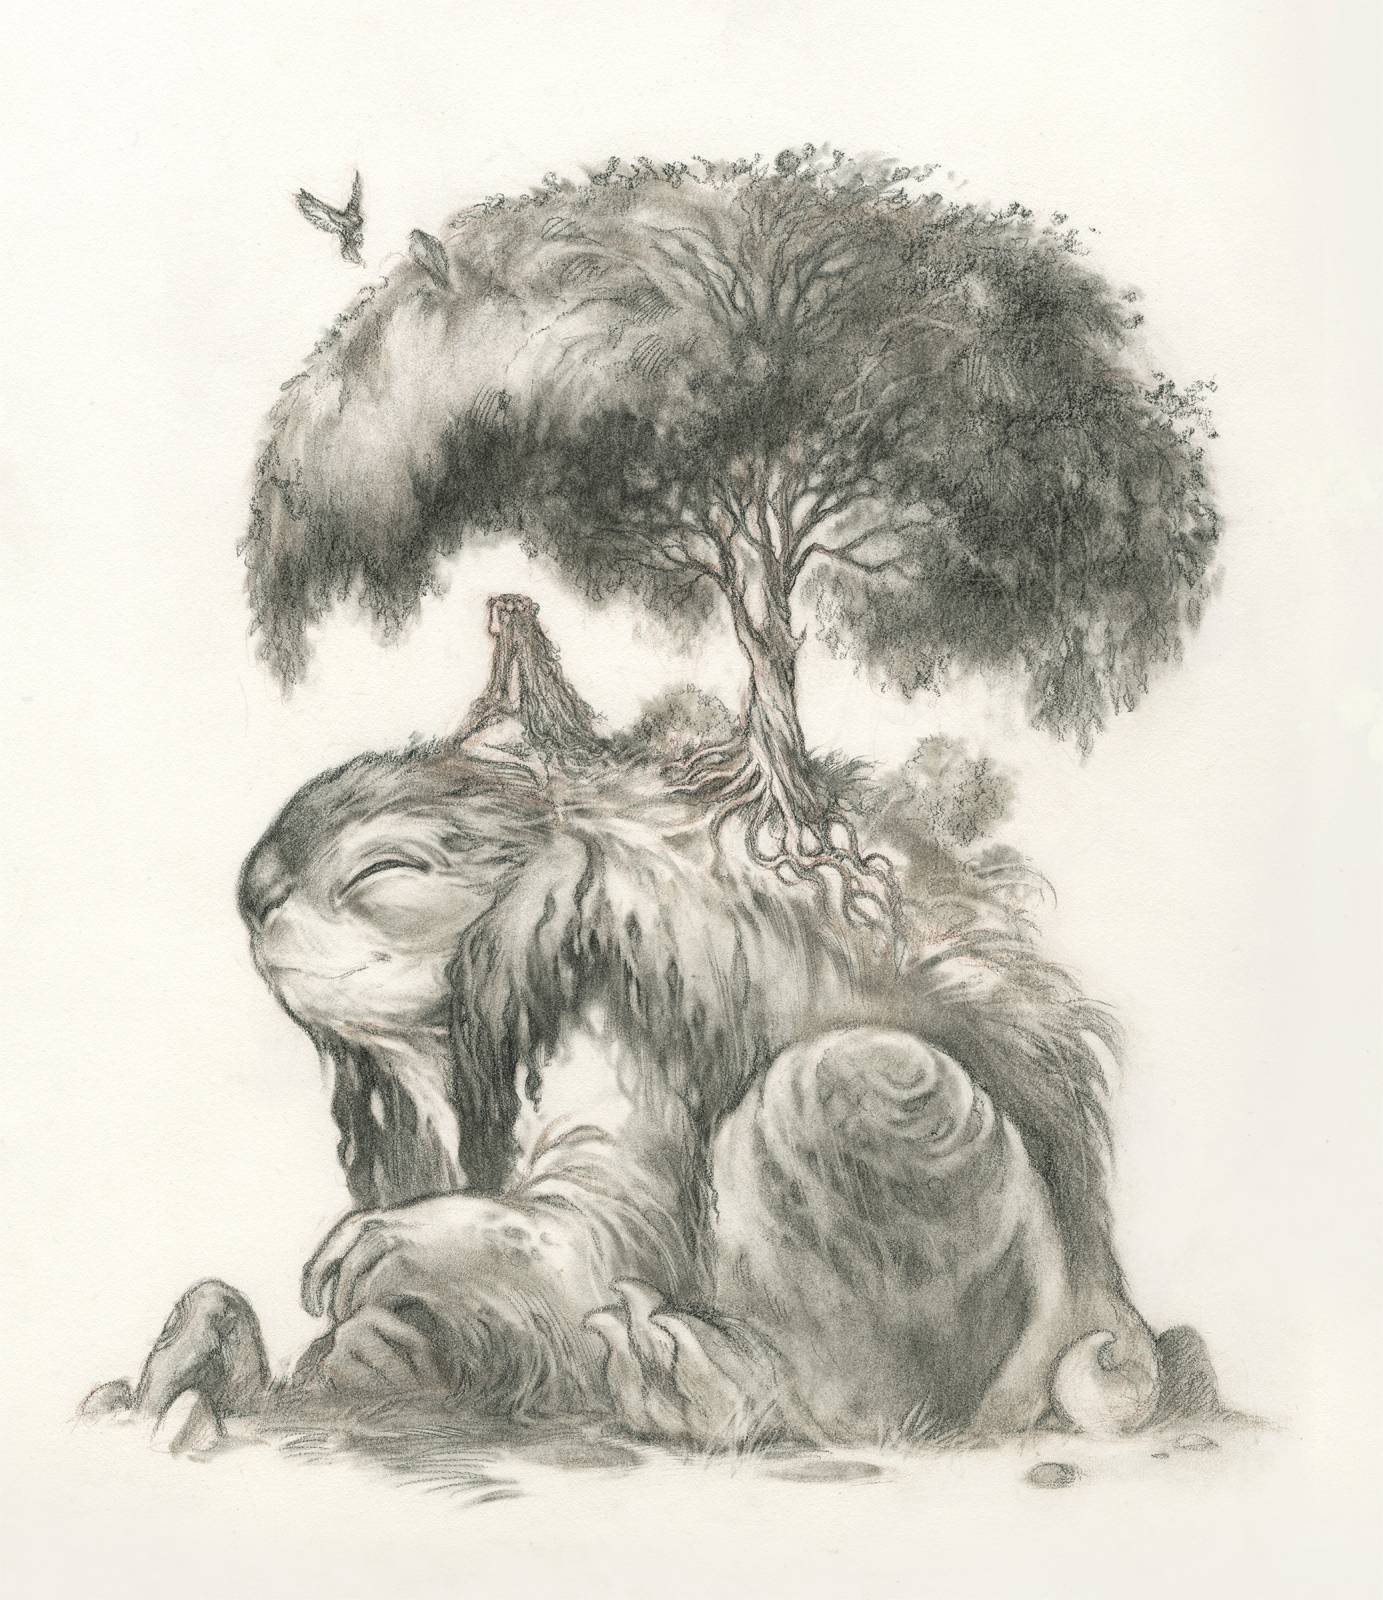
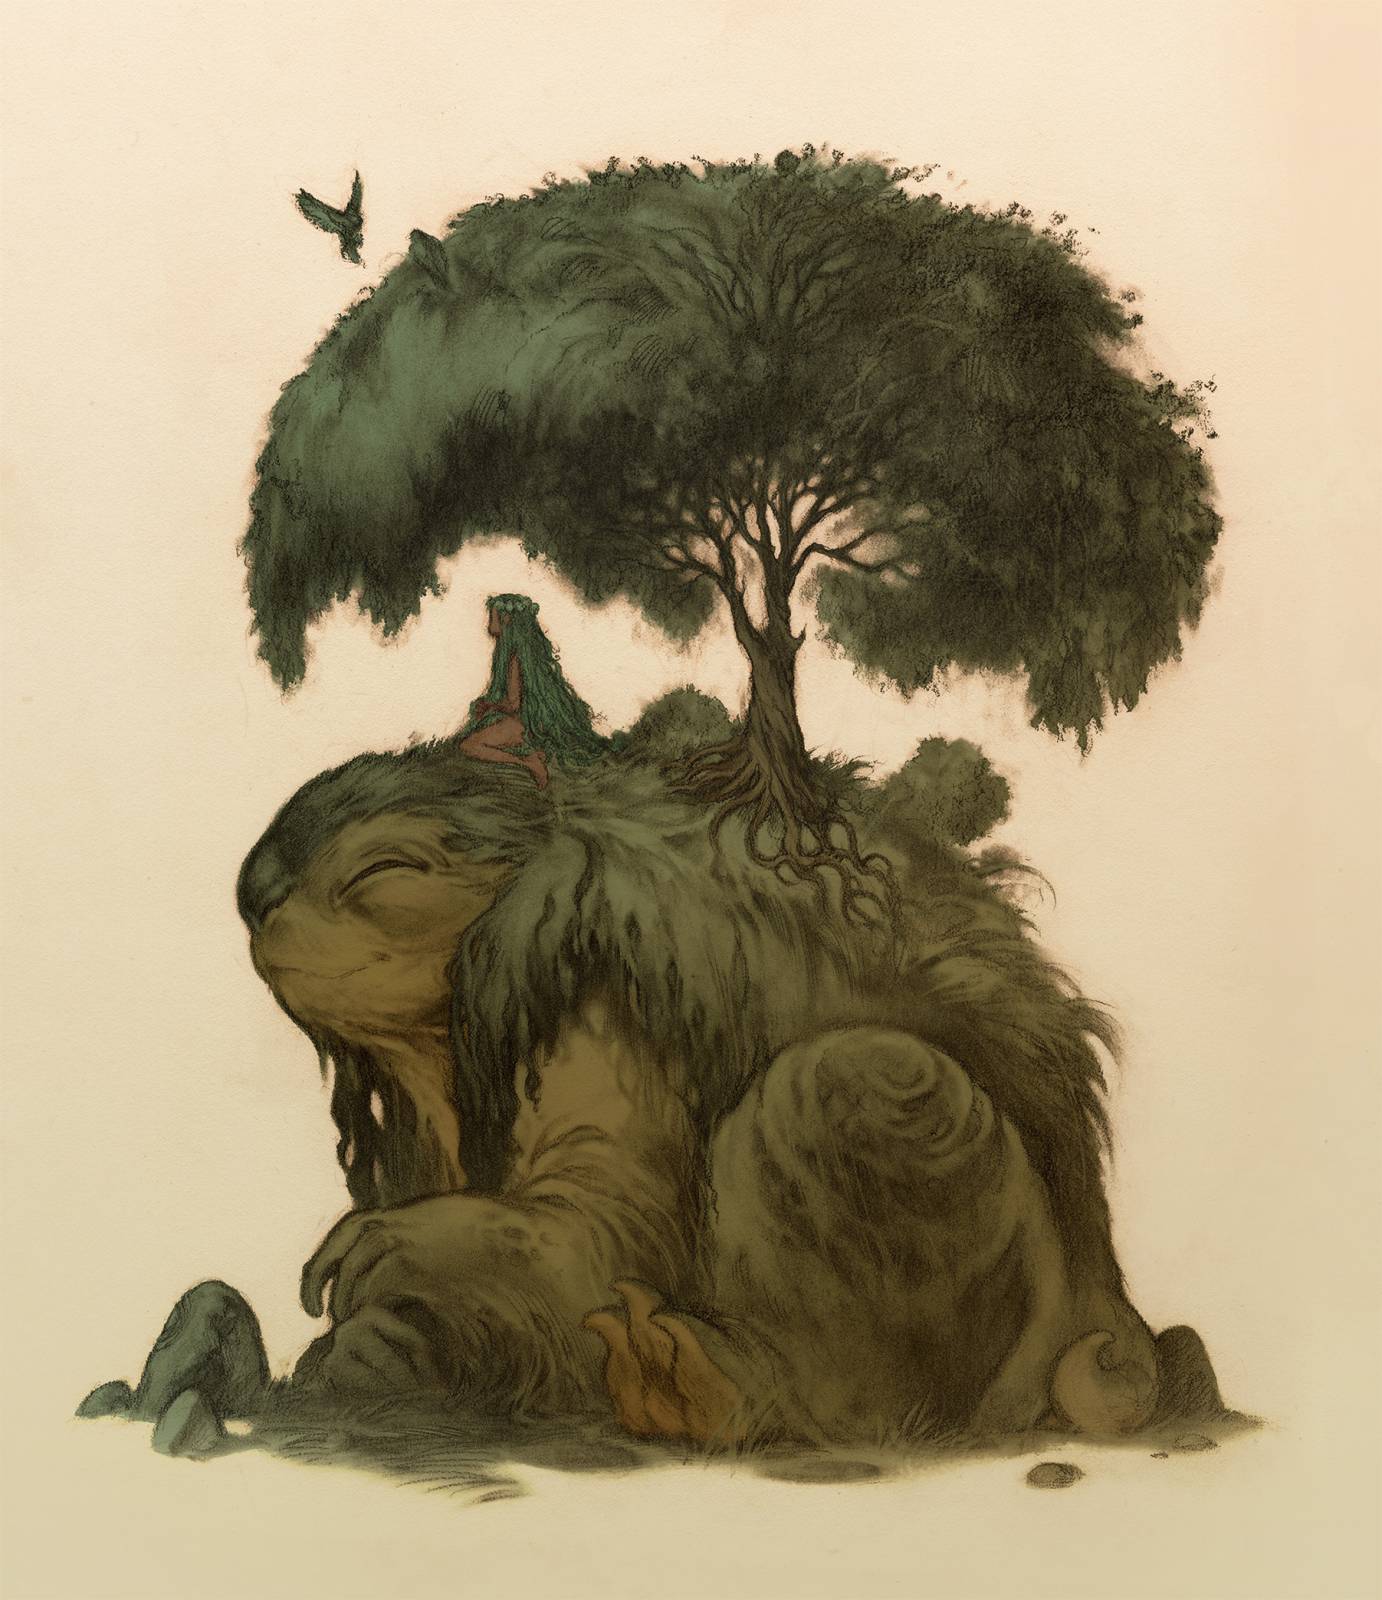
This month we’re going to walk through the stages of digital work to bring it to a final. For a quick refresher, here’s the initial sketch along with the finished drawing.
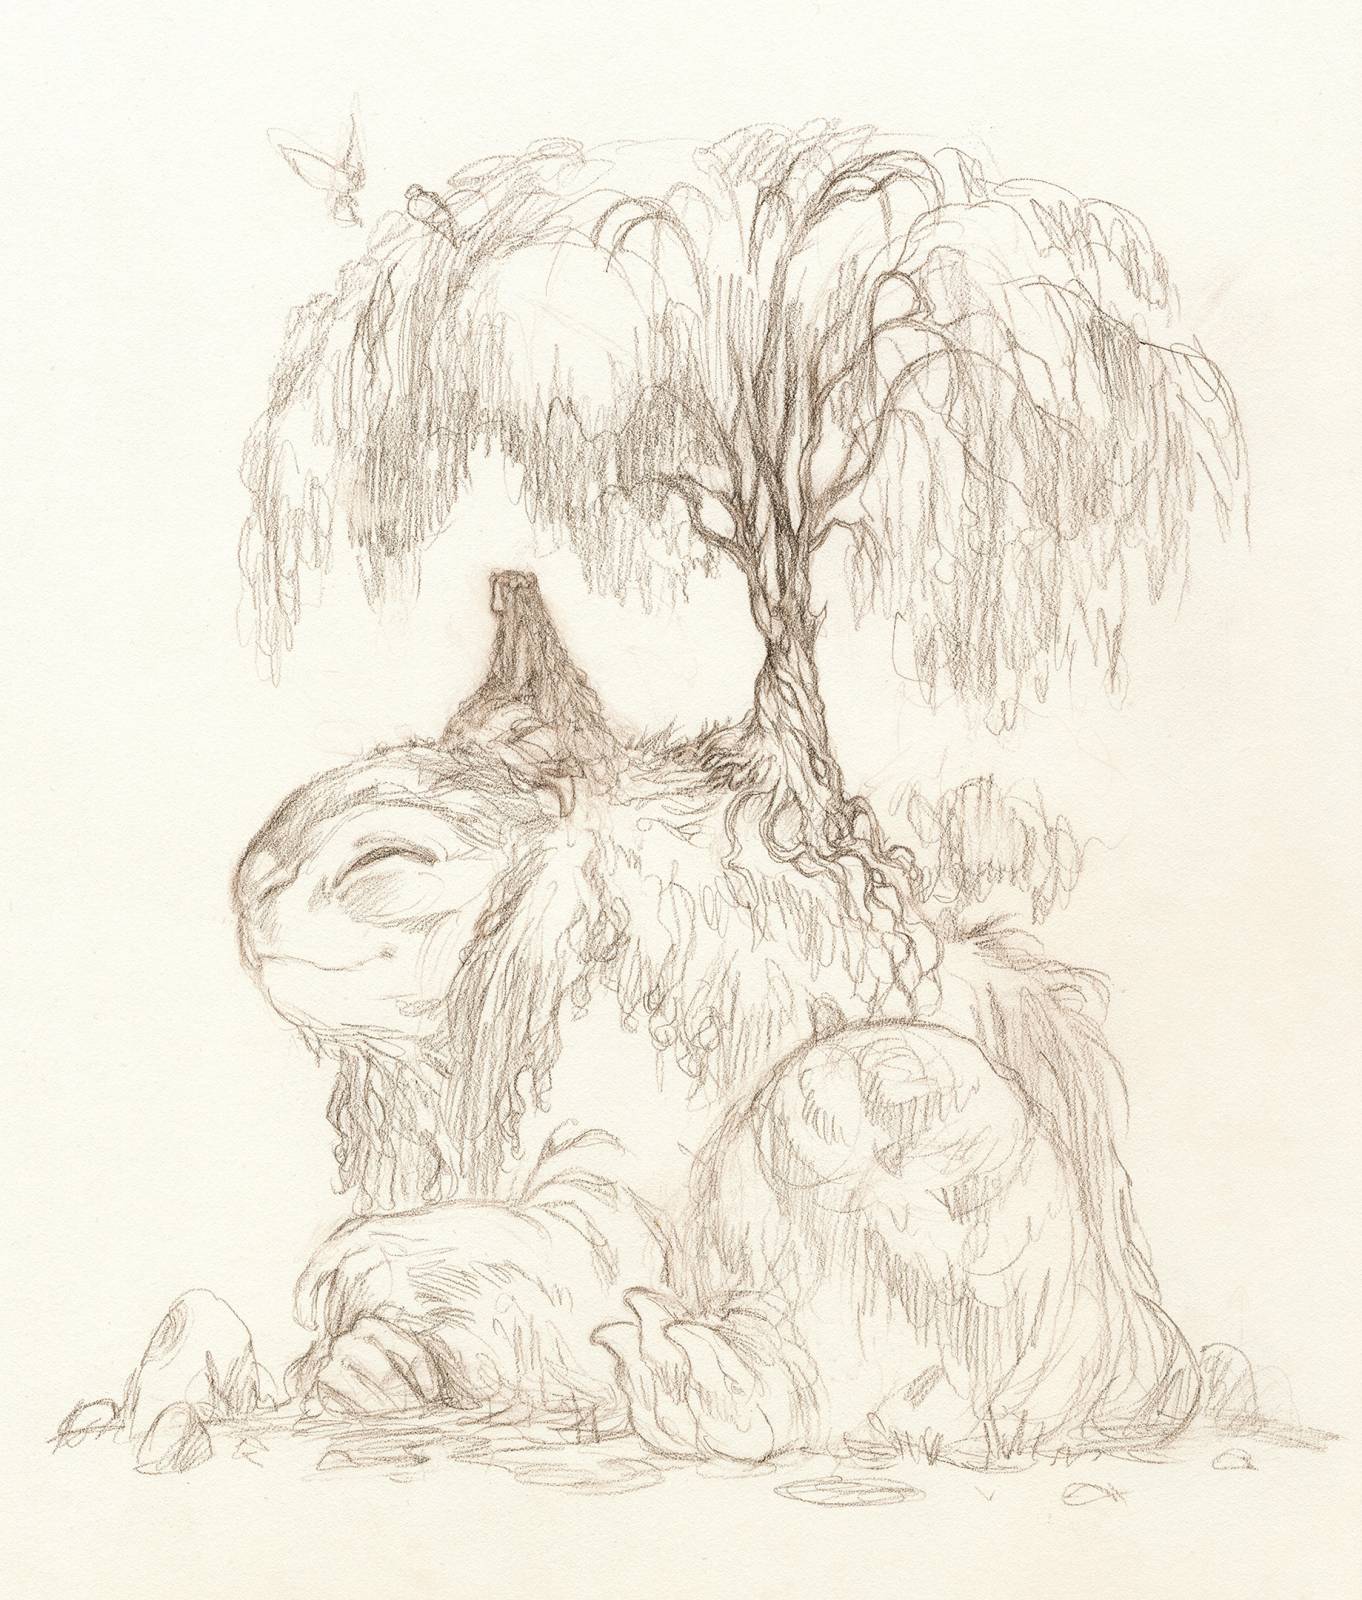
Once I’ve got the drawing finished and feel ready to get into digital work, I scan it and bring it in to Photoshop.
I opted for a simpler approach this time around and set the drawing to Multiply and began to work underneath the lines.
First things first, a nice “flat” layer underneath the lines. It can take a while to really knock out the drawing but it’s worth it. Very helpful in later stages. I’ve found that it doesn’t need to be 100% perfect for my processes but the more closely I’m hitting the shapes the more useful it will be.
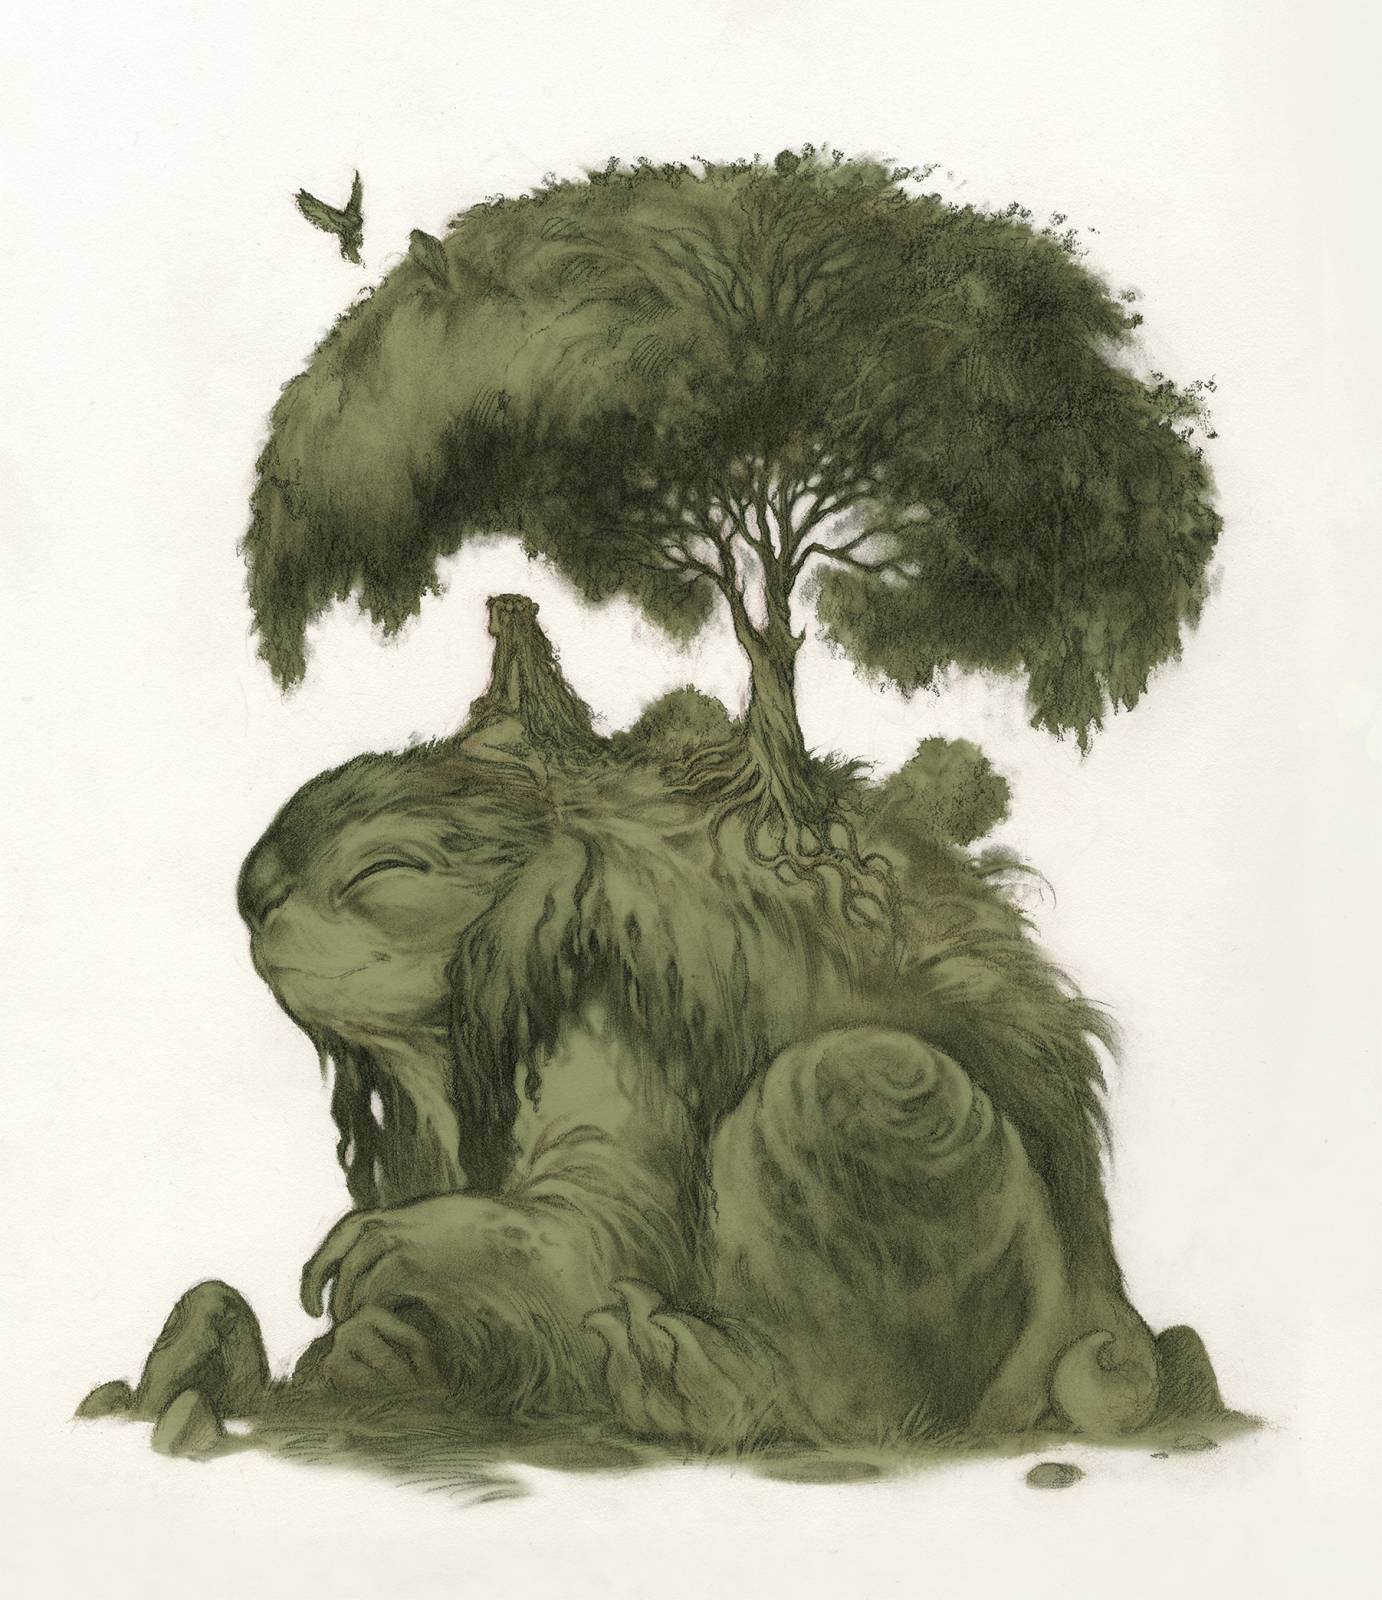
Next, it’s a few steps working in some areas I want to differentiate.

And now some overall “washes” to push some of the different areas back and bring a little unity.
Dropping in a bit of a tone underneath the lines and the flat colors. Also, pushing some of the warmth. I’m going for a warm, spring day.
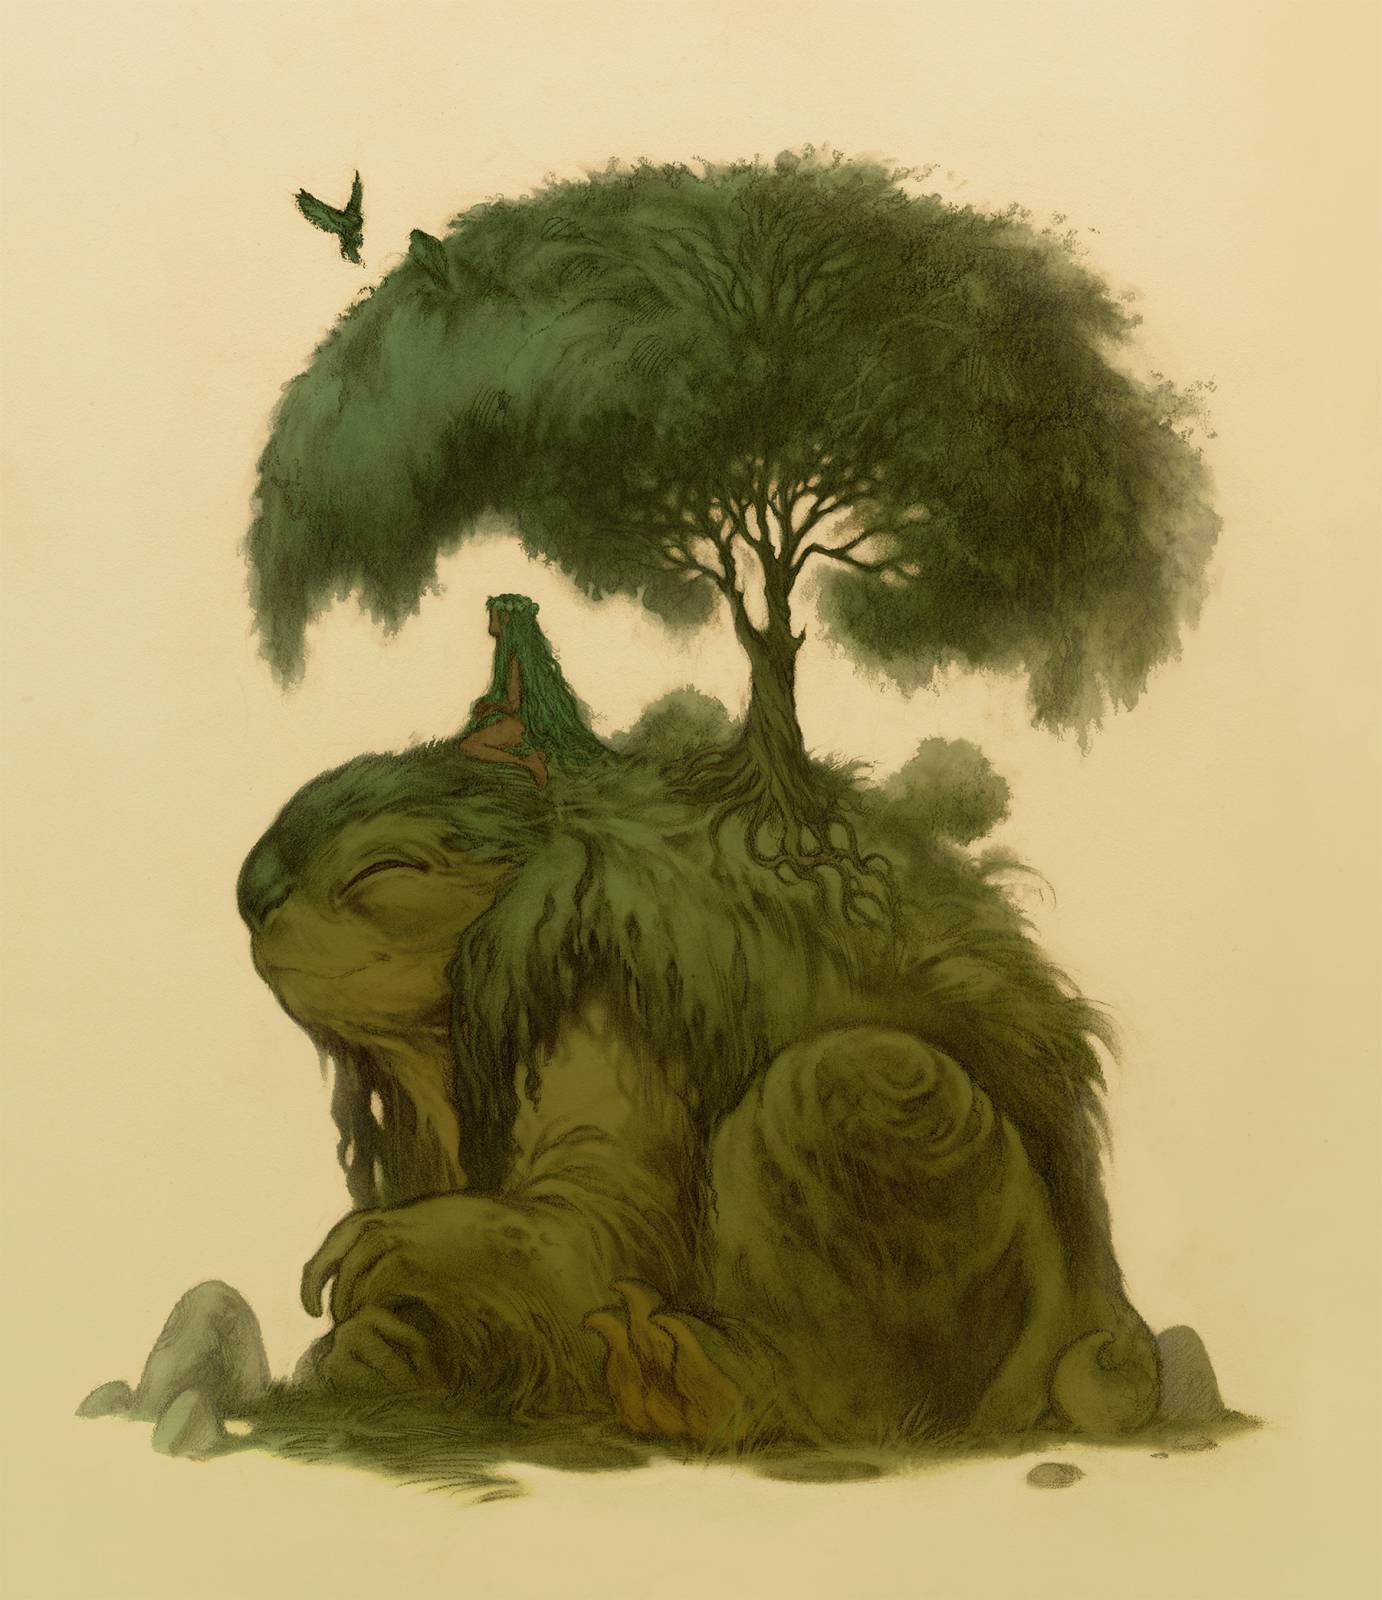
Warming it up and green-ing it up.

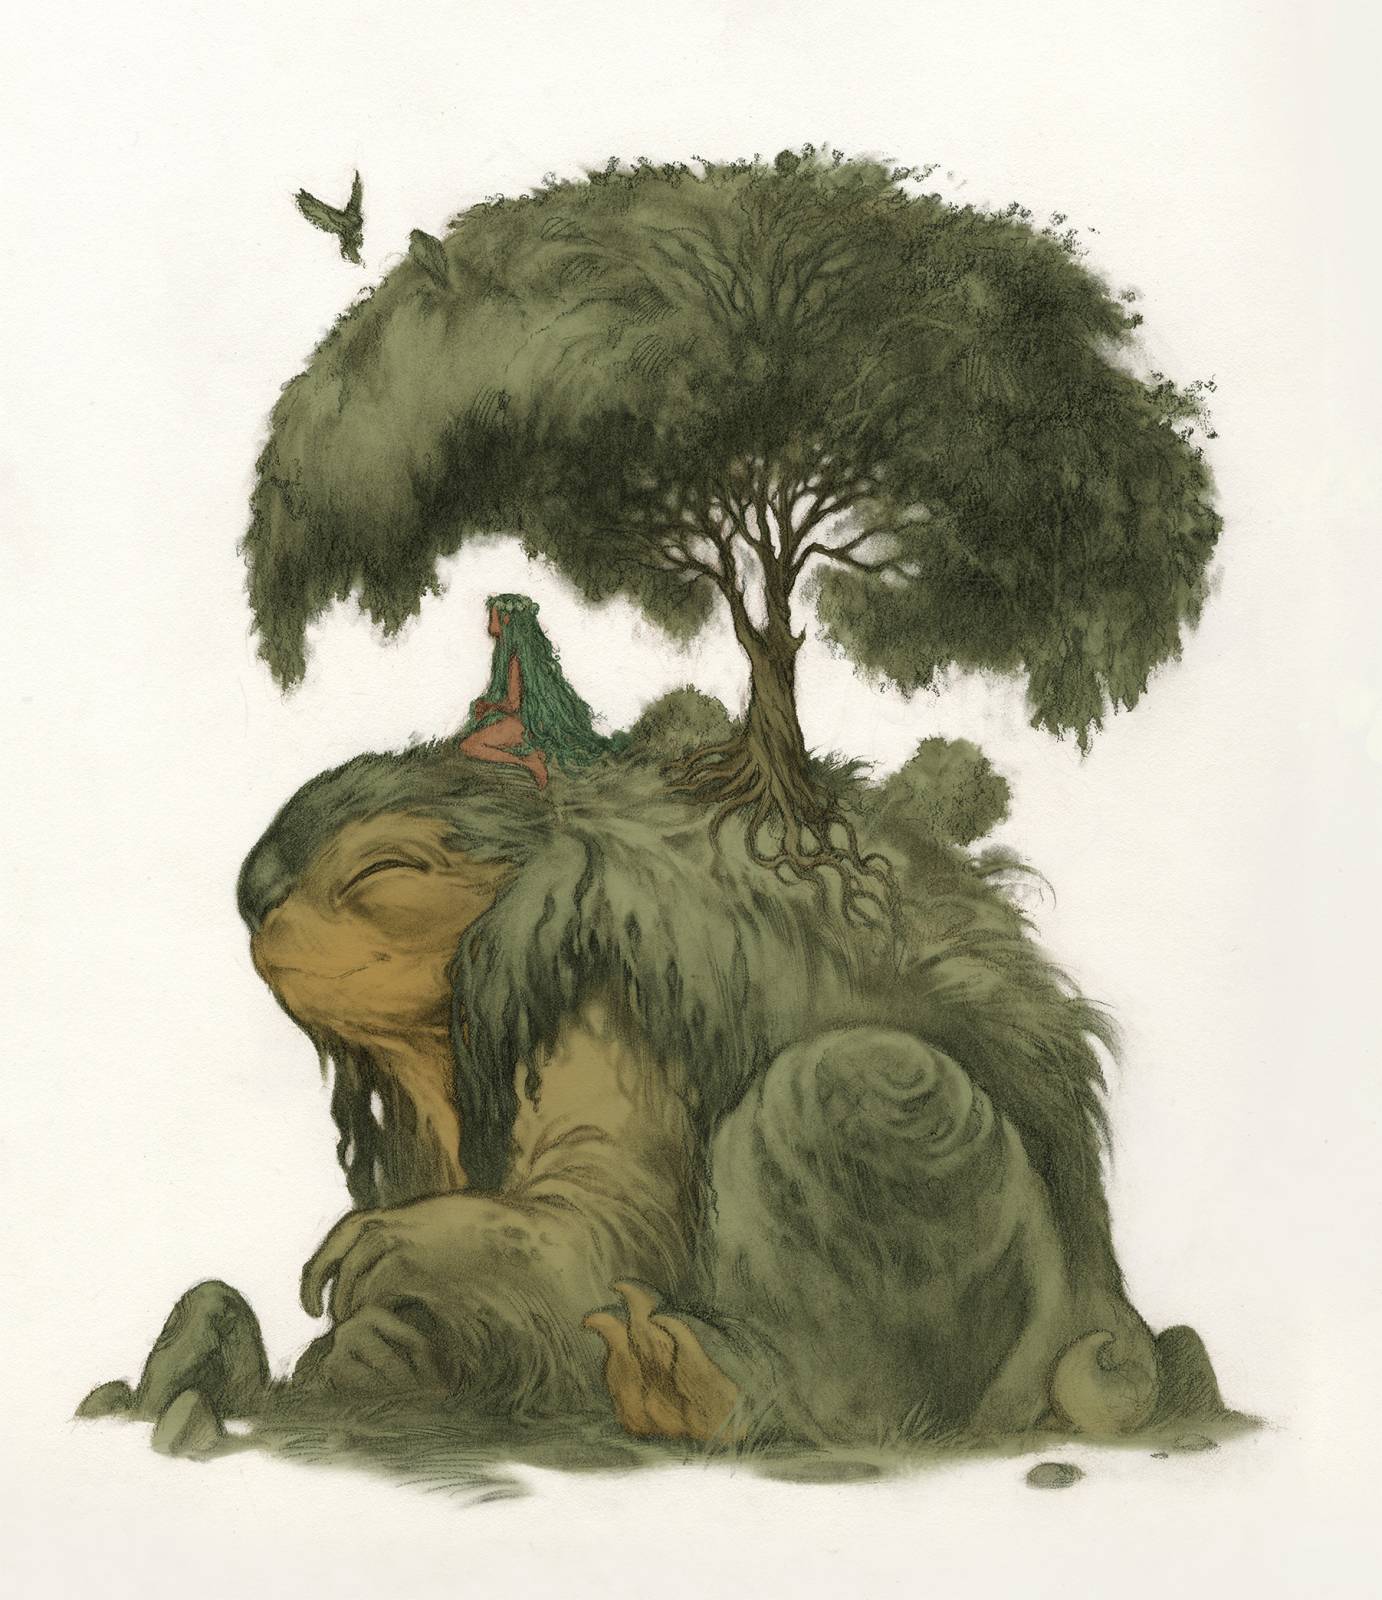
And this point I’m working on top of the lines and starting in on a few highlights.

And more highlights.

Nearly there! Some simple color adjustments and finishing highlights.

And done!
I often like the drawing to do the “heavy-lifting” for any given piece and this one is no exception. I’m a line guy at heart, always have been.


A great post, thanks for sharing. :}