I first heard the term “Tra-digital” about a decade ago, most artists know it means when an artist combines traditional materials like paint and pencils along with digital tools like a Wacom tablet, iPad or Cintiq. I’ve been developing my approach using both traditional and digital tools since I graduated from art school. I’ve avoided sharing my process online because my process is not pretty and not always linear. This process continues to develop for me but using a few sample pieces I made recently I’m here today to share my approach. Let’s go!
LET’S START AT THE VERY BEGINNING…
All my work begins with a clear sketch – I think it out and stick to my plan. Once my sketch is approved by my client or if it’s a personal piece when I call it ready… I use my Wacom tablet to draw a tighter drawing on top of the sketch. The layers look like this in this order:
NEW DRAWING – The top layer is a tighter drawing of the sketch
TRACING PAPER – A layer of white which I put on low opacity as “tracing paper”
SKETCH – the client approved, OG full-color sketch
PRINTING IT OUT
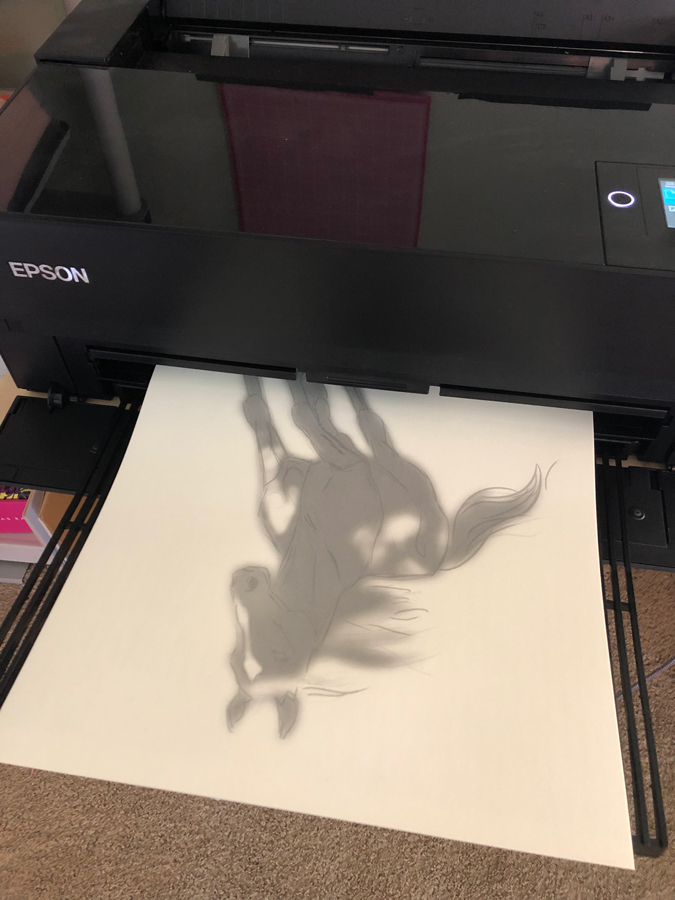
Then I’m ready to print. On some occasions, I want the OG sketch to show through a lot. I lower the “opacity” of the tracing paper before printing. I am a wiz at adding color to black-and-white images so a lot of times I print the image out in B&W. It helps me focus on contrast and saves me on the cost of ink. Below is what a typical print with the three layers looks like hot off the press.
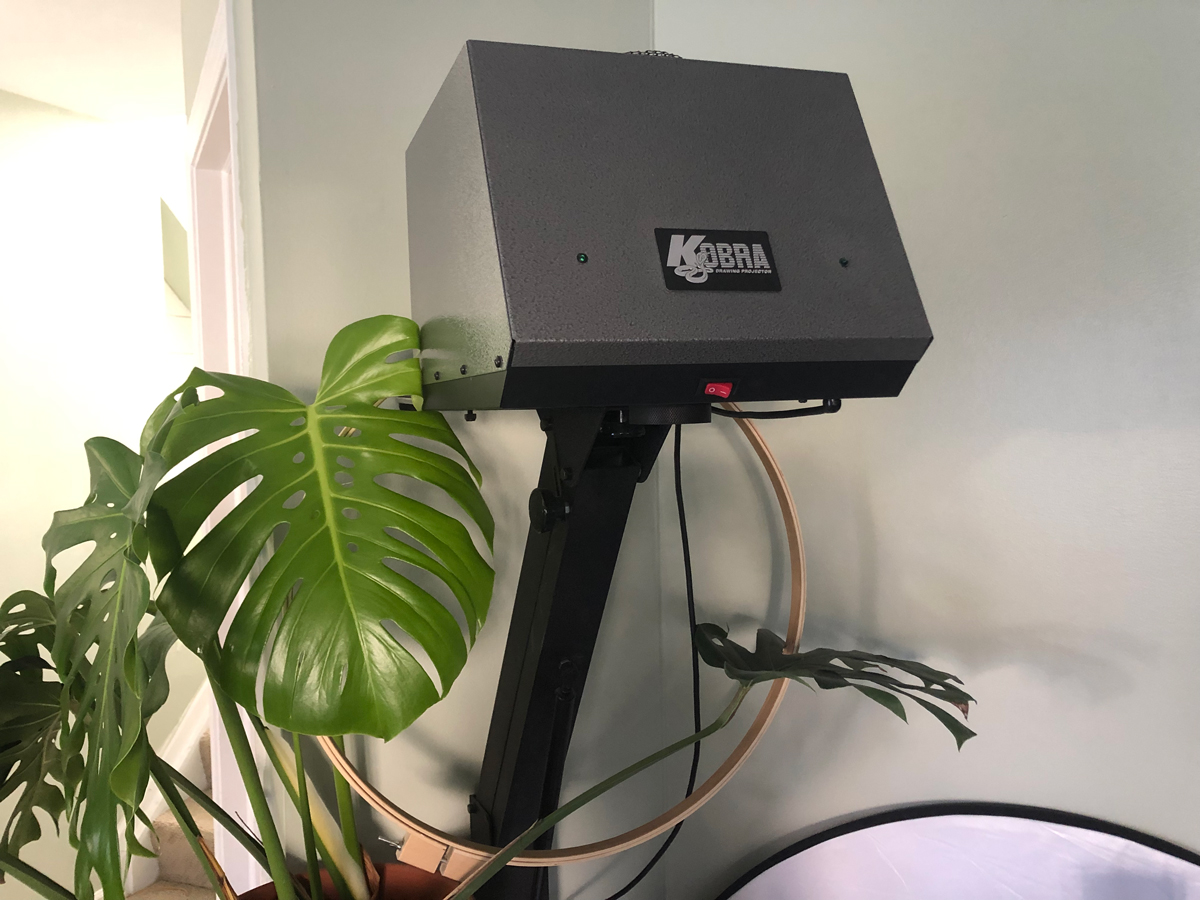
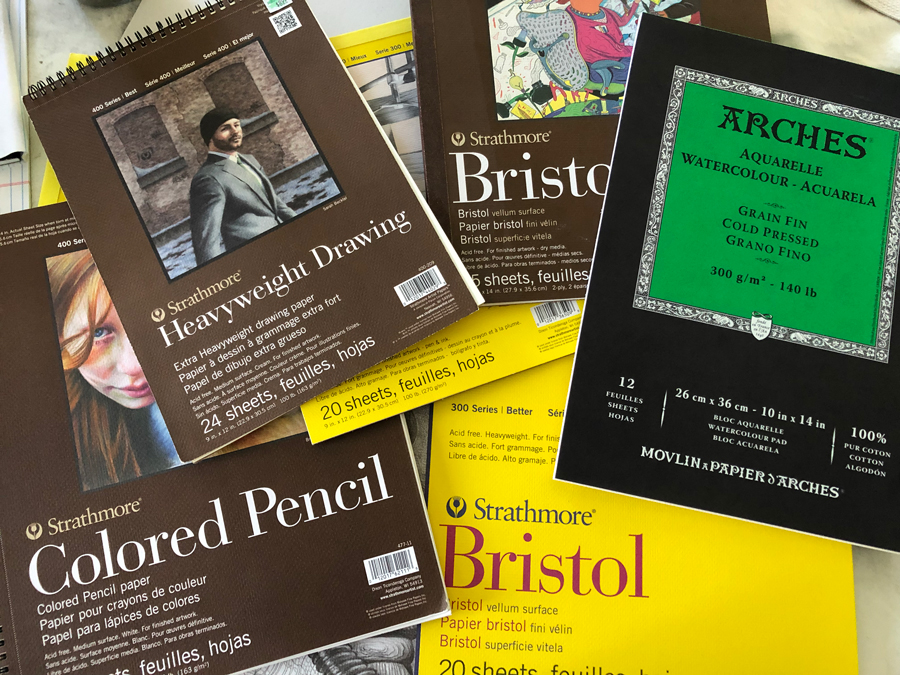
I print on a variety of papers – Mostly Strathmore bristol vellums or cold press papers are my go tos but I’m not afraid to experiment. Printing can be avoided if you simply enlarge your drawing using a projector on your paper. I have a Kobra projector (old school but you can still buy them new.) I do recommend it, I have an affection for my Kobra but as you can see, right now it’s housing a quilting hoop and a plant. I’m fortunate that my house is bright with windows but my Kobra requires a pitch-black room, so oftentimes I have to do an awkward thing where I work under a blanket. The other problem with enlarging is that I have to lay in my flats all over again. At this point, I have already done that in my sketch digitally so it feels … well, boring! If the enlarged drawing doesn’t work out and I have to redo it (this doesn’t encourage play or experimentation.) By printing, I can print and redo as many times as I want.
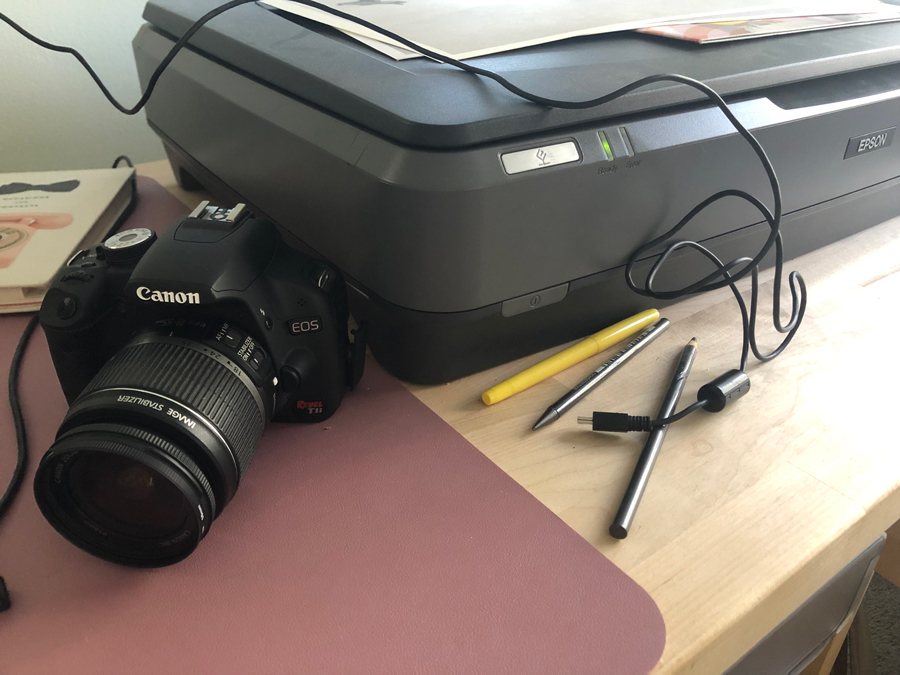
Many of my art friends have told me they love retracing their work – it’s a meditative thing for them. When I trace my drawings, I have an amazing talent for completely ruining the illustration. I’m also impatient (working on this!) Printing solves all this for me. I love my new Epson! Being able to print at home has been a game-changer. I will load drawing paper in there and it handles it beautifully. Obviously, you couldn’t send something stiff, like an illustration board, through there – but if it’s bendy, Kirbi will send-y. There’s a bit of gambling when you try out papers. None of this is “recommended” by Epson.
It’s taken me a long time to figure this system out. Before I had a cool printer I used to go to fed ex and Kinkos. Certain employees would allow me to try out some (questionable) heavy-weight papers in their large format printers. In art school, I tried this will little success (putting unapproved art papers into the printer was frowned upon.) Years ago, I would print a work in progress out and mount it to a board with a clear medium. I learned this at the IMC from Donato. This technique was a start for me but it didn’t completely make sense for the back-and-forth working style I have now. Here is a link to Donato’s mounting demo: click here.
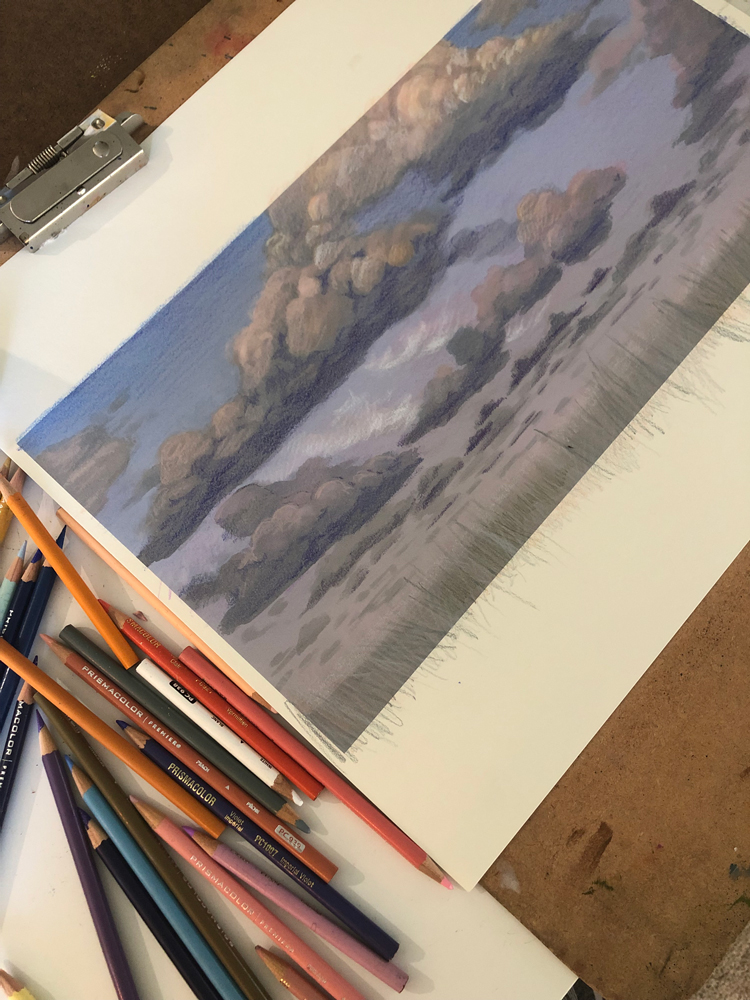
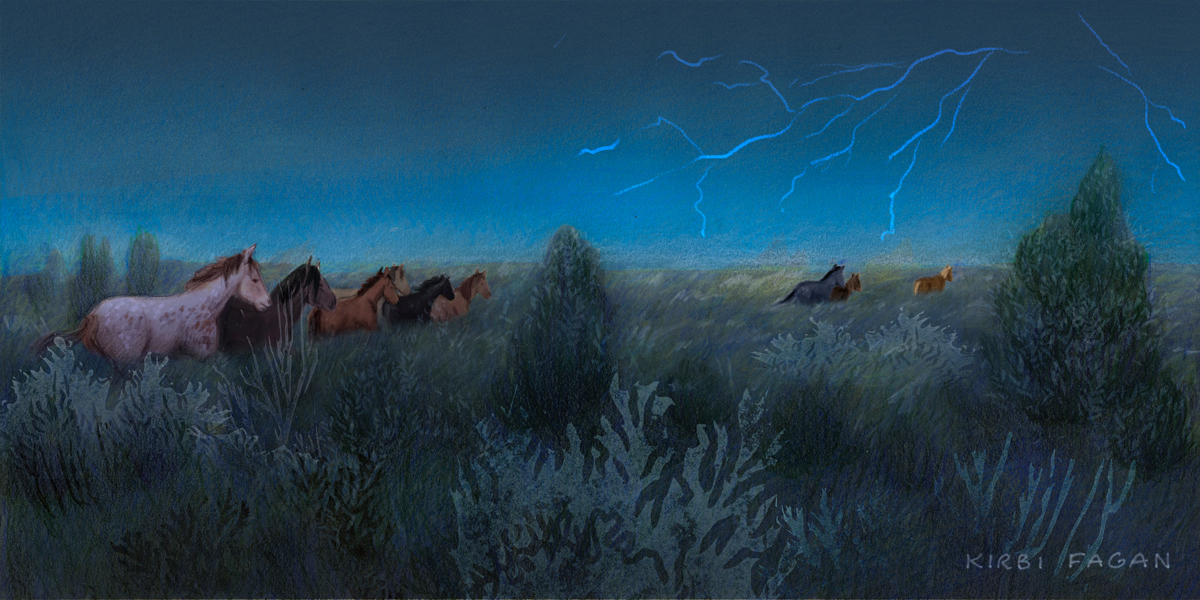
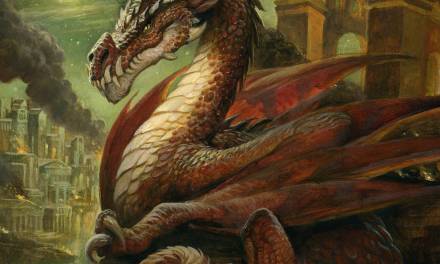
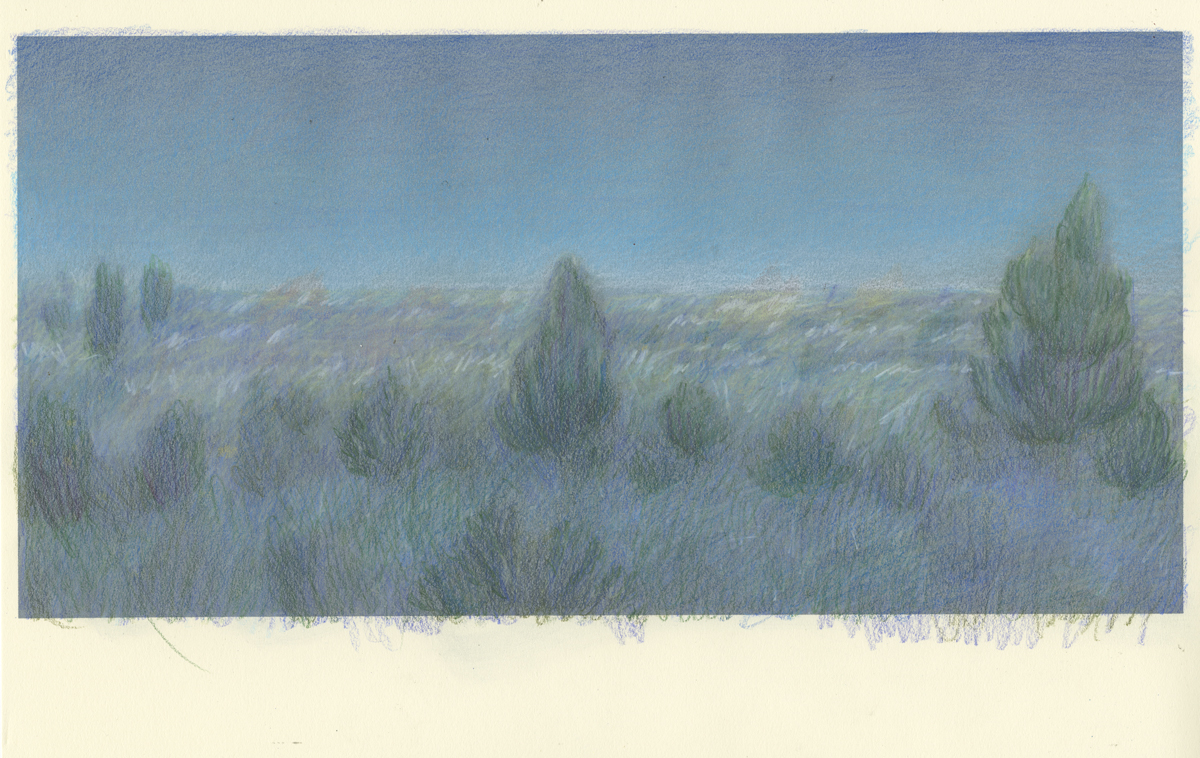
Sometimes I nail the color palette in my sketch and I will print it in color. If I print something that uses a lot of dark colors like below, that ink is going to be quite dense and I may be limited in what medium will be “accepted” by the surface. I take that into consideration and will make adjustments accordingly. In this example, I went astray from my usual “three layers technique.” I blurred my sketch in photoshop and printed that out. You can’t tell what it is but I can!
Now that it’s printed out…. I draw and paint right onto the paper printout! Below you can see the hard edge of the print.

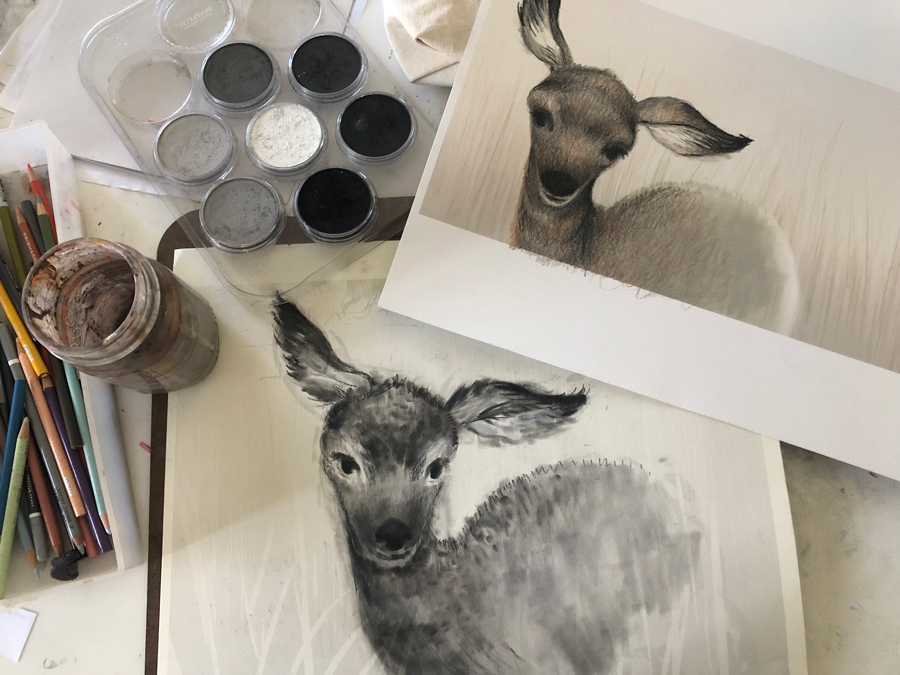
Here is another example of me doing the same method.
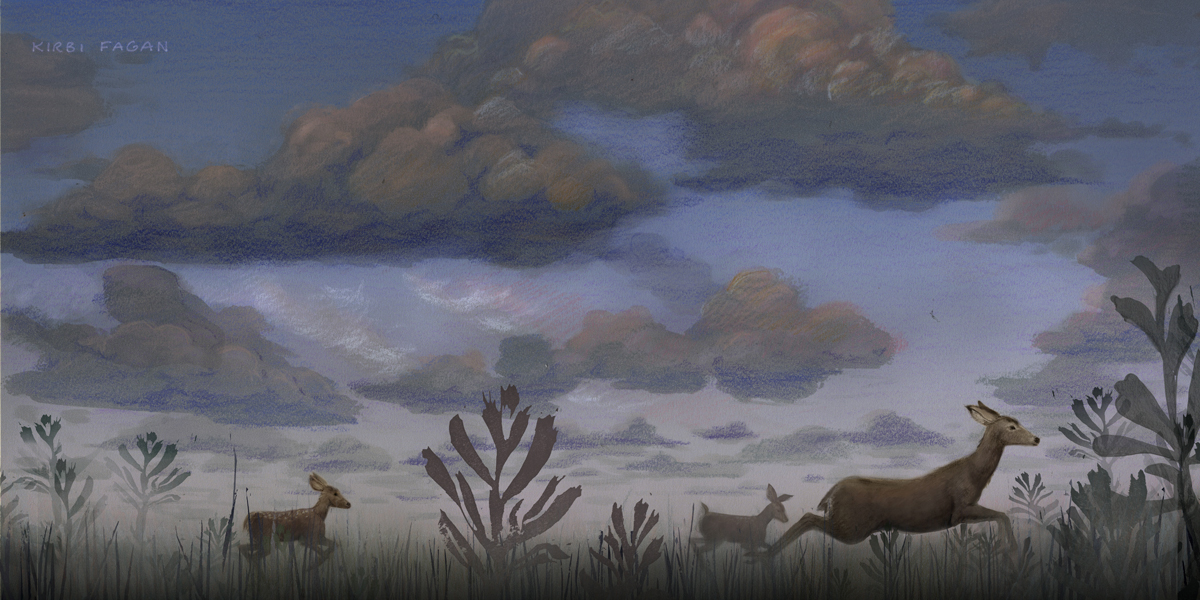
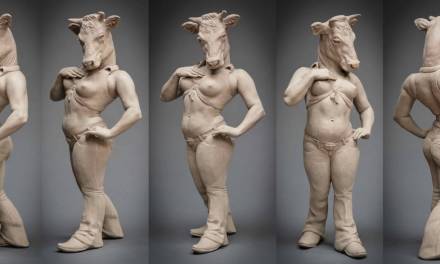
These drawings aren’t “finished” but they are complete enough for my needs. I will draw other characters or elements on separate papers with the same approach. For the style I’m going for, I do these drawings FAST. I don’t set a timer or anything but I try to move quickly. I usually stand. I do more than one with different techniques. I can fix any anatomy or undesirable areas on the computer. There are virtually no consequences. You can see in the drawings below, they are quite different as I search and experiment with how to capture this baby Pronghorn Antelope. Later, I will be able to cut these up and Frankenstein together with only the parts I like from each.
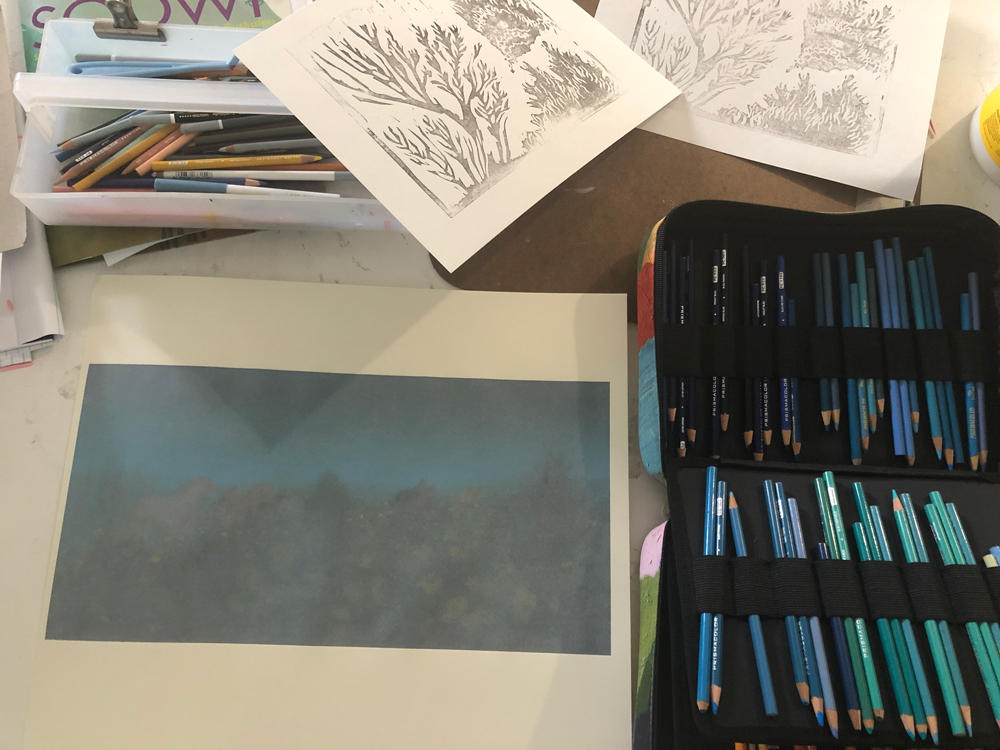
I also create some interesting textures to incorporate. I hear tradigital artists give this advice all the time: “create your own textures.” It’s not about making random textures and laying them over your art, it’s about CUSTOMIZING each texture and working them into a rich layering. Sometimes, I use my Kobra to “shine down” the sketch on blank paper so I can put some brush strokes where I want them.
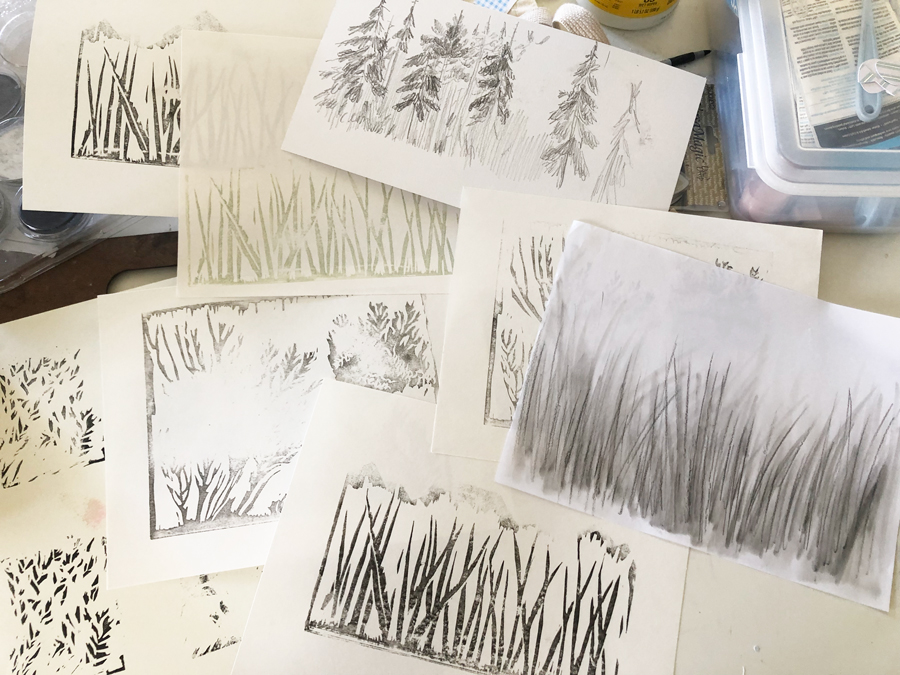
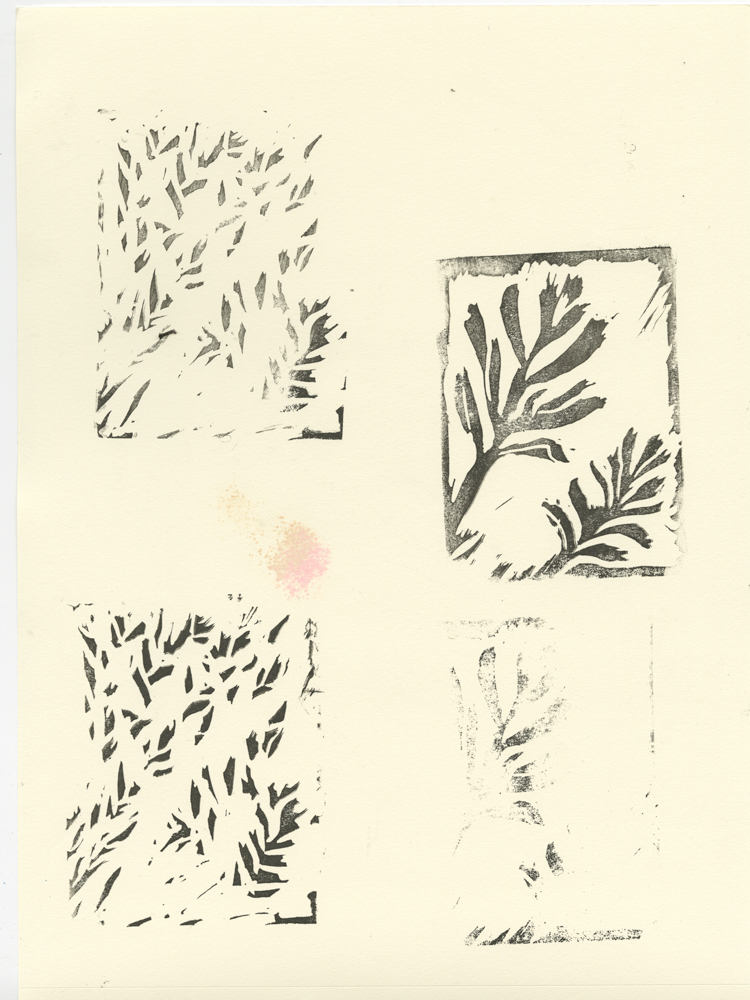
I stay open to mediums.
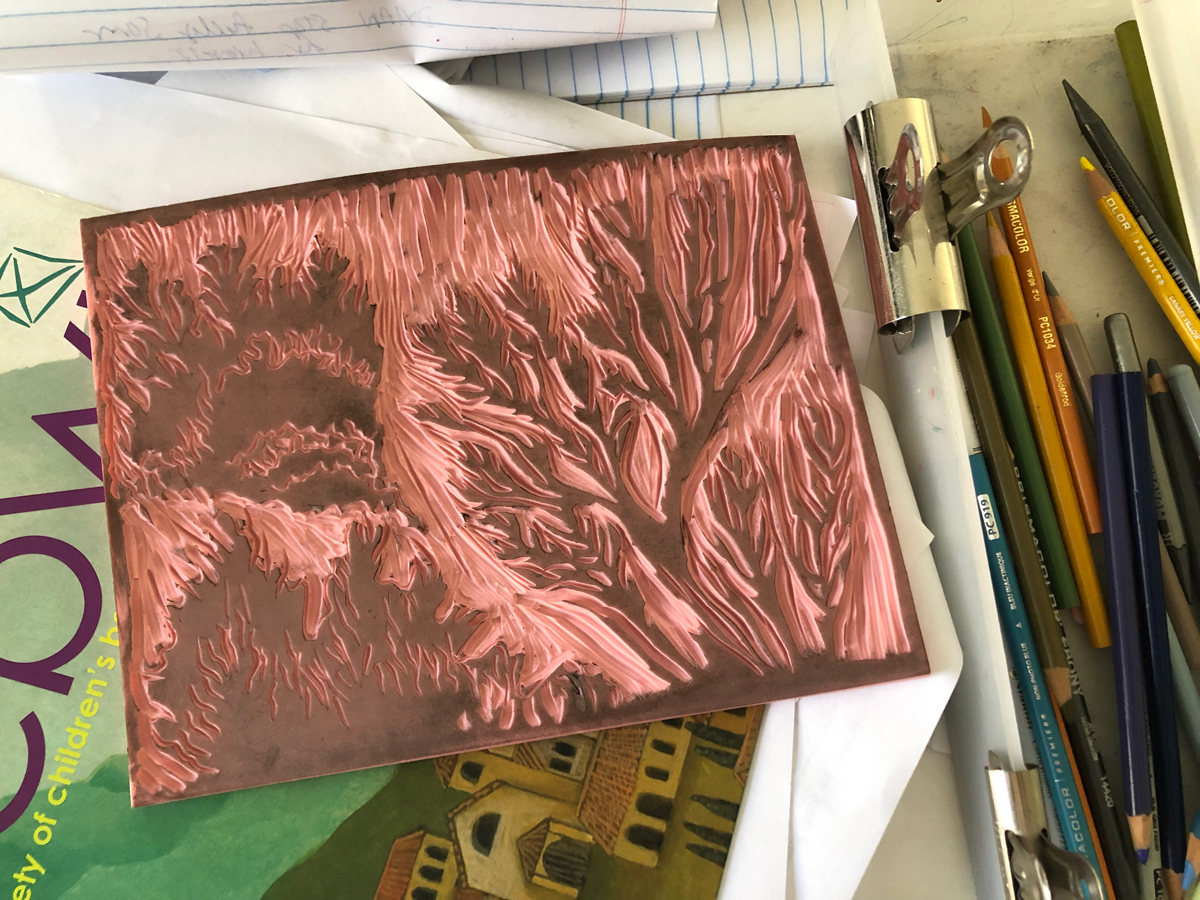
When working with something like a Lino cut, I don’t desire a “perfect print” if it includes faded edges/areas that may be very effective when blending the different pieces of the collage together later.
PULLING IT TOGETHER
When I’m happy with what I have I’ll scan or photograph the images. I usually scan at 600dpi+ so I can enlarge the work. I scan with an Epson 11000XL. It was the first thing I bought to build my business after art school. Still works great. One thing you can rest easy with scanners is that the tech doesn’t change that much from year to year. If you take care of it, your investment should last a long time.
Once they are on my computer, many need editing as no scanner is perfect. Once they look like my IRL drawing, I patch all these drawings/paintings together. When I pull all my elements together it feels extremely natural to me, like a collage. But it’s also straight-up surgical work. Many elements I need to cut out using the lasso tool. It’s tedious, but once you get comfortable with the tool you can get lightning fast. I use the full extent of the lasso tool – like adjusting the feathering of the edges for seamless looks. I avoid white cut-out edges surrounding my elements by changing the value of the paper.
I use a variety of layer styles when combining the images. Some of my favorites are multiply, screen, and luminosity. I often will enhance the contrast of the scans so that they will work well with the layer style of my choice (like darkening the white background paper or inverting the image. It can be easy to accidentally have a texture explosion, which isn’t going to help the readability of the illustration. I stay very aware of my exposure. Limiting my texture to the highlights OR the shadows. Either way, it just needs to be consistent. Be prepared, when you lay a texture over your work you will lose some of your rendering/realism. This is where that back-and-forth method comes in.
After the images have been compiled, I’m going between working on paper and on the screen. When I need to create more form, I may adjust it digitally or I may print it out and draw on top. You may be surprised that when I only use a handful of layers. This is 100% crucial to my process. It feels more like making traditional artwork which helps me to make my choices more thoughtfully. Before I do a dangerous “flattening” of several layers, I save a backup, that way I can always go back. Photoshop (or procreate or whatever program you paint it) will always run slick! I flatten when I can, separating what my clients need, which is usually the same thing I need: the subject(s), the foreground, the middle ground, and the background elements. That way if I need to make the background lighter I can adjust that all together simply.
I’ve taught many classes on digital painting and I haven’t met many students who have adopted the “simple” layers method but being highly organized has helped my speed. Tradigital is MESSY work. There’s the physical work, the scan files, then there are the actual painting files. It’s a lot to manage. In order to FLOW in the digital realm I need to keep my files straight.
I’ve always loved computers since my Dad brought home our first Mac home. Some people approach tra-digital out of convenience (and there are clear perks to that) however, this is an artistic choice I’m making this because I enjoy working on the computer. To work in a tra-digital manner, I don’t think you can hide away from the technical stuff, it helps that I like the geeky stuff. I know, most artists cover their ears when they hear about DPI or color profiles but if you dive in, you will realize you CAN learn this! This is one of my criticisms about procreate, the simplicity of the program allows users to skip the technical jargon and get to painting in a hyper-simple space but if you want to work commercially you’ll need to know your way around file formats. You’ll be less stressed about documenting and cataloging your work along the way.
Tra-digital is a forgiving technique that offers room to experiment. Ask your Qs in the comments! More about me and my work at www.kirbifagan.com

I really appreciate your perspective on this, Kirbi! Its refreshing to hear someone say “digital is just a tool to keep me and my art organized, and my work still looks cool in the end.”
You are welcome, Natalie!
Thanks for sharing your process, mine’s similar. It appears you have a Epson P900,the top loading tray can print hot/cold press water color paper(general settings click okay for heavyweight paper) as well as canvas. The front loading tray is for heavy paper up to 1.5mm illustration/Bristol board. I draw the initial sketch on Strathmore 400 and print out the drawing on archival Fabriano paper and paint on the surface. It cuts time in half, no need to project the drawing/transfer I just scan and print it out.