In making a sculpture, there are usually many creative paths we could follow that would result in a successful finished piece. It can be frustrating having to choose only one of the many options.
One of the very cool things about working with bronze casting (or for that matter, any sculptural process that involves making a mold) is the opportunity to explore these different paths. From trying various surface colorations through patina choices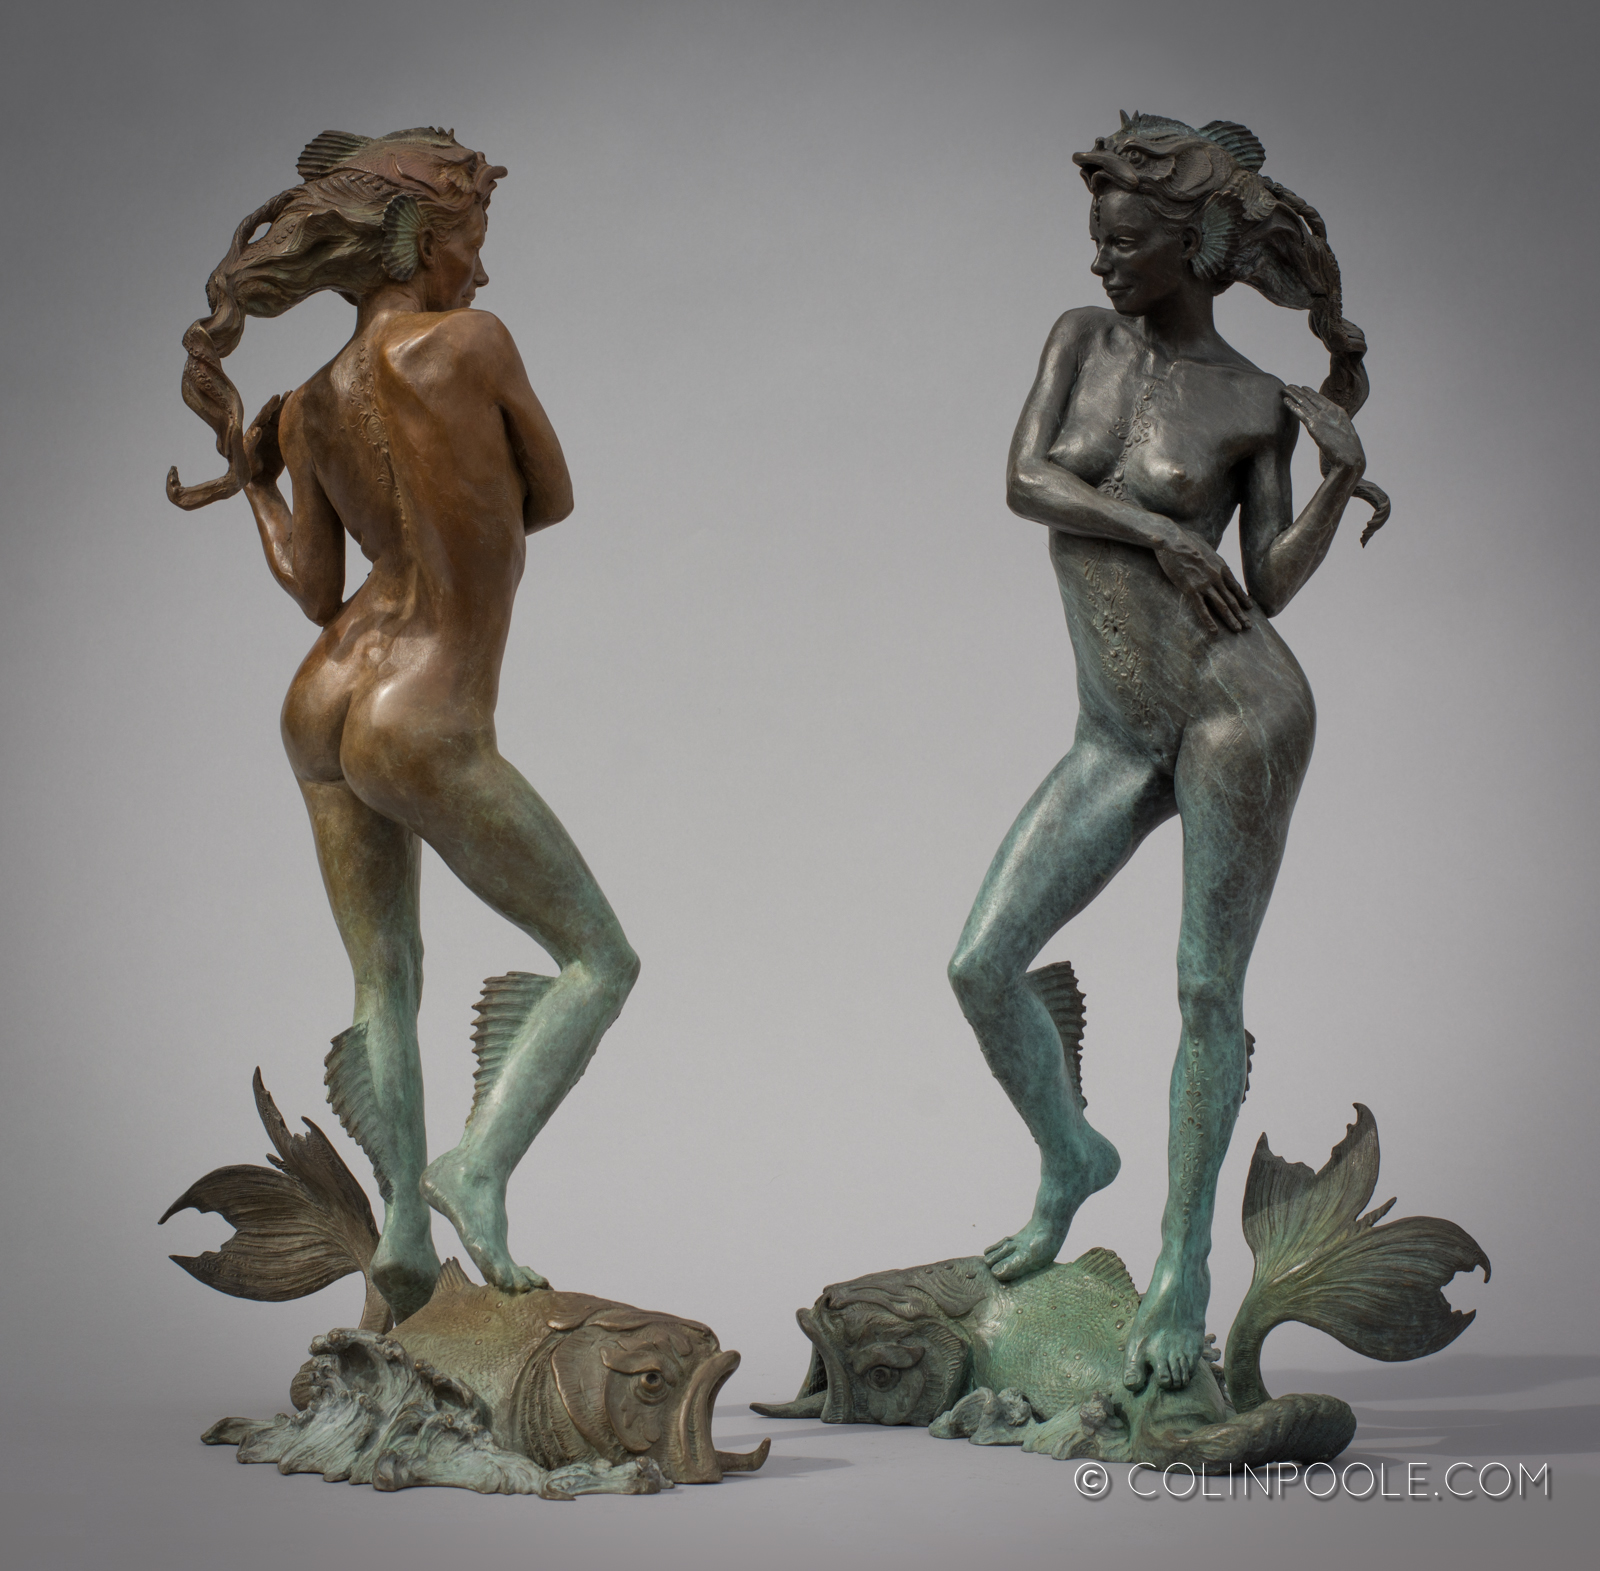 to altering sections of sculptures in the wax part of the process,
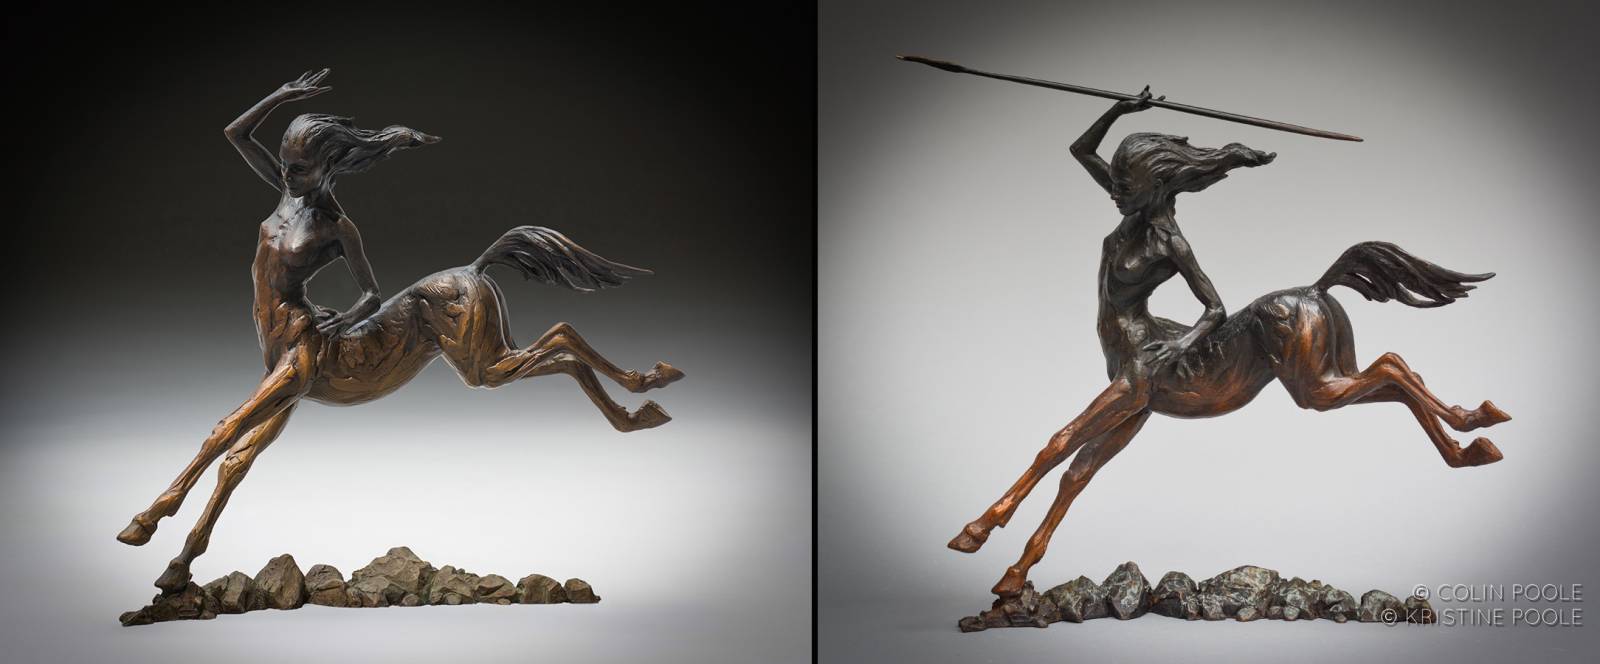
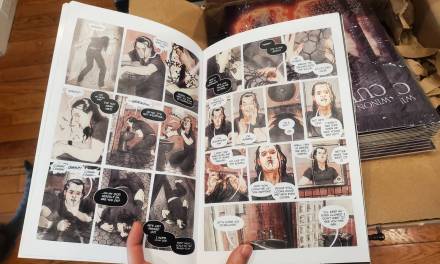
“Dance of the Centaurelle” and “Centaurelle Huntress” were created from the same original, with us altering the raised hand to hold the spear and re-molding the new hand. We also created several spear variations along with numerous patina options.
we often create several alternatives on our bronze works to satisfy our curiosity about “I wonder what would have happened if I’d done this instead?” Frederic Remington was legendary for altering his sculpture editions in the wax phase to keep up with his vision. Sculptures cast after his death lack the individual uniqueness that he added.
How Cool is Bronze Really?
If you’re unfamiliar with the bronze casting process, you can see a visual run-through with short videos in this previous post: https://www.muddycolors.com/2020/04/introducing-the-muse-award/) or for a quick written run-through of the bronze process, scroll to the bottom of this article.
The important part is this: creating a bronze cast of a sculpture involves making a mold that allows for multiples to be created.
Here’s the cool bit: once you have a mold of the original and a wax cast, you have unlimited potential to make variations on your creation – who better to riff on than yourself?
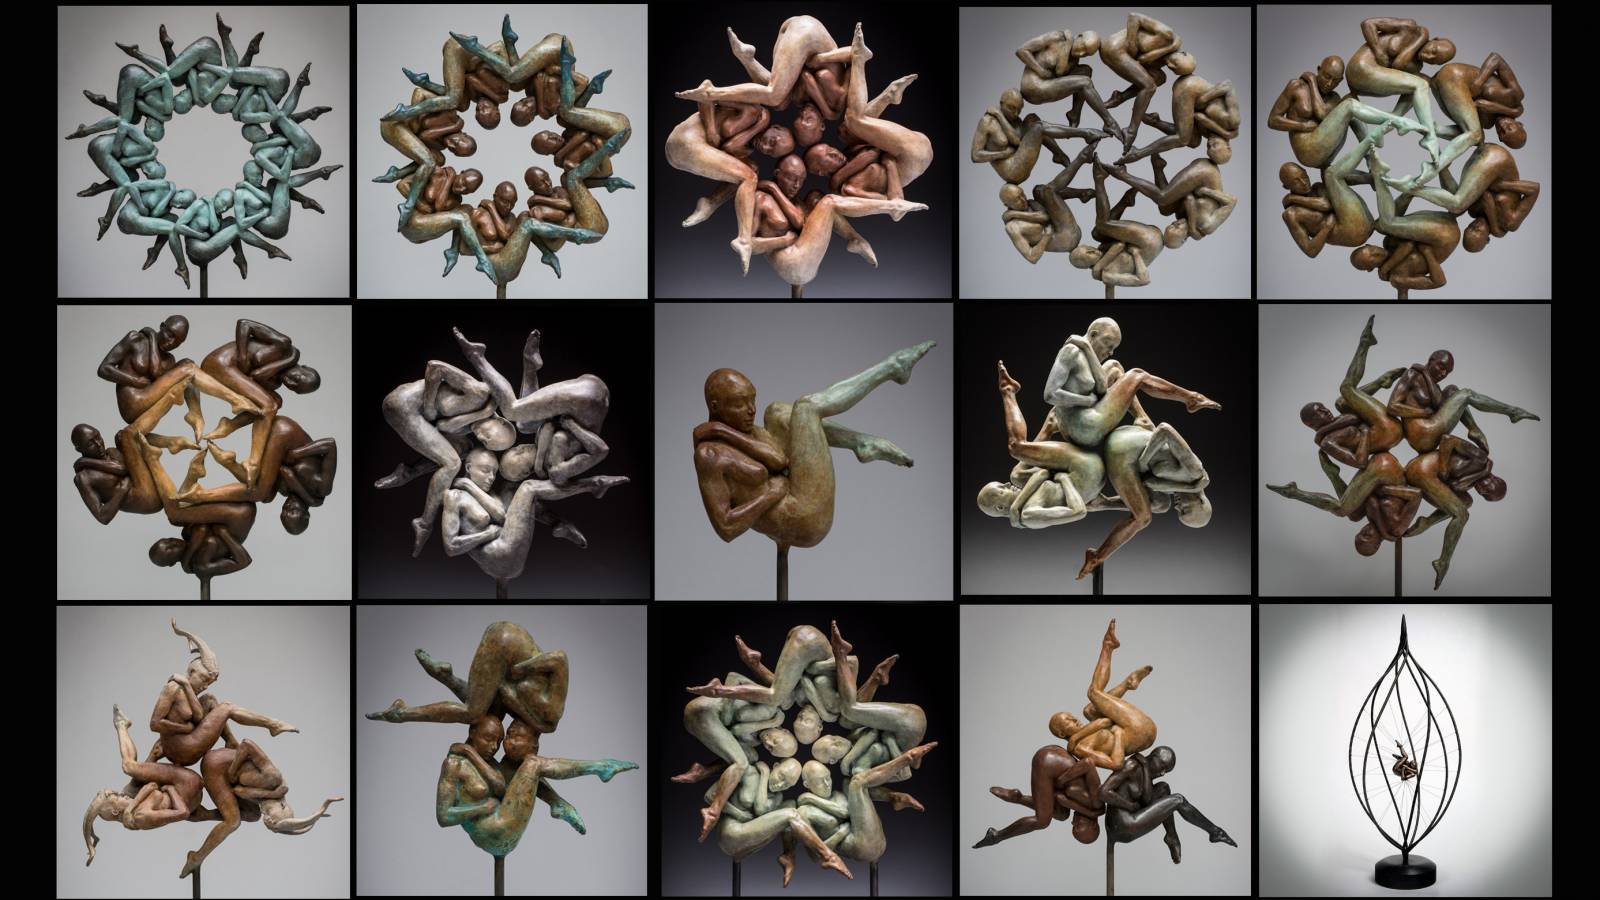
There are many ways to do this. I’ve long been intrigued with pattern and geometry. Using this one figure and the bronze casting method, I’ve created many designs and there are still more to come. Combining the organic nature of the human body into these geometric patterns is endlessly fascinating to me. This would have been very complicated and time-consuming if I had to sculpt each figure, but with a mold, it becomes… well… only a little complicated and time-consuming.
Introducing the “Handlings”
One of Colin’s recent sculptures is a 3/4 life-sized bronze version of his Wind in the Waves.
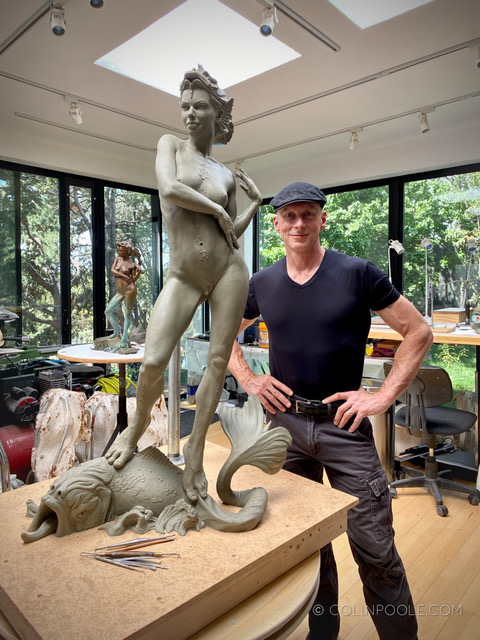
Colin with the clay original of his 3/4 scale sculpture in progress long before we made the mold
As part of the mold process, her hands were removed and cast separately in the wax.
A Little Side Story
I have long had a love for bunnies in art – that’s a story for another time (but to read more about some of my favorite art bunnies: https://www.muddycolors.com/2021/03/easter-bunnies/). I shared that story with two sculptor friends of ours – Dug Stanat and Patrick Masson – once while we were chatting. Last year, they both sculpted bunnies for me. That got me thinking how I might return the gesture, but I’d never sculpted a rabbit before…
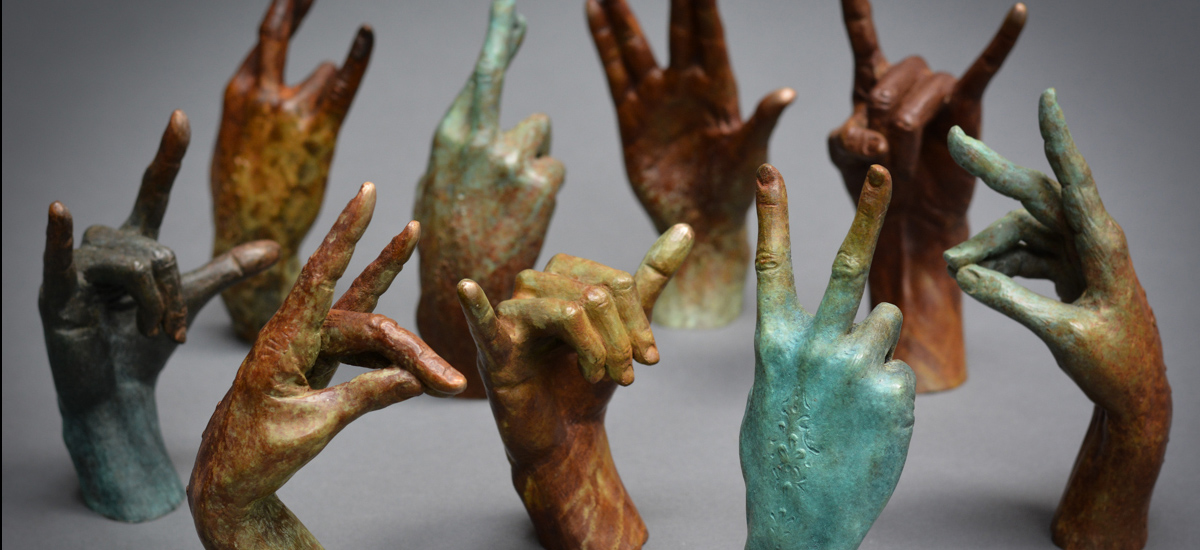
Here Come The “Handlings”
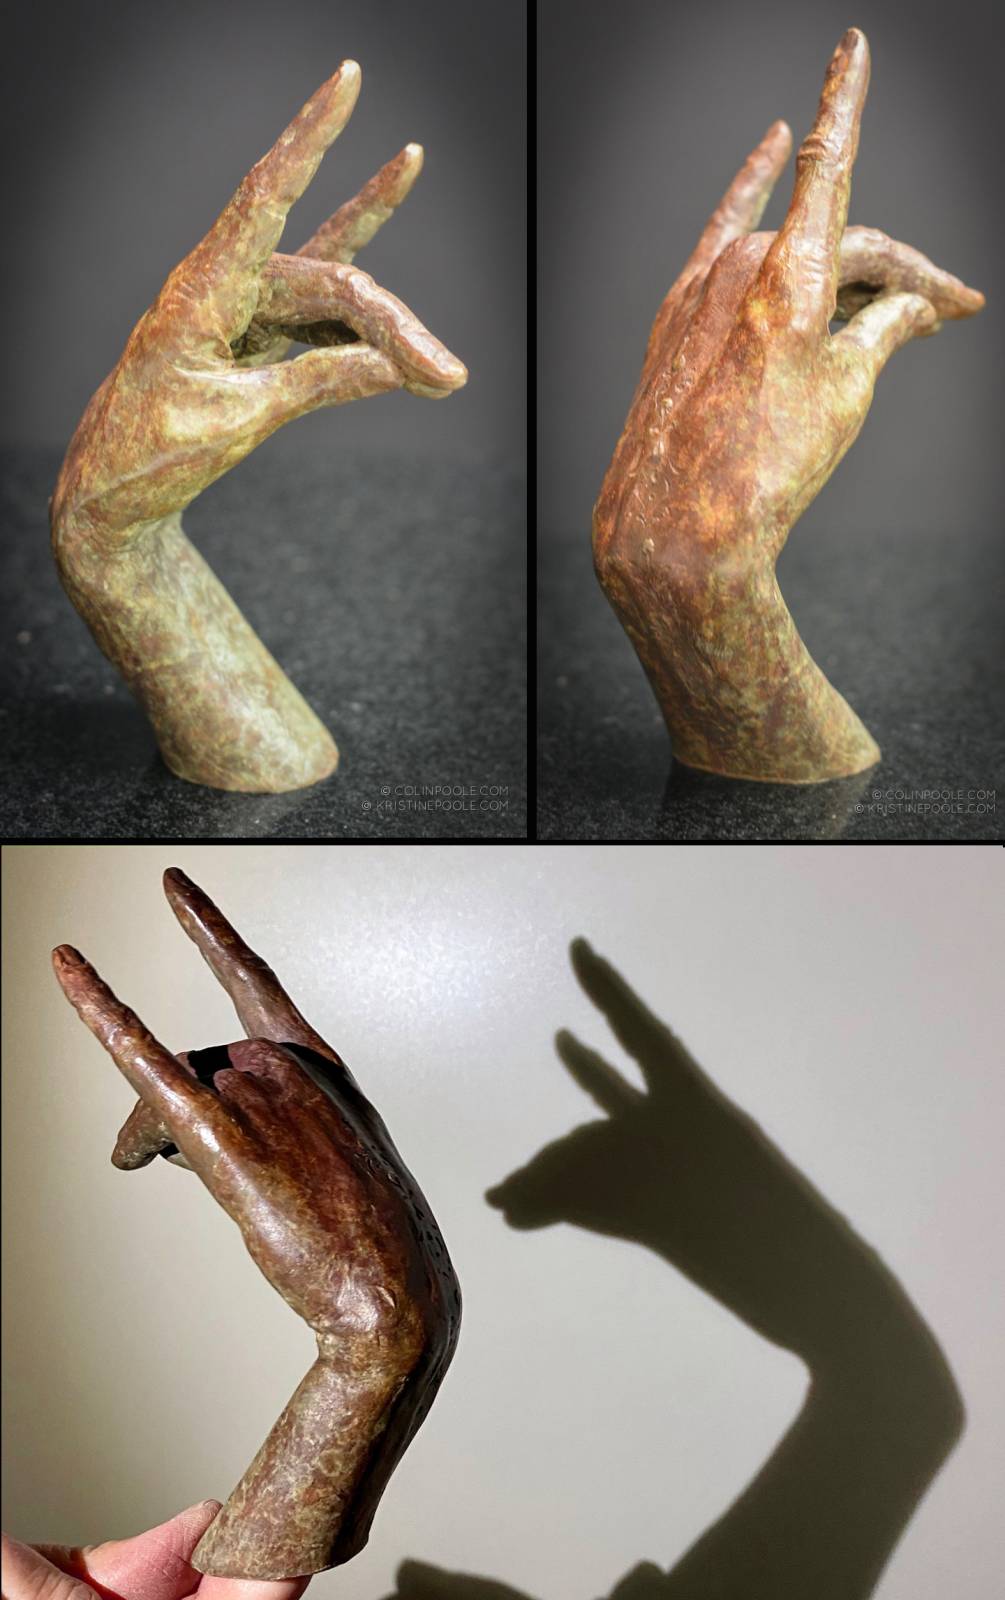
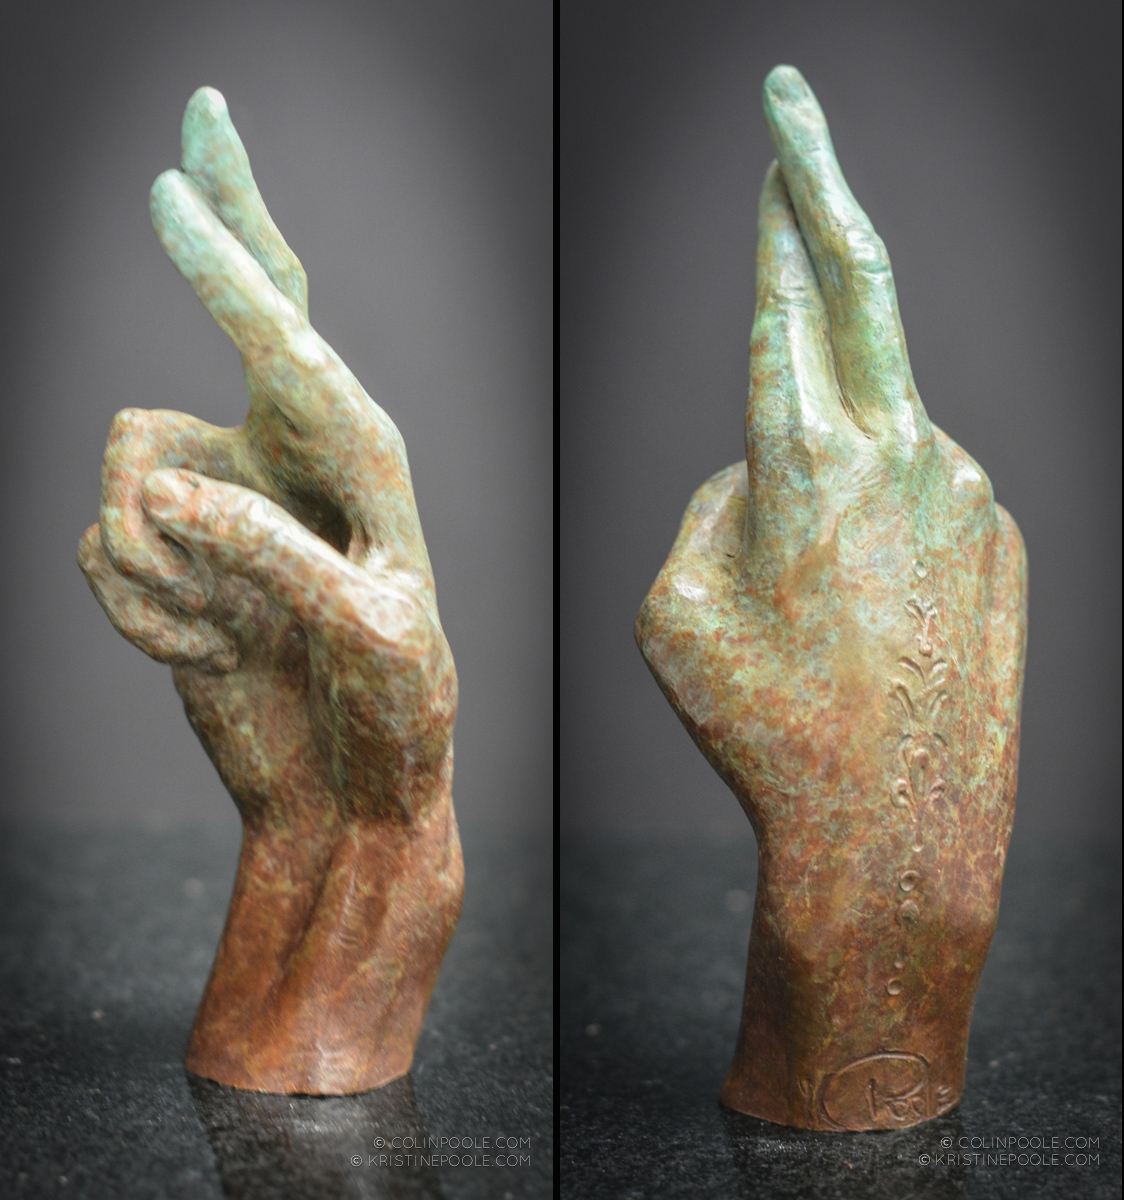
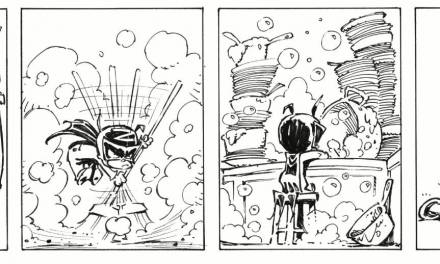
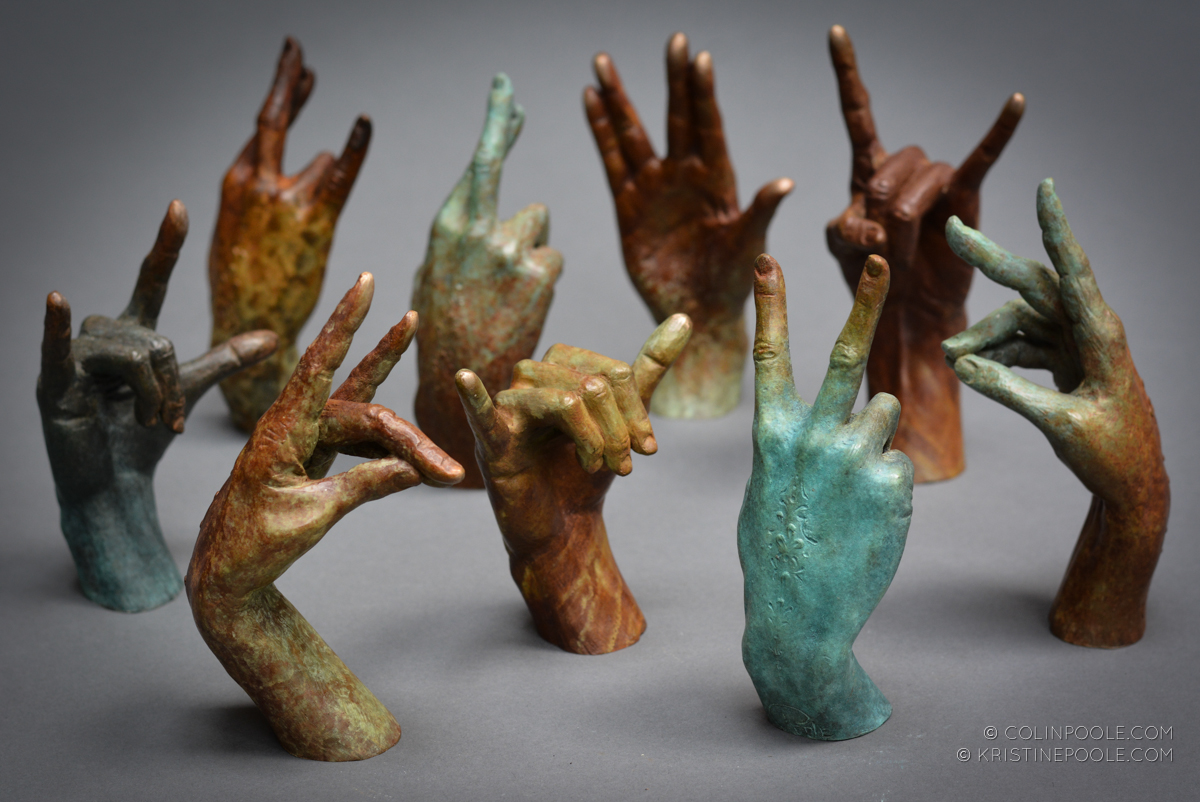 As I was working on dressing the waxes for Colin’s Wind in the Waves, I was playing around with the hands and I thought, “A shadow bunny…perfect!” So I poured one of the wax hands from Colin’s sculpture and re-sculpted it into a bunny hand. This of course involved re-sculpting the joints where the fingers bent and the flesh pads as the new position causes very different things to happen to the structures of the hand. Colin added a little design down the back side. I made a mold of this new shadow bunny and the first “Handling” was born.
 Then thought, “I think I’ll also need a shadow ‘No Drama Llama’ to go with her. Same process and once I saw the two of them together… well, fuggedaboutit! I was off and running.
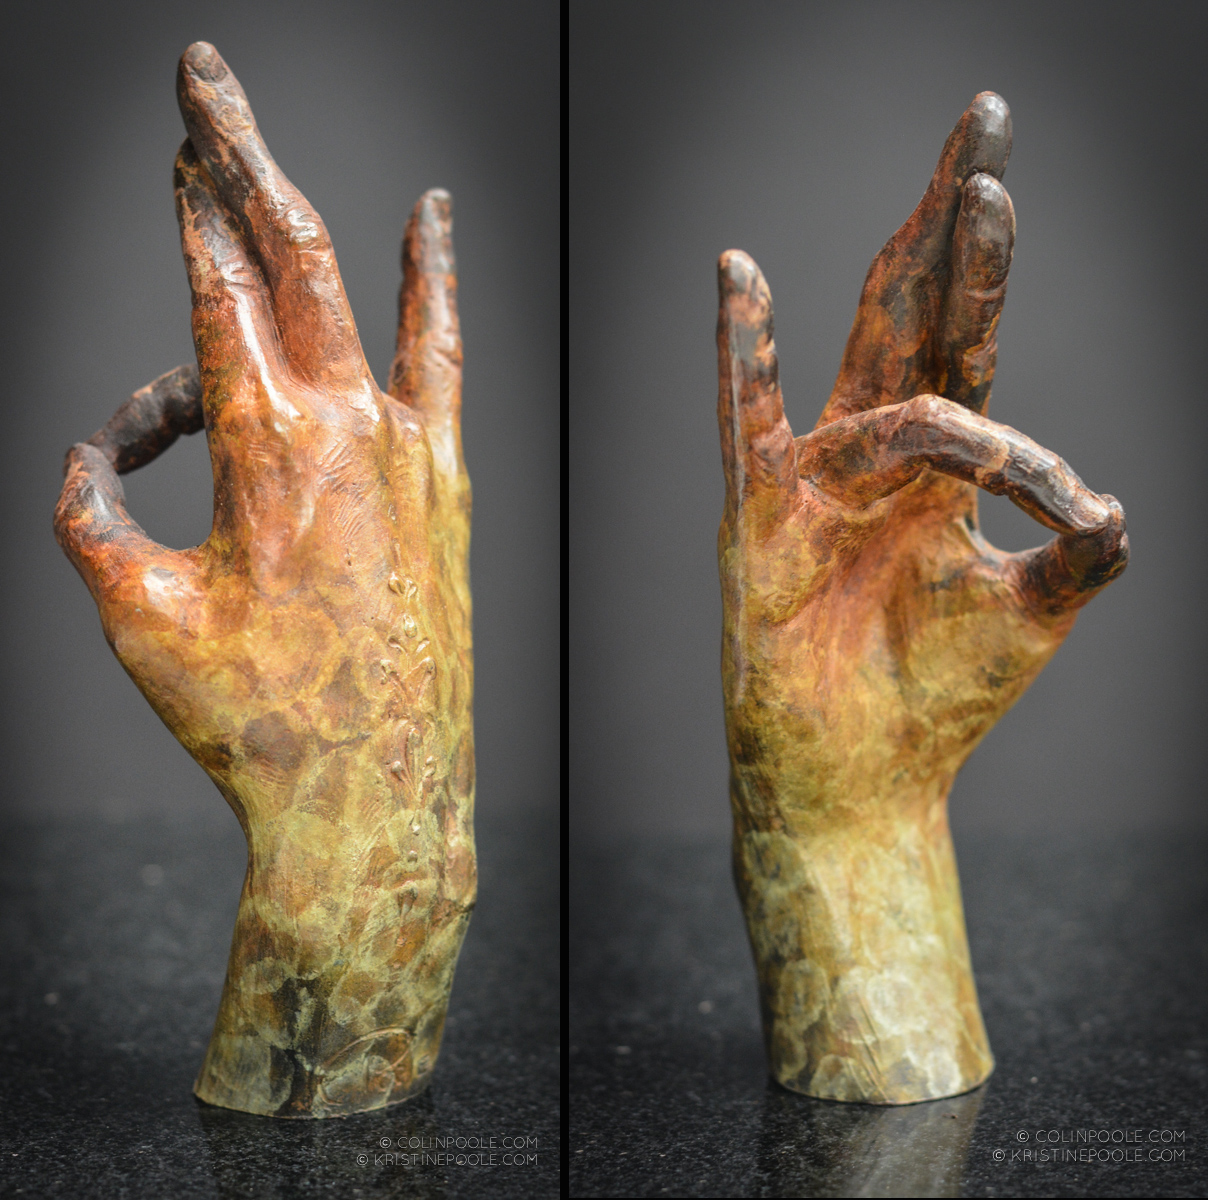
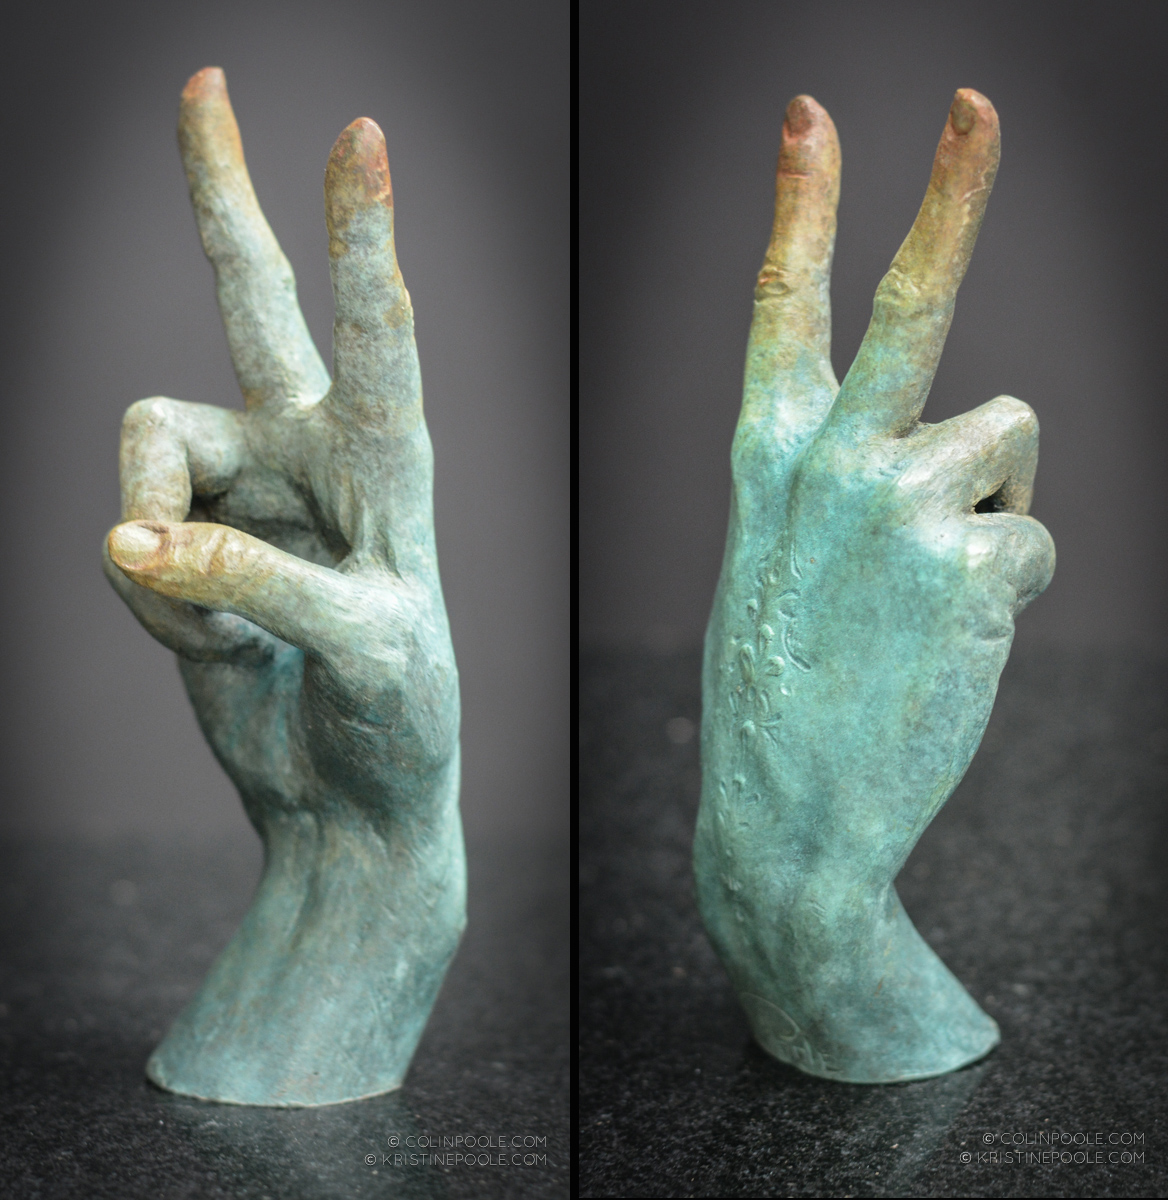
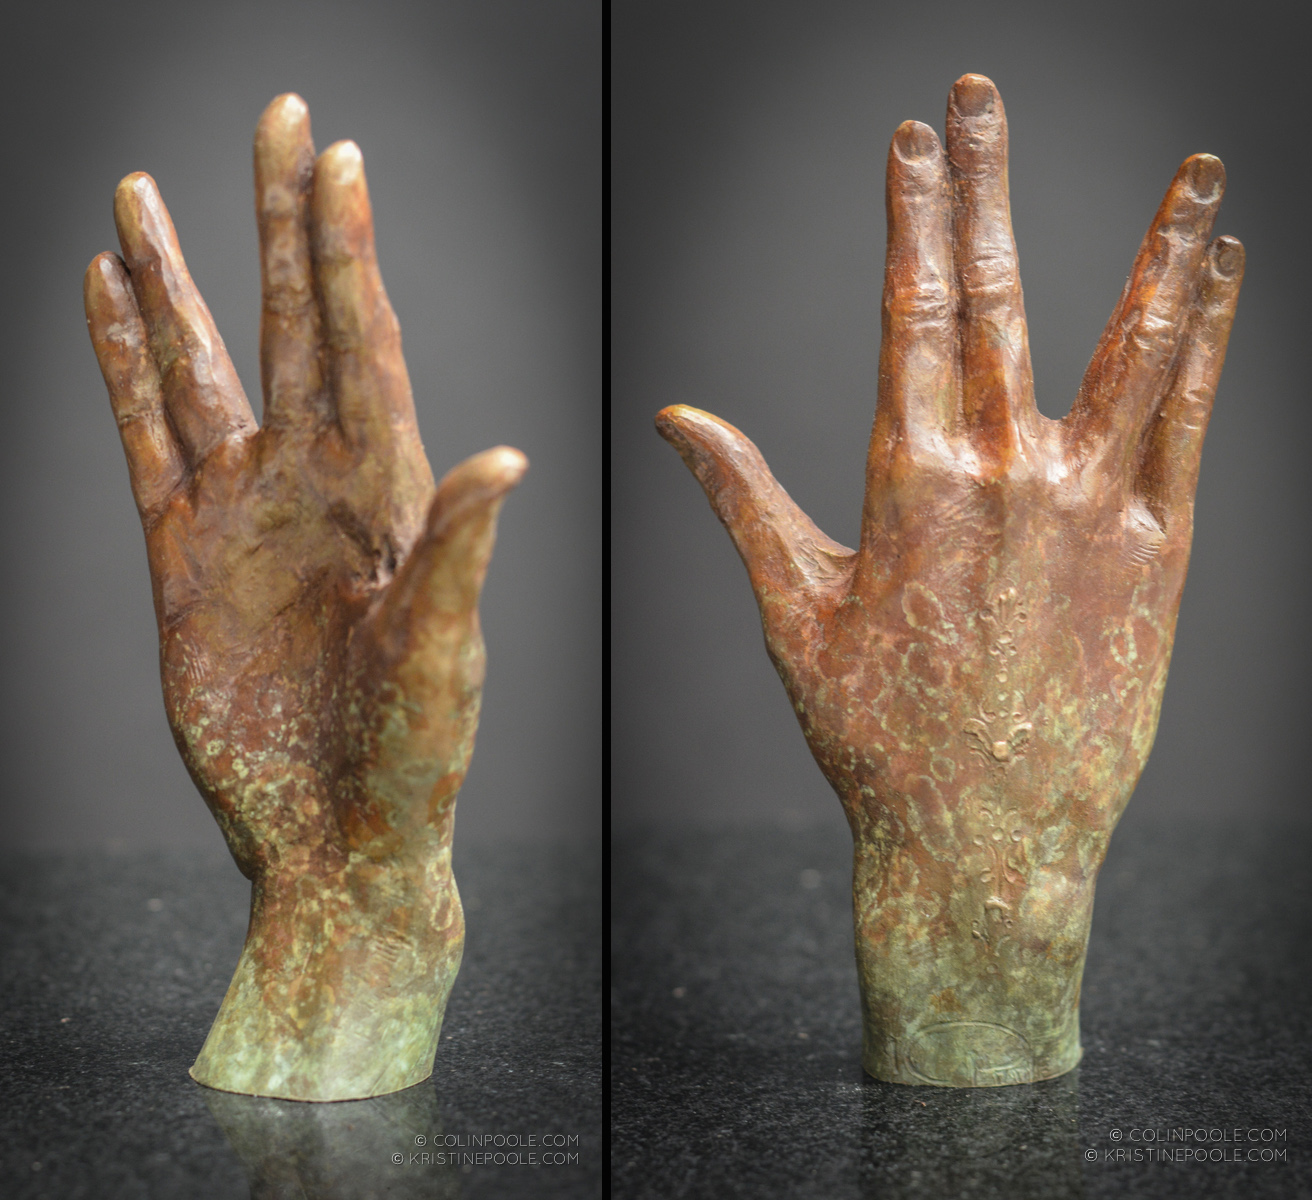
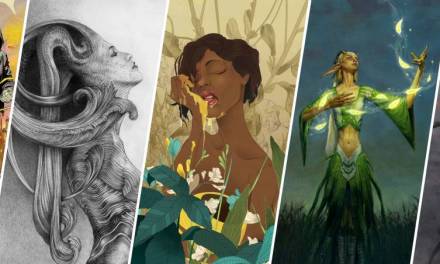
 Many of my personal works juxtapose body language with text inscribed in the surface of the figures, reflecting the power words have to create and define the realities we live it. Recently, I’ve begun adding mudras or hand gestures to some of my works as one more layer of communication we understand. One of my current favs is the “Palli Mudra,” which represents self-confidence and listening to your inner voice. So “Palli” happened next.
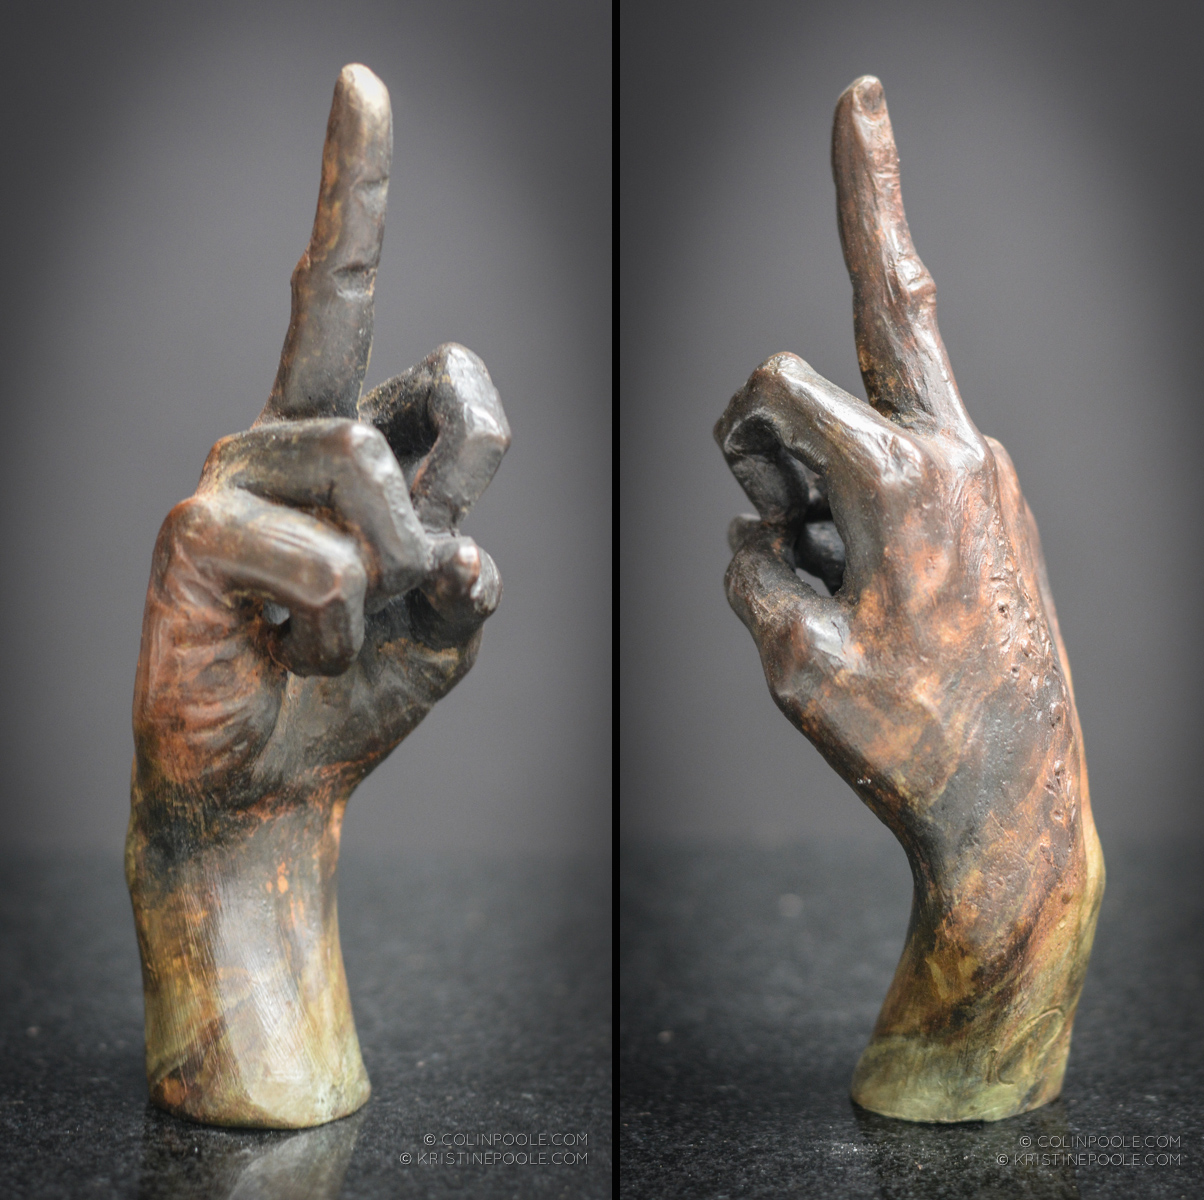
 Then came some more familiar gestures – our last year had me thinking a lot about luck, love and peace and what a gift those things all are. I couldn’t resist! Along came “Lucky,” “Lovey” (ASL sign for “I love you”) and “Peace Piece.”
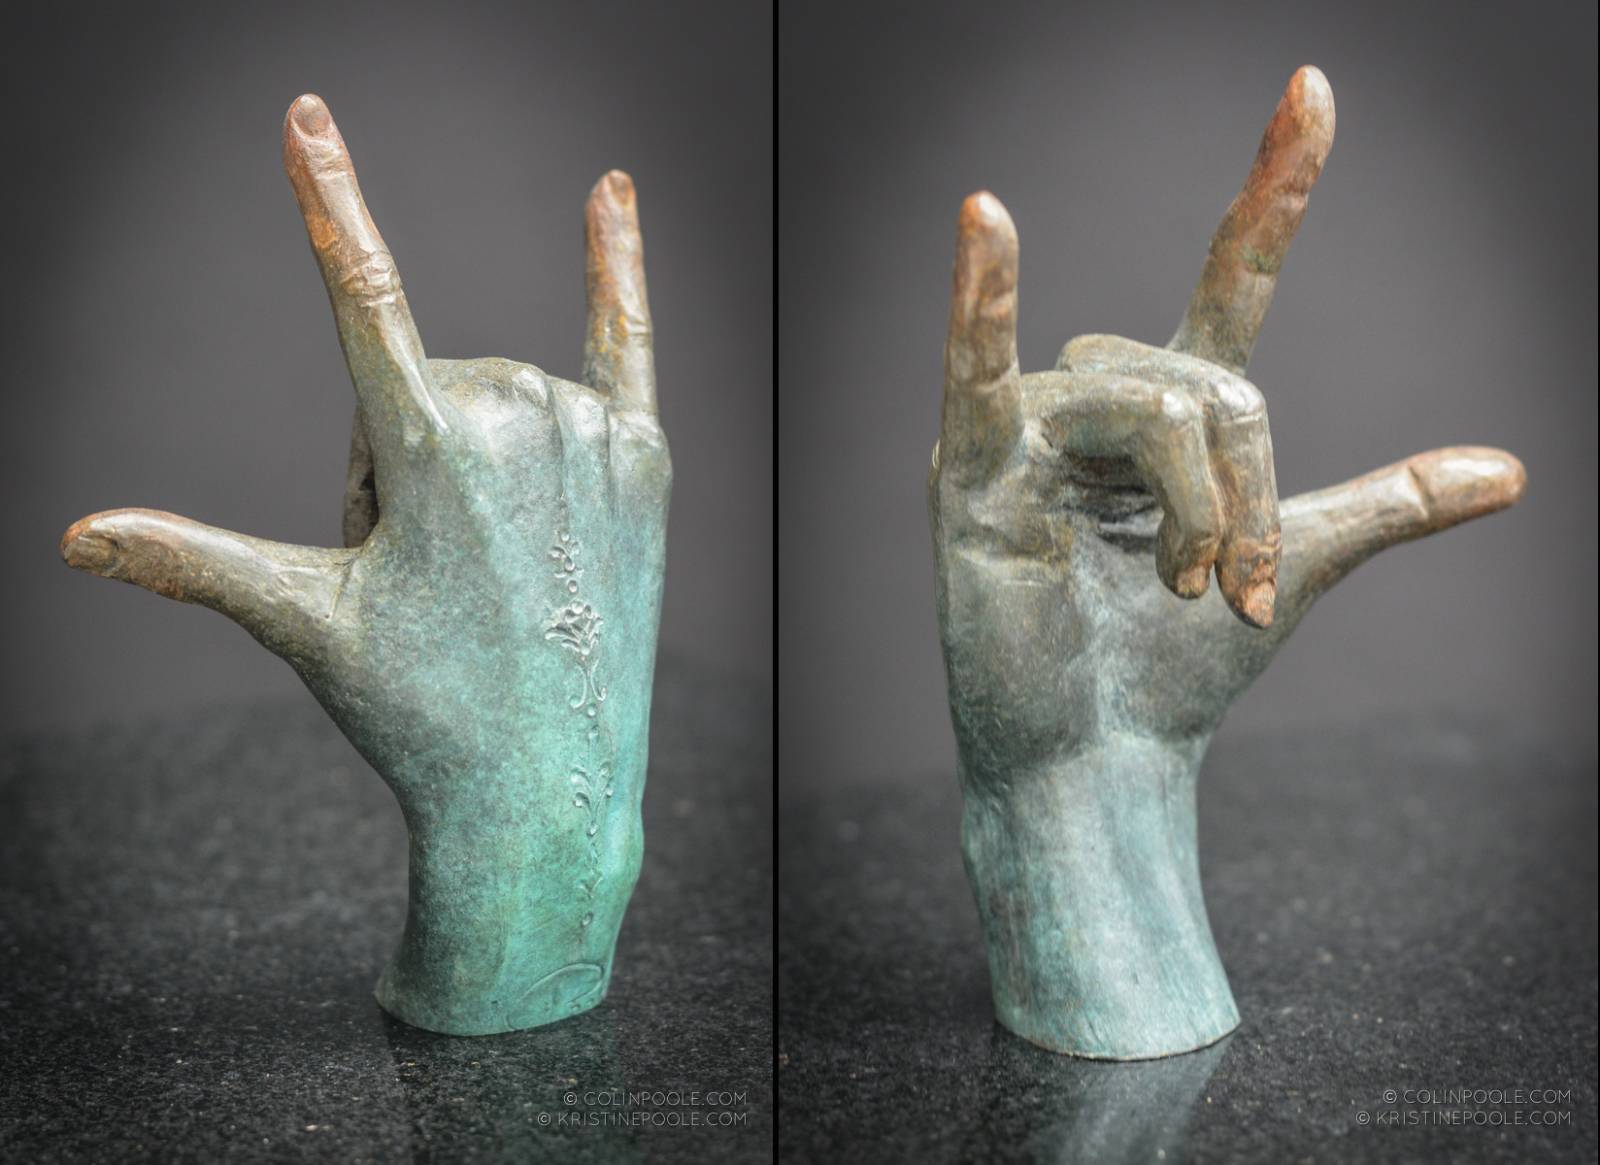
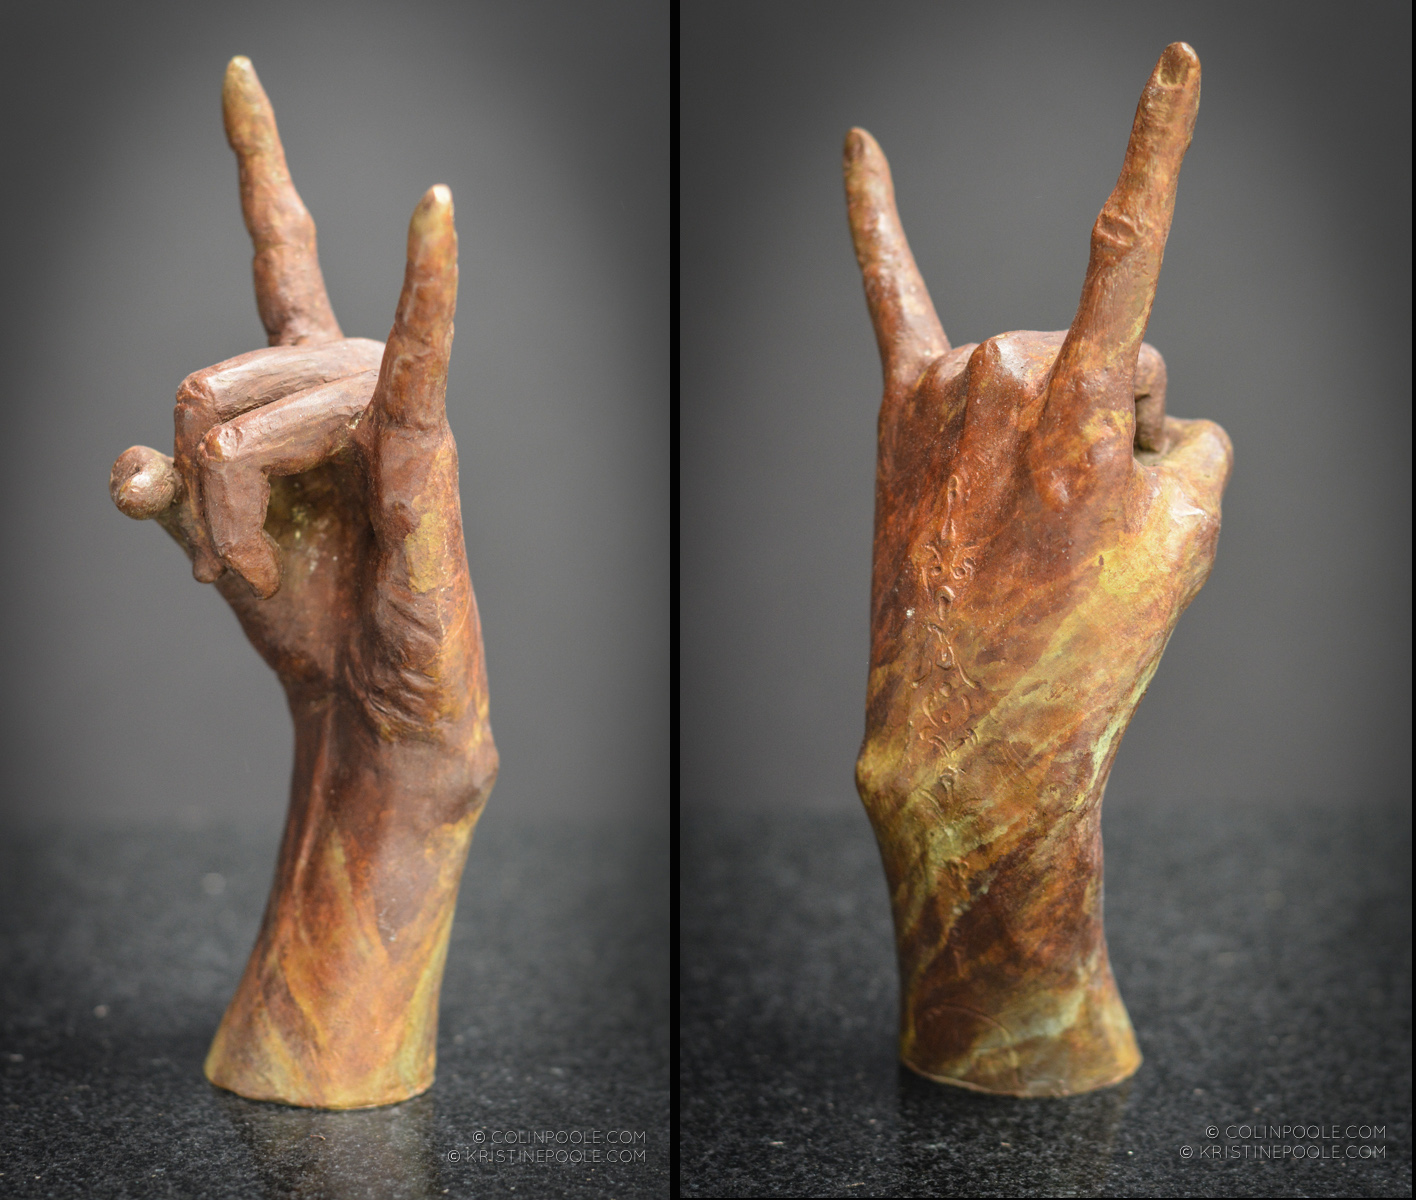
 A few years back BC (Before COVID), Colin brought me to my very first Def Leppard concert – I was thinking about the fun we had that night and out came “Rocky Rockon.”
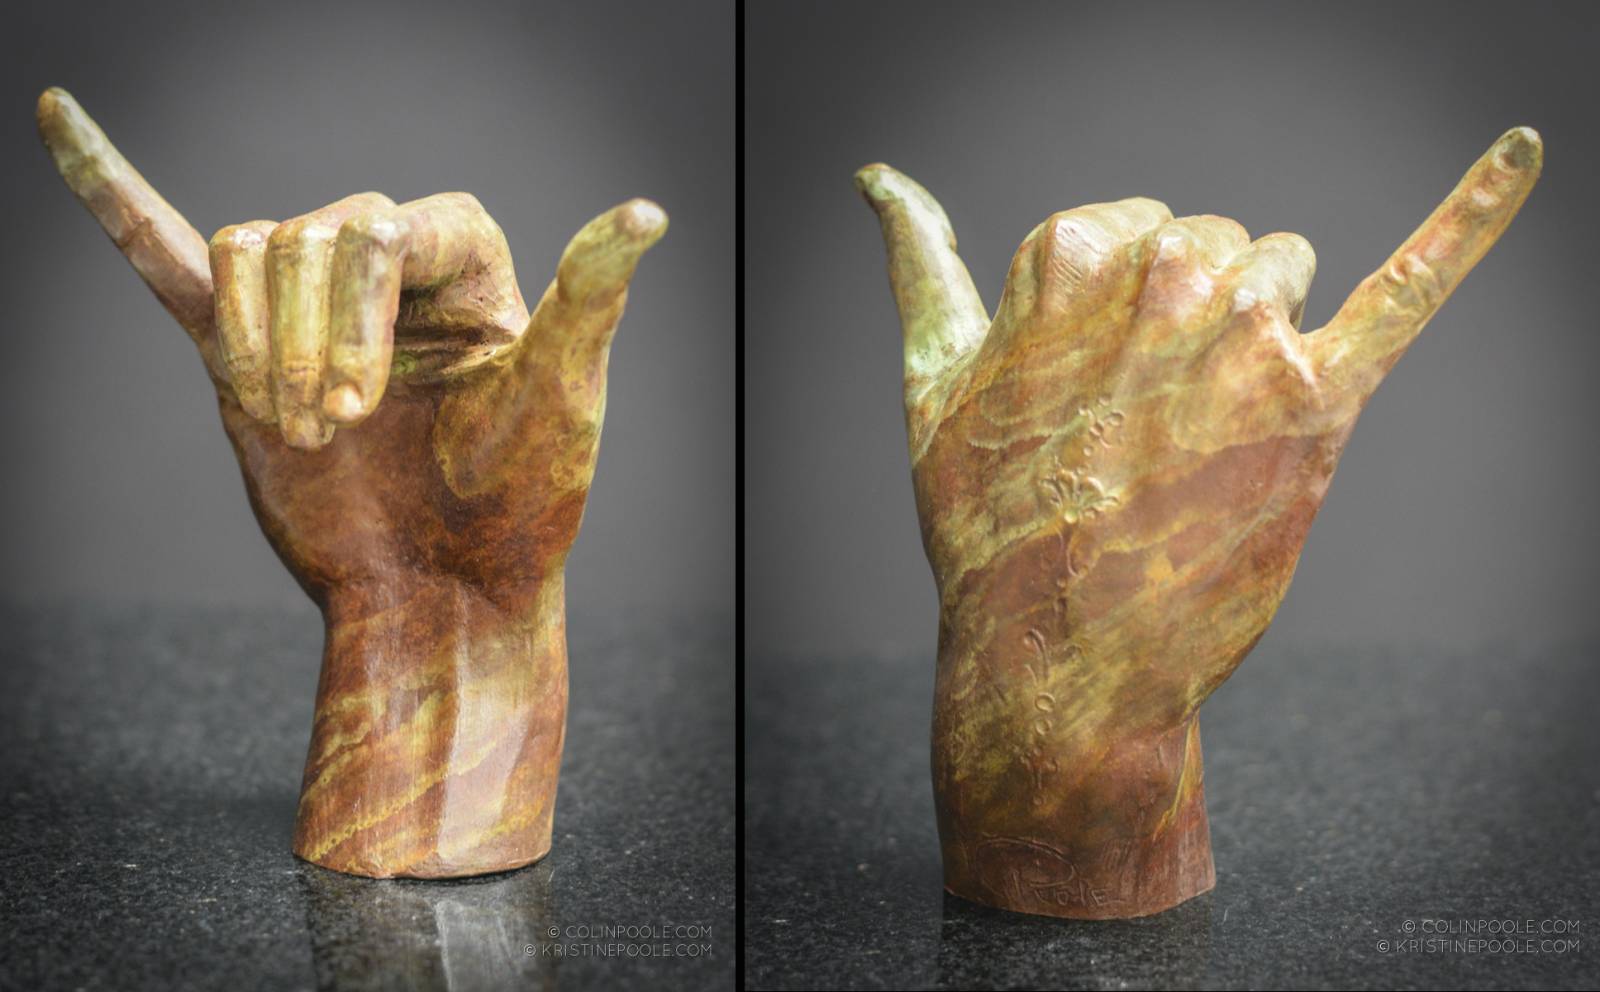
 This first group rounded out with “Hang Loose,” “LLaP” and a “Birdie.” There is a story about “Birdie” too – next time we see you at an event, ask us about it and we’ll share. For as much fun as I have had playing with making the hands, they have also opened the door for Colin to explore patina options on a bigger scale than our Talismans.
 While I find it way too easy to scold myself when I’m not working on something “meaningful” or “important,” there was a whole lotta joy going on working on these little playful sculptures. It provided a respite for my creative mind as I sorted out my next series and made me laugh a lot, which is always a good starting place for imagination.
Basic Bronze Process
1. Sculpt the original in almost any moldable material – fired clay, plaster, wood, wax, Sculpey, Monster Clay, etc.
2. Make a mold of the original using plaster, silicone, polyurethane, resin or a combination. This usually involves amputating arms, hands, feet, hair and other portions of the original sculpture to be able to make a mold that can be opened without “locking” in any undercuts. Separate molds are made of each of these parts – some complex sculptures can involve making anywhere from 5 – 20 separate molds for all the parts.
3. Pour wax (usually for bronze, microcrystalline “Victory Brown” wax, but almost any combination of wax will do the job) into the mold/molds, called making a wax “cast” of the original.
4. “Chase” or “dress” the wax copy. Using metal tools, alcohol lamps and electric wax carvers, we remove seams from the mold, fix surface imperfections like air bubbles, pour lines and re-sculpt details that may have been lost. Often, some of the previously “amputated” parts are re-attached and dressed in preparation for the bronze casting.
5. Send wax to foundry, where they attach wax “plumbing” – channels for the molten bronze. They also cut “plugs” or holes out of the wax copy as part of preparing the wax for the mold material in the next step.
6. Encase this entire wax structure (sculpture + plumbing) in another type of mold material, ceramic shell.
7. This goes into a kiln which is heated up to melt the wax out leaving a void into which molten bronze is poured or “cast.”
8. Weld all these parts back together and “chase” the bronze – using a rotary flex-shaft tool and carbide bits, grinding the seams, re-sculpting details, fixing imperfections so that the bronze looks exactly like the clay original.
9. Apply patina, the final coloration, using a torch and chemicals to interact with the copper in the bronze. Wax or lacquer the patina to preserve the coloration and stop the chemical process of the patina.
Recent Comments