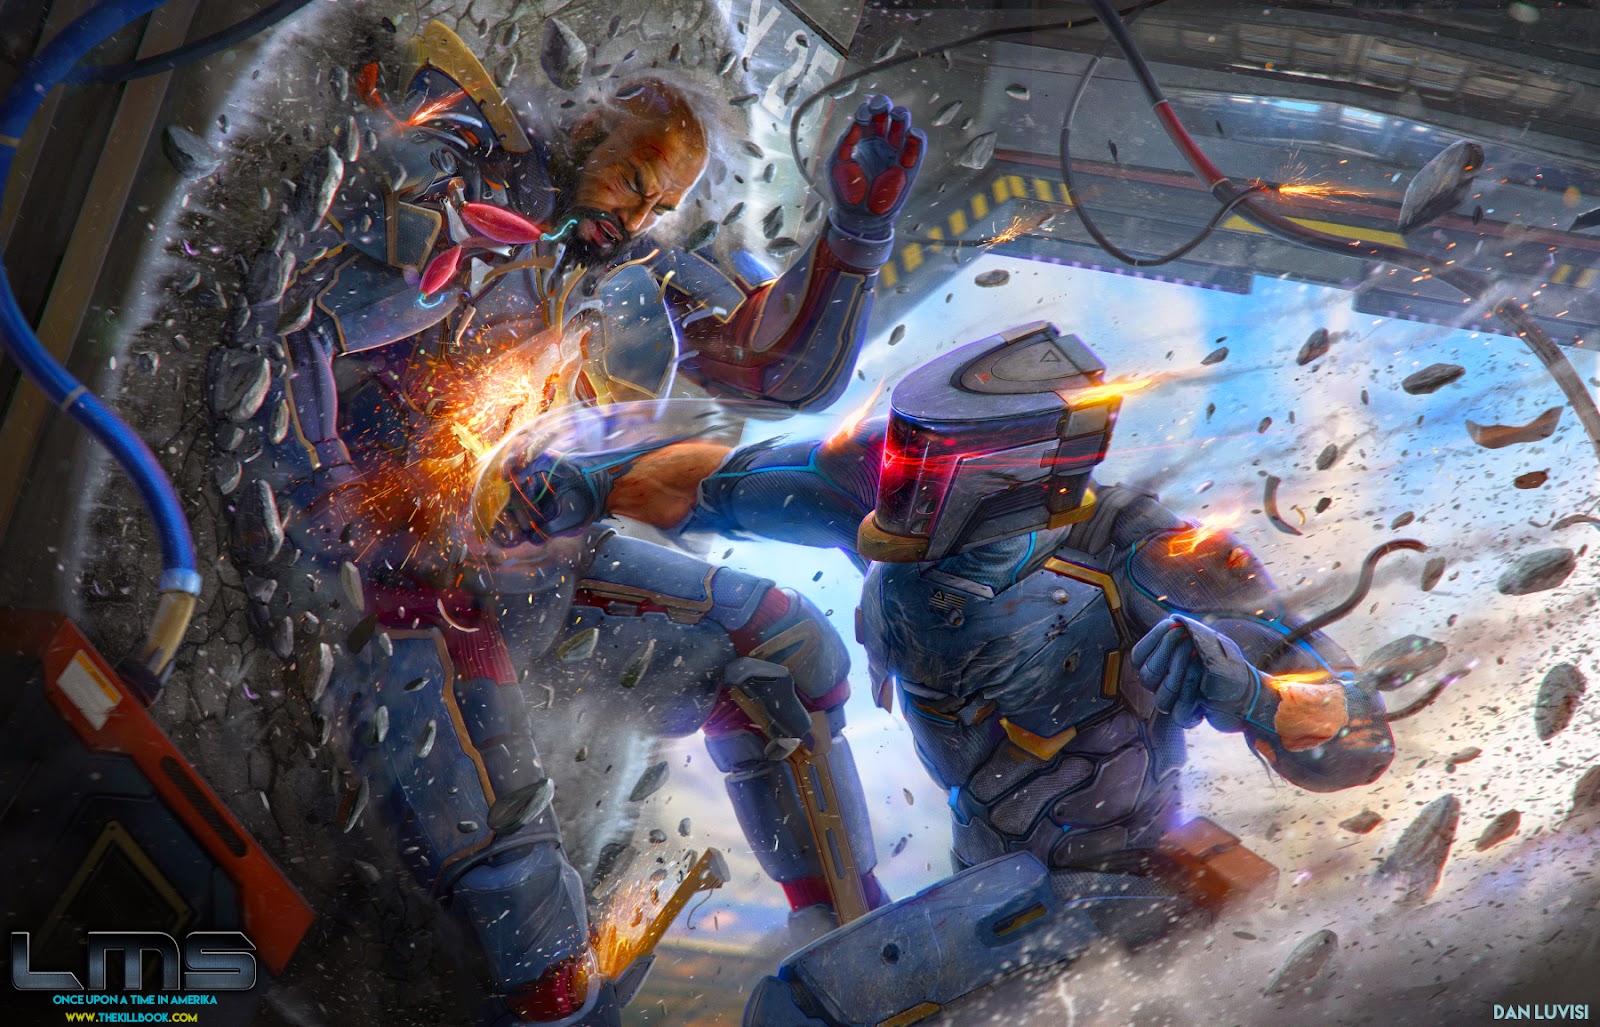
Hey, guys. Today I’m here to show you the step-by-steps of how I put together a painting. The painting I’ll be giving the workshop for, is a first look at my next book LMS: Once Upon A Time In Amerika, coming out later sometime this year.

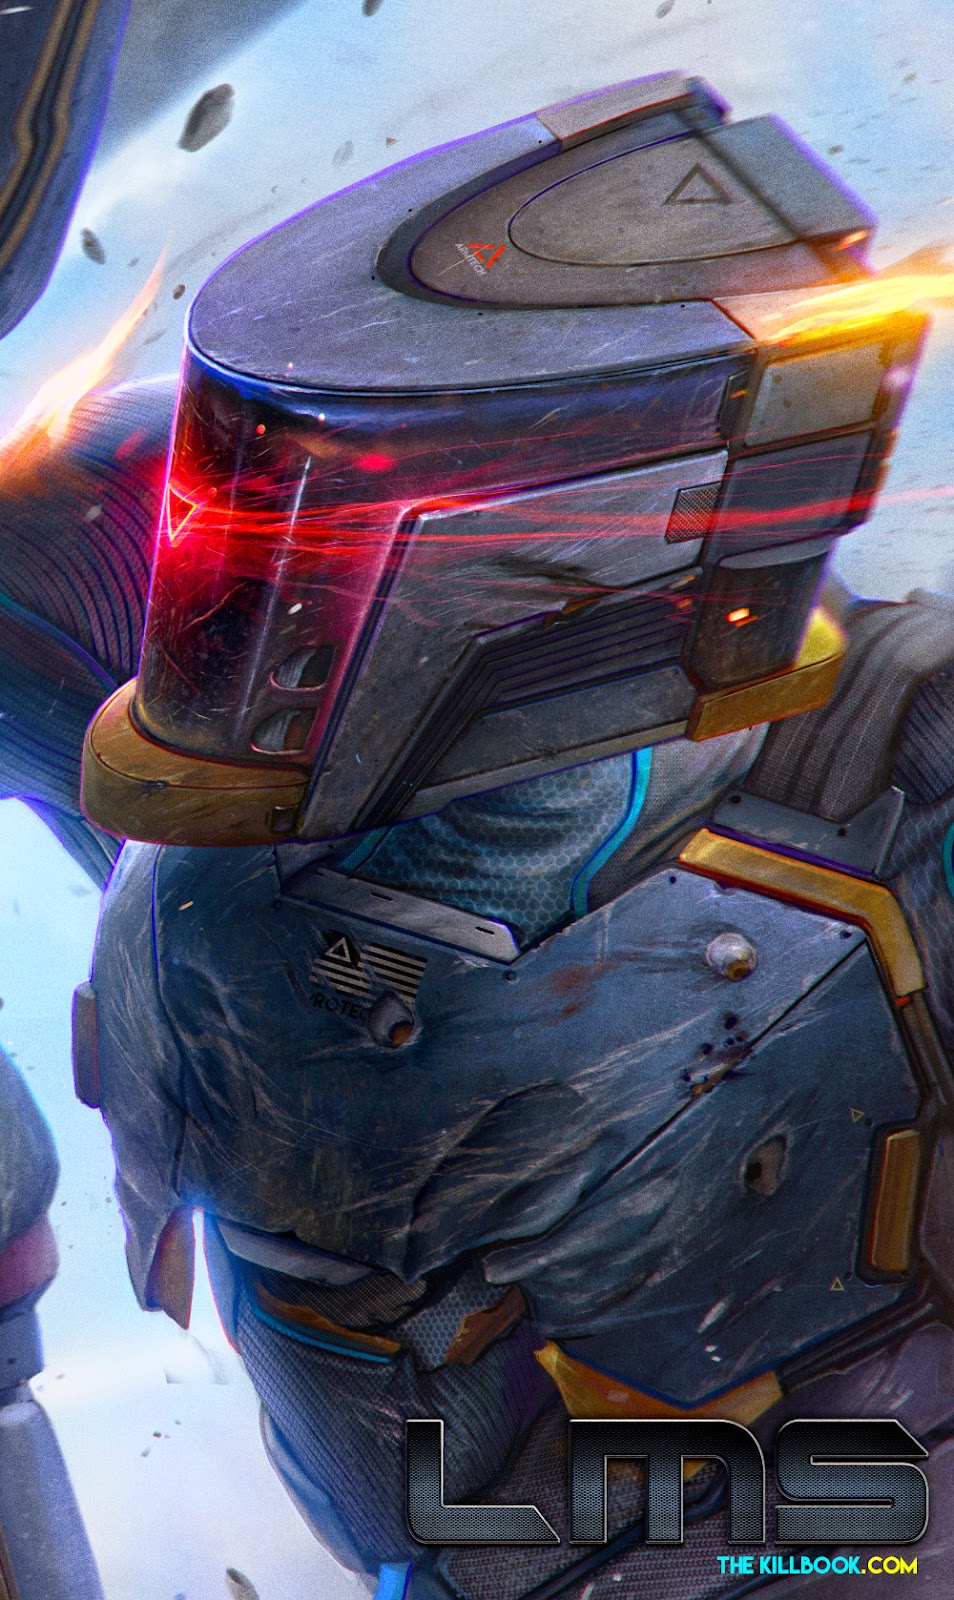
Before starting a painting, I’ll begin by sourcing through reference and color ideas. For this particular piece, I’ve thought of this scene for months, so I had a good understanding of what I wanted. I had to show Gabriel, the lead of LMS, at his utmost dangerous.
I’ll begin with a rough sketch, usually starting on a flat file. For this particular piece, I knew it’d have more than enough layers, so I the next step would involve a lot of line work.
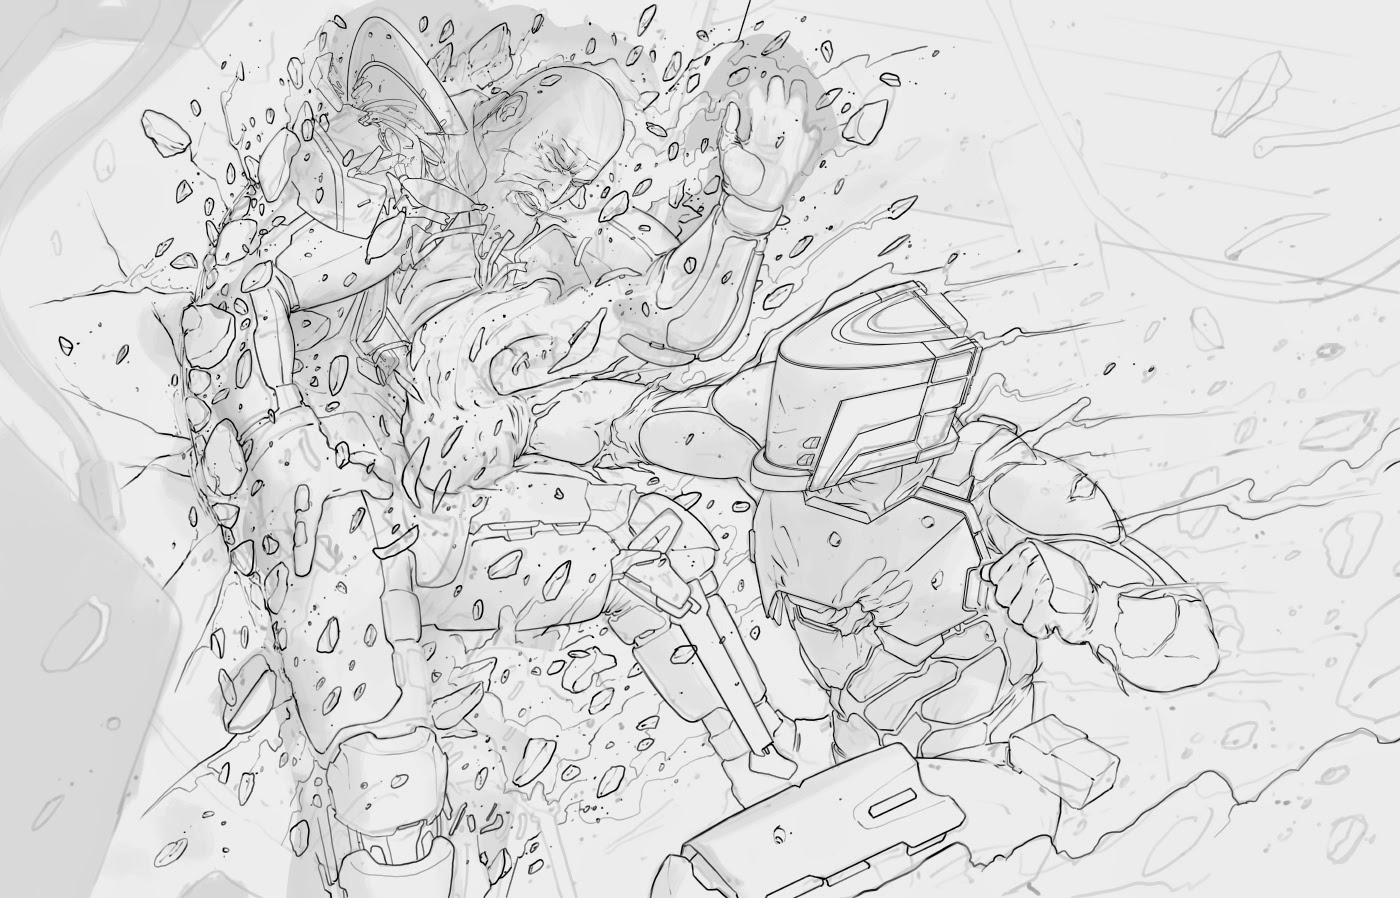
Lineart is truly hit or miss with me. Sometimes I love to do it, as it really helps a painting, especially in shots that require a lot of miscellaneous details. Also, when I do my lines I tend to separate different layers. Such as debris, armor, overlapping items, and back and foreground objects.
This helps because as I get to the coloring stage, I can begin to merge each of the separate line layers with the mutual color layer.
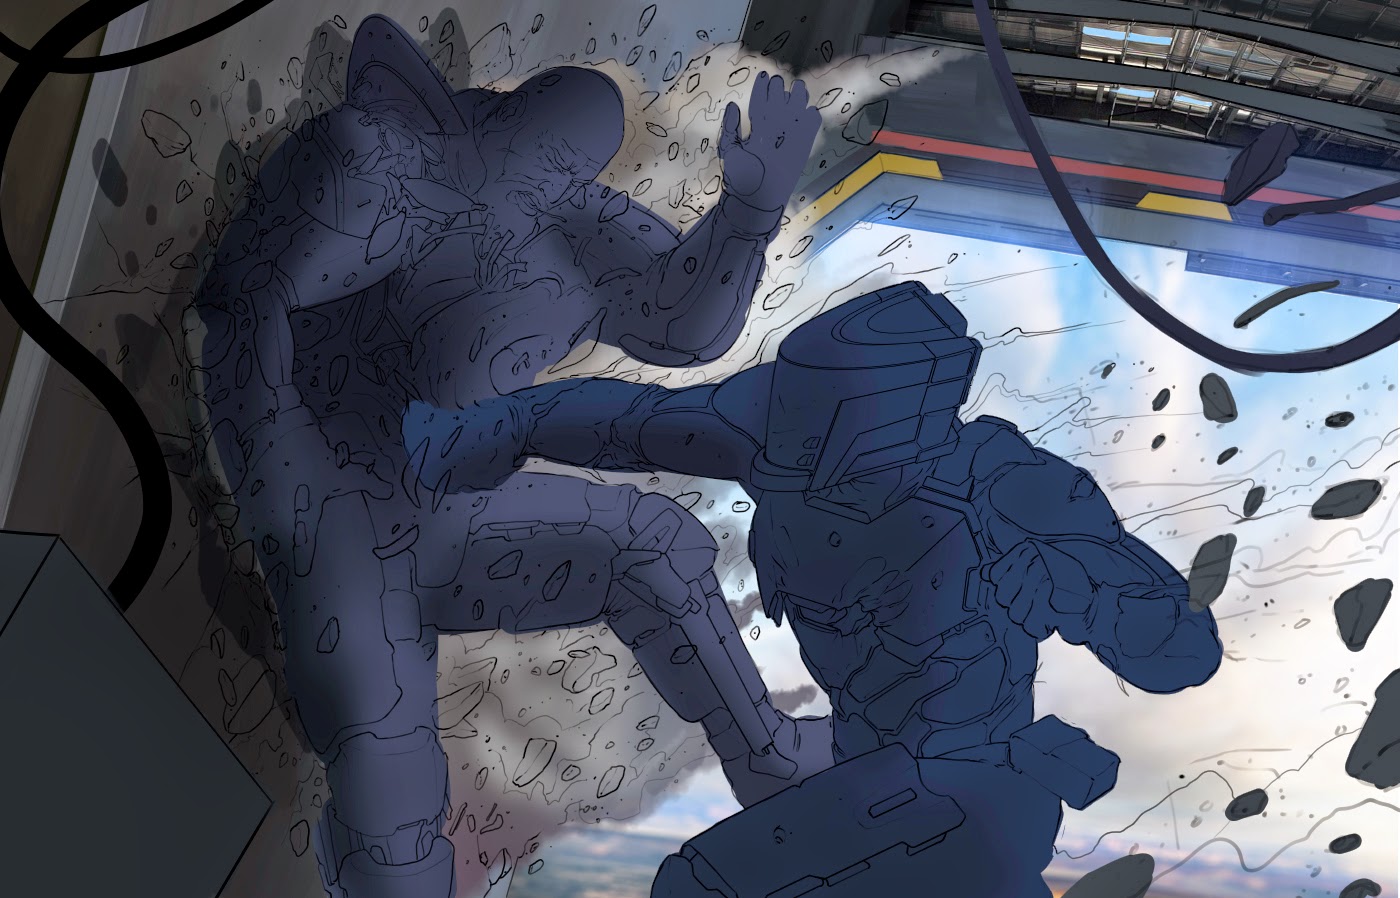
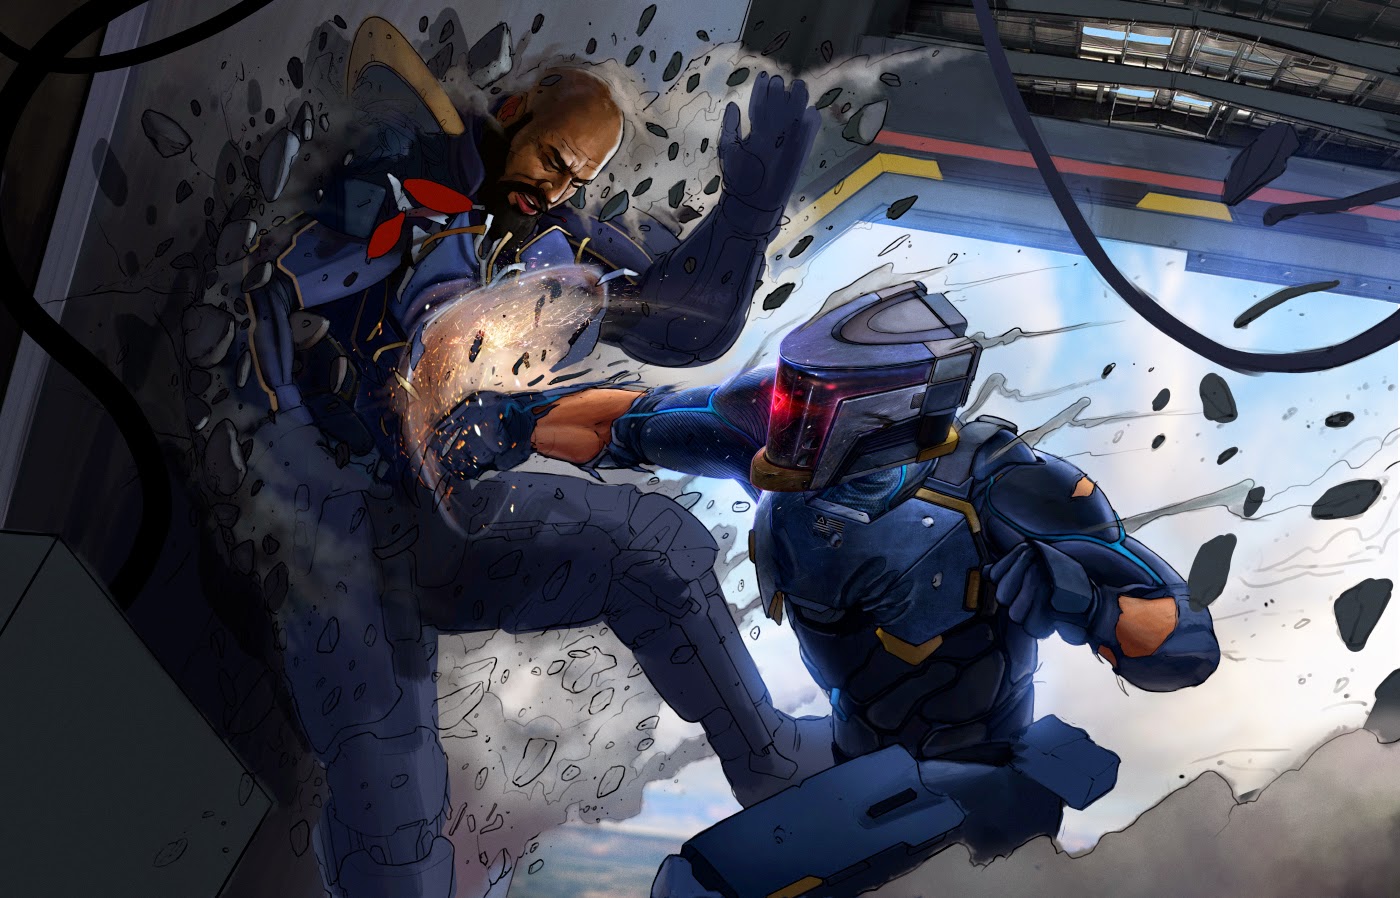
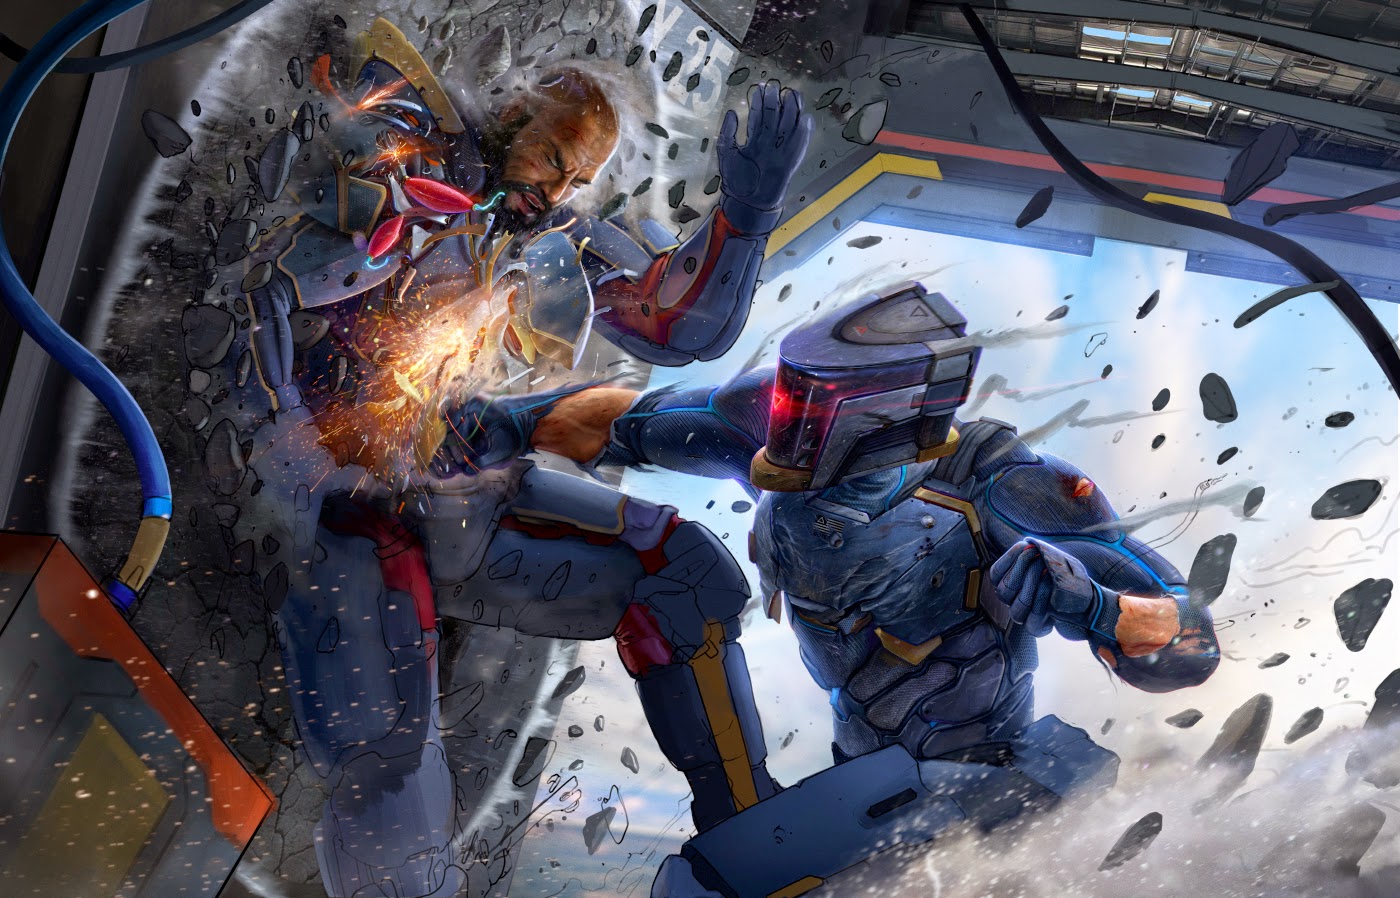
I can’t begin a painting without some form of a background. Whether a gradient or a stock-photo, I require some source of a color to begin painting comfortably. Plus, it’s obviously easier to tie in the colors of the characters and build them into the environment. The smoke is created with a simple smoke brush (set linked at the bottom).
As I mentioned above, each of the background objects are on separate layers. This is so I can add in separate lighting effects smoke layers or over-lapping objects. Then, I begin to build in the characters.
Once I’m comfortable enough to move on from the background, I’ll begin blocking in the characters. For Gabriel (right), each pieces of his armor I like to keep separate, so I can build them out one by one when rendering. I’ll blame OCD for that. When painting, I’m only using a chalk-brush, which can be found in the first row of my brushes. For the sparks, it was a mixture of a stock image and a custom brush.
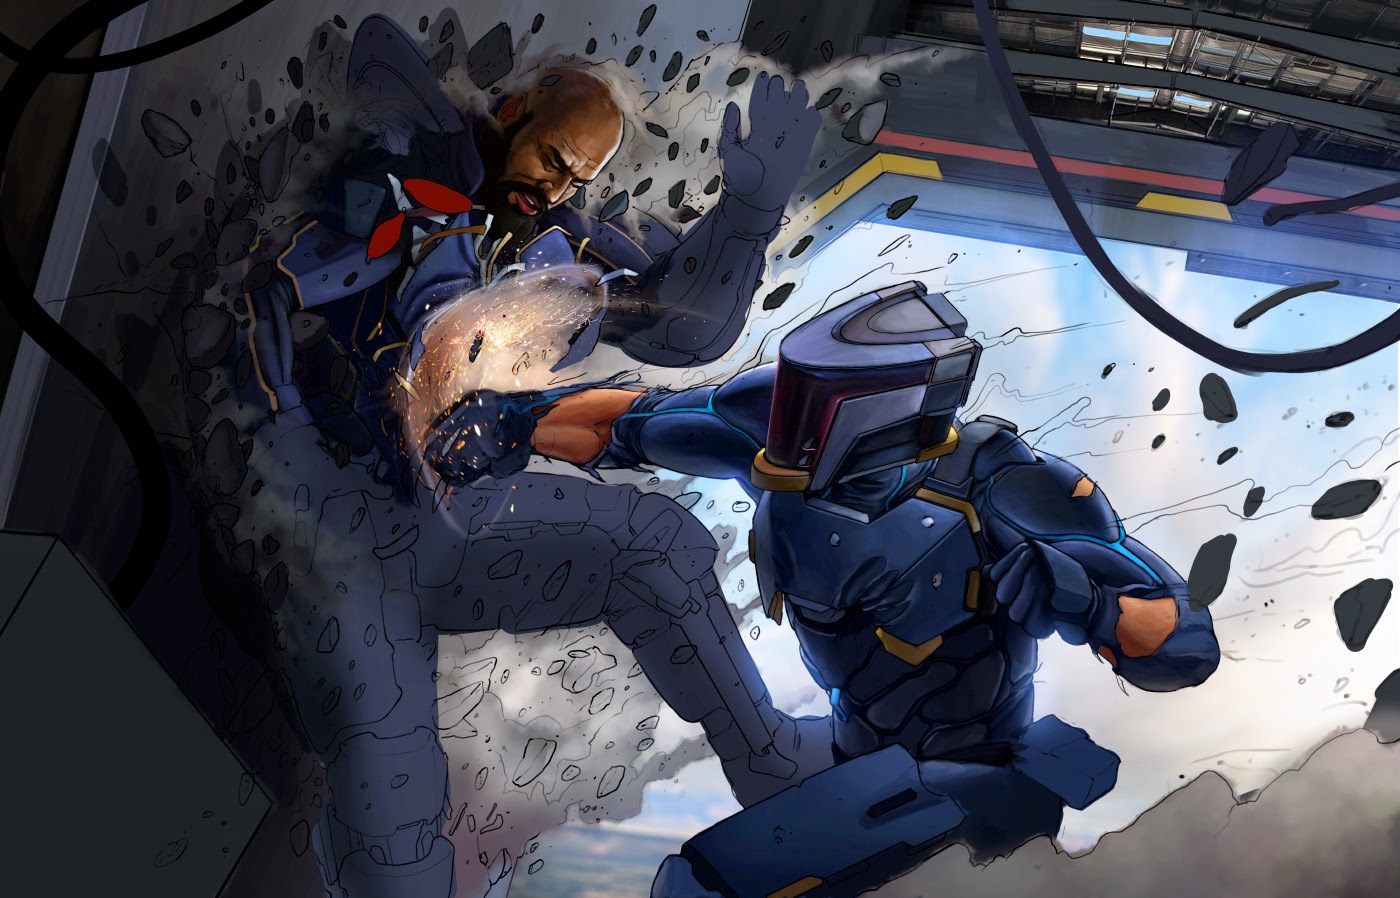
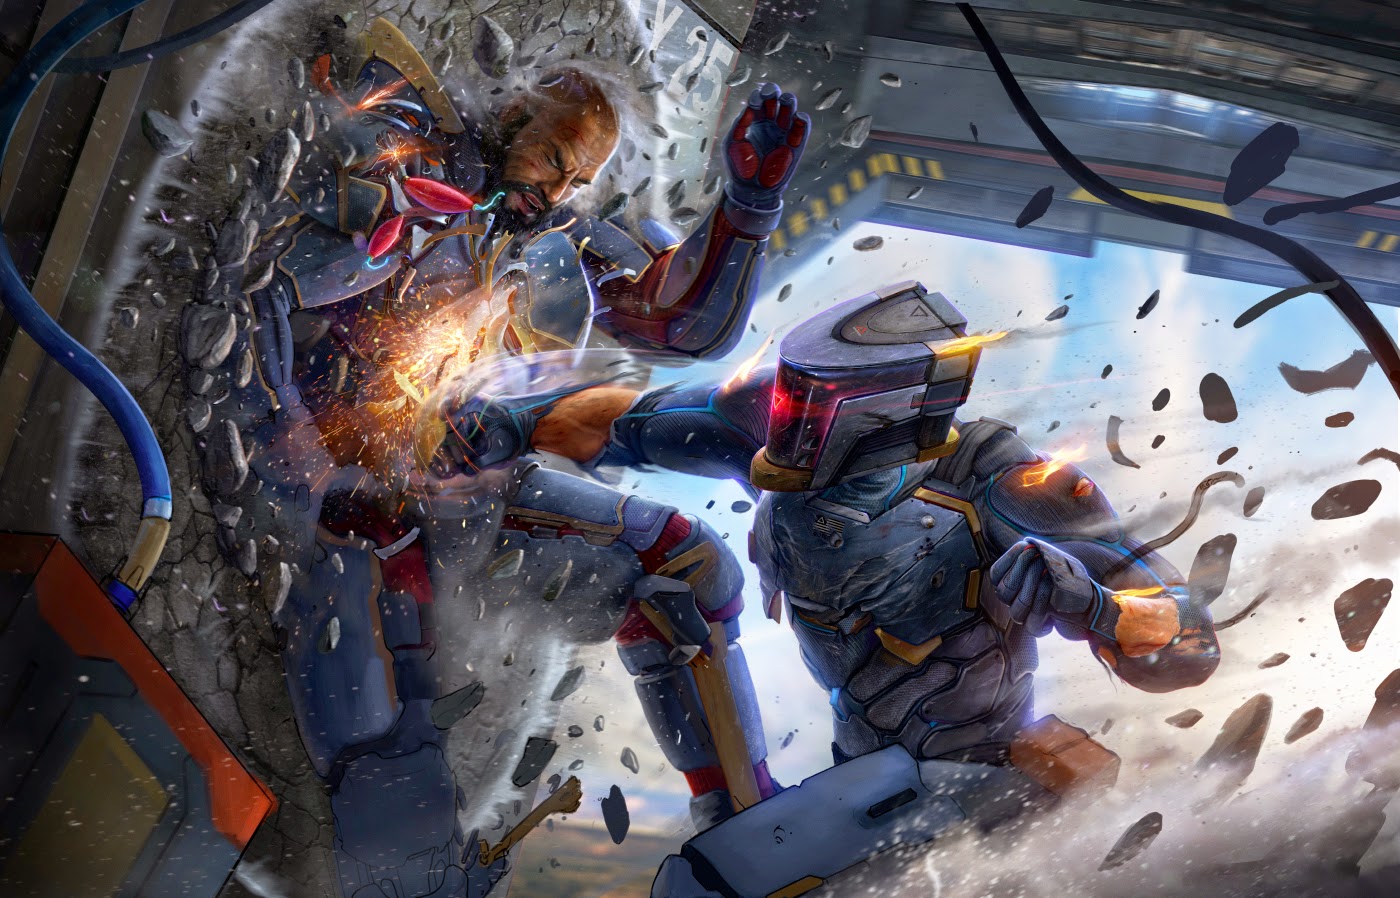
So, as you can see I’ve already started rendering and have barely laid colors down for the opposing character. I can’t help it. Once I’m happy with a certain point of the image, I like to get right down into the nitty-gritty and begin rendering.
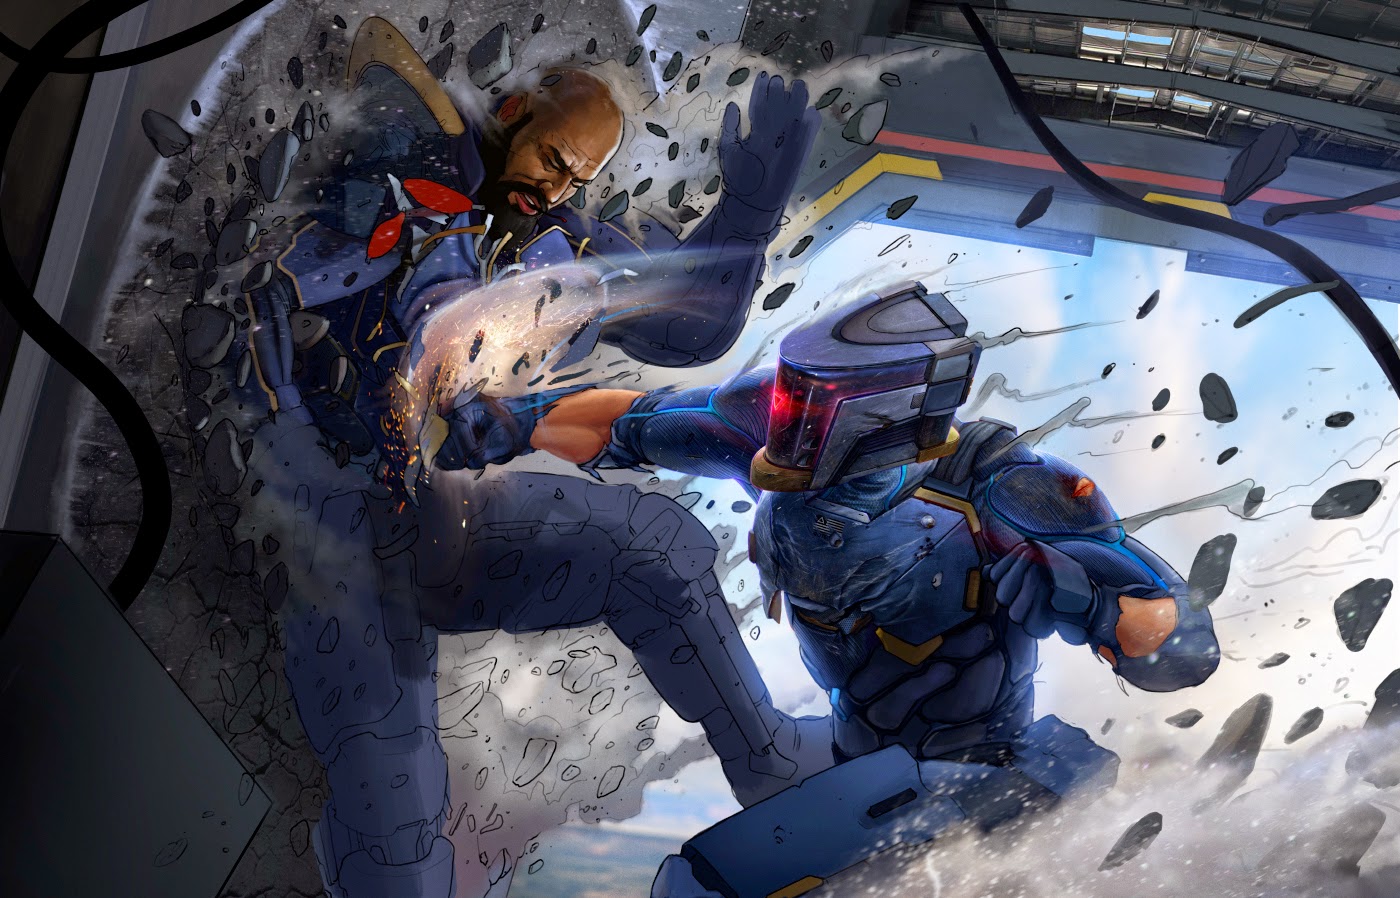
A lot of people ask for any secrets or hints at rendering, but I don’t have any. I use a chalk brush 90% of the time and render out the tiny scratches, dents and dings. For the textured patterns on his body suit, I use a carbon-fiber texture set to Overlay. Try Transforming it to wrap it around objects.
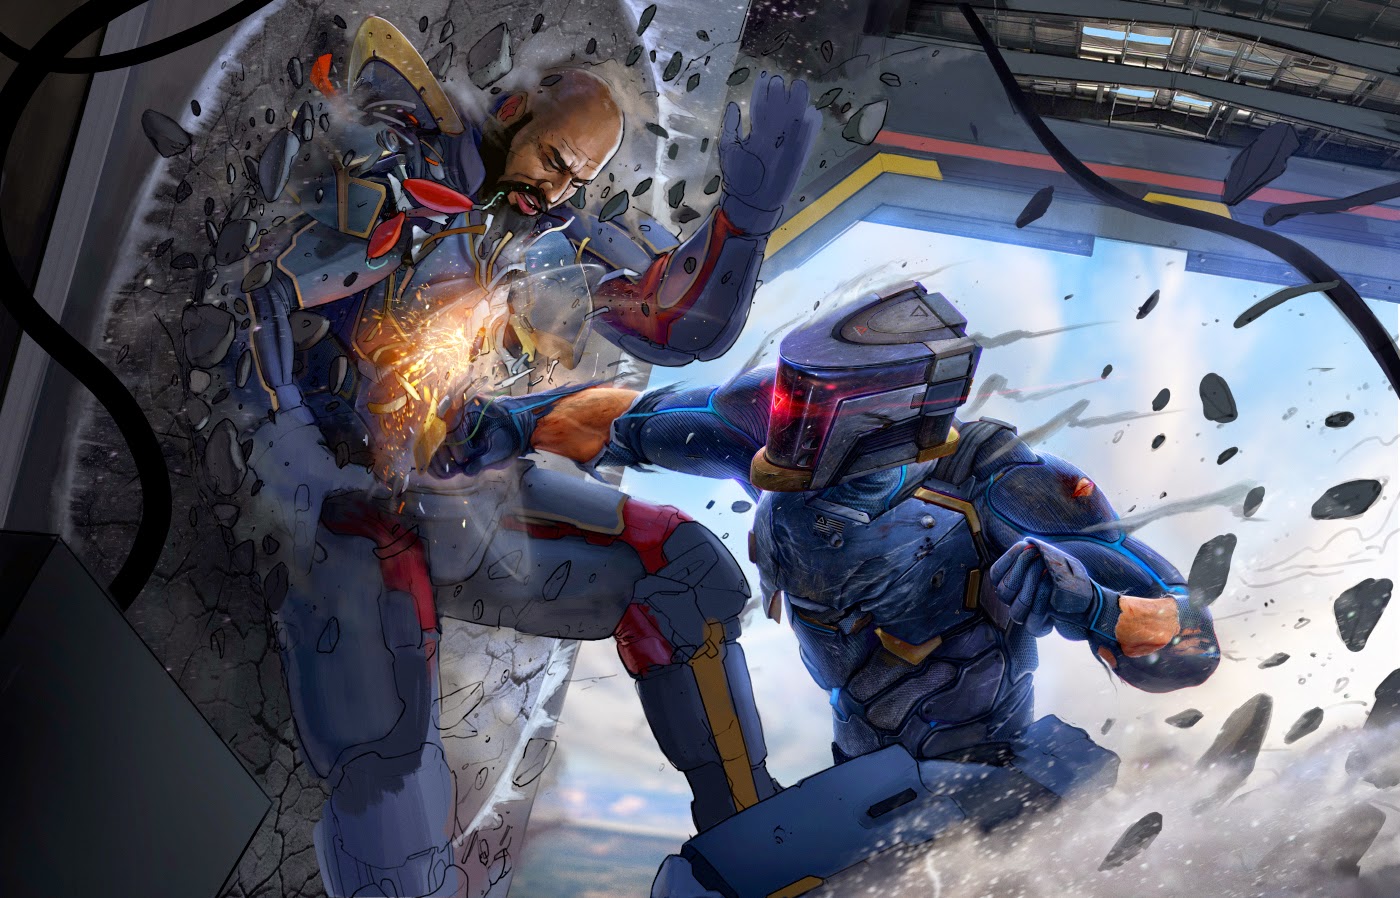
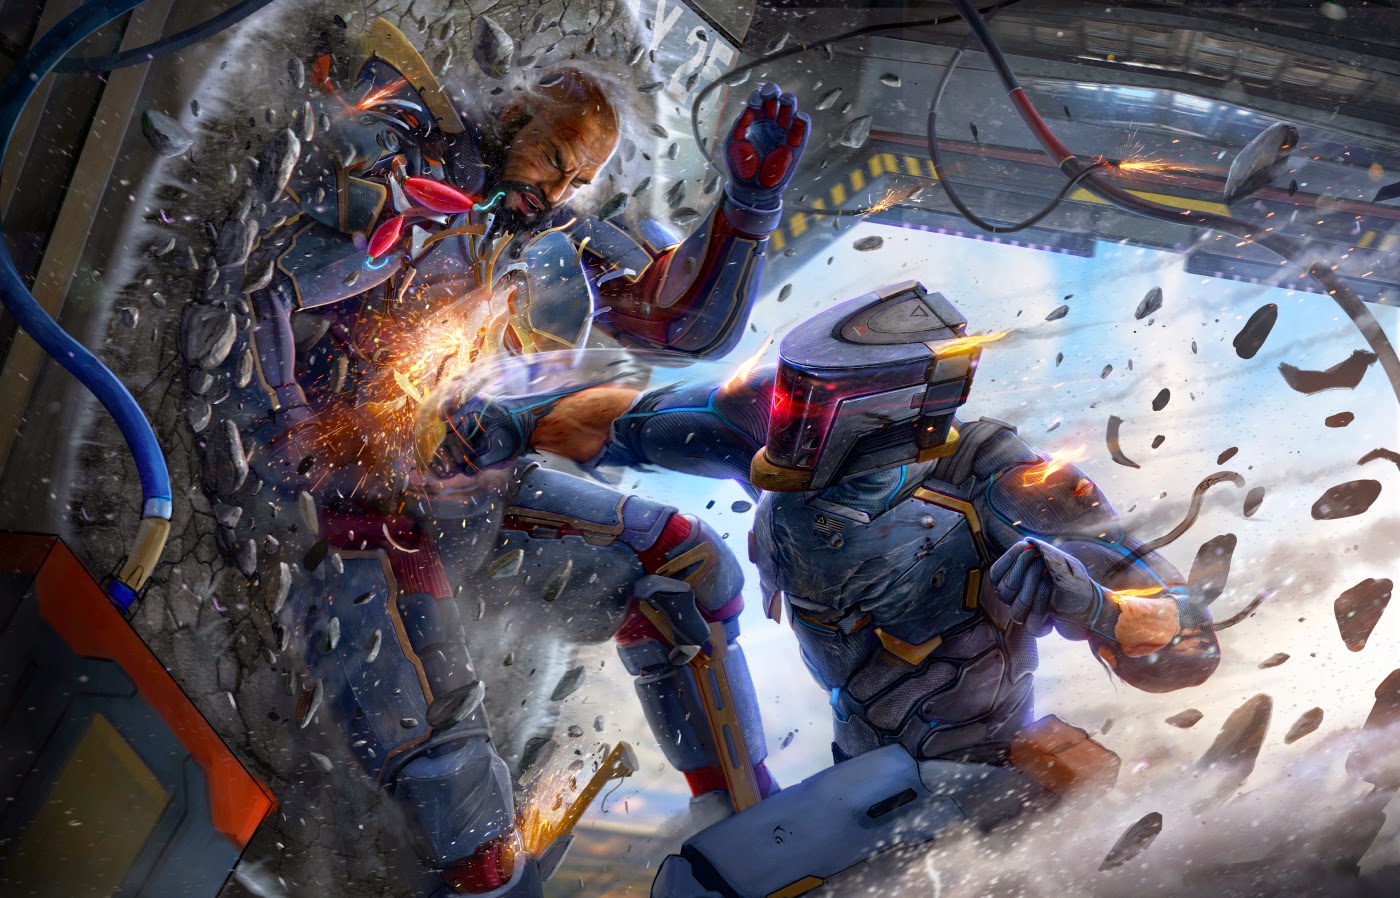
For the smoke and debris layers, it’s just a combination of different brushes designed for each. Some are scatter brushes, which are good for the little bits you see flying about. Use that and a mixture of Motion Blur and you’ll get some nice effects.
For sparks, I use a scatter brush and also the filter > Outer Glow, which when given the color orange, will surround the brush strokes with a warm glow. After, flatten that specific layer and set it to Motion Blur and Screen. Again, transform can give some fun effects.
For my lighting, I will sometimes paint it into the characters and other times use a combination of curve layers (using the lasso or the brush to create the selected areas). For highlights or rim-lighting (such as on his fist) I’ll use a Screen Layer, with the Brush also set to Screen. I’ll usually use a color close to the object I’m painting on (so blue, for this example) and it’ll add a nice glow/rim to the brush.

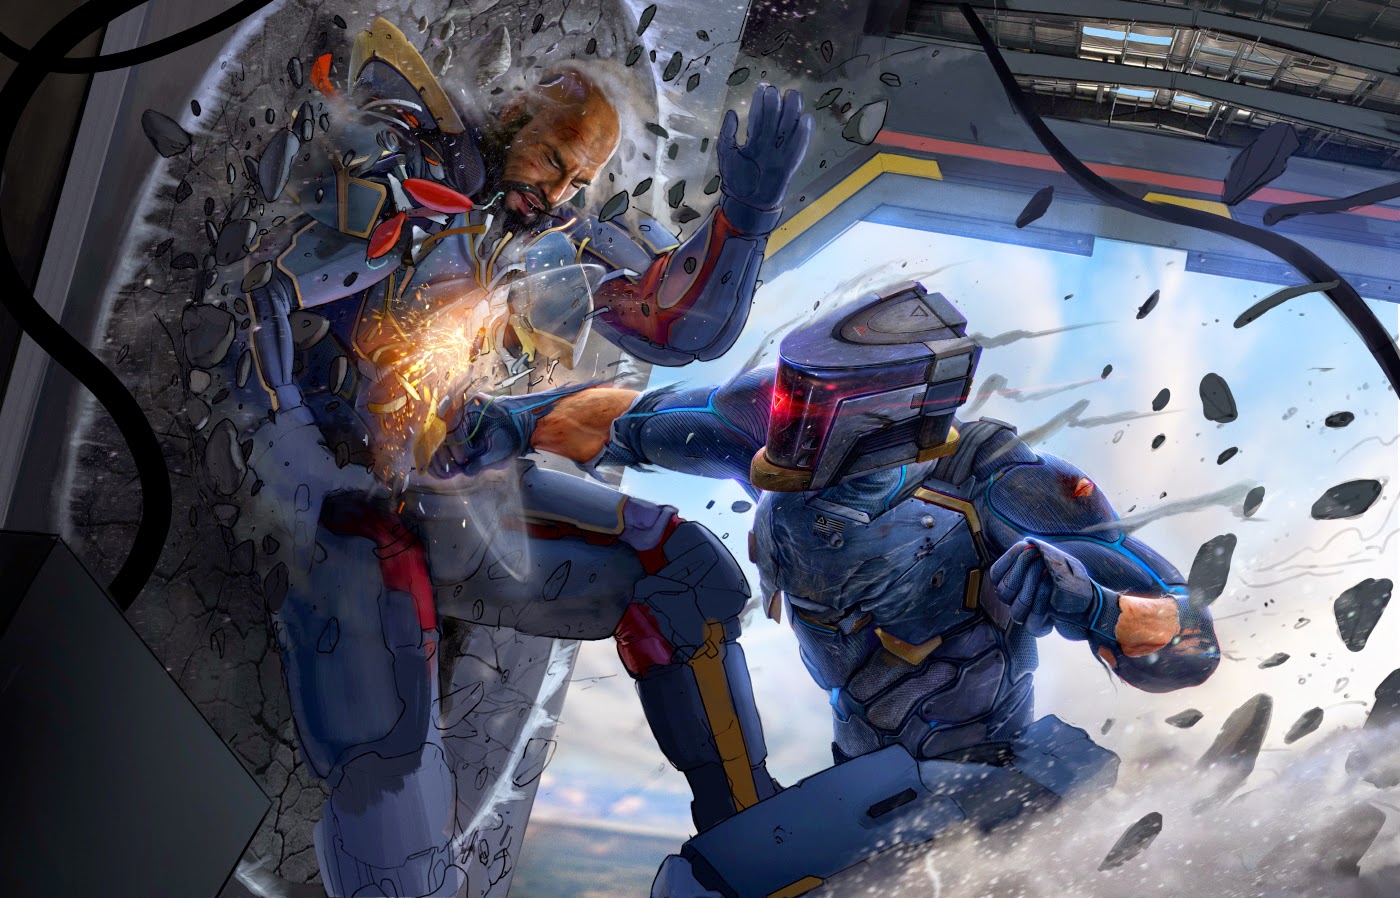
For larger areas such as the impact spot, or the haze coming out of the gate, I’ll use a large round brush set to screen. Try using a smoke or cloud-like brush as an eraser to get some cool effects.
As I begin rendering in the characters, I will lock the Lineart to the character layers and begin combining overlapping (armor mostly) layers to the main file. Mostly to free up some ram, but also because I’ve done everything I need to do.
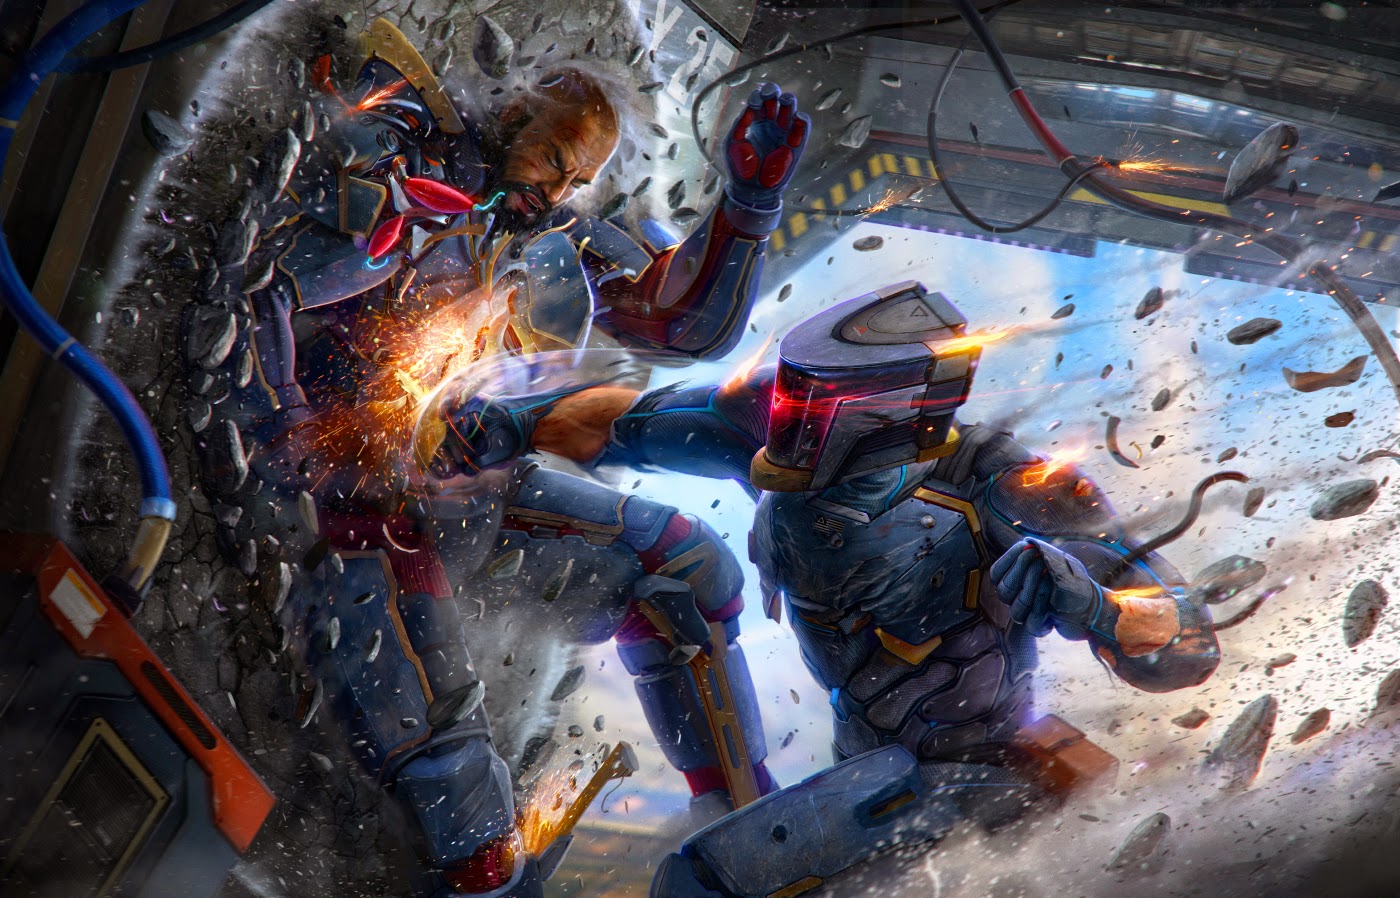
This was an incredibly fun image, but also a stressful one. I had to color code every layer, as my OCD and ADD just began to strike war upon my patience. But in the end, it was one of those paintings I’m glad I pushed through, especially from what I learned during it.
I hope you did too.

For more LMS updates, sign up at The Killbook.


Awesome work man and thanks for the walk through, I love the shock wave moving out from the punch 🙂
Kudos to you. Not all artists would actually take the time to teach other artists their method. This walkthrough is incredibly useful.
Good to see you back Dan. Great tutorial.
Just awesome! Needed a tutorial like this.
I love it Dan. Make me feel the force of that punch though. I don't get a sense of weight on that punch.
Công ty Đại Phát Viễn Thông nhà cung cấp phụ tùng-linh kiện xe ô tô chính hãng tại tp HCM:
——————————————————————————————————-
Giá rẻ nhất- Bảo hành nhanh nhất – Xem ngay linh kiện phụ tùng xe ô tô:
Web: linh kiện phụ tùng xe ô tô
( Xem tai day): linh kiện phụ tùng xe ô tô
( xem tai day ): linh kien phu tung xe o to