It’s an honor to be guest posting again here on Muddy Colors. I’m sharing here for the first time a look into my process in creating my works in resin. I’ve been asked about my materials and technical process, as well as the major shift in style and media. People assume I had some life-altering experience, something clear and precise to point to and say “that moment changed everything.” But nothing like that happened.
The process and the final result evolved through the same kind of personal experimentation that I believe is essential to any creative career. I am authentically curious, and I look for opportunities to do it better or differently next time.
To preface and get you in my headspace: I was working on a notebook on Ideation with Sterling Hundley, which forced me to try new materials and new processes. At the same time I was working on a large gallery piece and I got a brutal crit from my art mentor and close friend Rebecca Guay. She actually liked the piece, said it was good. The brutal part of the critique was “Marc, it’s good, but it could be GREAT and it’s not great yet.” I think we all know that the last ten percent of growth and learning is ten times as much effort as the previous ninety. And when you do get there, there’s always another ten percent.
I needed a break from routine.
In order to fully address that ten percent I had to go back to fundamentals. I organized my day around deliberate practice. Every day, I left my studio (aka “the land of all distractions”) and sat in my local coffee shop and drew a head study (the Sktchy App is great for this). I wasn’t trying to create masterpieces, just to sink into a deep observational practice. I was incredibly worried that I was taking time away from “real work,” but I told myself that this was the work and something would come of it.


Then around April I made a drawing I didn’t love. It wasn’t bad, nor was it great. I ran through ideas on how to improve the drawing. Gloss medium didn’t seem like enough. Maybe a good frame? Some limited color? Varnish?
I happened to be in an art the art store with all of the drawing practice and process experimentation and critiques and need for a quick fix and all of it floating around in my head. My eye fell on a starter kit of epoxy resin. I remember another artist had used resin to seal his work. I’d thought about using resin before but I had no real reason to invest in a new medium. Now I had a reason, and the directions looked easy enough now that I read them. So I grabbed the 2 part kit and tried it out.
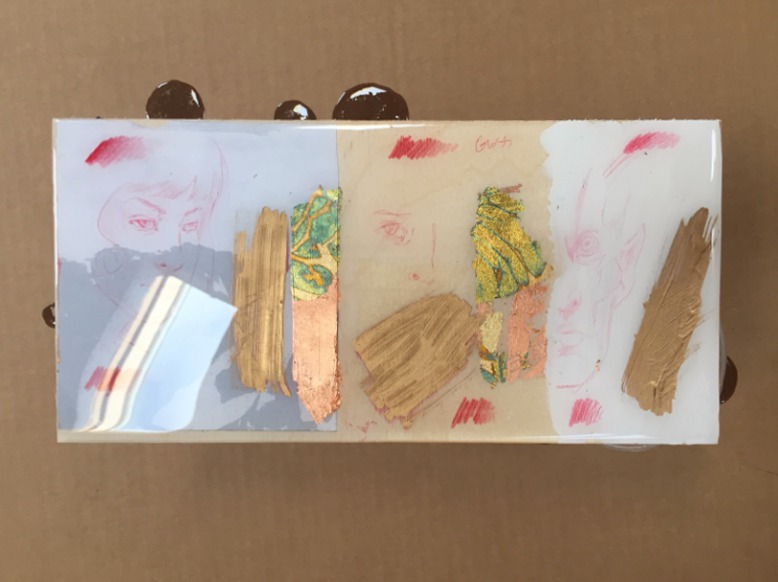
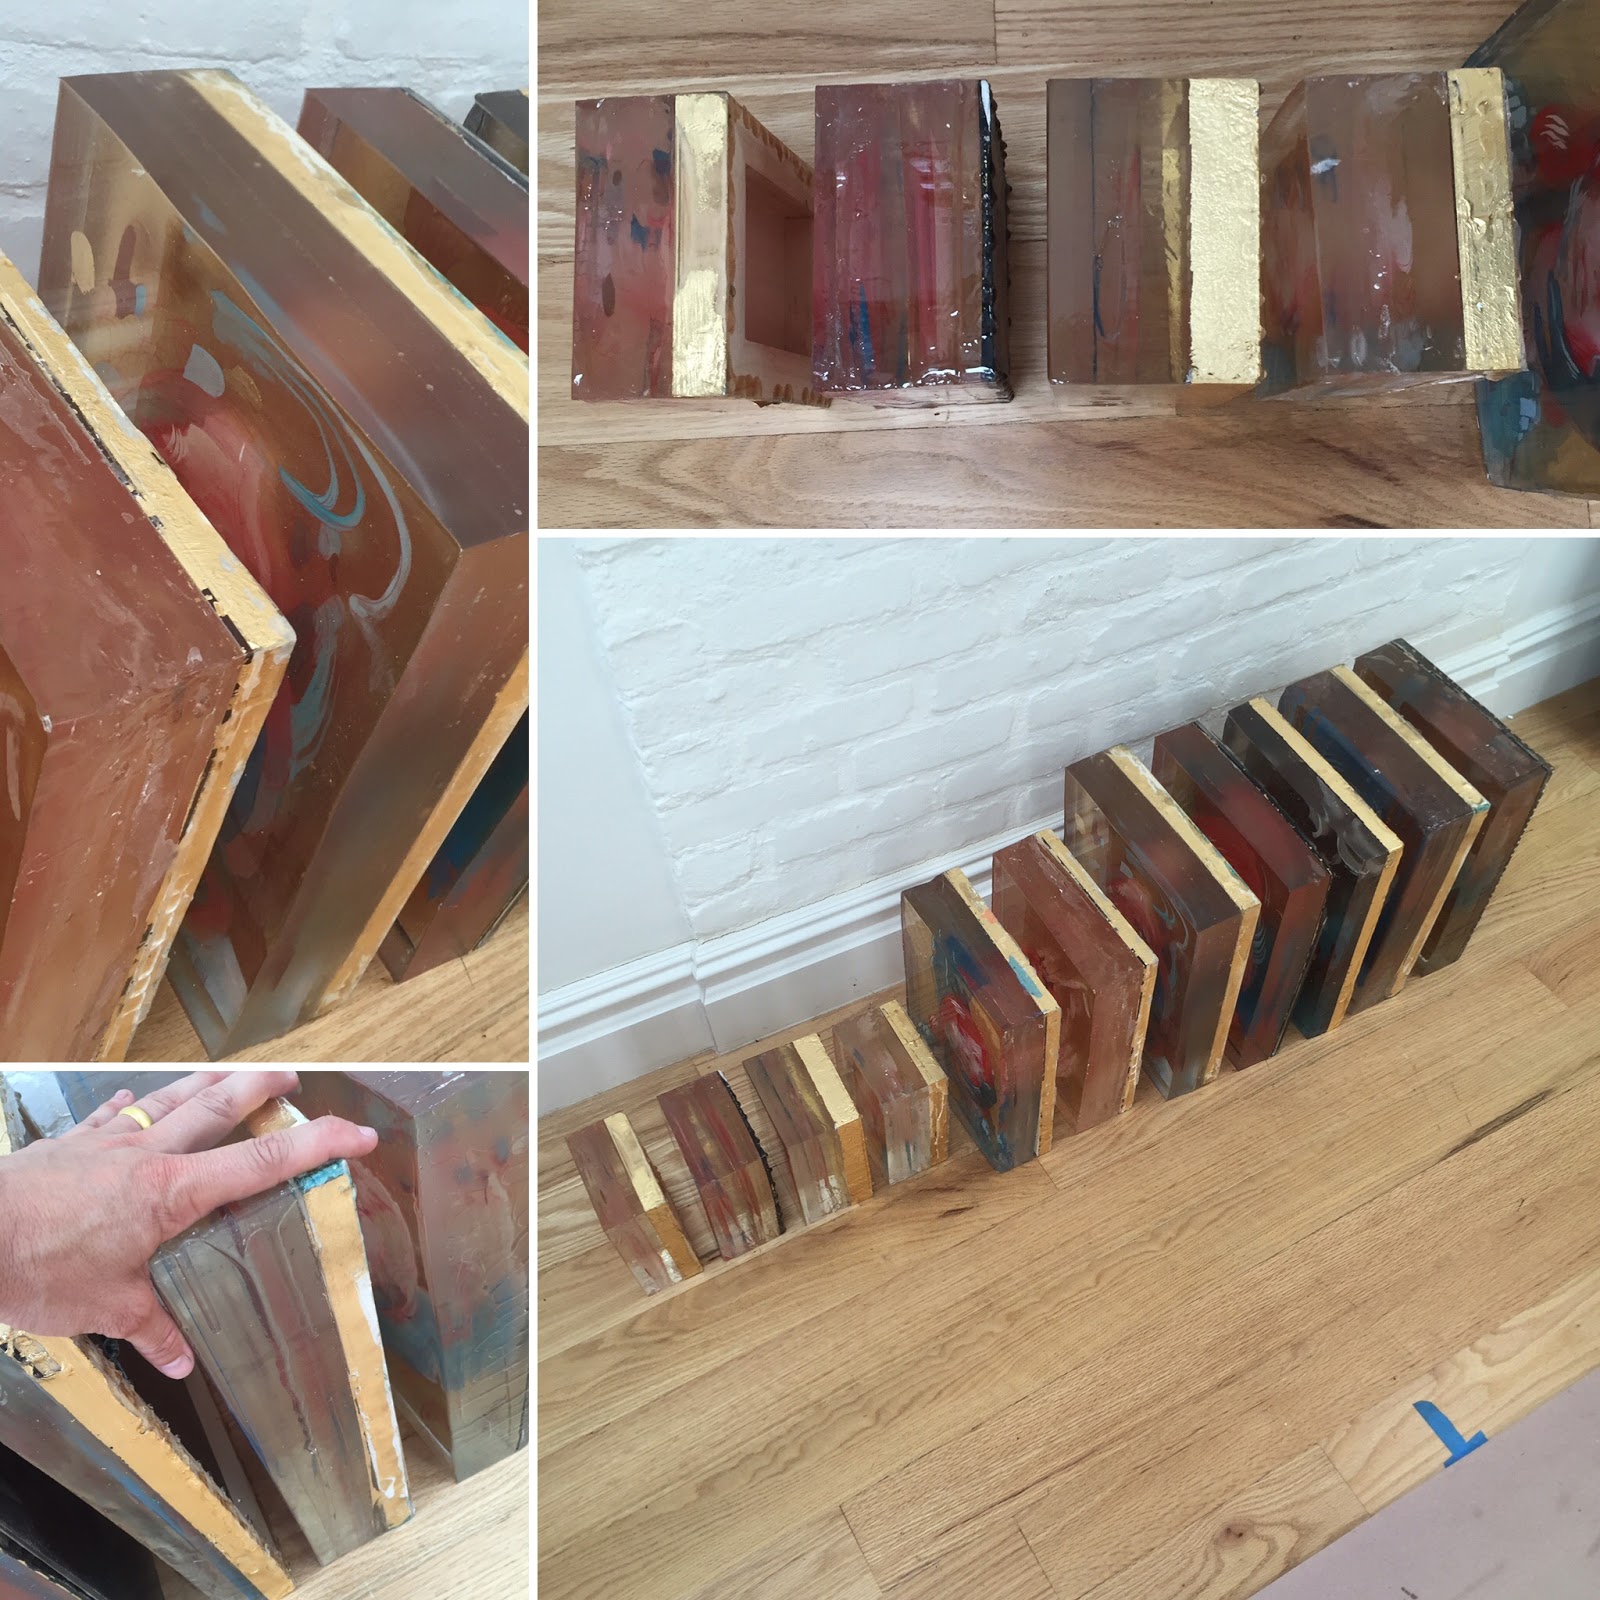
I began by working on small scraps, to see how things would react before using on the paper with the drawing. Glad I did, because it reacted in ways I couldn’t have predicted. I tried painting on it, and drawing, and leafing, and inking, and all kinds of materials in different orders. Some of the material shifts I saw after curing gave me ideas for other ways to use resin.
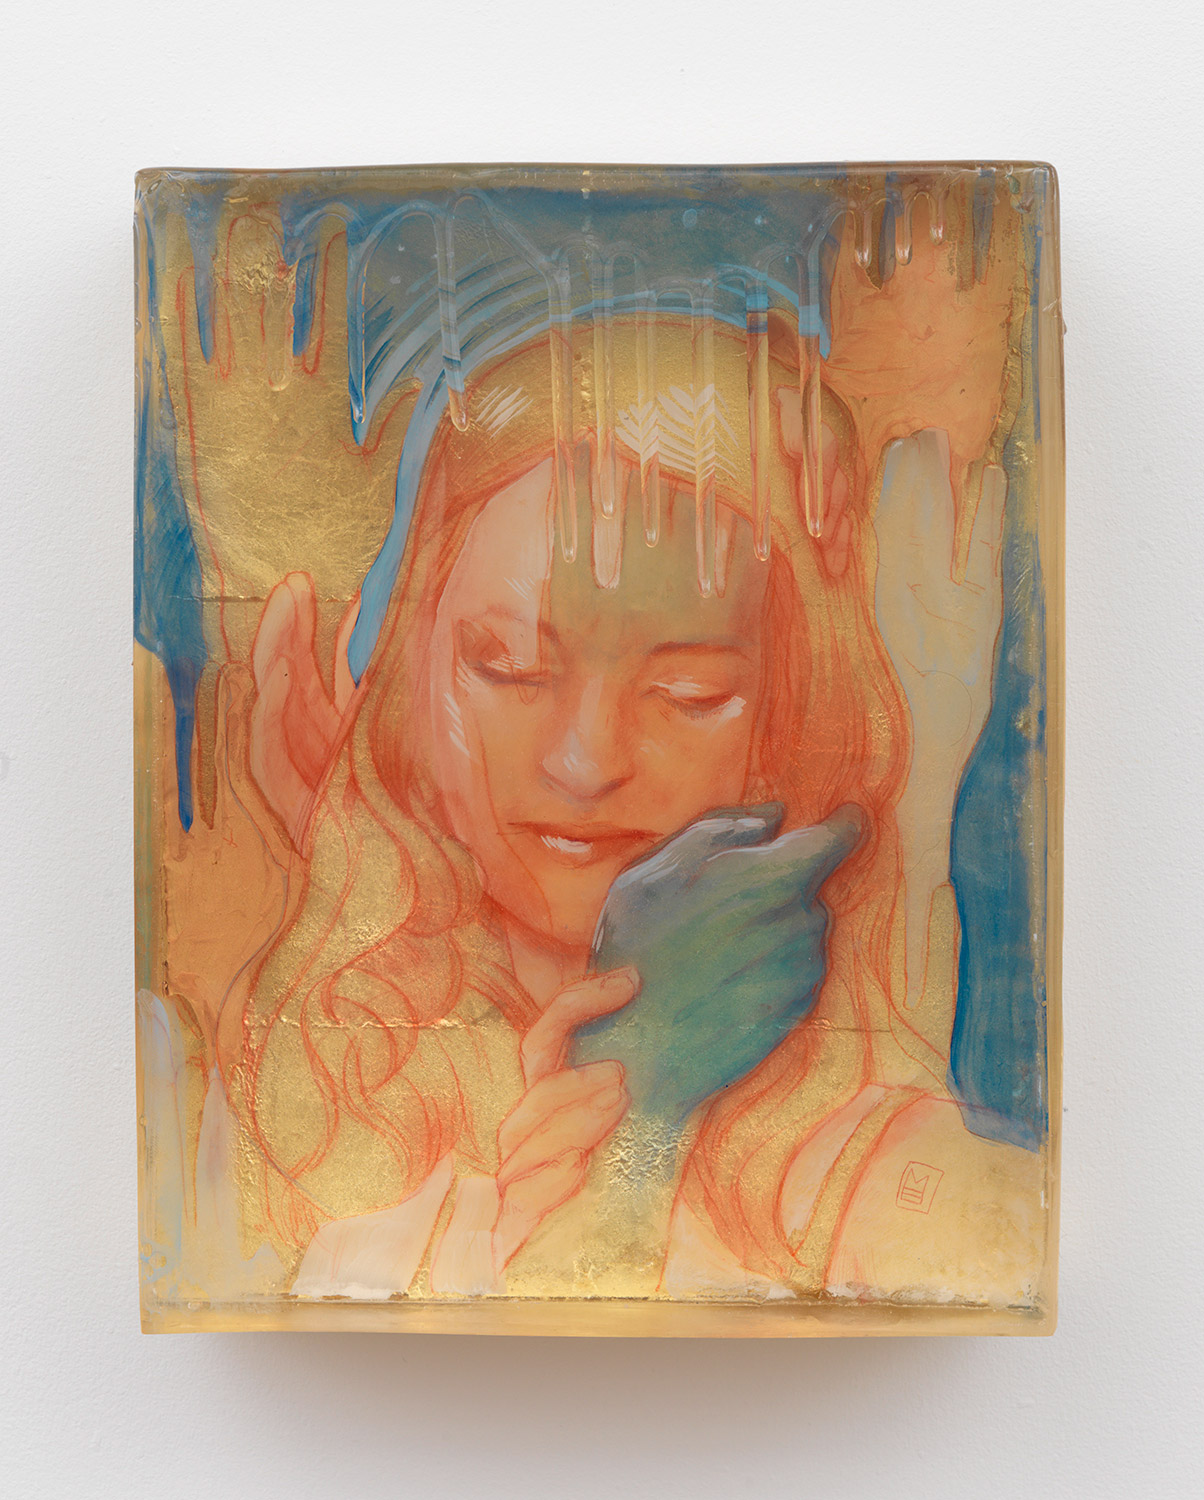
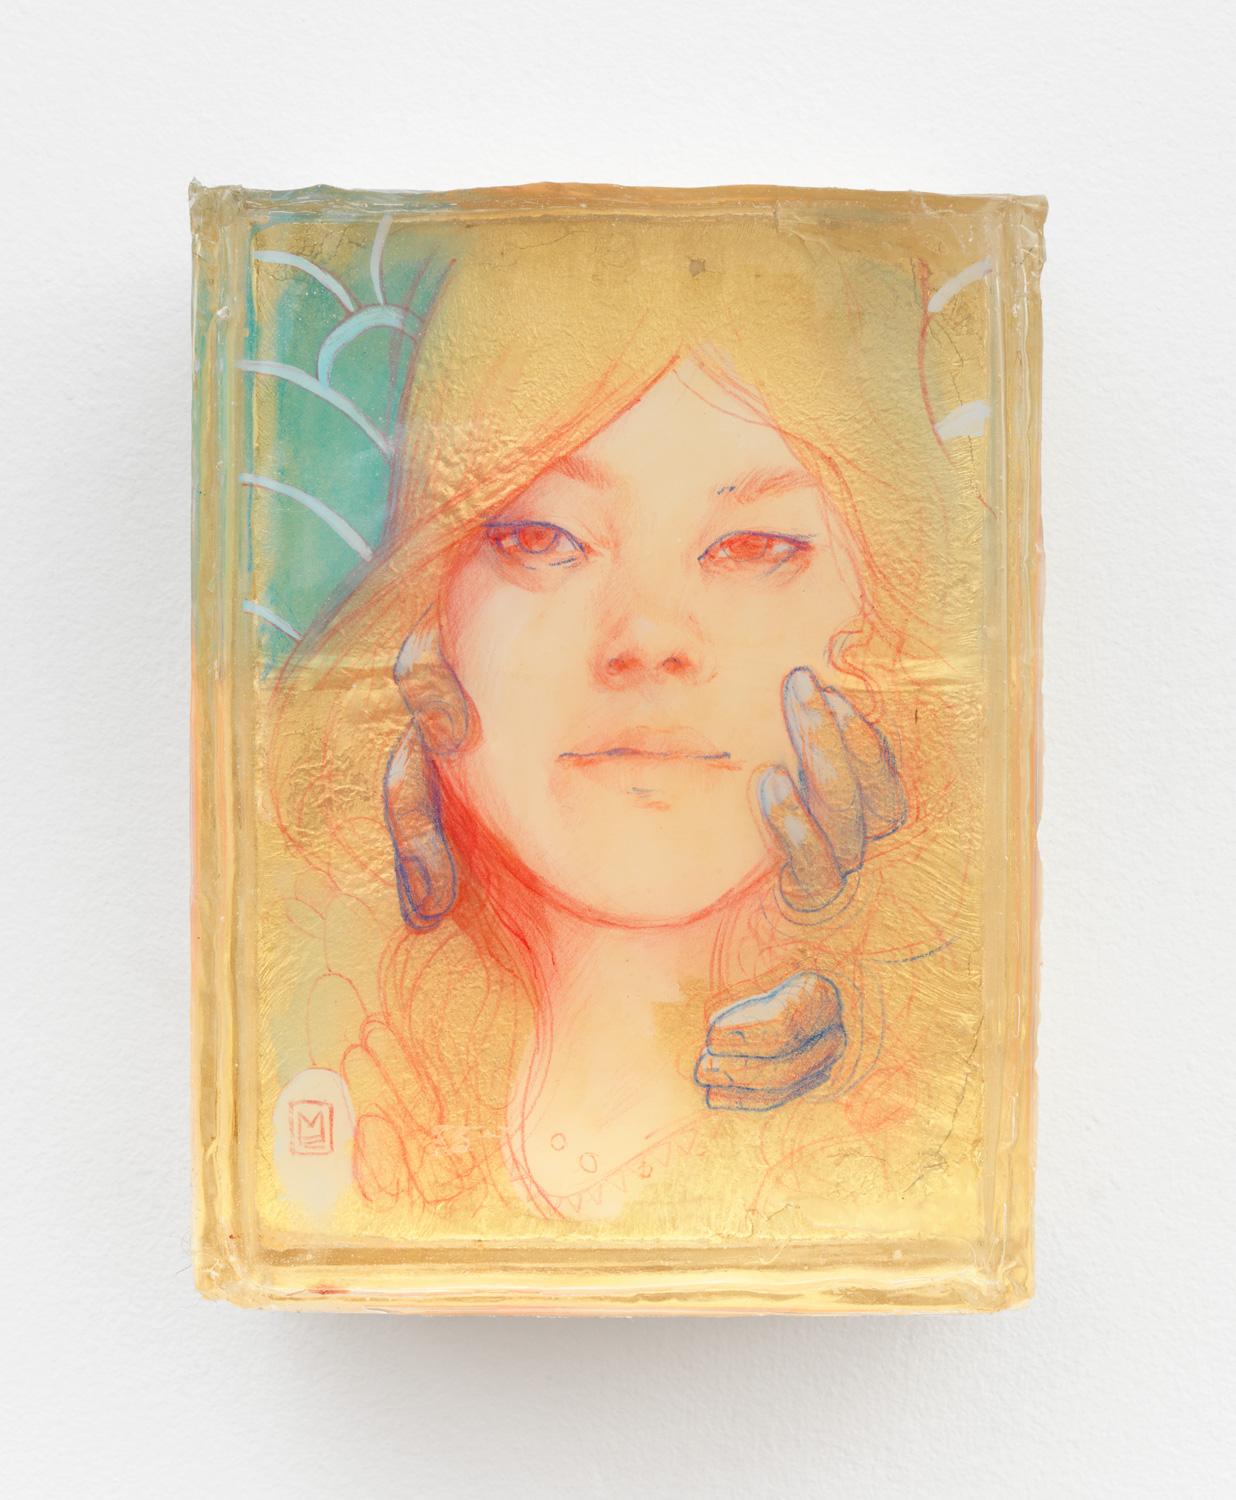
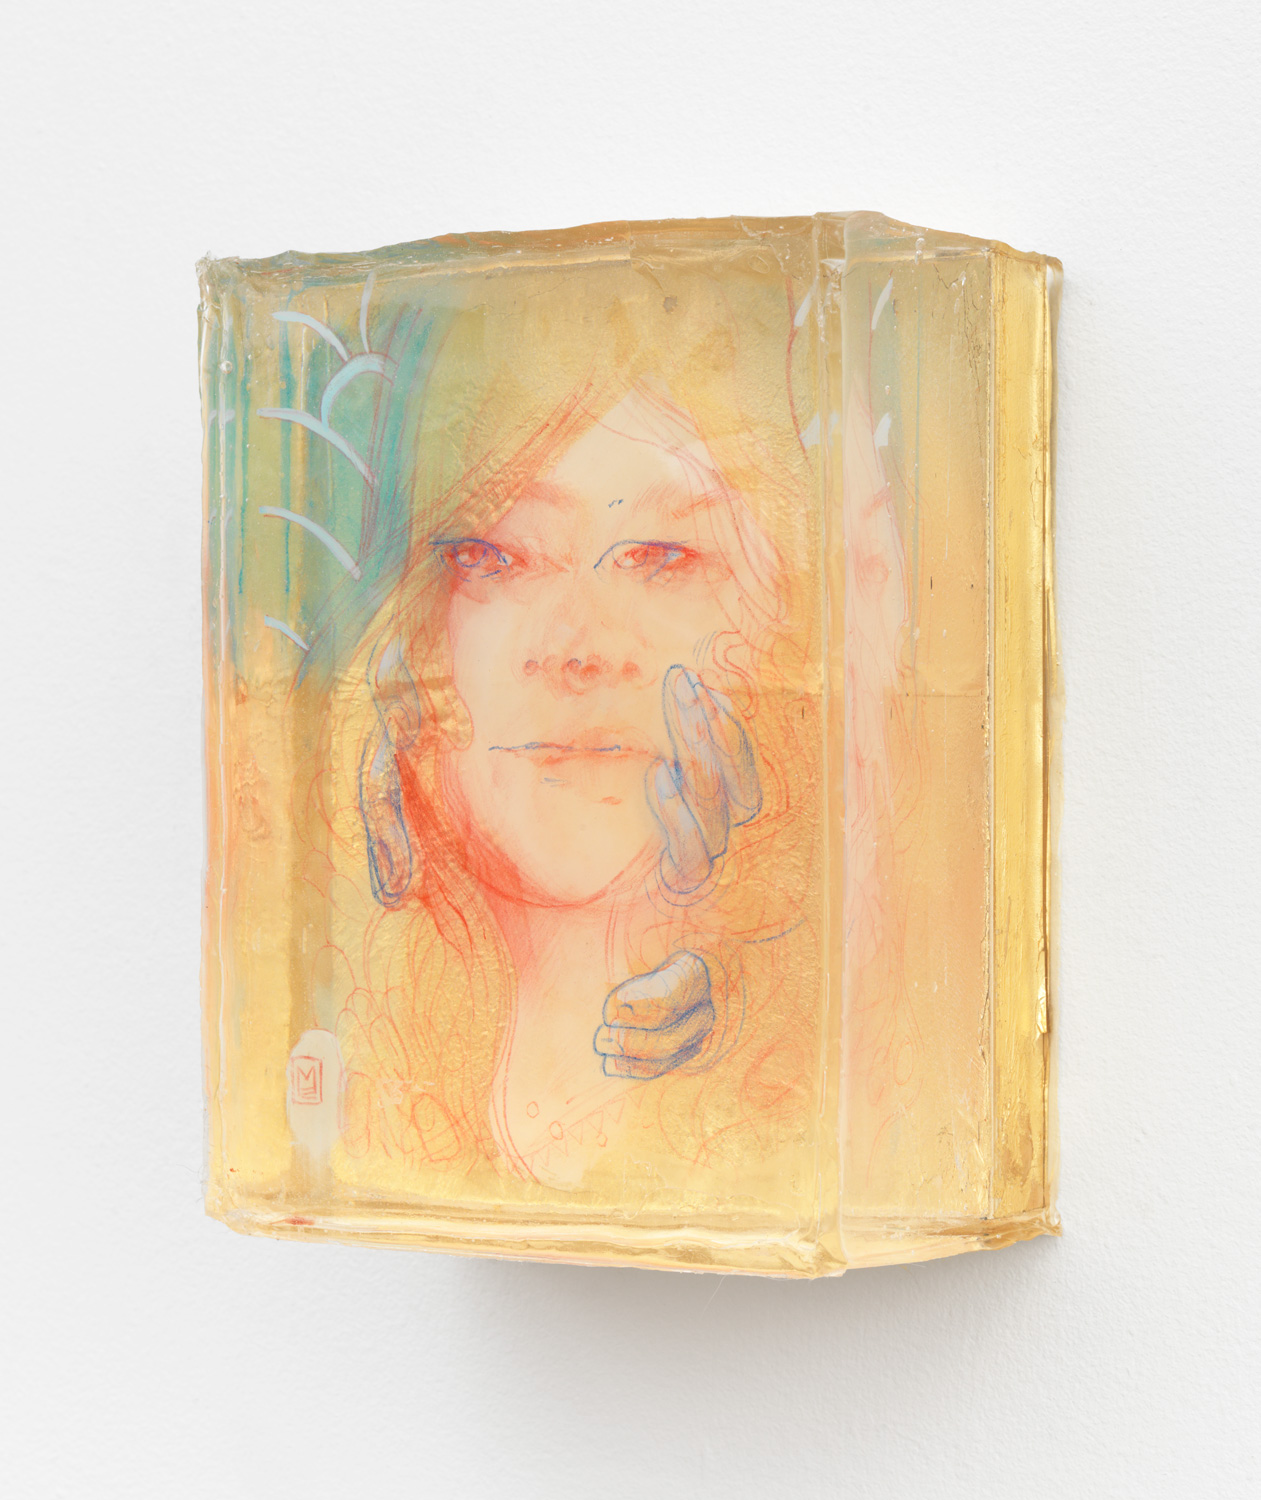
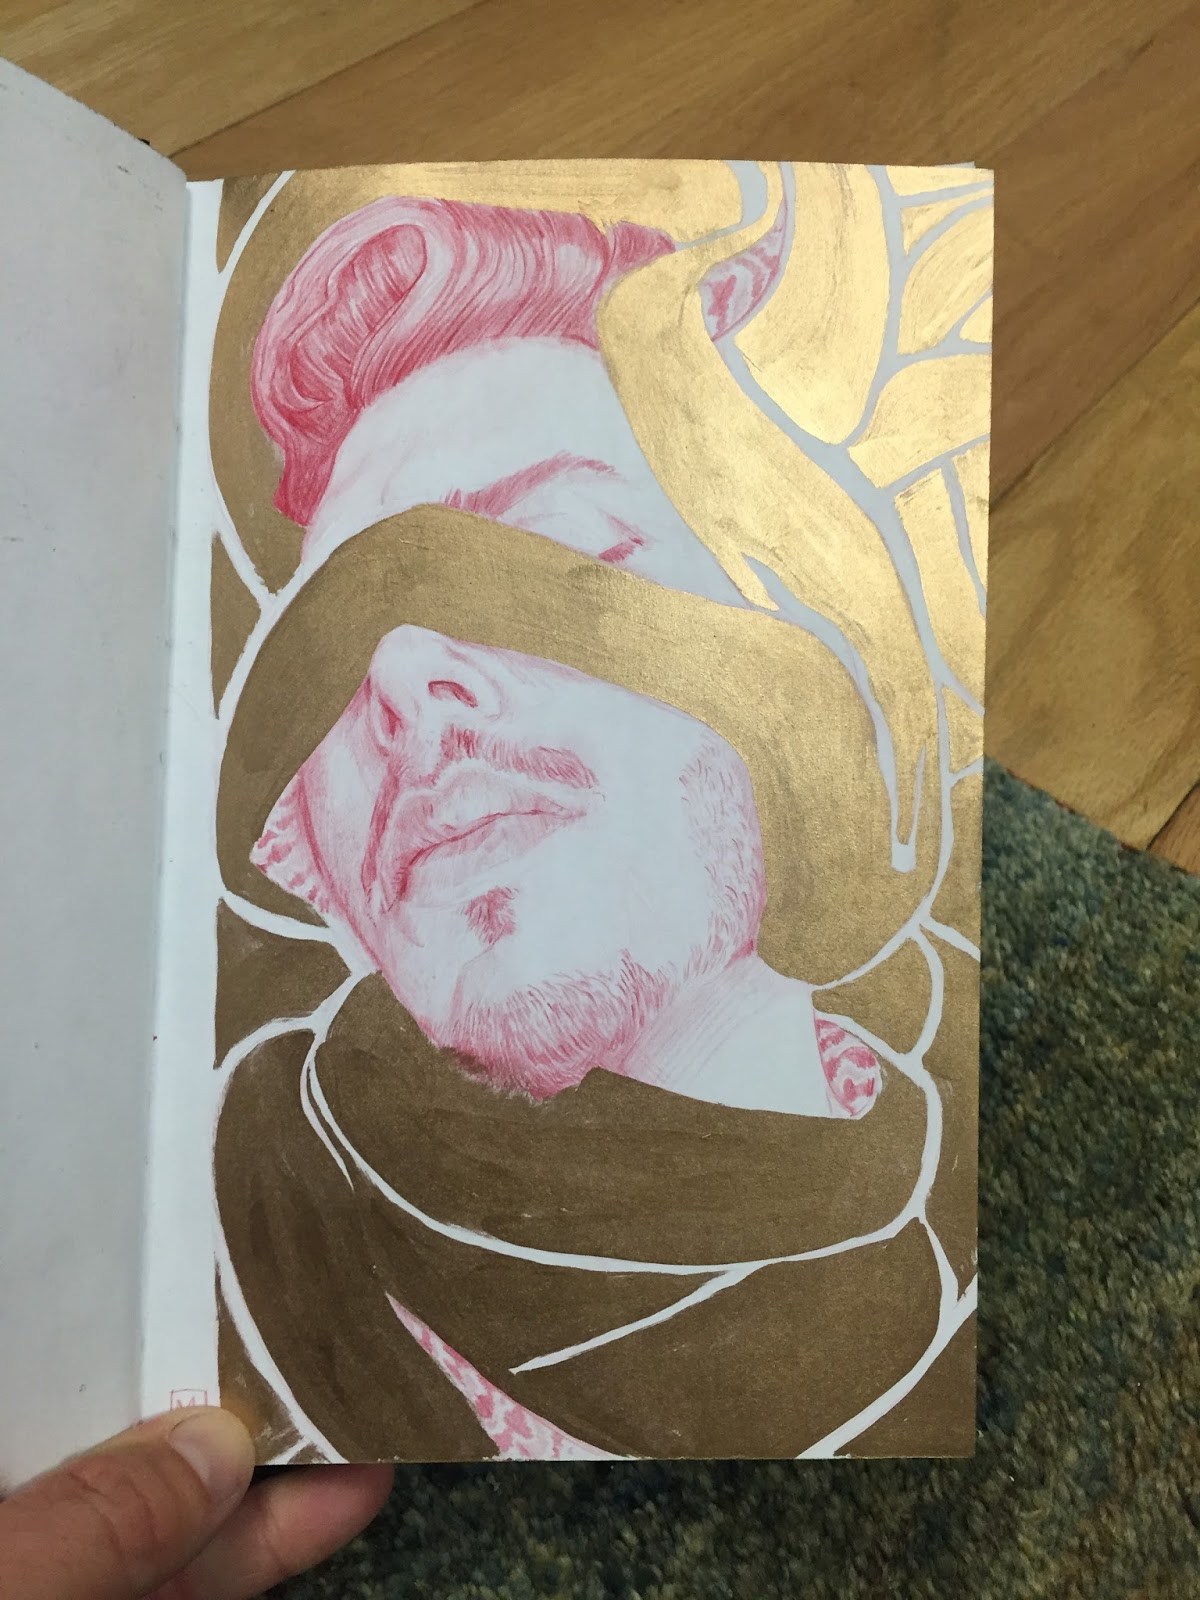
I noticed that when I had more than one resin layer I could see in between the materials through the resin. This kind of exposed process resonated with some big shifts in my personal and professional life at the time. I was deeply conscious of the many different roles I played for different people, and this new medium just started to make a lot of sense to me. There was so much potential, vulnerability, and I was genuinely chomping at the bit to try the ideas buzzing in my head around fundamentals, process, and materials.
I’m no stranger to helping people jump off this particular ledge of possibility. So I jumped.
Let’s talk technical nuts and bolts.
There are some great shops in NYC, but I found a brand that I absolutely love online. ArtResin is all I use for a few key reasons.
1. It is archival and doesn’t yellow like most resins. It has UV Stabilizers and a chemical derived from unicorn hooves or something equally magical that interrupts the chemical breakdown that causes yellowing, it stops yellowing before it starts.
2. It’s non-toxic. ArtResin is certified non-toxic.
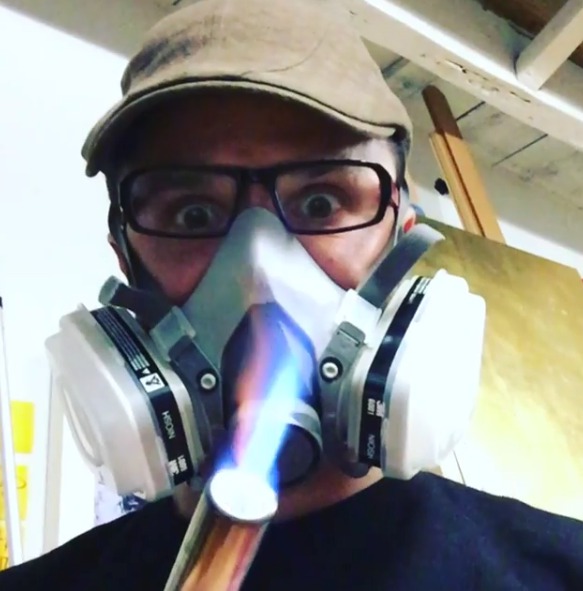
Still, I work in a large well-ventilated studio, and when I pour I close it up and go do something else somewhere else. And I protect myself with eye and mouth filter gear. I choose life.
3. ArtResin has a huge learning library and amazing customer service. They’re small and do a lot for their artists. Some of the tips on their YouTube are what got me thinking about different ways to use the material.
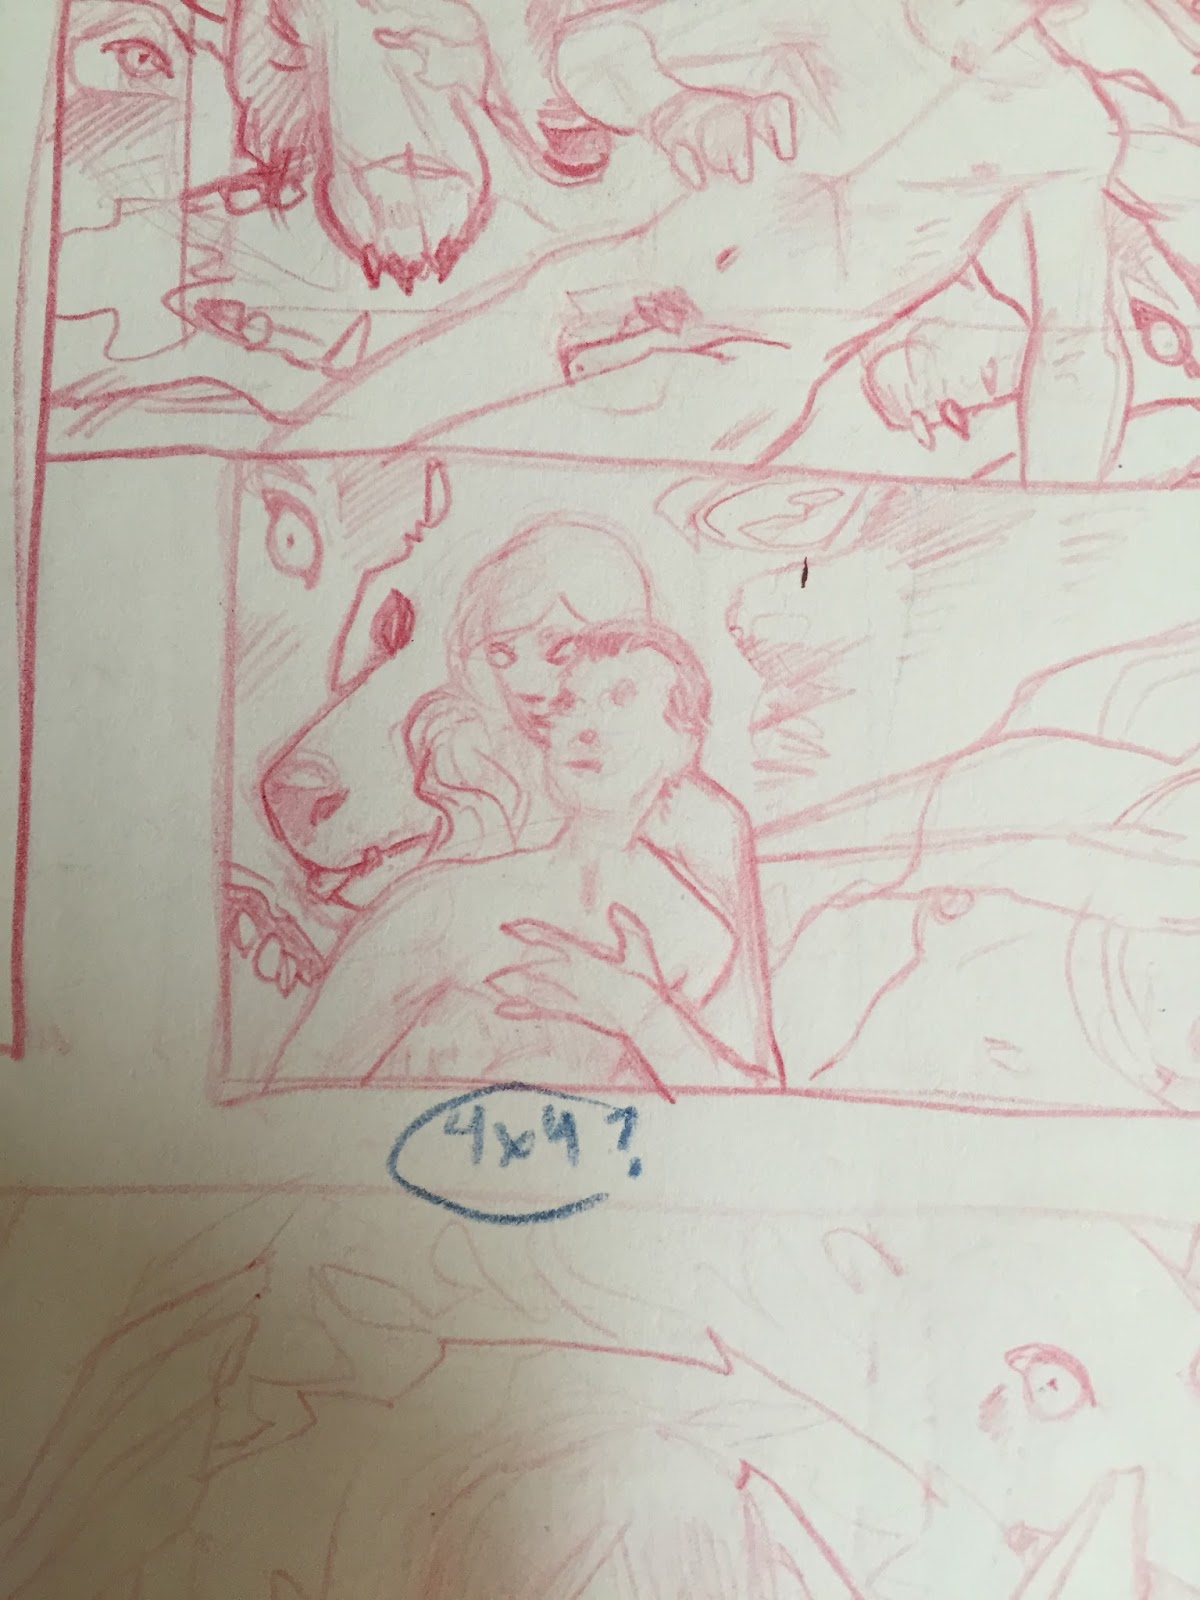
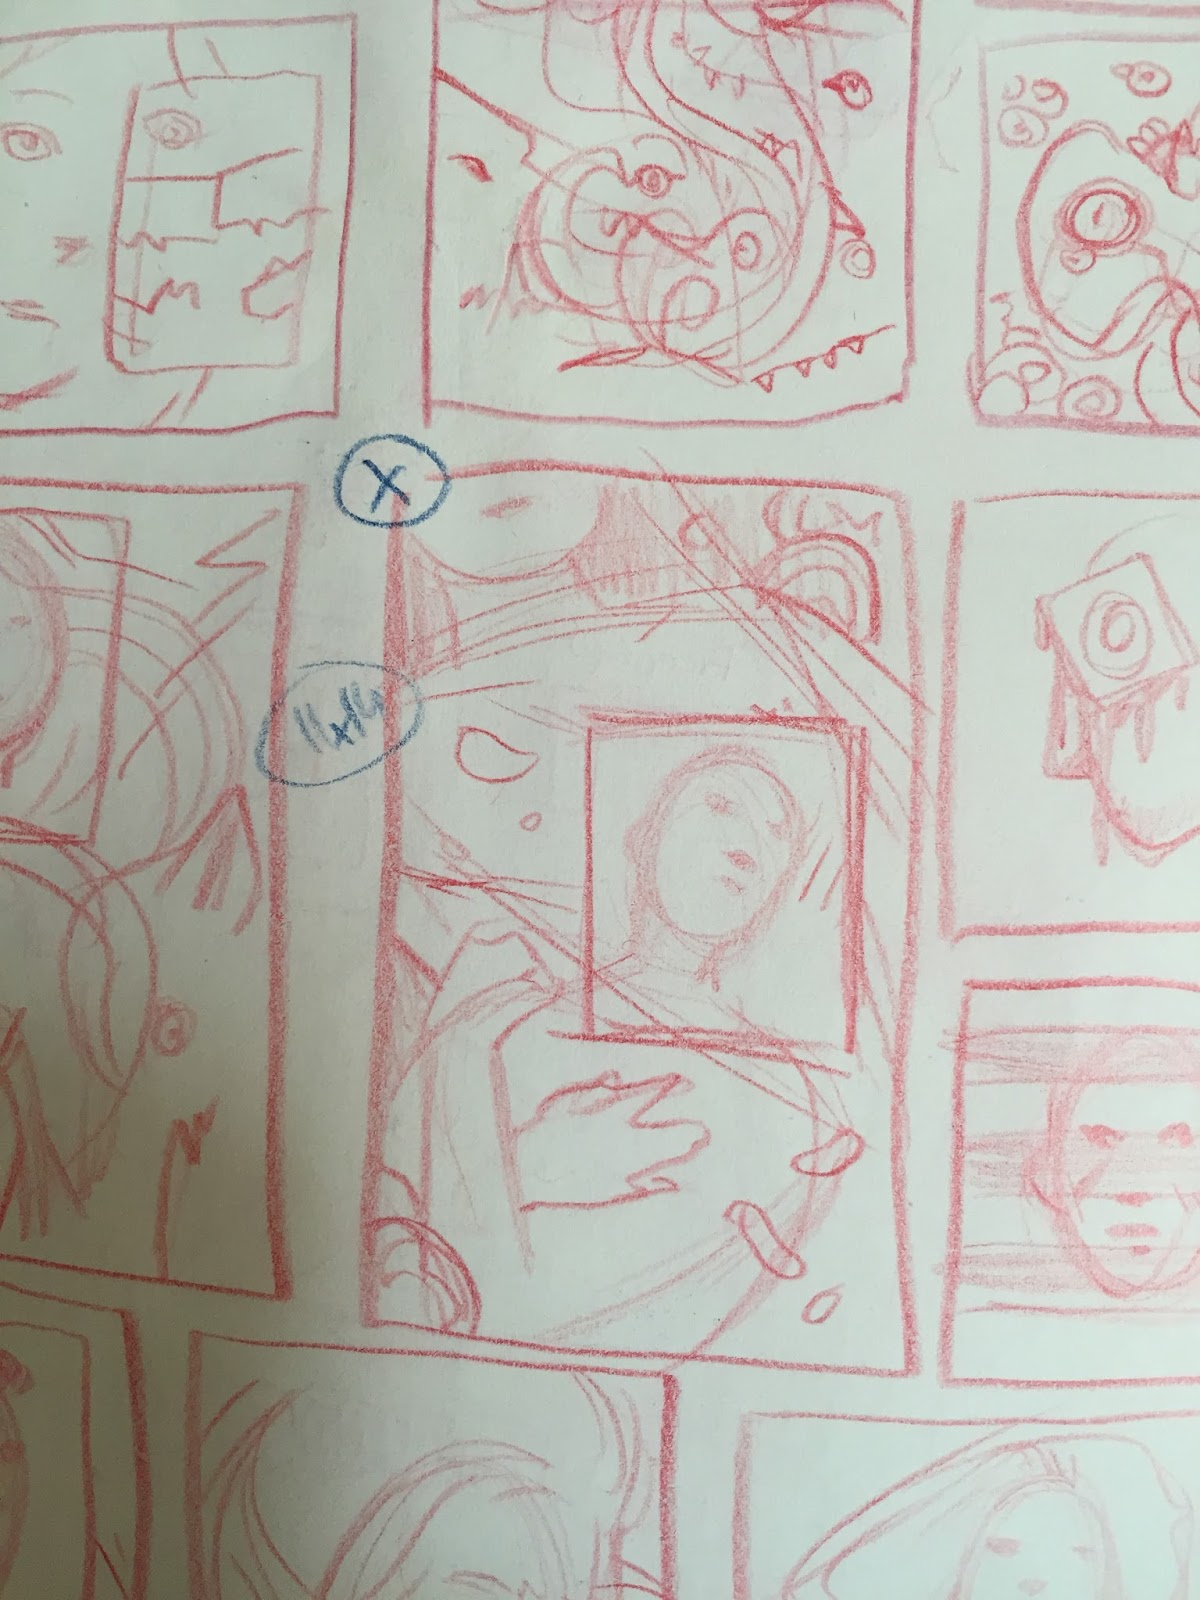
1. Thumbnails.
I have a moleskine just for thumbnails. I’ll use pencil, and sometimes brush pens for limited color.
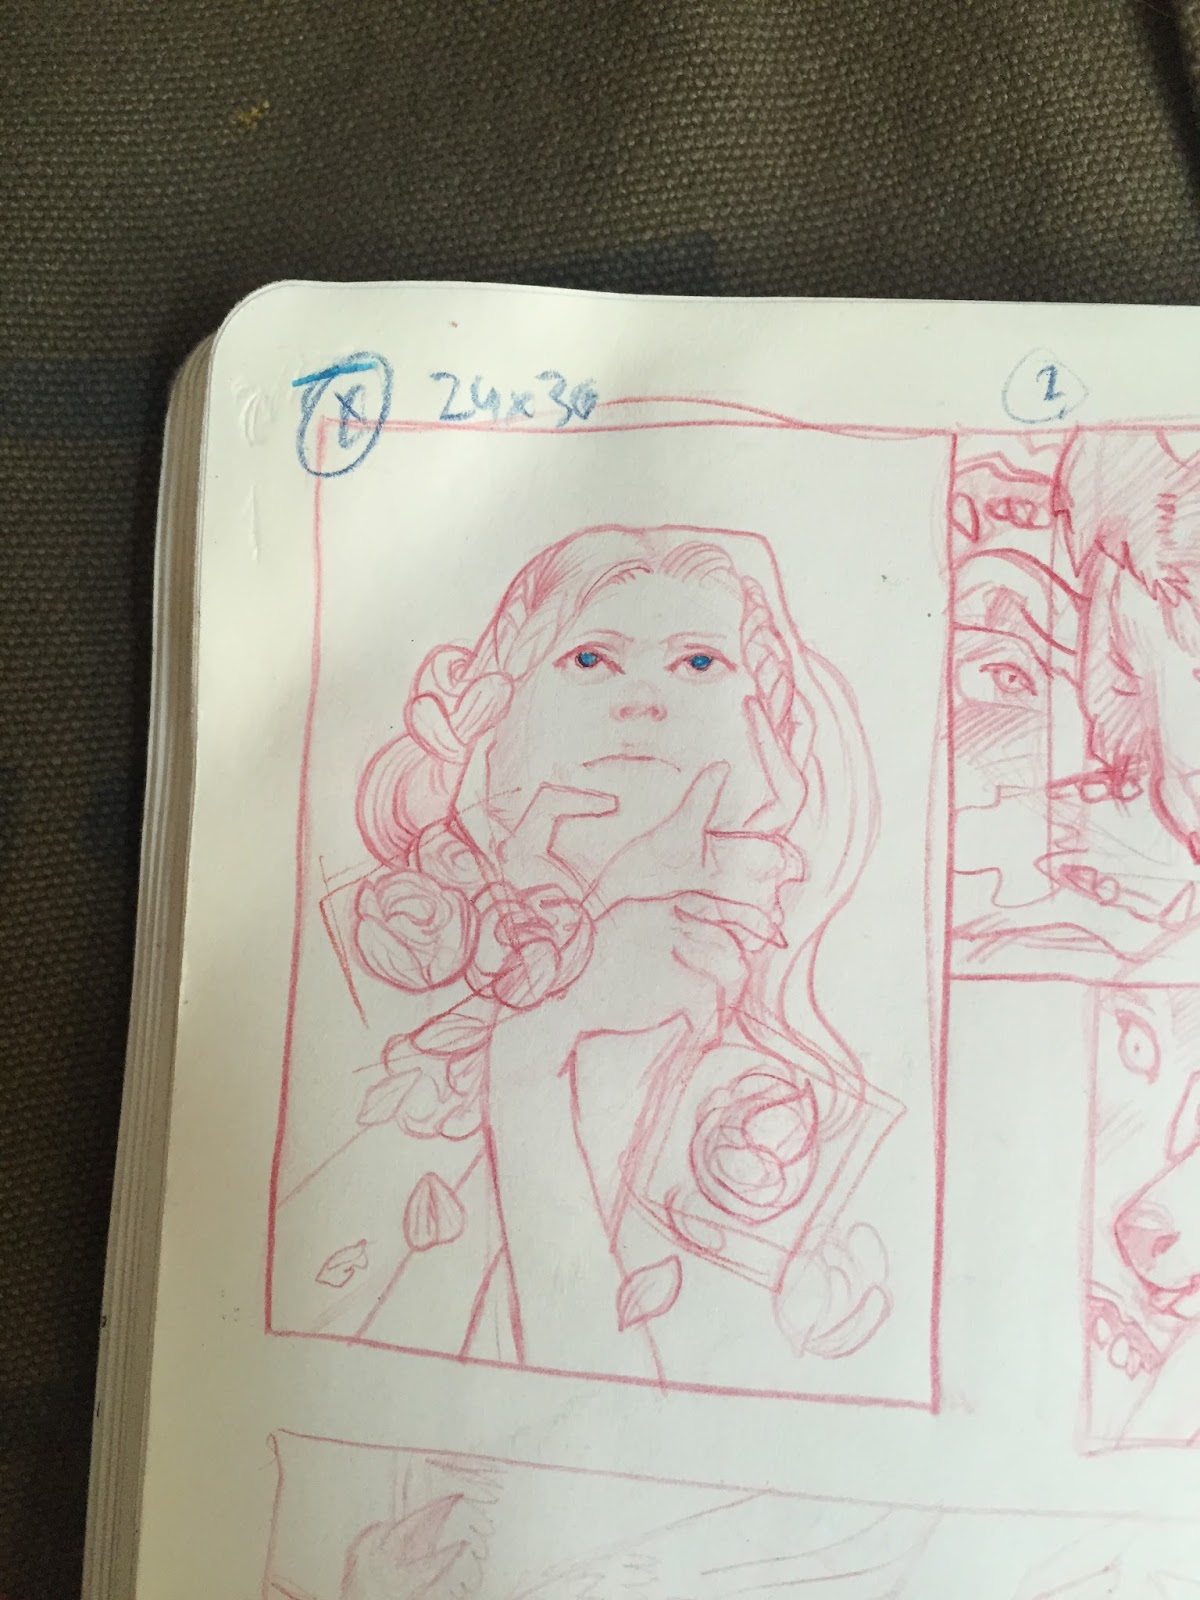
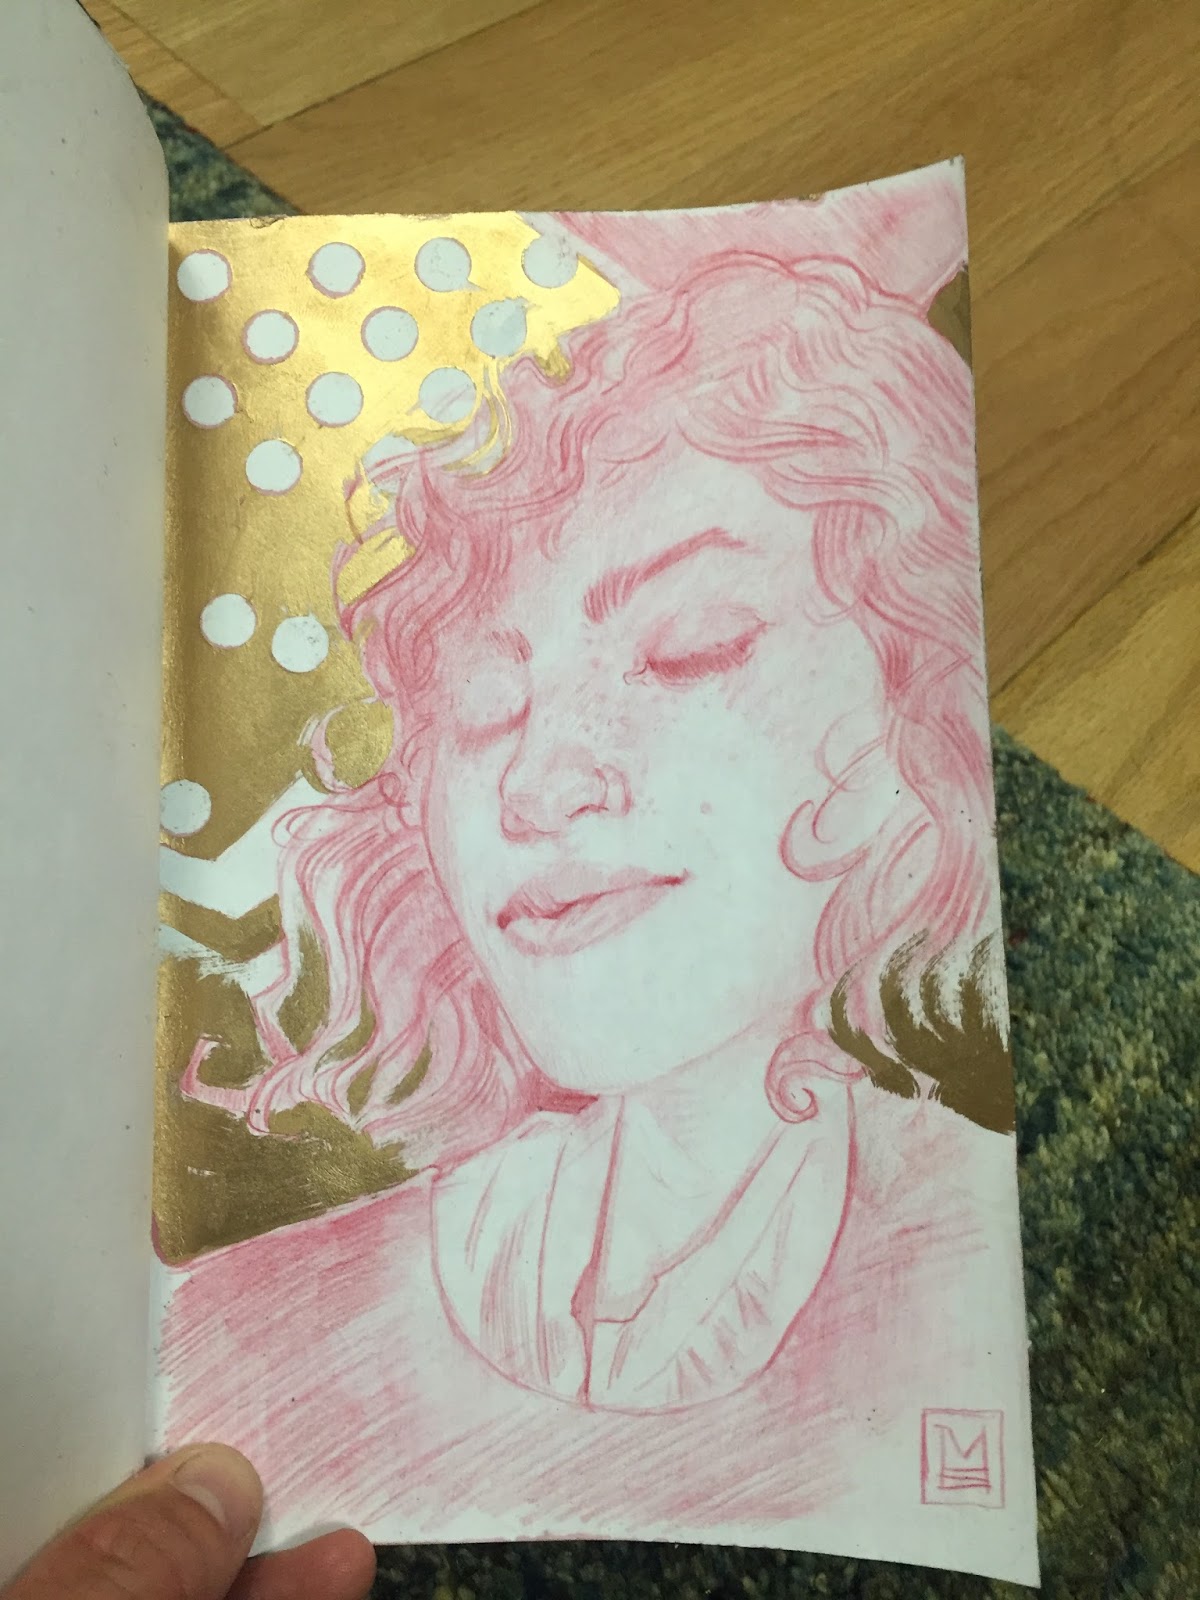
2. Larger drawings and studies.
I have sketchbooks for this too, and some of those are shown above.
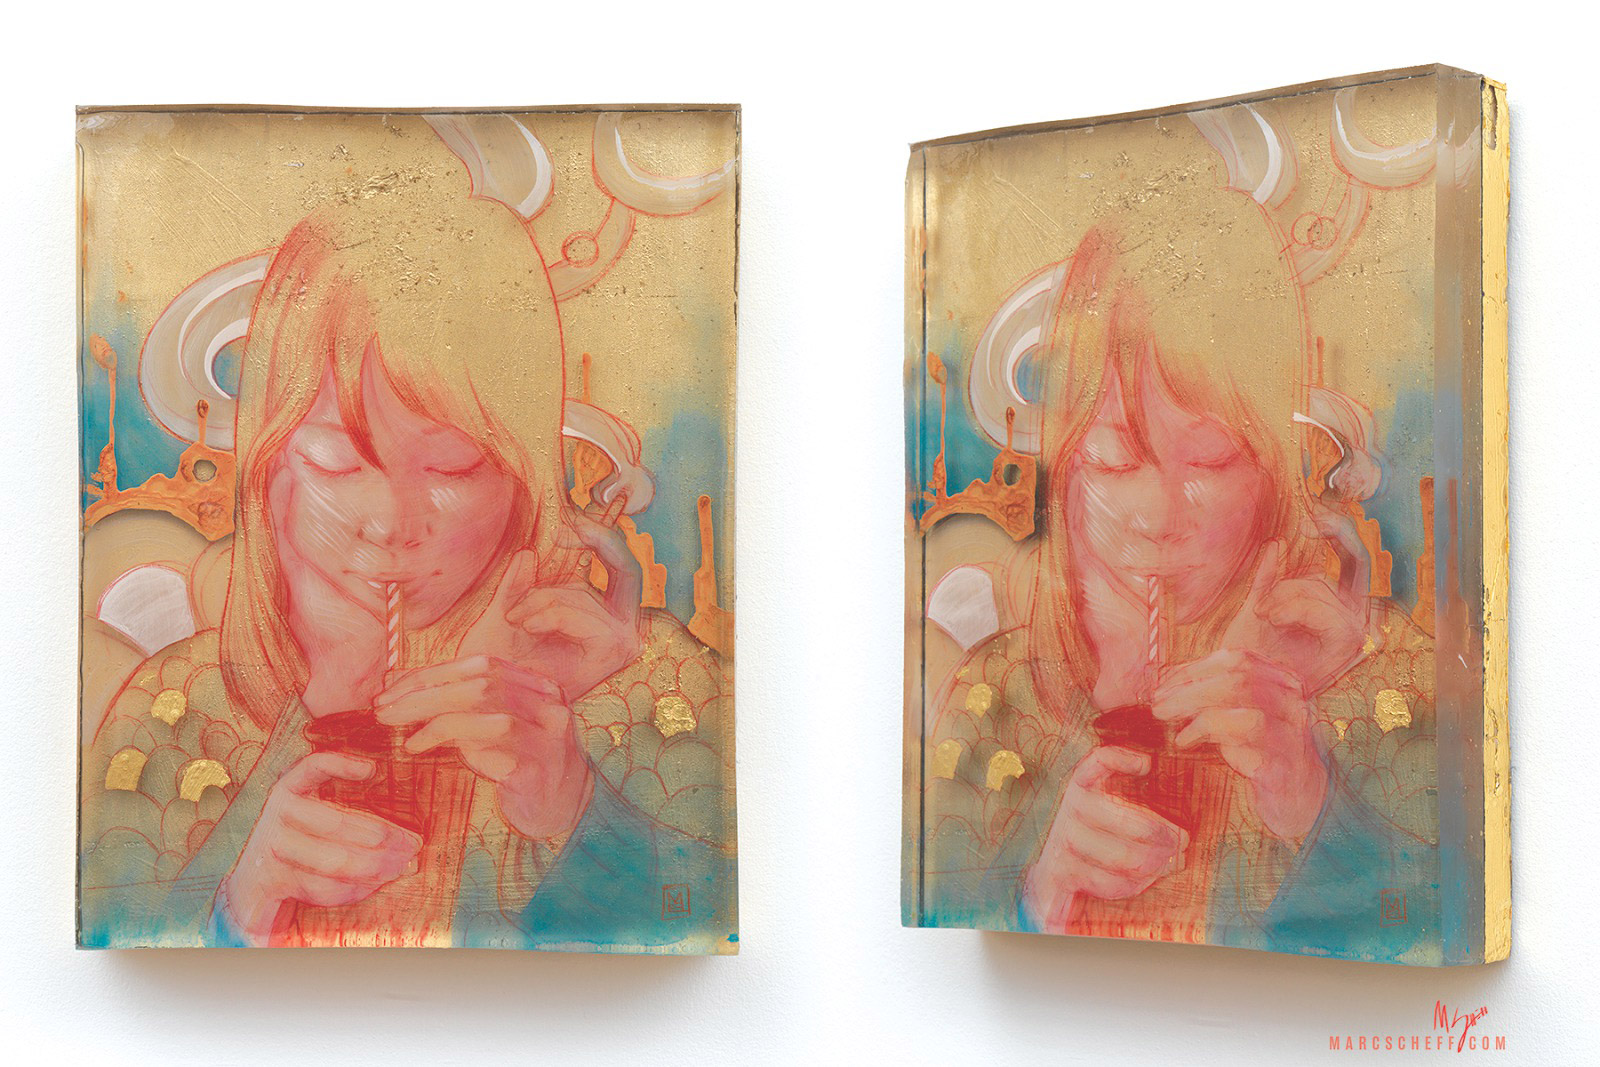
3. Prep a board with gold leaf.
Here’s a video of Odera gold leafing the good-not-great piece that helped sparked the resin-revolution.
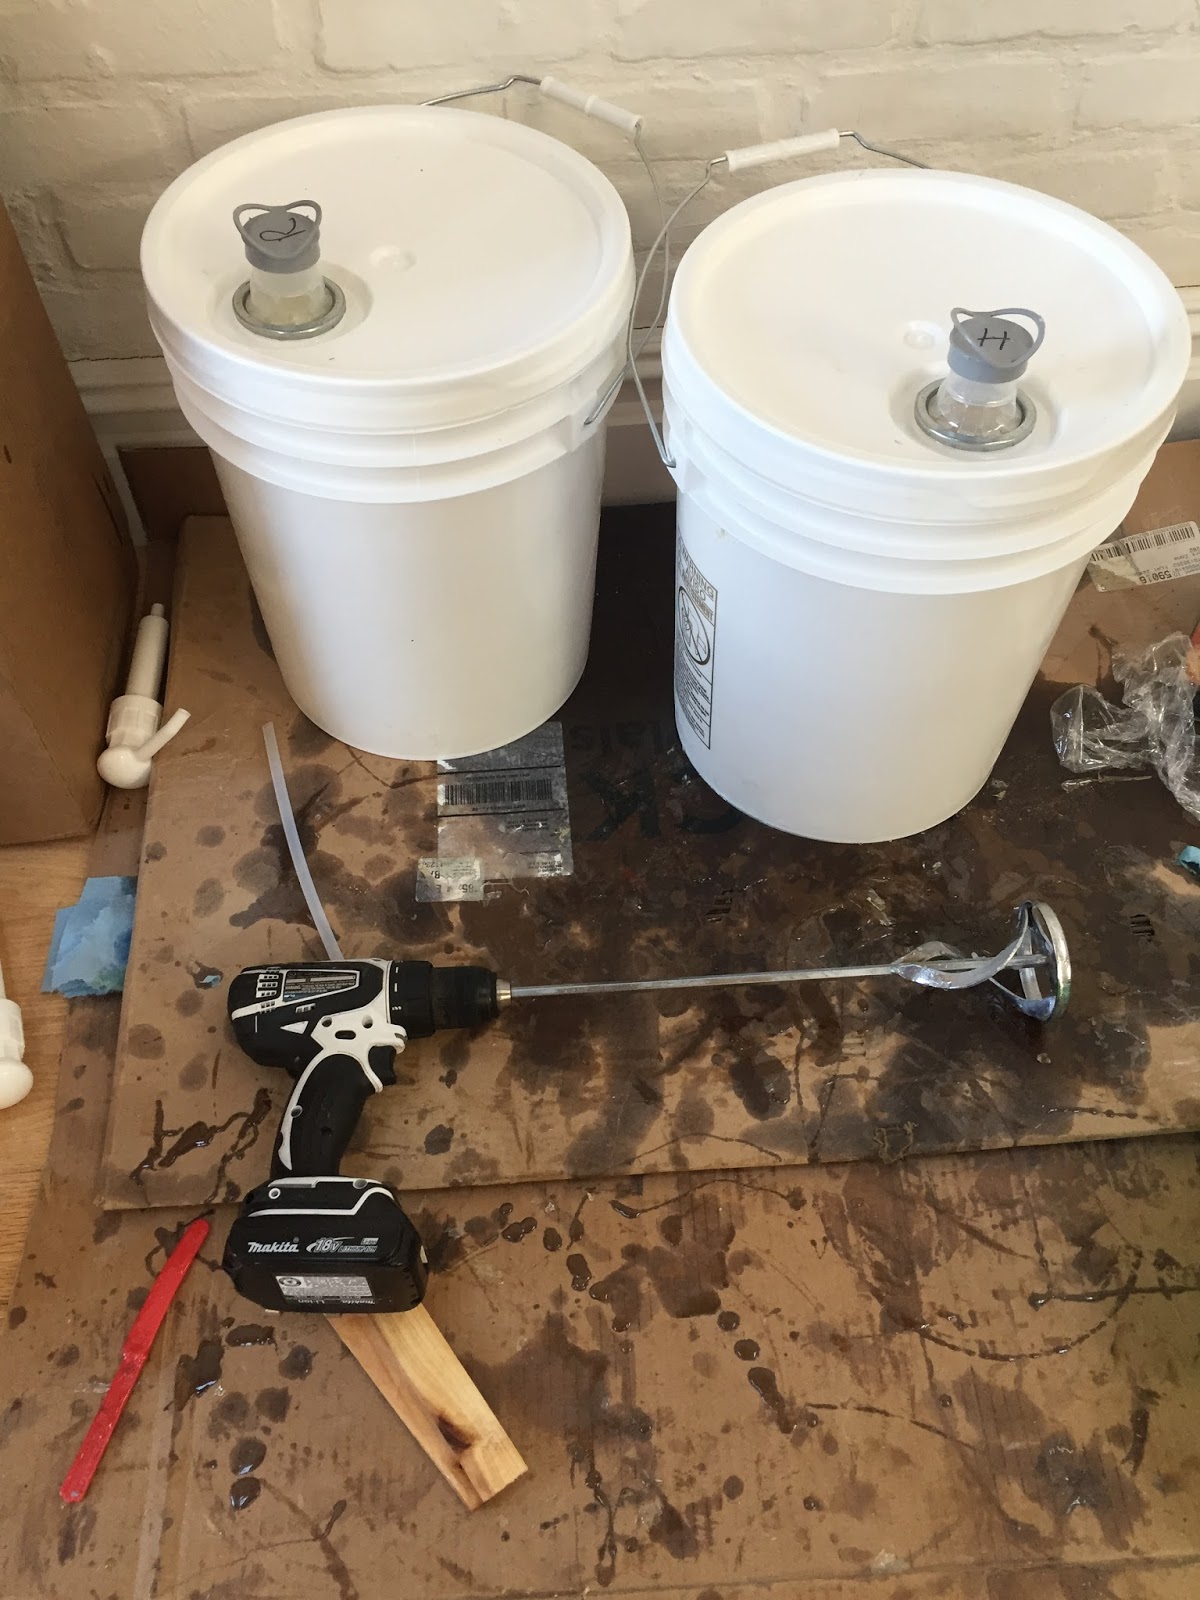
4. Pour first layer of resin over the gold leafed board.
Or if you’re me, a lot of resin. I order my ArtResin 20 gallons at a time. These tubs are 5 gallons each.
5. Transfer the drawing to a resined board.
Once fully cured almost nothing sticks to resin except a transfer using carbon transfer paper. For anything else you will want to do a light sand to give the underlayer some tooth to grip.
6. Another resin layer
7. Evaluate, draw more
8. Back to step 6 until it feels like I’ve said everything I have to say
Steps 1-4 I’d say are essentail in any resin project. 5 and 6 make life safer and easier.
1. Something to work on, a canvas or board.
2. ArtResin
3. Air filter/respirator
This is the one I use.
You can get an air purifier too, but I waited until I was sure of this path before investing.
4. Gloves
I use disposable ones right now because once it gets goopy it’s very hard to get totally clean. But I’m going to experiment soon with ones that will last for a while.
5. Goggles
You don’t want a splash of resin to get in the eye.
I use these great DeWalts for $10.
6. A blowtorch.
After you mix and pour your resin, you run the torch over the surface to heat and pop bubbles. I use this creme brulee torch, and don’t forget the little butane refill can.
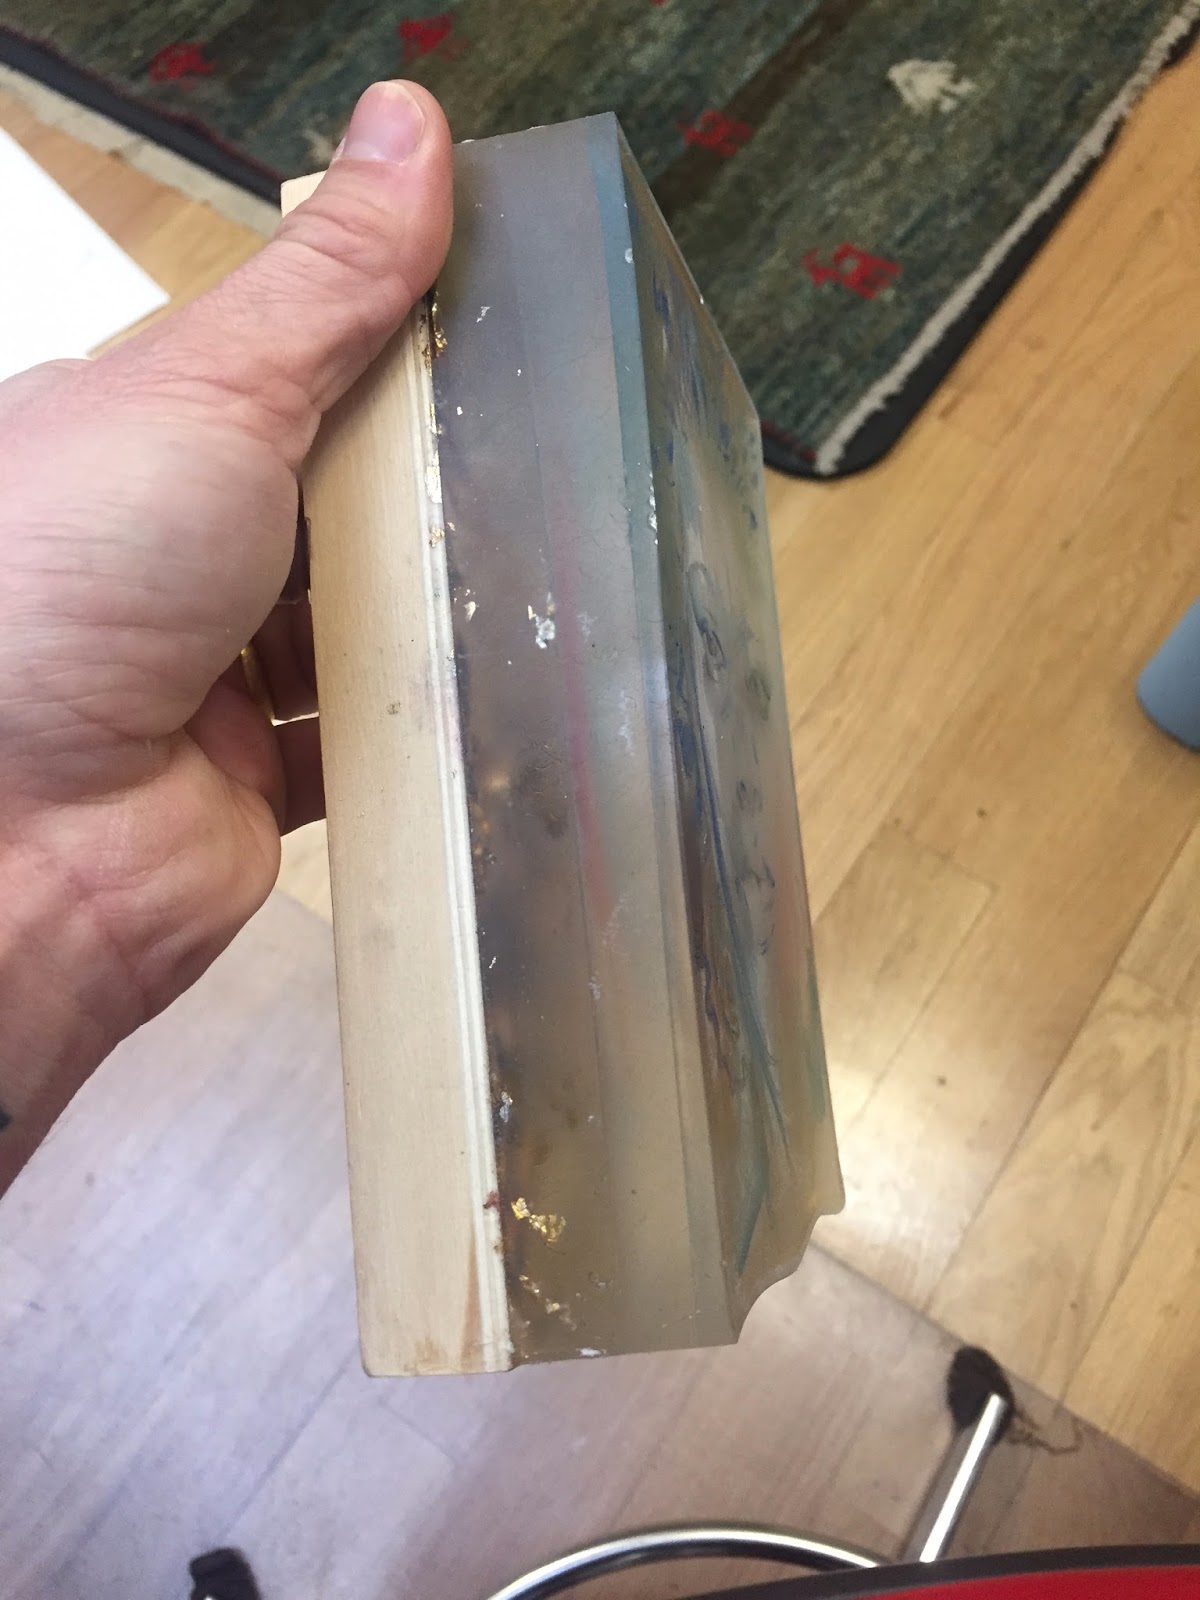
Ok, so the question I get asked most often is how do I get the resin so thick? It’s not a huge secret, I make my own molds.
Believe me, I was actively resisting doing this. It sounded like starting over and putting a lot of hours into a whole new skill, just to make a thing nobody would see, just so I could make another thing that wasn’t a sure bet. But I kept trying new ideas, each time thinking I had the final solution, and each time seeing one thing I could try to make it better.
I’ve probably been through 15 different kinds of prototypes so far. As I write this I’m still experimenting, so I can’t tell you what the final answer is. What I can tell you is that I am excited to try the next idea and fine tune the last one.
Since last March, or April, I have sunk everything into this new work. Time, money, sweat, and actual blood. I’ve been humbled by the positive response from publications and galleries (including Haven Gallery who offered me my first mini-solo show and Rehs Contemporary where I will show in October with five other artists who blow my socks off. Humbled doesn’t really cover it).
All of that only affirms my belief that process and experimentation can lead to anyone’s success. That is the thing I hope to share or inspire, more than anything specific about how I work. Read this blog and you know that mindset matters, that you have to fail forward, that success just means you keep getting back up, that asking for help is required. It’s all here on Muddy Colors, and probably more than once. I hope by sharing a part of my own journey, I might inspire you take a new step in an unexpected direction.
Parting advice:
- Try lots small calculated risks
- Try something new! It will probably be hard and messy
- Find a way to be curious
- Break things
Many thanks to Dan and the whole MC crew for having me back for this guest post!
You can view more work here or see more sketches and process on my Instagram.


Wow, cool! Saw a sample of your work on FB and was intrigued by it but couldn't find anything in detail. Bam! Here is a full post on MuddyColors. Great! Thanks for taking the time to share it in-depth!Really beautiful work you are creating.
Cool process Marc! Looks fun and messy, thanks for sharing.
Oh, wow! A friend of mine just showed me a few of these pieces on FB the other day! Thank you very much for your process breakdown! It's fascinating to see how one random thought leads to a whole new avenue of experimentation.
Out of curiosity, when you mention you heard about “another artist [who] had sealed his work with resin”, was it this guy?:
http://www.thisiscolossal.com/2012/01/riusuke-fukahori-paints-three-dimensional-goldfish-embedded-in-layers-of-resin/
'Cos your work seems to have a similar 3D quality to it.
The share your really gives us excitement. Thanks for your sharing. If you feel tired at work or study try to participate in our games to bring the most exciting feeling. Thank you!
hotmail sign in | red ball game