Around a month ago, Marvel Comics commissioned me a set of four connecting covers for the “No Surrender” storyline from the Avengers title. It was a very enjoyable and challenging job, and I thought it would be worth sharing a bit of the process.
The first thing to have in mind was that the composition would have to work as a whole, but also as four independent covers. Each with its own space for title, credits, bar code and room for each and every character.
A project like this one, being an epic saga, with lots of characters involved, can be overwhelming at the begining. For me, the best way to start was making a list of the characters involved and stablish which ones would be most prominent on the covers. In this case: Falcon, Roberto Da Costa, Voyager, Rogue, and Quick Silver. I also wanted the Avengers statue to be an important part of the covers. This alone already helped me to start the composition.
Most of the times, I do two or three different sketches for each cover, but for complex covers like this one, where doing more than one sketch would take too much time, I put all my efforts into just one.
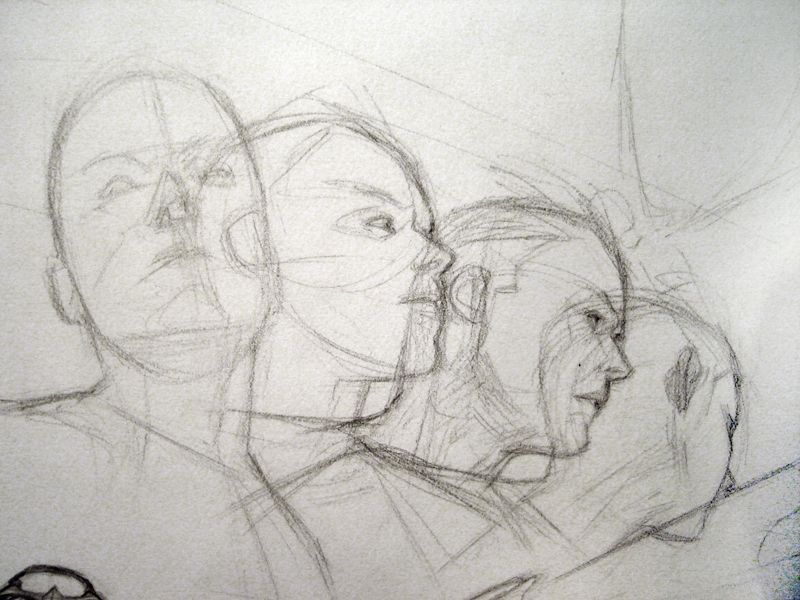
This is an early version of the sketch:
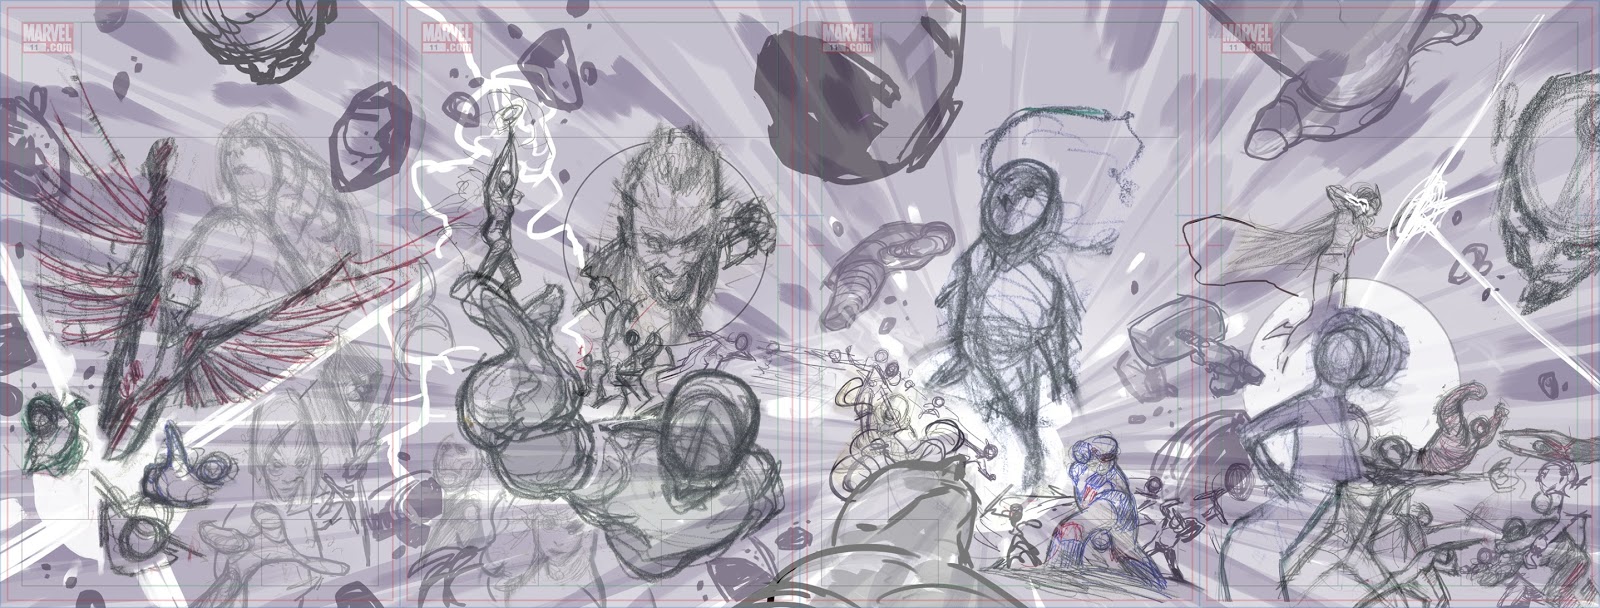
It’s a mix between pencil sketches from my sketchbook and Photoshop editings. From here, I had a pretty good idea of where the cover was going but it still needed to be polished to show it to my editors for approval.
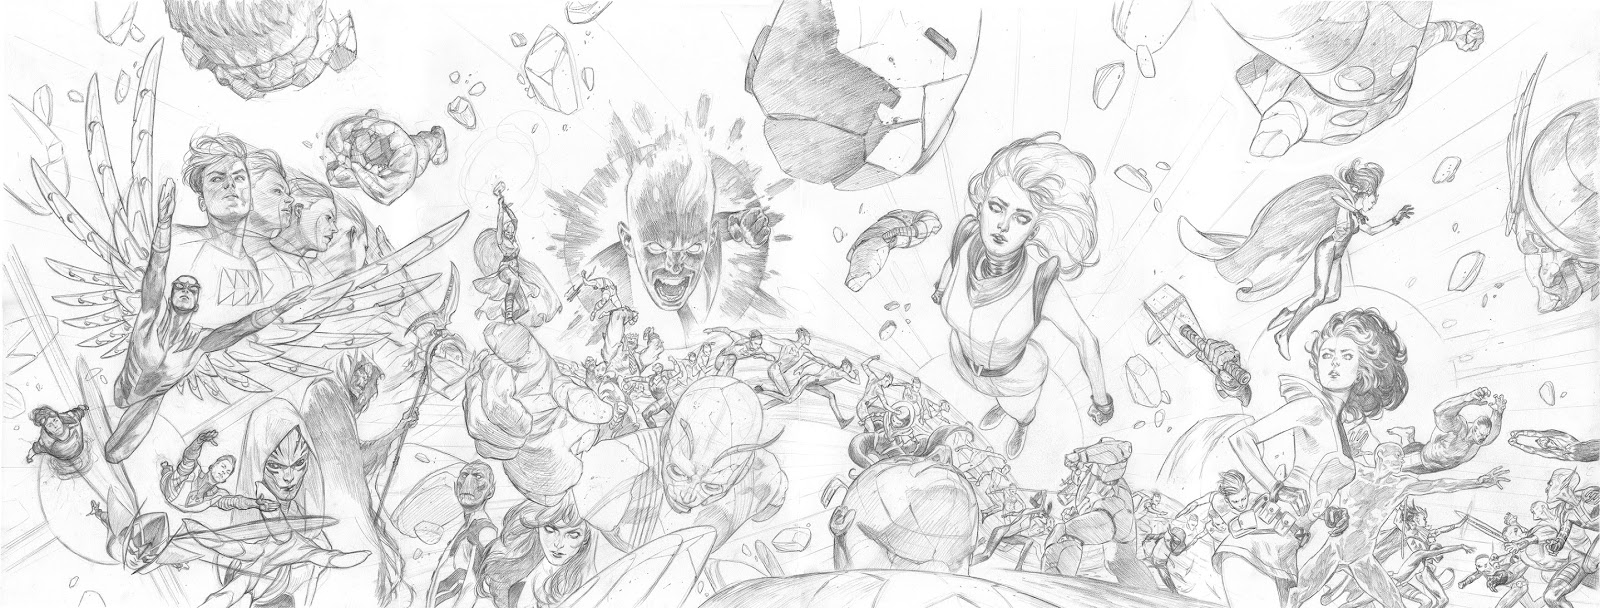
Here’s the sketch, ready to be shown.
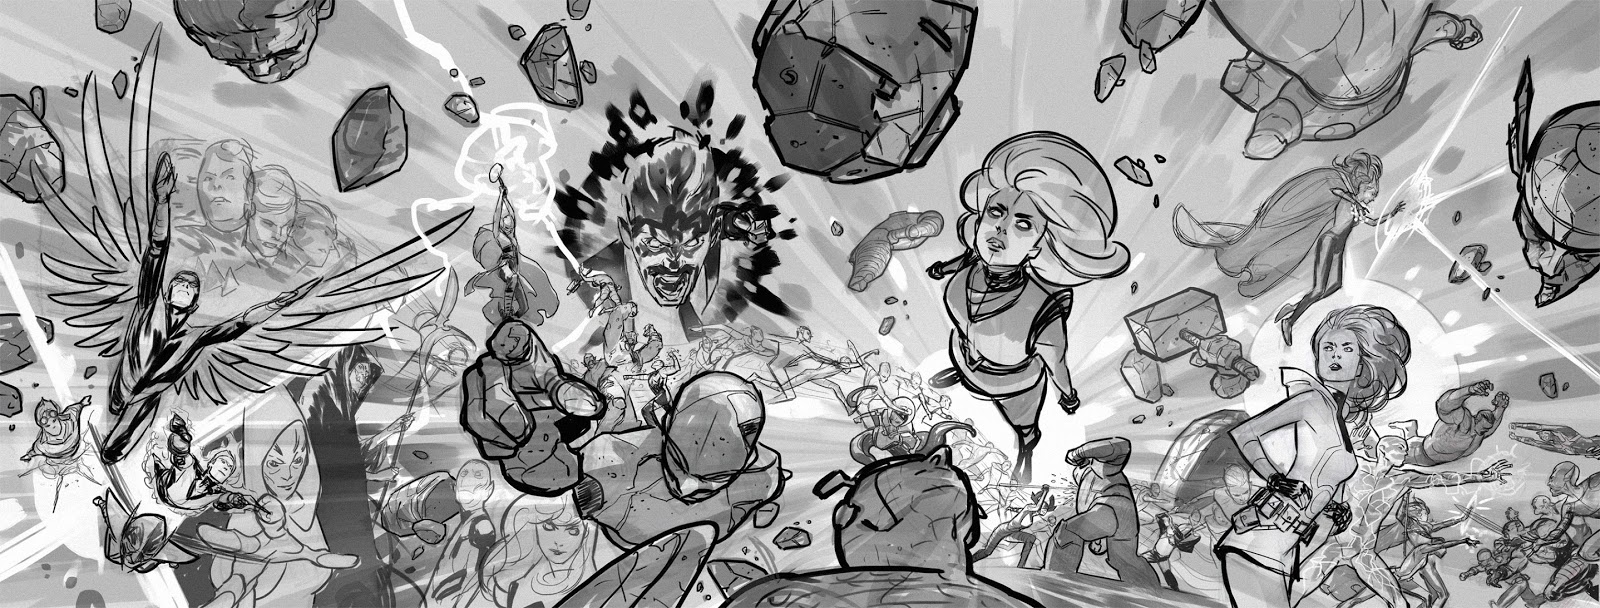
This cover is my world to create and play, and a lot what’s happening here it’s happening mainly because it helps the composition. A few examples:
– The idea of using an abstract environment, for example, gave me the chance to place the characters in the order that I wanted, and move them around to benefit the composition without worrying about perspective. It feels more like a collage of different moments than a bunch of characters interacting with each others in the same space. The latter would have been more difficult.
– The sky in the background points out to Voyager, which for me was the most important character here.
– Quick Silver running across the image was an excuse to use an element to tie the covers together.
Once the sketch was approved, I was ready to start working on the actual covers. The smart thing to do would have been doing a color sketch in which I could rely later. At this point I was panicking a bit: I had a lot of work ahead and the clock was already ticking, so I thought “OK, let’s forget about the color scheme for now. I’ll figure it out later, on the final piece”. BIG MISTAKE! It was cocky on my end and it bit me back in the end. I’m not saying that there’s something wrong with the colors in the final piece, but not knowing exactly where I was going made the process much more difficult and , in the end, longer.
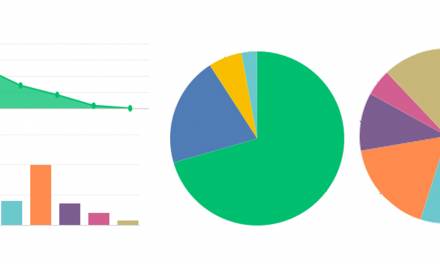
Ok, the next step was to print the sketches (11″ X 17″ each) and put them over the light box to trace them roughly. This is mostly so I don’t lose the composition and the distribution of spaces that I had already achieve in the sketch.
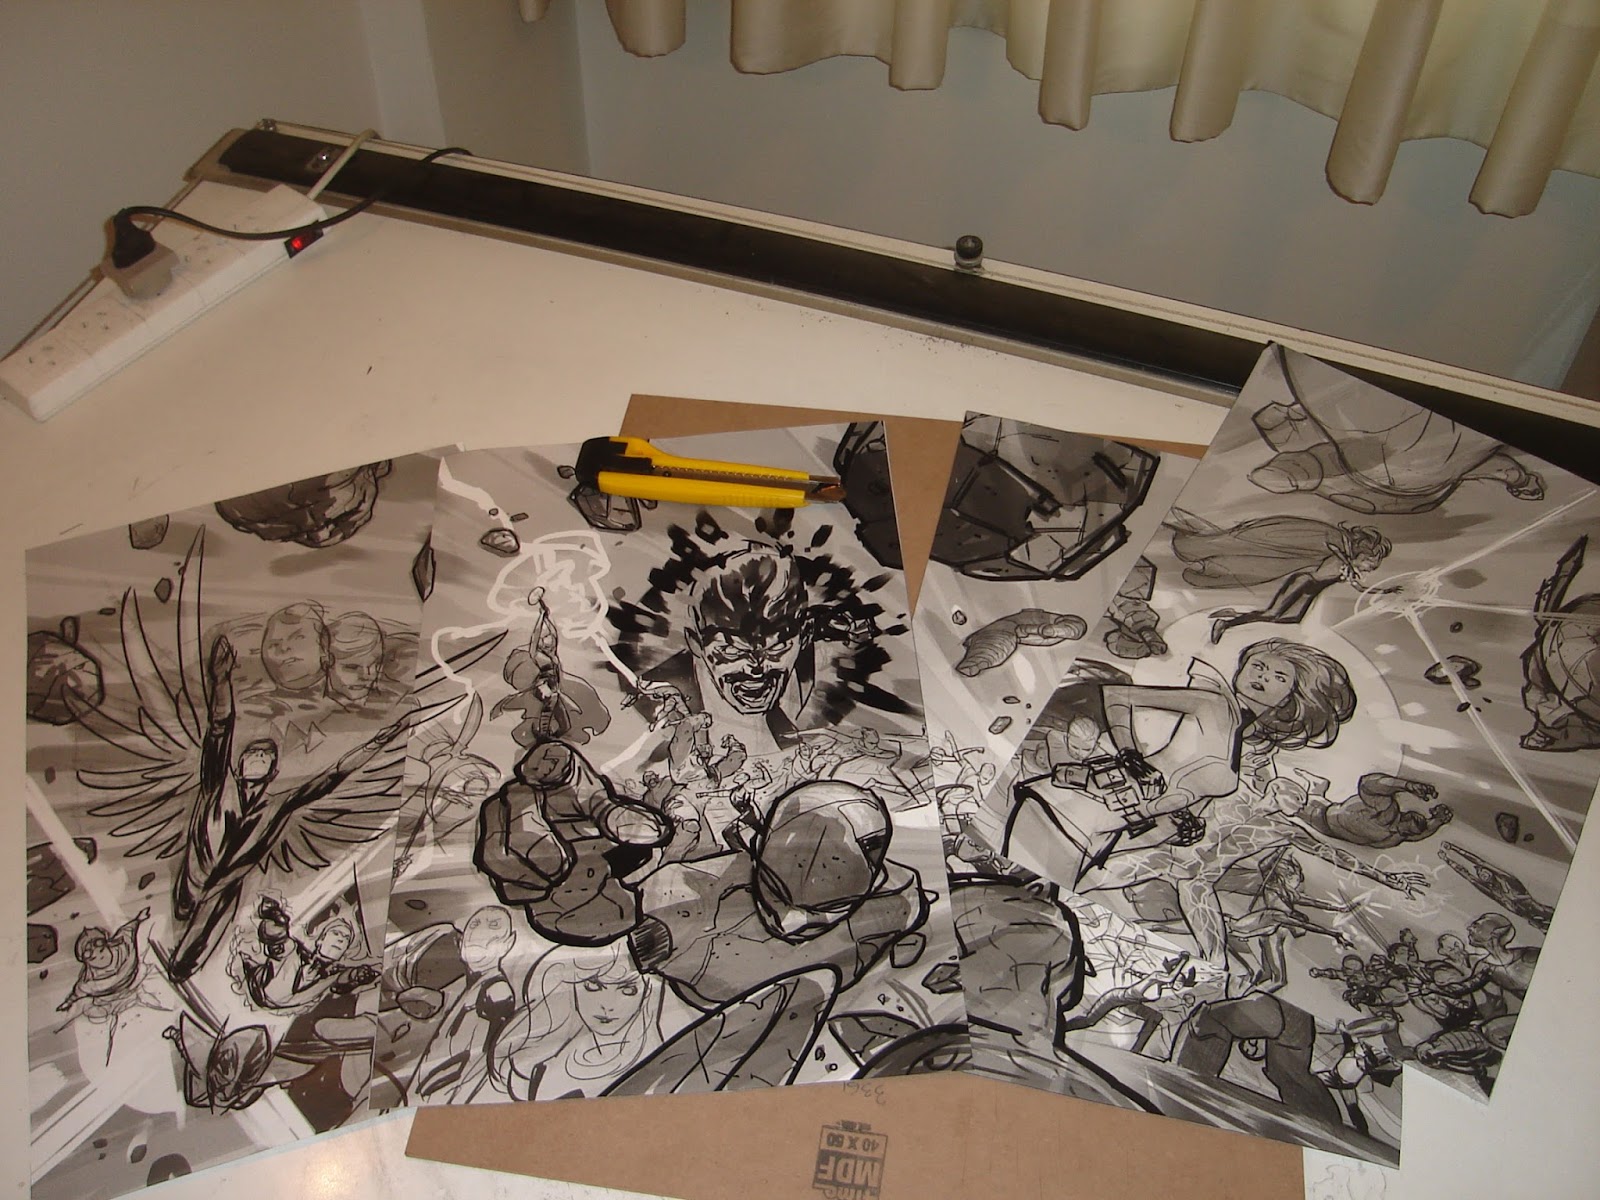
I’ve used tech pens: Two 0,5 (HB,2B) and a 0,3 (B).
The pencil here work mostly as a map, so I didn’t go into much details rendering the figures. I’m leaving that for the digital part of the process.
After scanning the pencils and put them together into one file comes a very boring part of the process, which is fixing the unions between covers. Also, I ussually edit/fix any minor error like a big head, a long arm etc, but I try no to become too obsessive with it. Once that’s done, we’re ready to start painting.
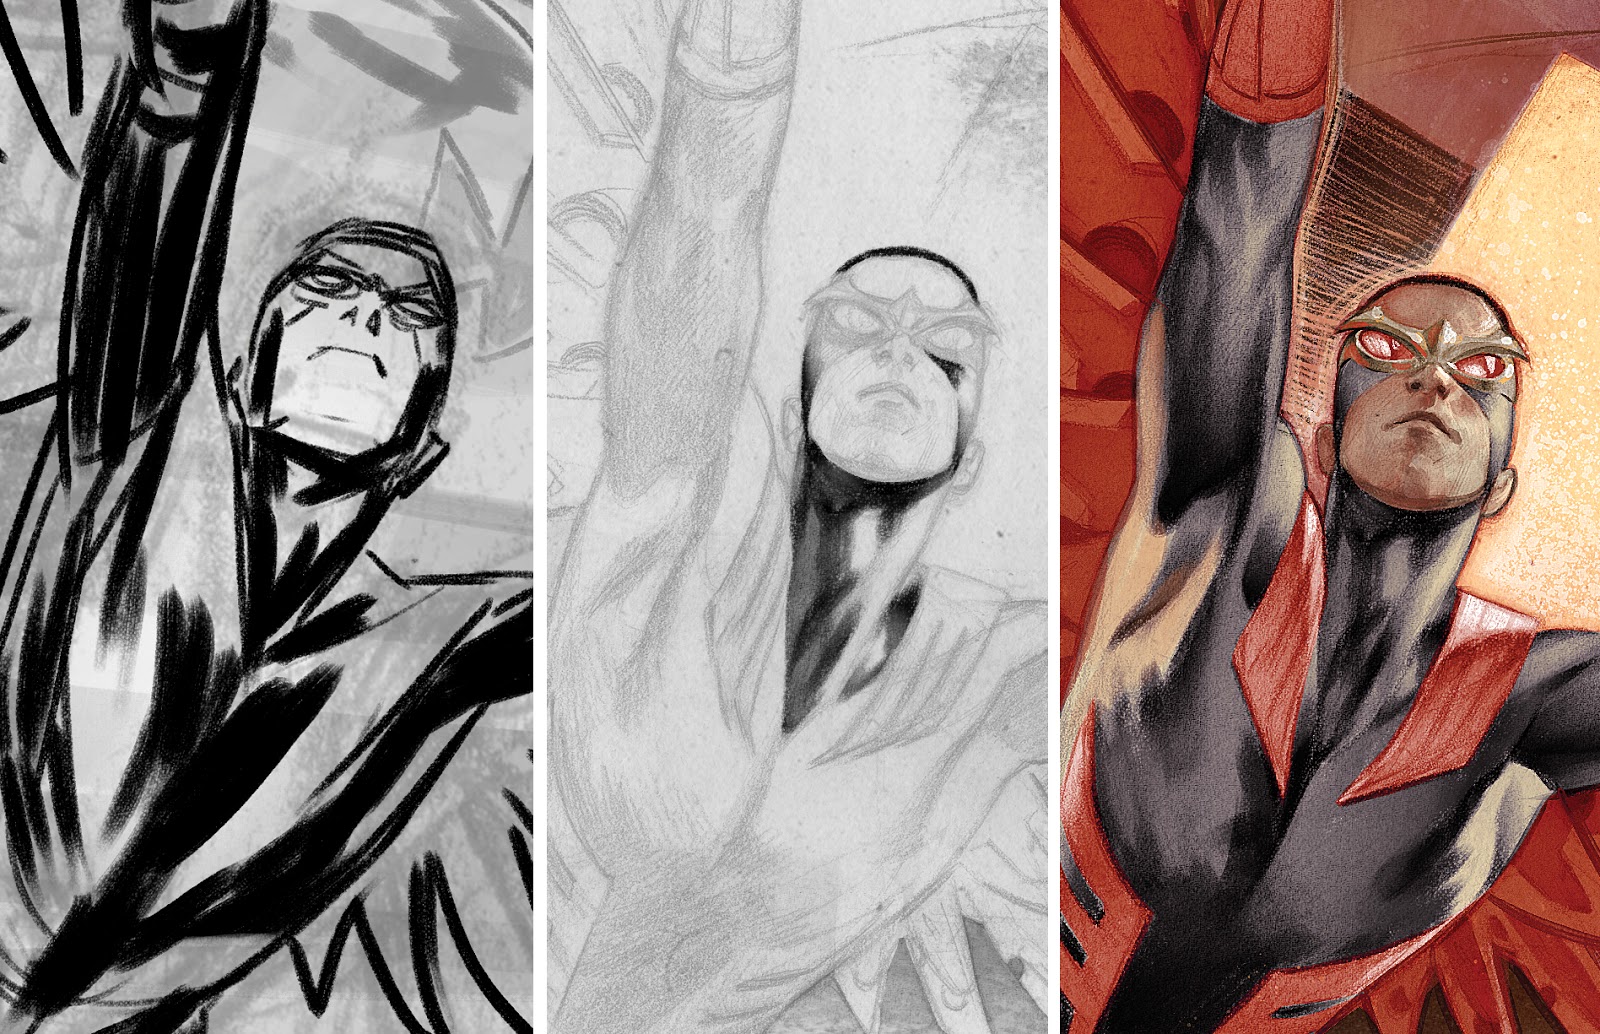
For this particular cover, I thought I’d try a method that I’ve seen other artists use to speed up the painting process, which is working the values on grayscale and colorize it later.
I’ve used, mainly, two brushes for this covers (Both from Kyle T.Webster): One is the “Ultimate 2B Pencil” and the other the “Real Watercolor Thick ´N Thin”. Both of these combined with a soft Eraser with a slight texture.
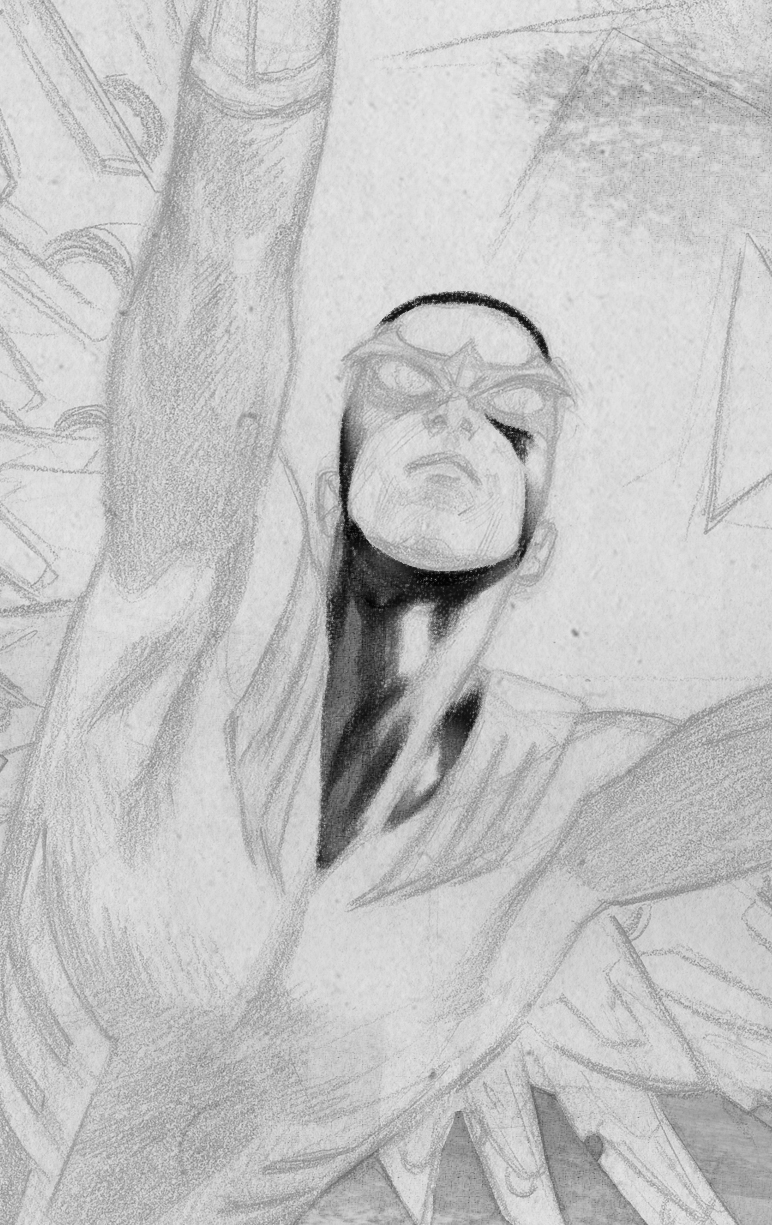
Notice that the layer below the pencil is not pure white, but a light gray with a slight texture.
I usually work with a more “painterly” brush strokes , but for this covers I wanted to try something a little different and work with a more soft and polished rendering, using some stroke lines around the figures.

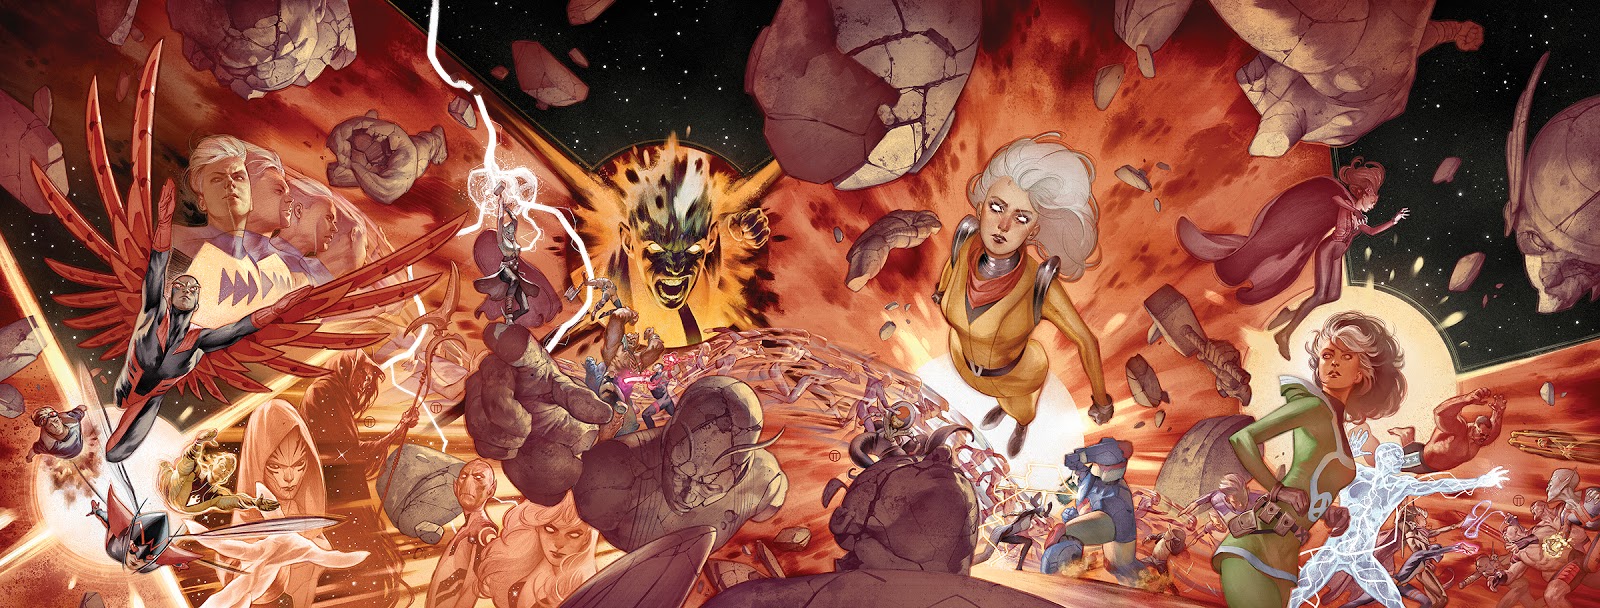
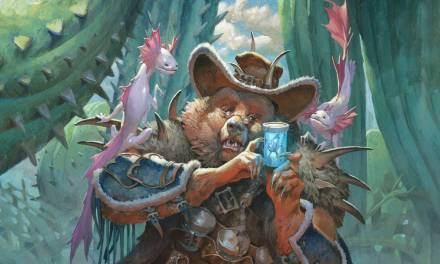
At this point, I felt I was ready to move to the coloring stage. I’ve started by stablishing the basic colors using layers of “Selective Colors” and “Hue Saturation” and here’s where I’ve realized that I should have prepared a color sketch. Again: BIG MISTAKE!
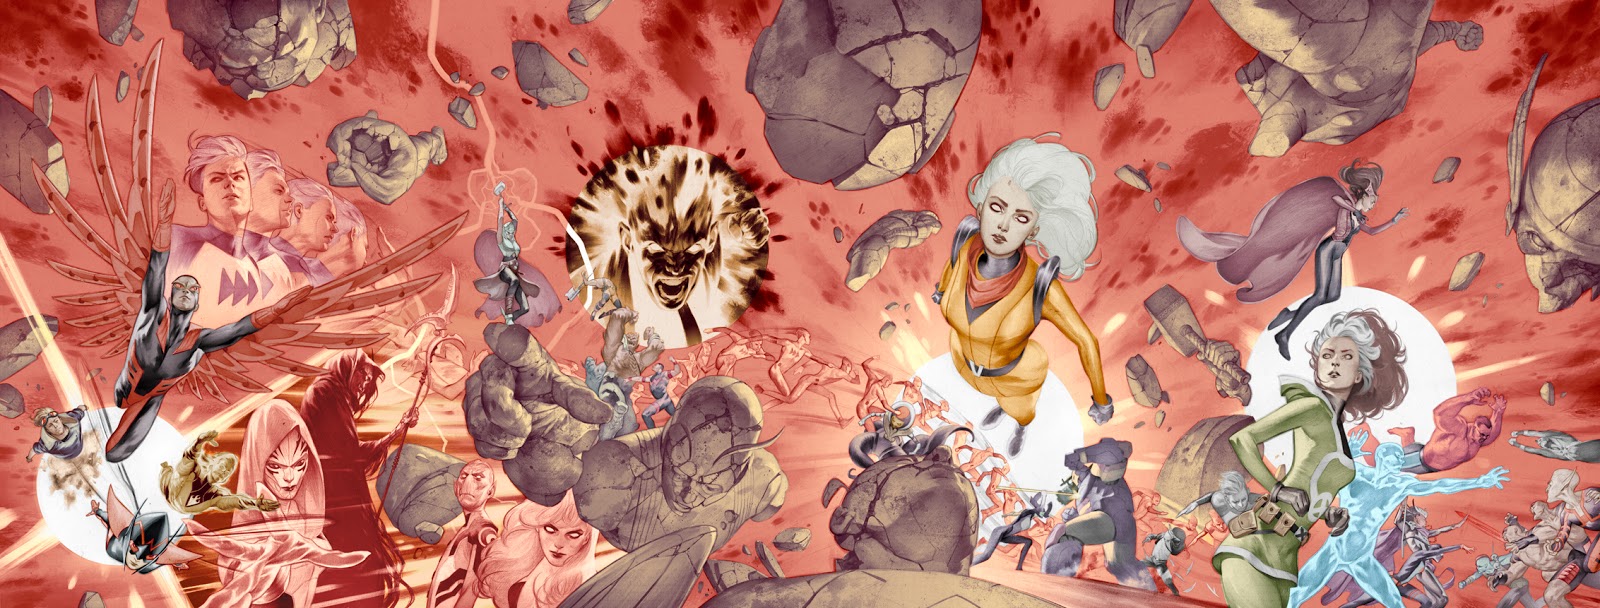
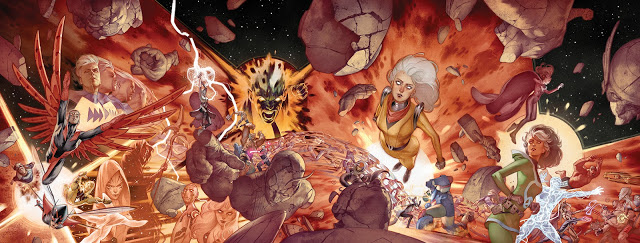
After fighting a while with the colors, I’ve finally reach to the end.

Rendering in grayscales and then colorize it wasn’very enjoyable for me. I’ve seen terrific pieces of work using this method, but for me, it makes the process less enjoyable. I guess I enjoy the rendering more when it’s done with colors. Or maybe, the process would have been more direct and enjoyable if I had a color sketch to follow. Maybe I should give it a try again on a less difficult image.
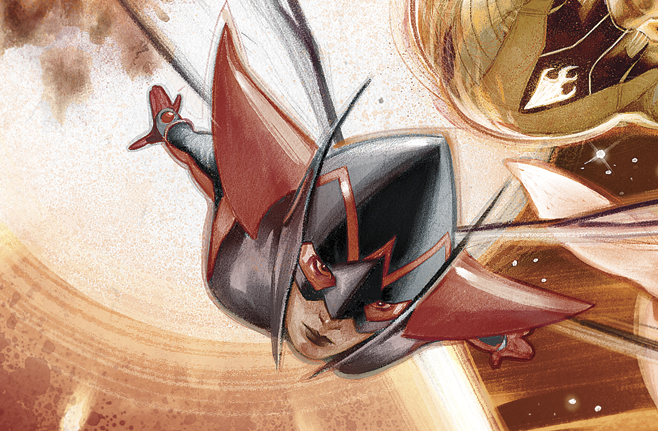 |
| Detail |
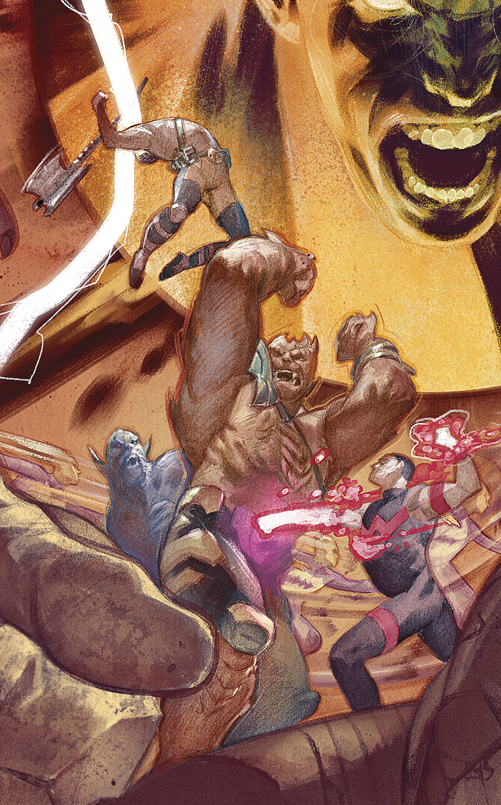 |
| Detail |
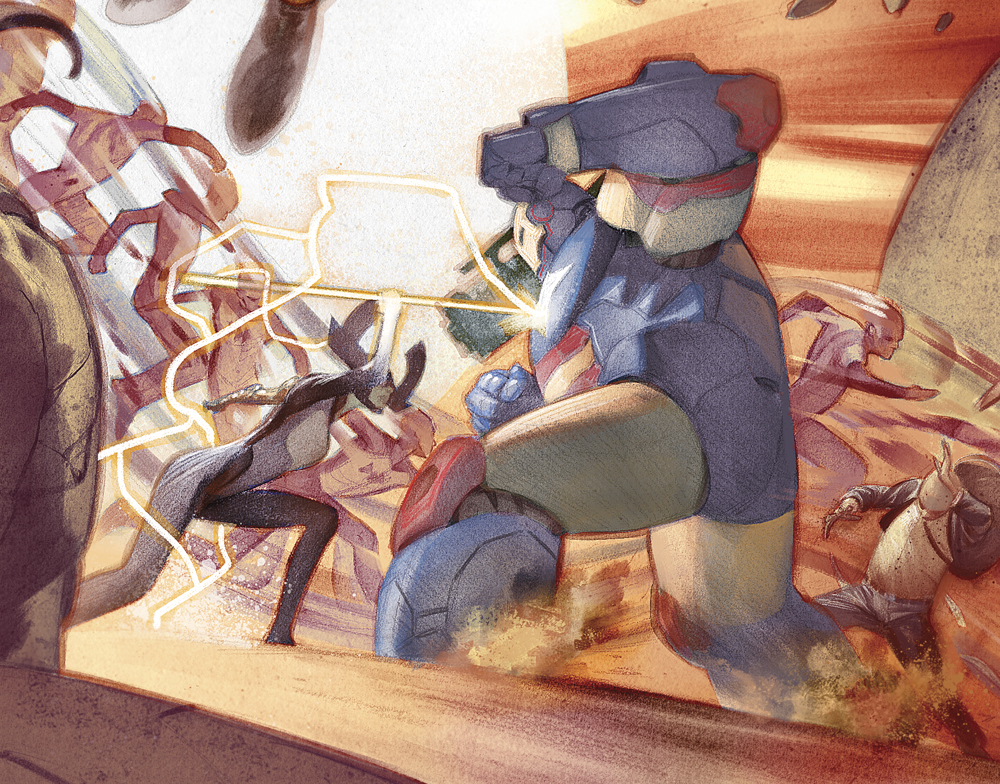 |
| Detail |
For this post, I’ve compress the process in a few very basic steps, but feel free to ask anything you want in the comments section. Always happy to get some feedback.
Excellent post, very well detailed.
Beautiful work!
Even though the grayscale process wasn’t enjoyable for you it still came out successful! Very lovely. I love seeing great artists experiment and find what works for them. What were the dimensions of the piece? you really got some gorgeous detail.
Thanks! The original pencils are 11″x17″ each. The digital file is a little bigger than the printed version, in 400 DPI.
Brilliant post! I like your process and it’s very interesting.