Hello again! I’m working on this character again. Let’s dive right in to rendering his hands.
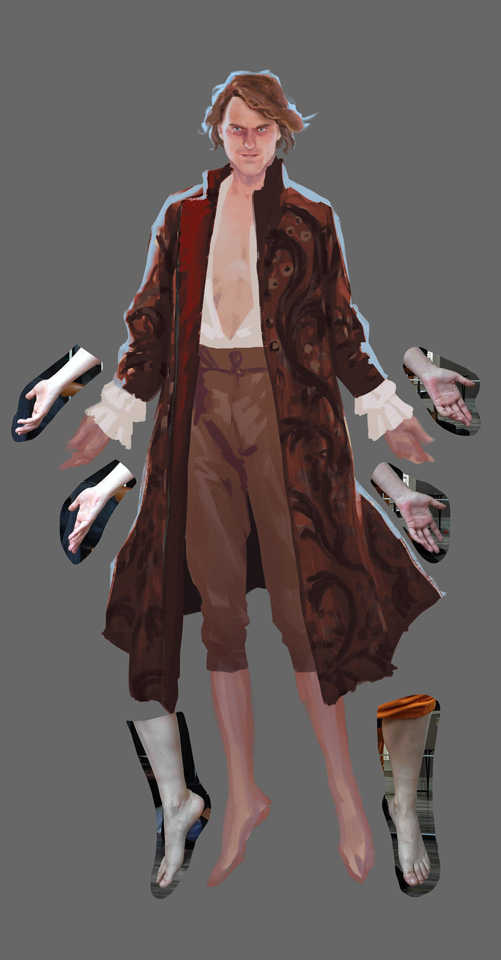
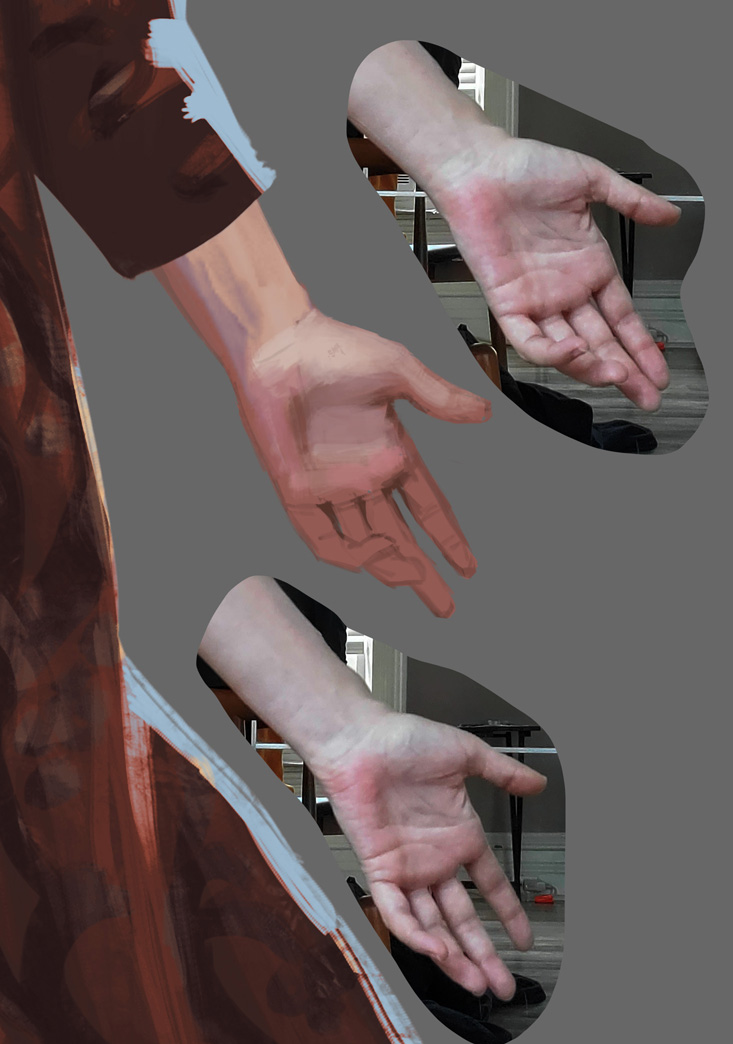
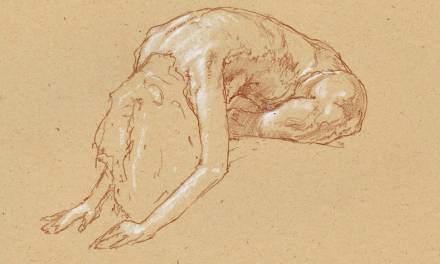
Hands are super expressive, and can sometimes show even more of the acting than a character’s face since they can be read in silhouette. I’ve already got some self-reference shots, so I’m going to use these to start in on the first step: the line drawing. Here’s the starting blob:

My first step is often to create a new layer and draw the palm of the hand. It’s the simplest part of the hand overall but it can be deceiving. The palm is flexible, and can curve inward to facilitate different poses and motions. Drawing the palm first and then dividing the knuckle side of the palm into four sections allows us to figure out the origin points of the fingers.
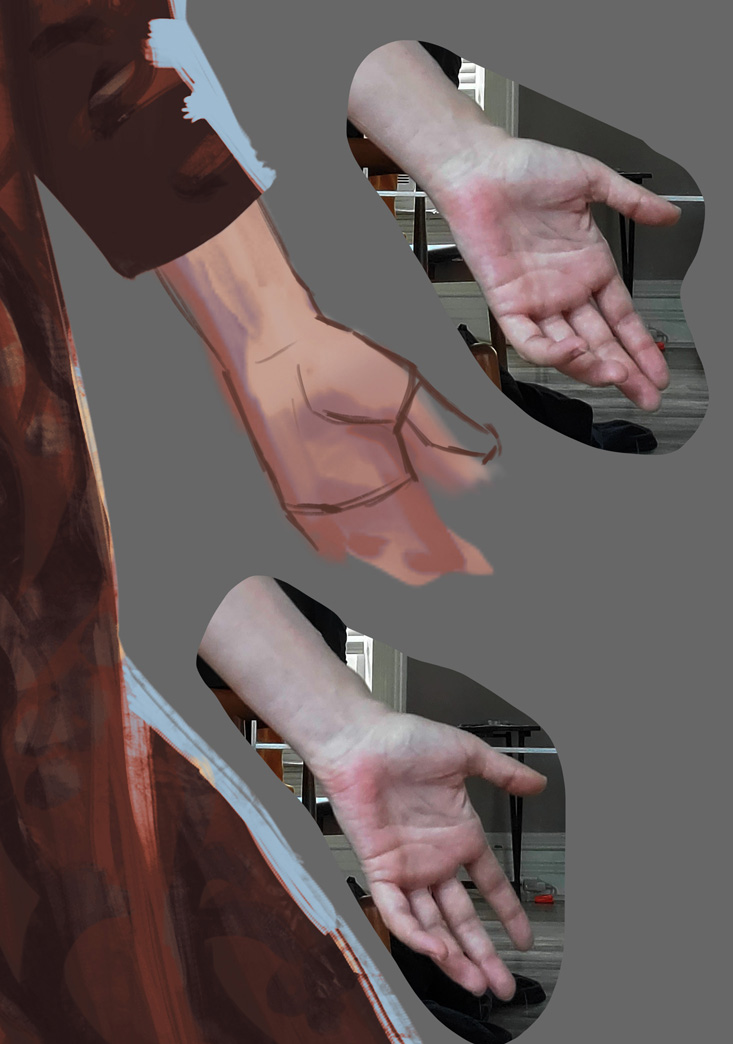
Next I rough in the fingers. I’m combining elements I like from each of the two reference shots.
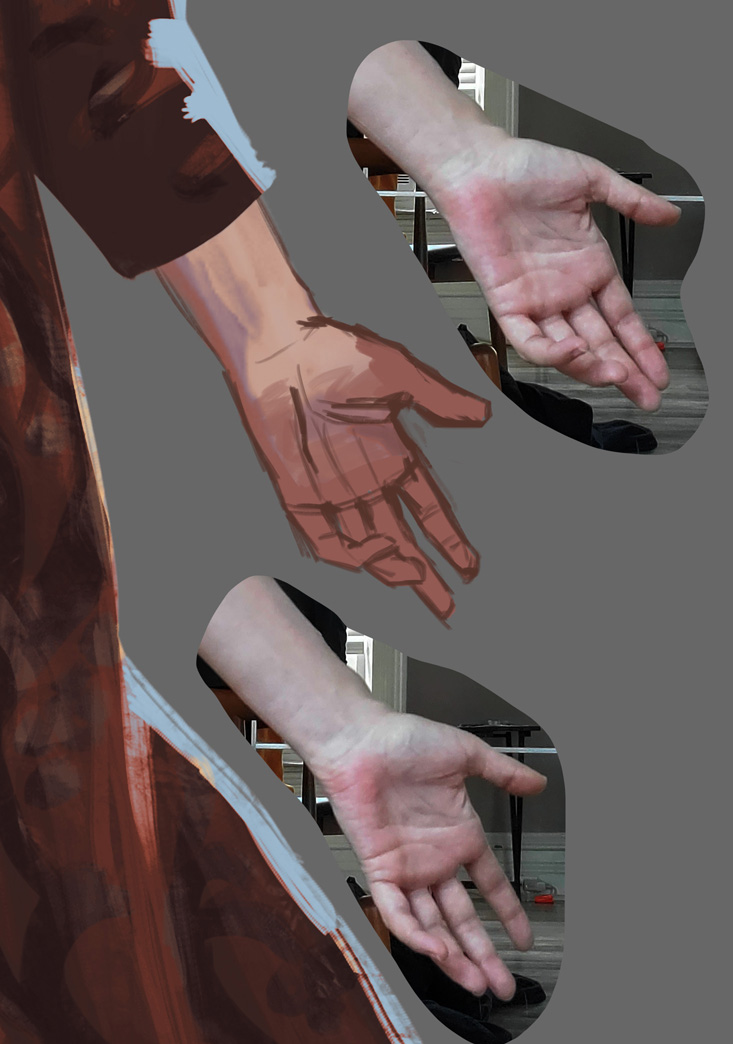
I opaquely paint the fingers underneath the line layer, using a reddish tone so that as I render later, the red underneath will create a hint of the warmer tones under the flesh in the fingers and palms, and then clean up the silhouette by erasing rough areas of the line work.

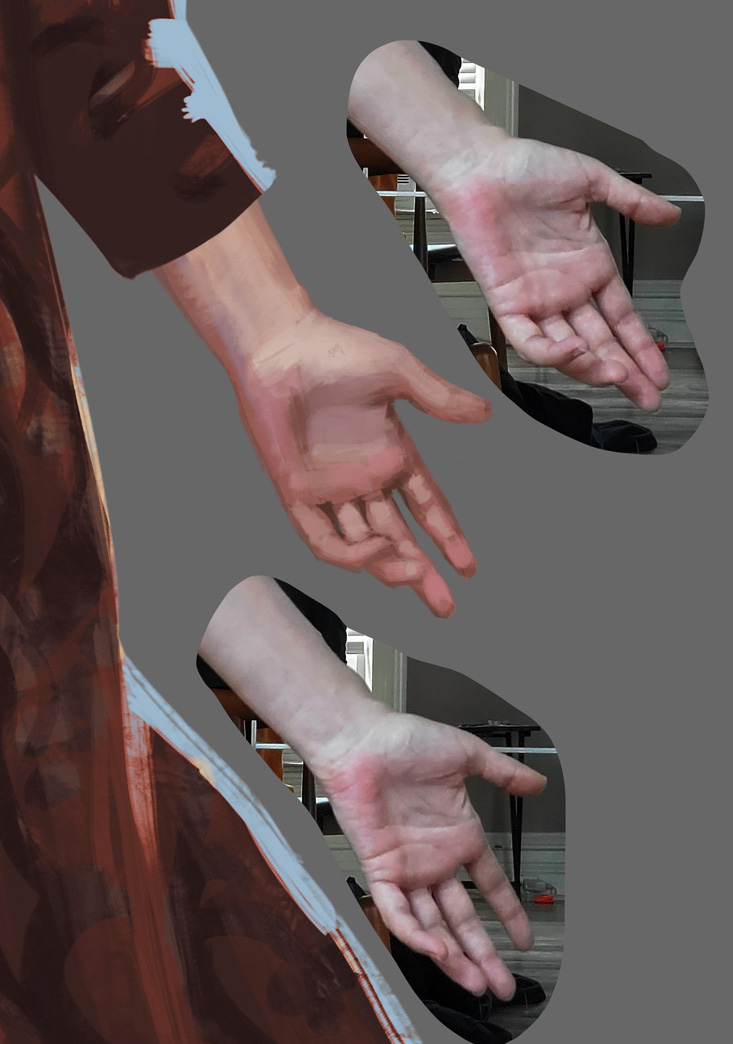
Then, since the linework is on a separate layer, I can lock the layer transparency and paint my reddish undertone in all but the darkest areas, modulating the transparency using lighter or heavier pressure with my brush.

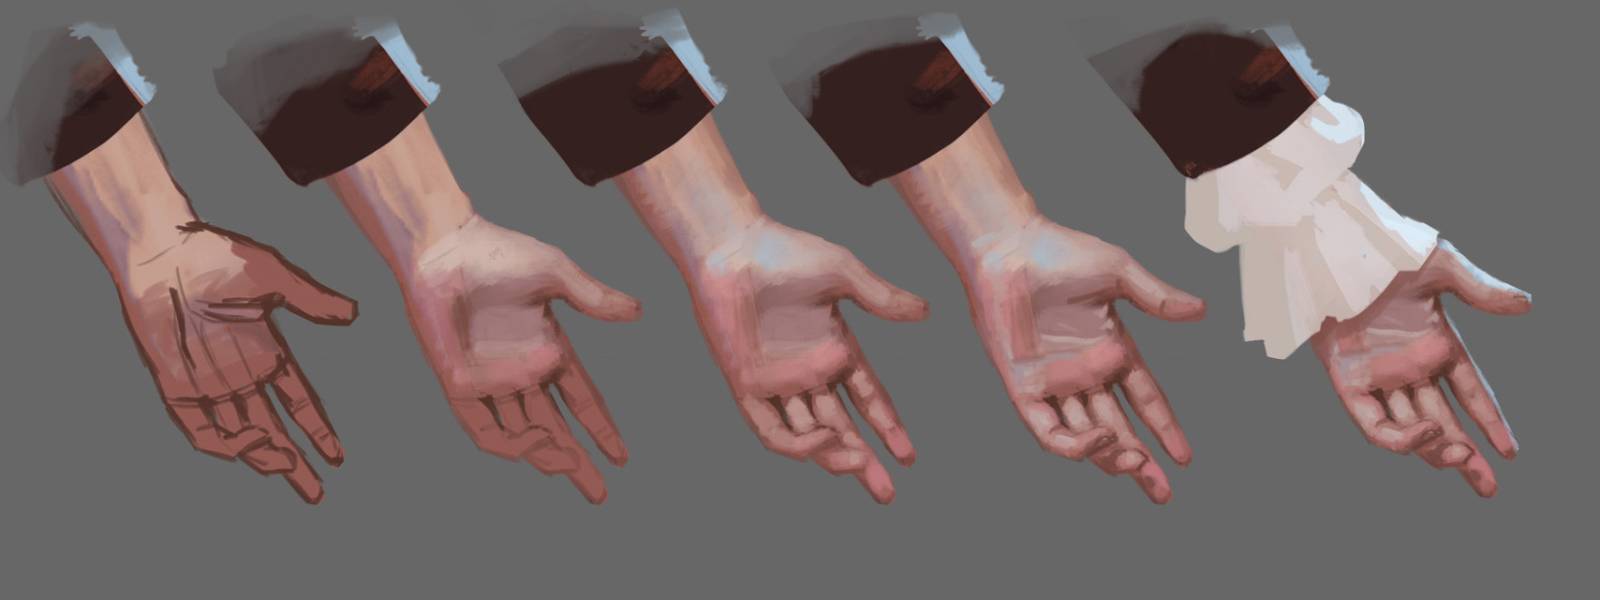
After that, I flatten the line layer down, lock the transparency, and start blocking in the render, paying close attention to both value and temperature shifts.
With every stroke I ask myself if this spot needs to be darker or lighter than the areas nearby, and then warmer or cooler, and finally the relative hue as a final consideration.
The area from the wrist to the first knuckle of the thumb has this really interesting bluish hue…
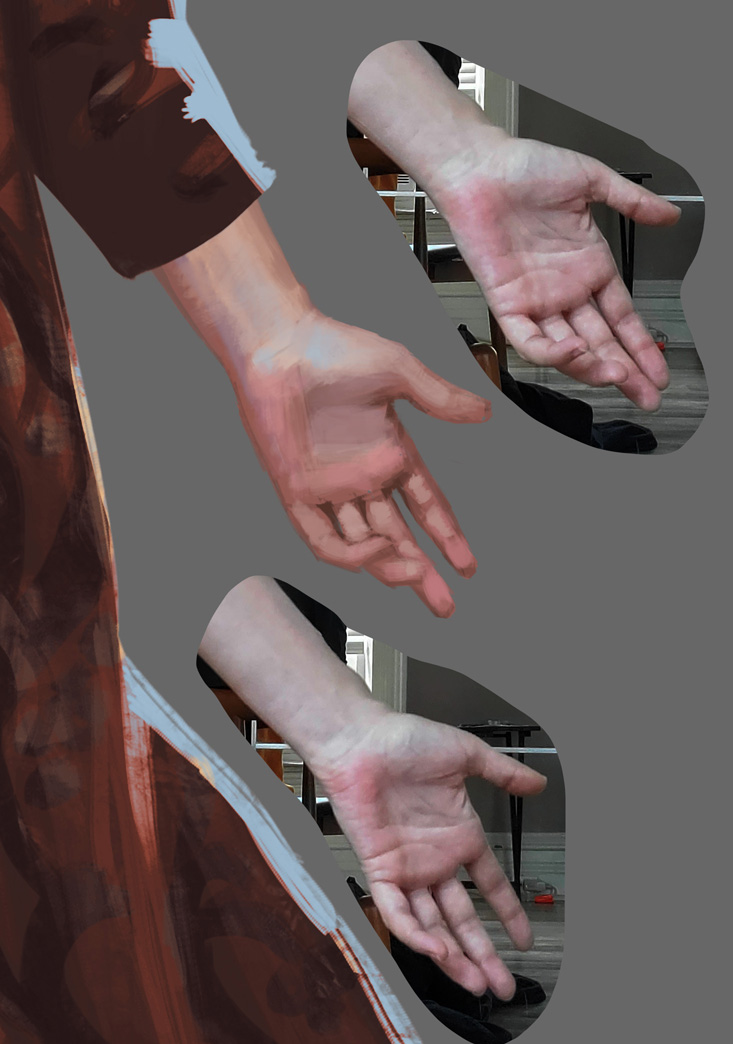
Next I can start getting some of the smaller details roughed in.

And finally I can get to finishing touches; losing some edges and adding cast shadows to bring more of a sense of 3 dimensionality to the fingers.

I run through the same process on the other hand, then turn the shirt layer back on and clean up the edges of the cuffs to conform to the hand underneath. I create a new layer underneath the shirt layer and clip it to the body layer, to create cast shadows form the cuffs of the sleeves over the hands. Then one of my favorite steps: locking the layer transparency again and painting a little rim light.

Next, it’s the same steps again for the feet: line art, block in, and then render.
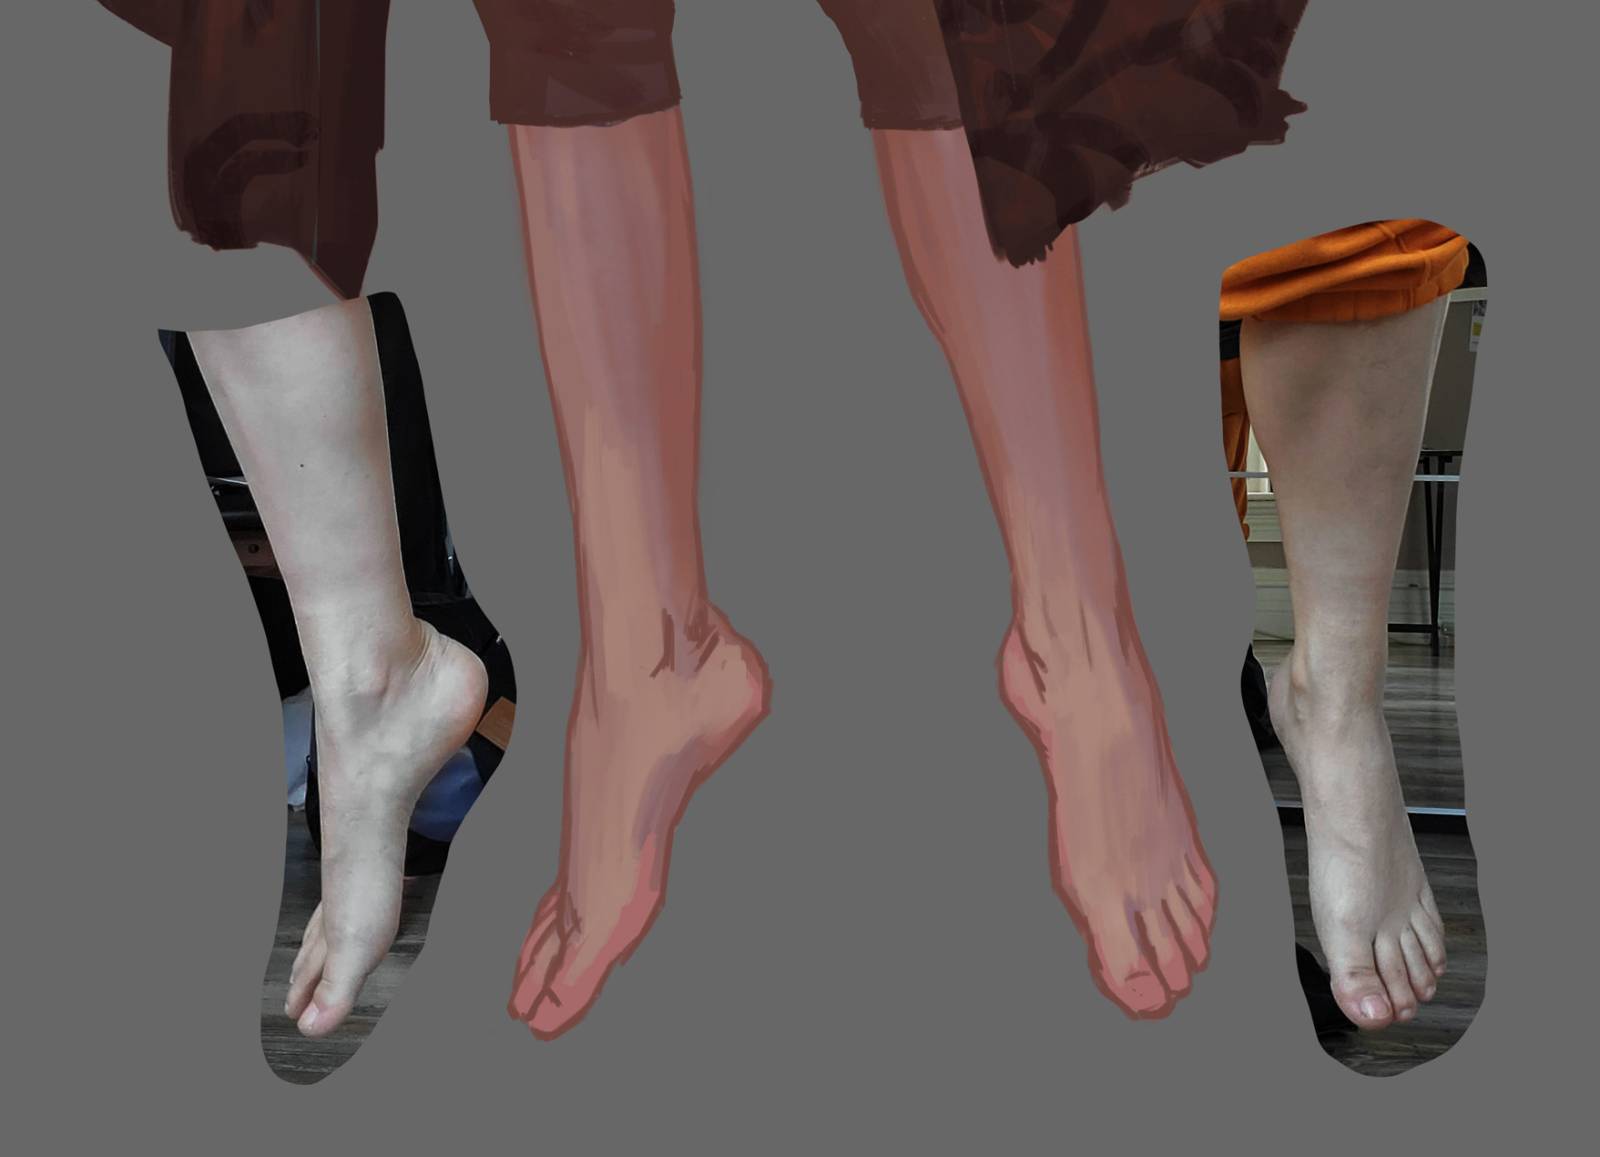
Here’s a bit further along:

Here I adjust the curves to darken the feet to match the light falloff from the top to bottom of the figure, and then lock the transparency and get a little of the blue edge light in.
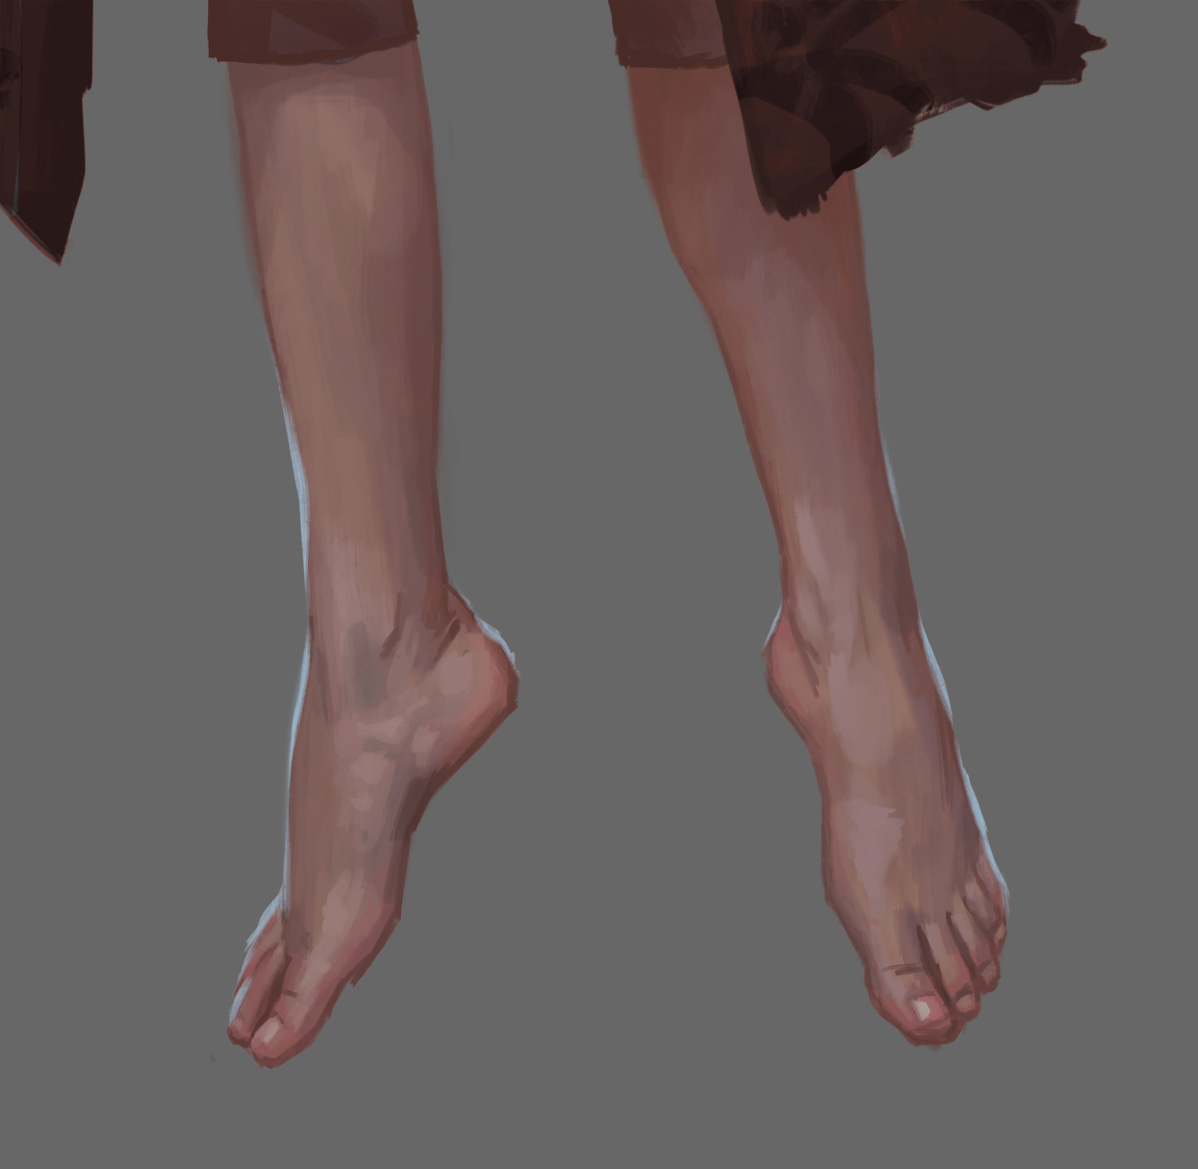
This looks good for now!
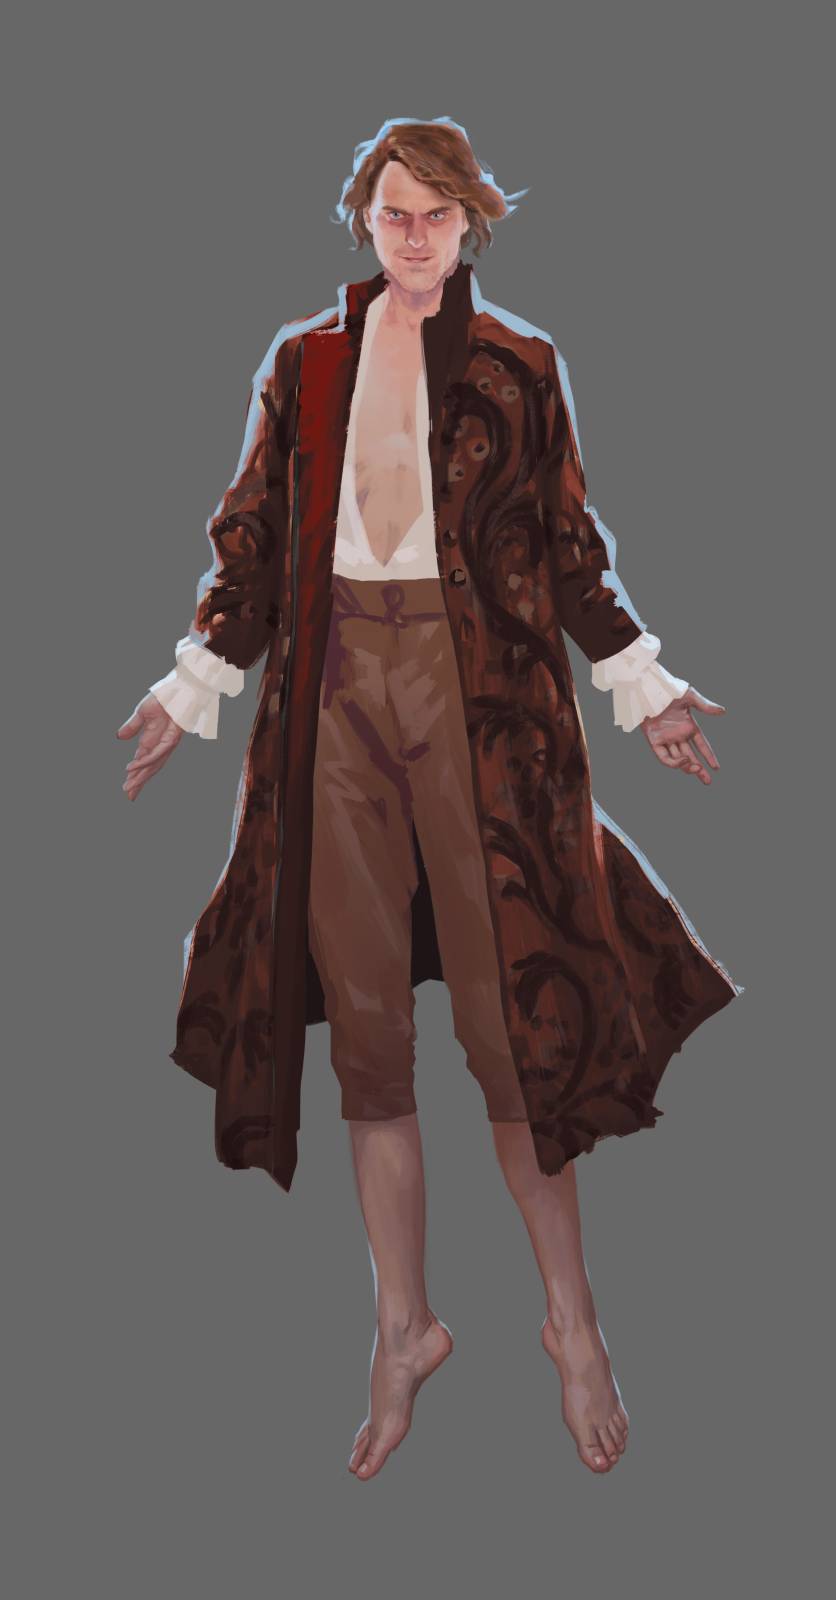
This is about how far I usually take the render on hands and feet for a character concept design. I’ll continue with the render, moving on to the chest and costume next time.

That extra time and attention on the hands and feet really brings the character to life. Looking forward to the final!