This month I thought I’d share a bit of the process of my latest piece I am working on. This piece is still in progress and I think it’s about half way at the posting of this article. It’s pretty straight forward in terms of working process and I’ll give a brief description of each image in the sequence.This is generally how I work but it does change to some degree with almost every piece. I can and have utilized a more formal process at different points but I don’t really like working the same way all/every/any time.
You could say that my process is mood dependent and changes according to what I currently need/want psychologically or in some case spiritually from the work.
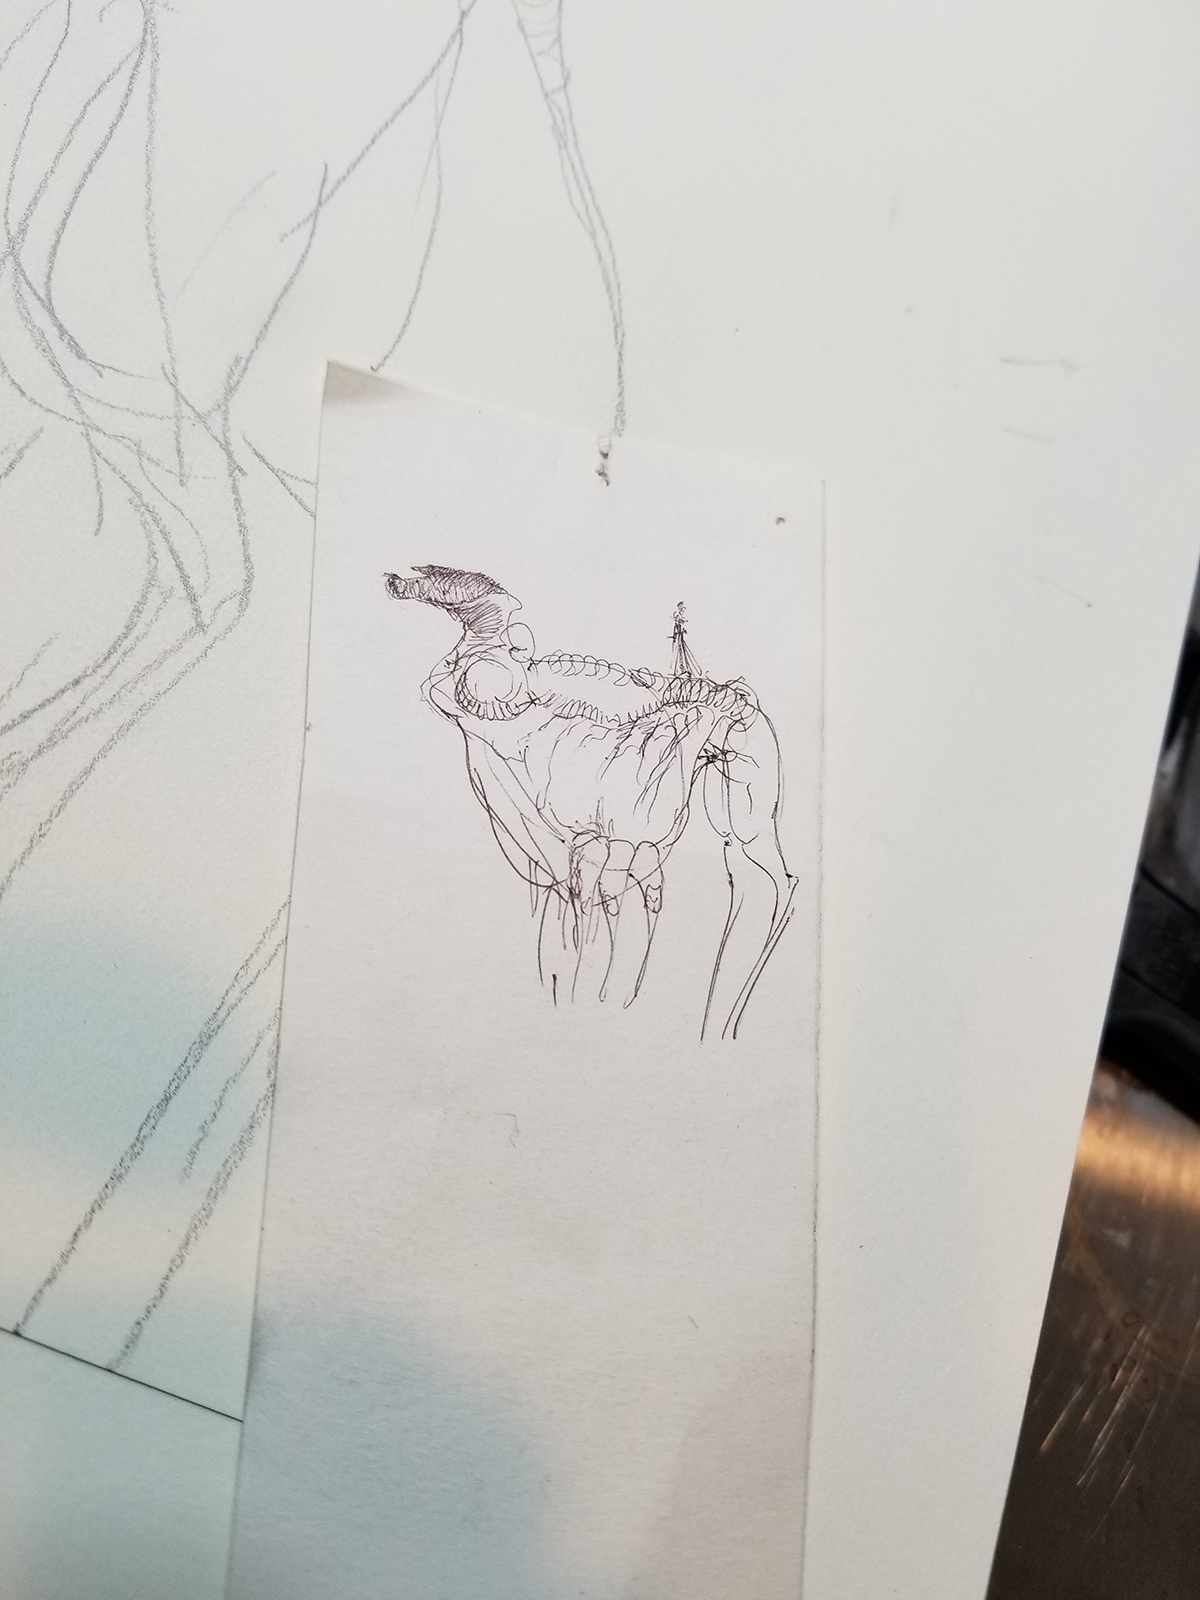
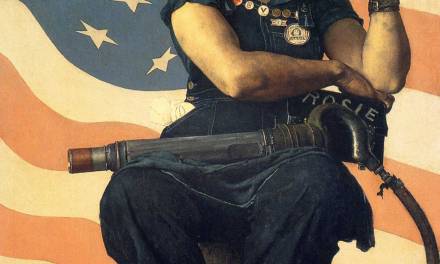
Image 1: Sketch
This is a small ink sketch that I’ve had floating around in various folders for about 3 years. Last week as I was indulging in something I call The Ritual of Looking©… something I do on occasion which is basically sitting on the floor with about 100 or so odd drawing ideas that I’ve kept until they’re ready to be done.
This one sorta grabbed me and so…
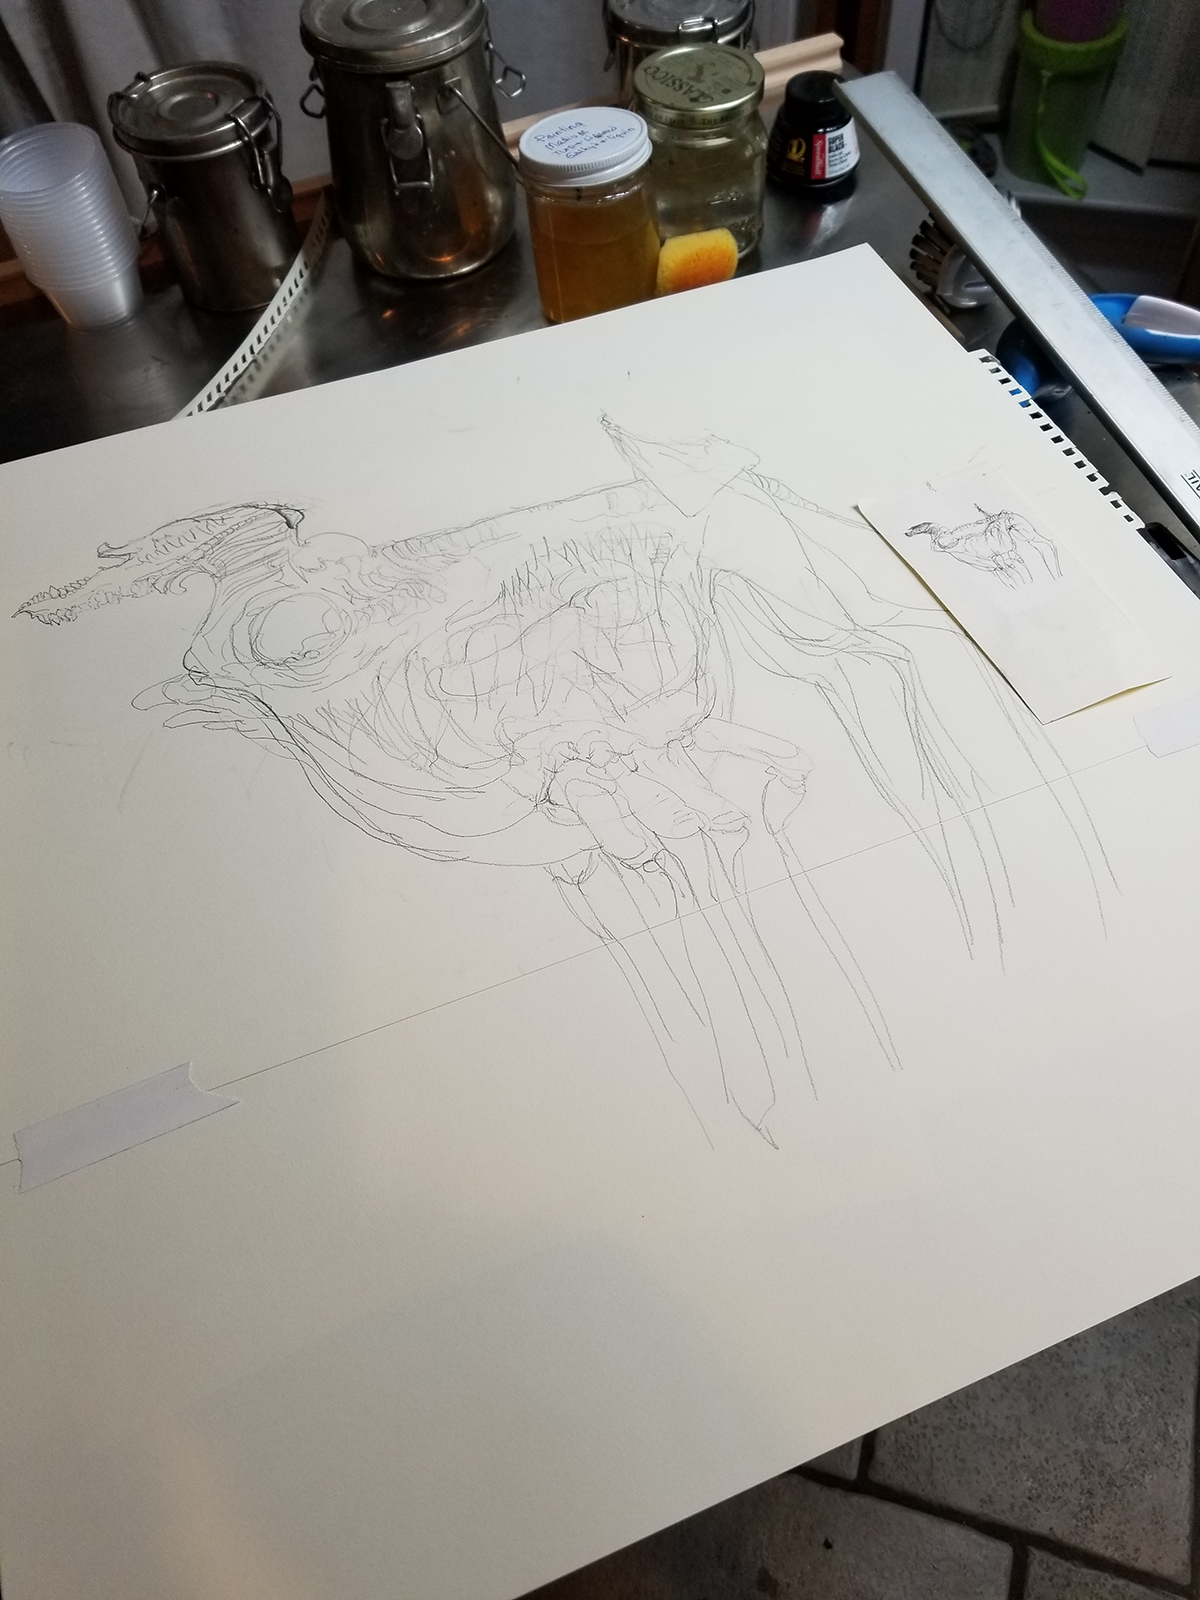
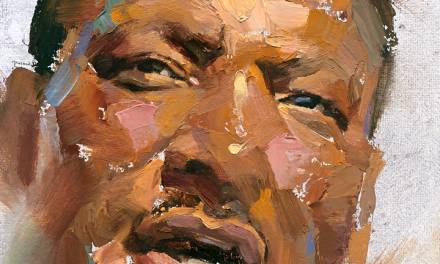
Image 2: Informative Sketch
I did a larger, slightly more informative sketch… still very rough but gathering steam.
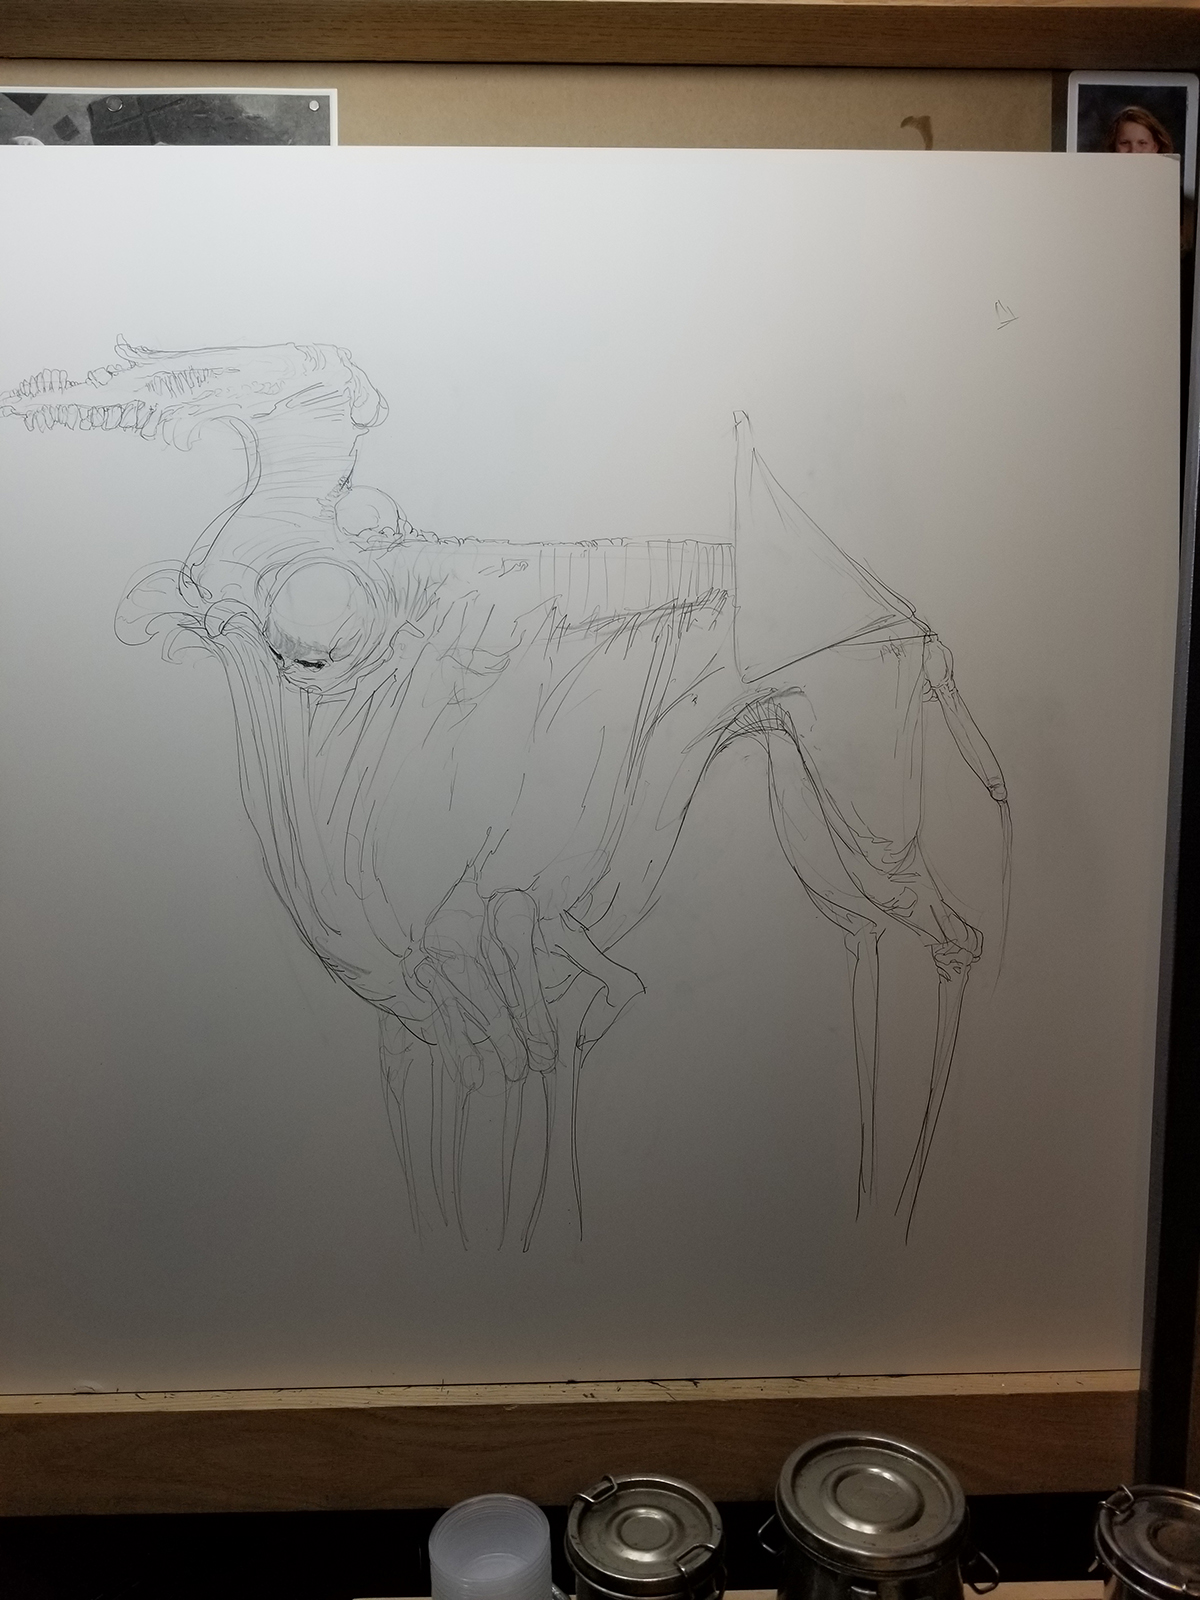
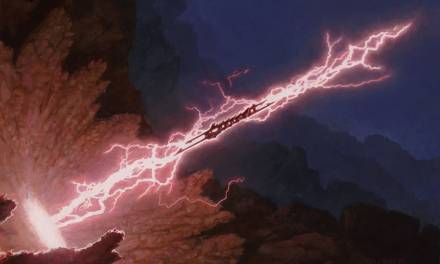
Image 3: Sketch on Board
I picked a 30”x 30” piece of cradled claybord to work on and redrew the sketch, again free hand to let the image wander around around a bit. I’ve learned over the years that I can find what I want during different stages of the process and often things can change dramatically, most times getting better, sometimes just becoming… different.
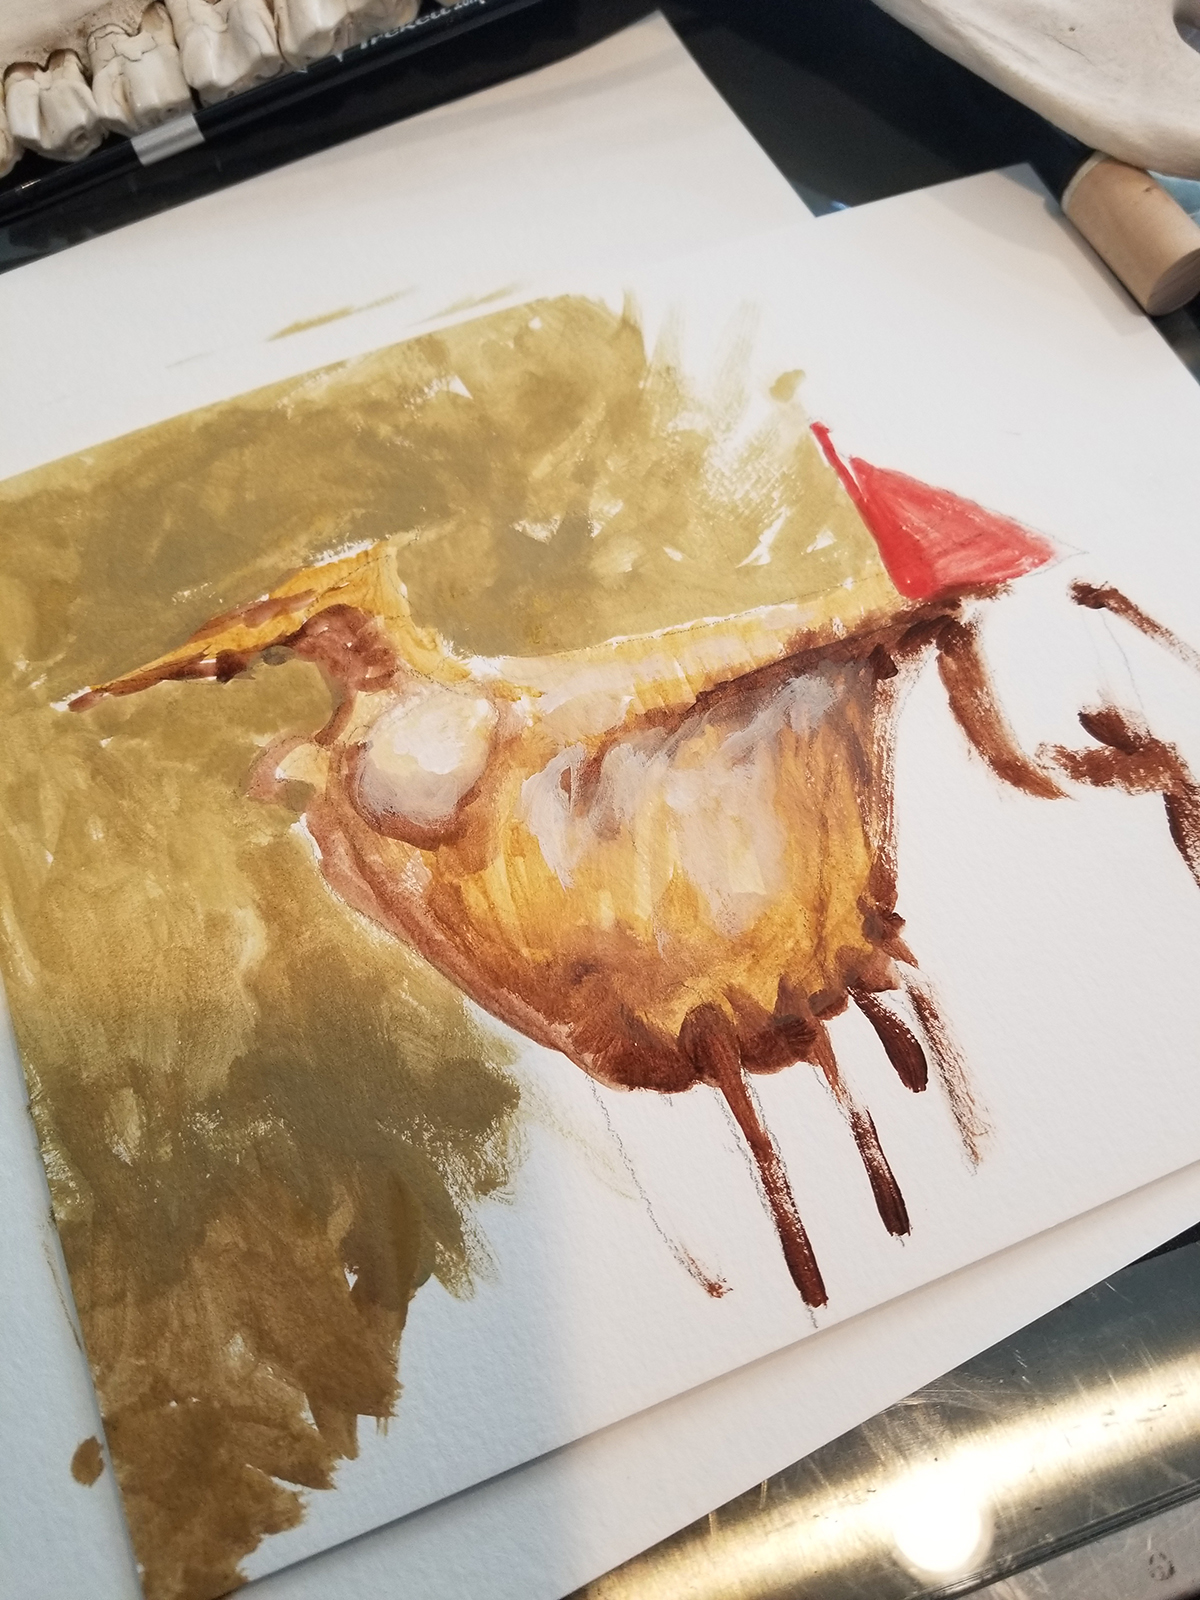
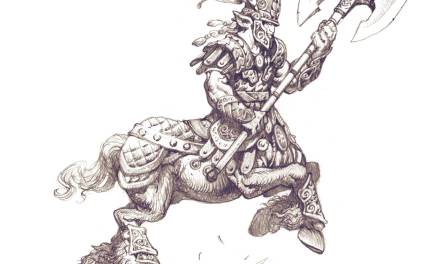
Image 4: Color Rough
Something I don’t do often, but this time I did a very basic, acrylic color rough. Not really to nail down color but, for me, just a step to thinking about it… opening the door to it.
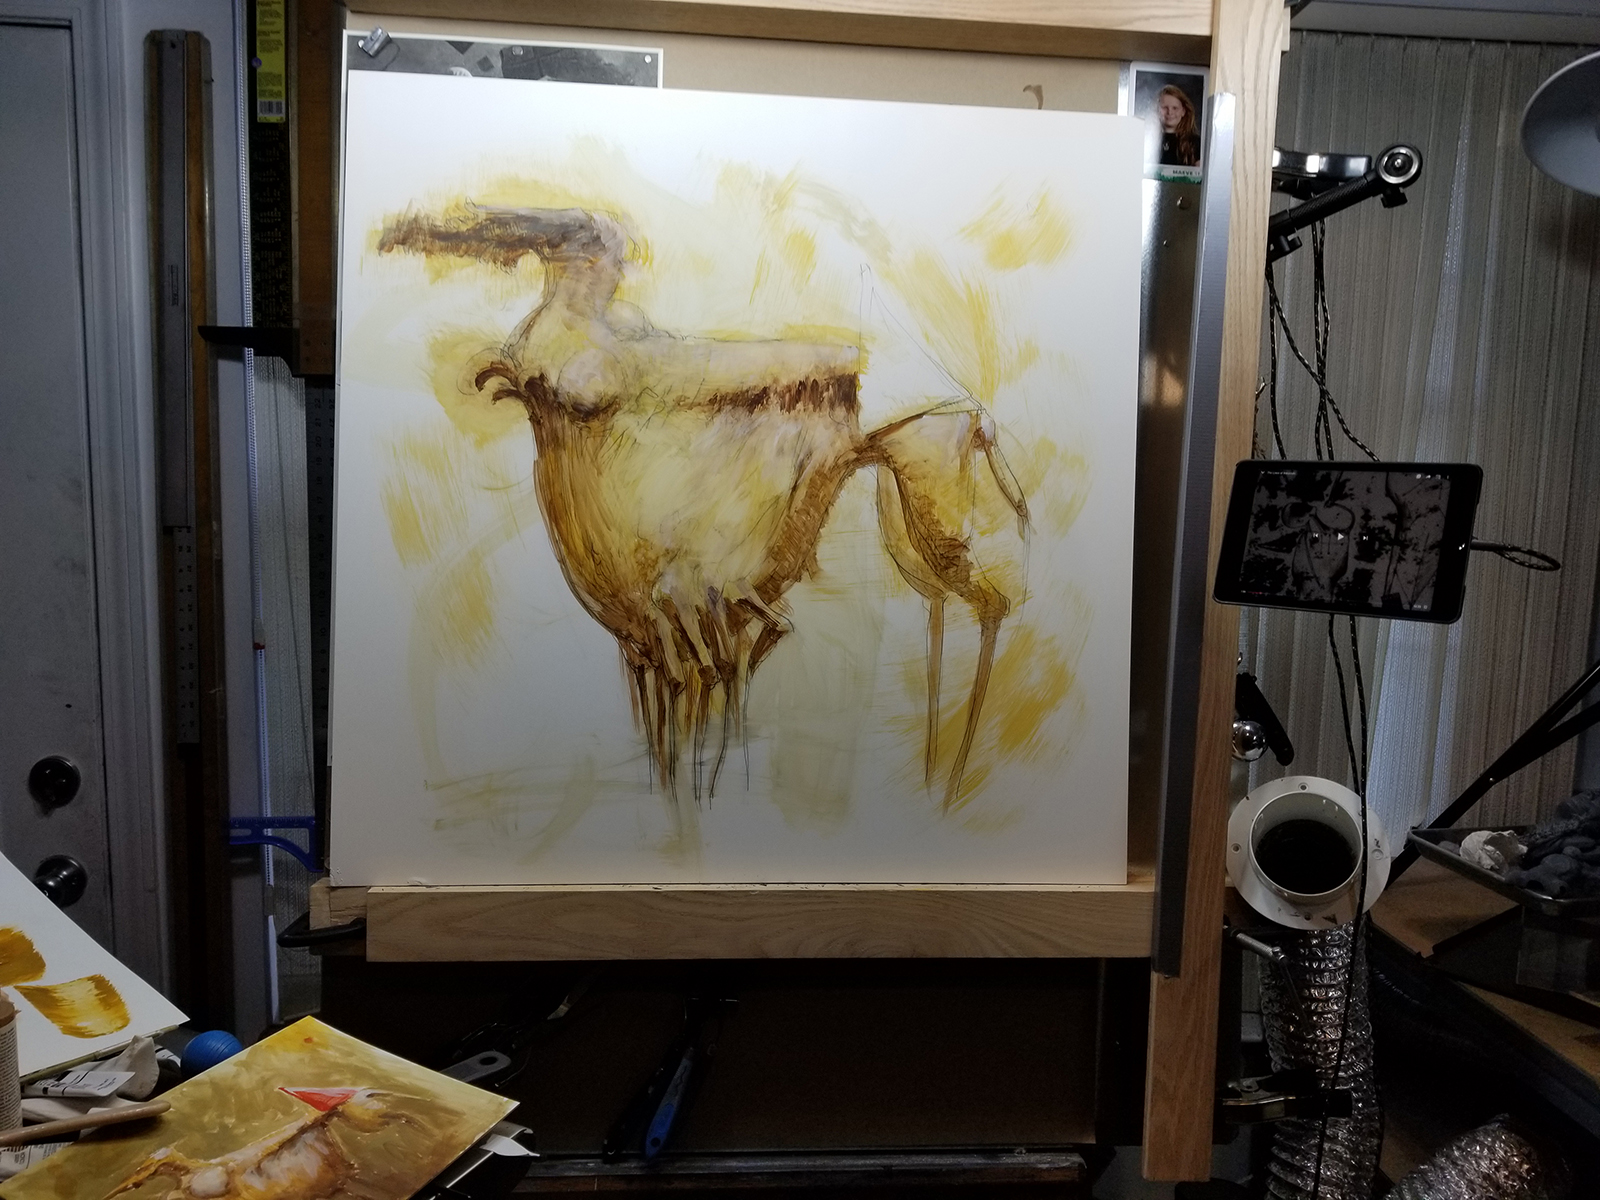
Image 5: Initial Color
A very basic acrylic under-painting, mostly used as a vague map of where the shapes and rhythms will be placed later. After this I sometimes (this time) lay down a layer of gloss acrylic to seal everything and to give me a smooth surface to push very thin oils around.
Images 6, 7 & 8
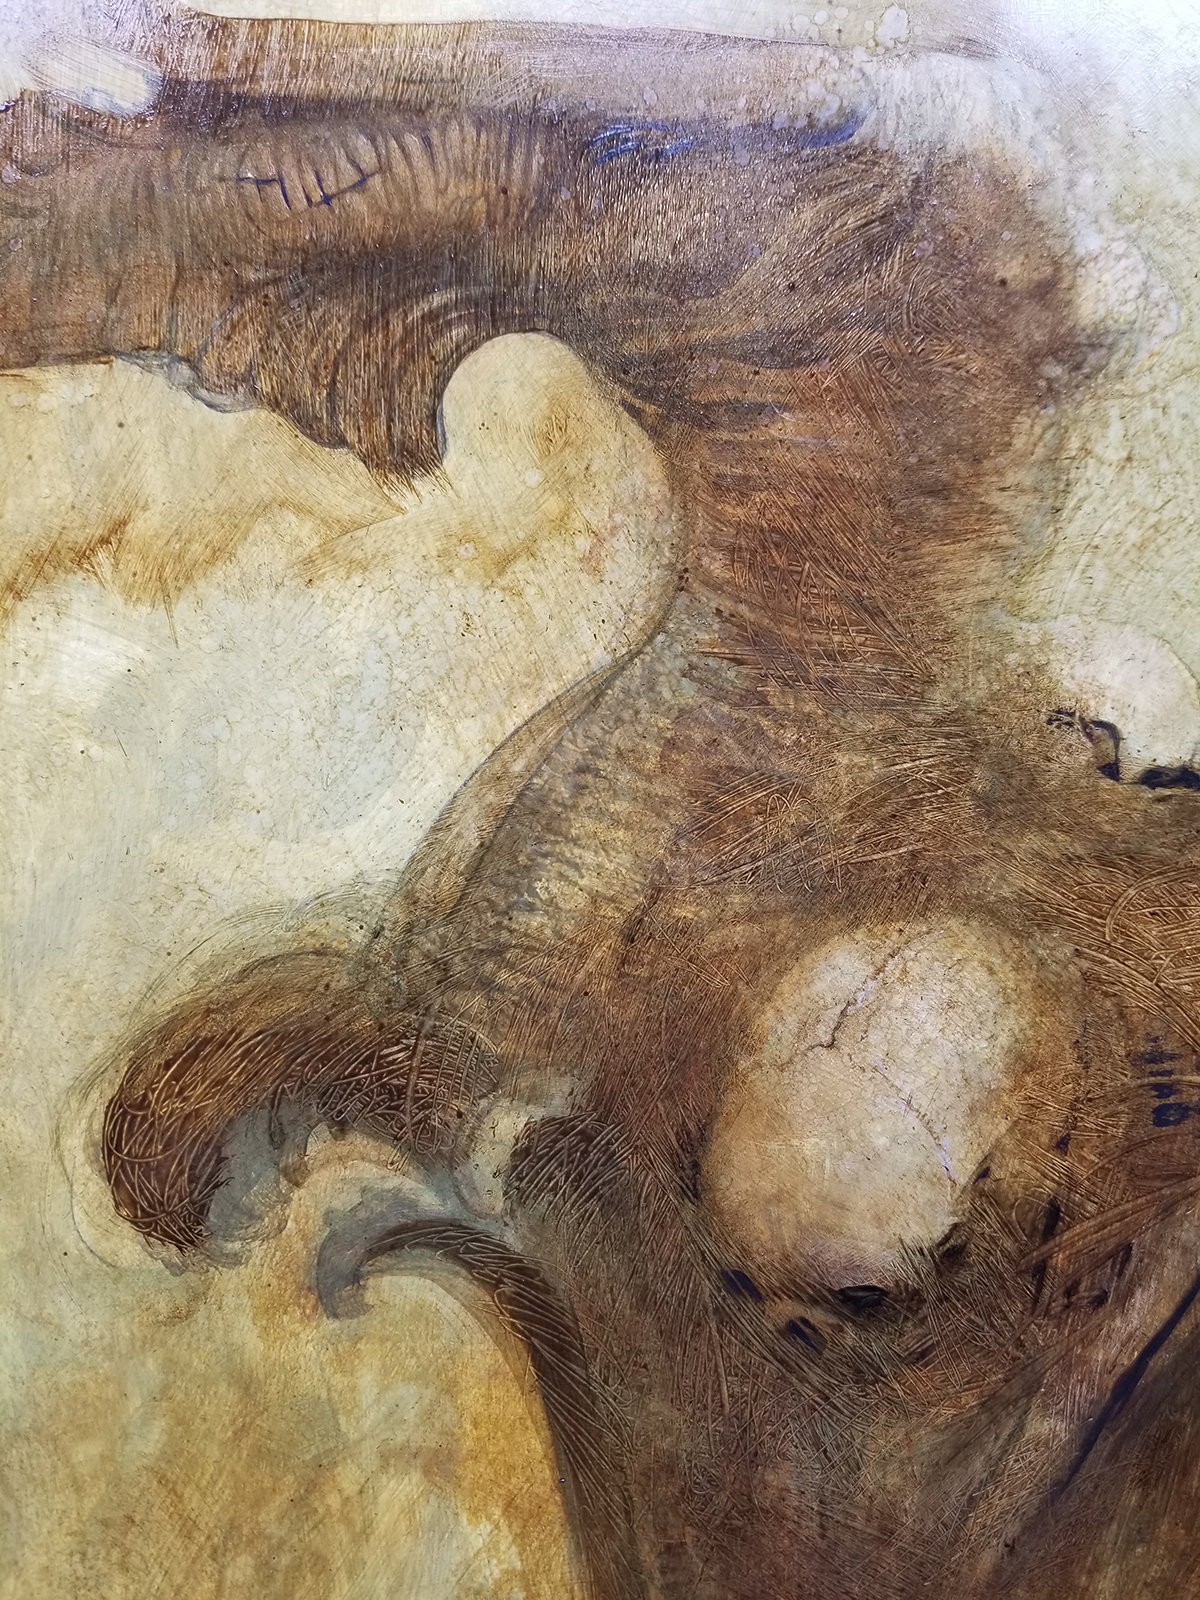
Laying in oils very transparently, scrubbing them around til texture starts to become more visible.
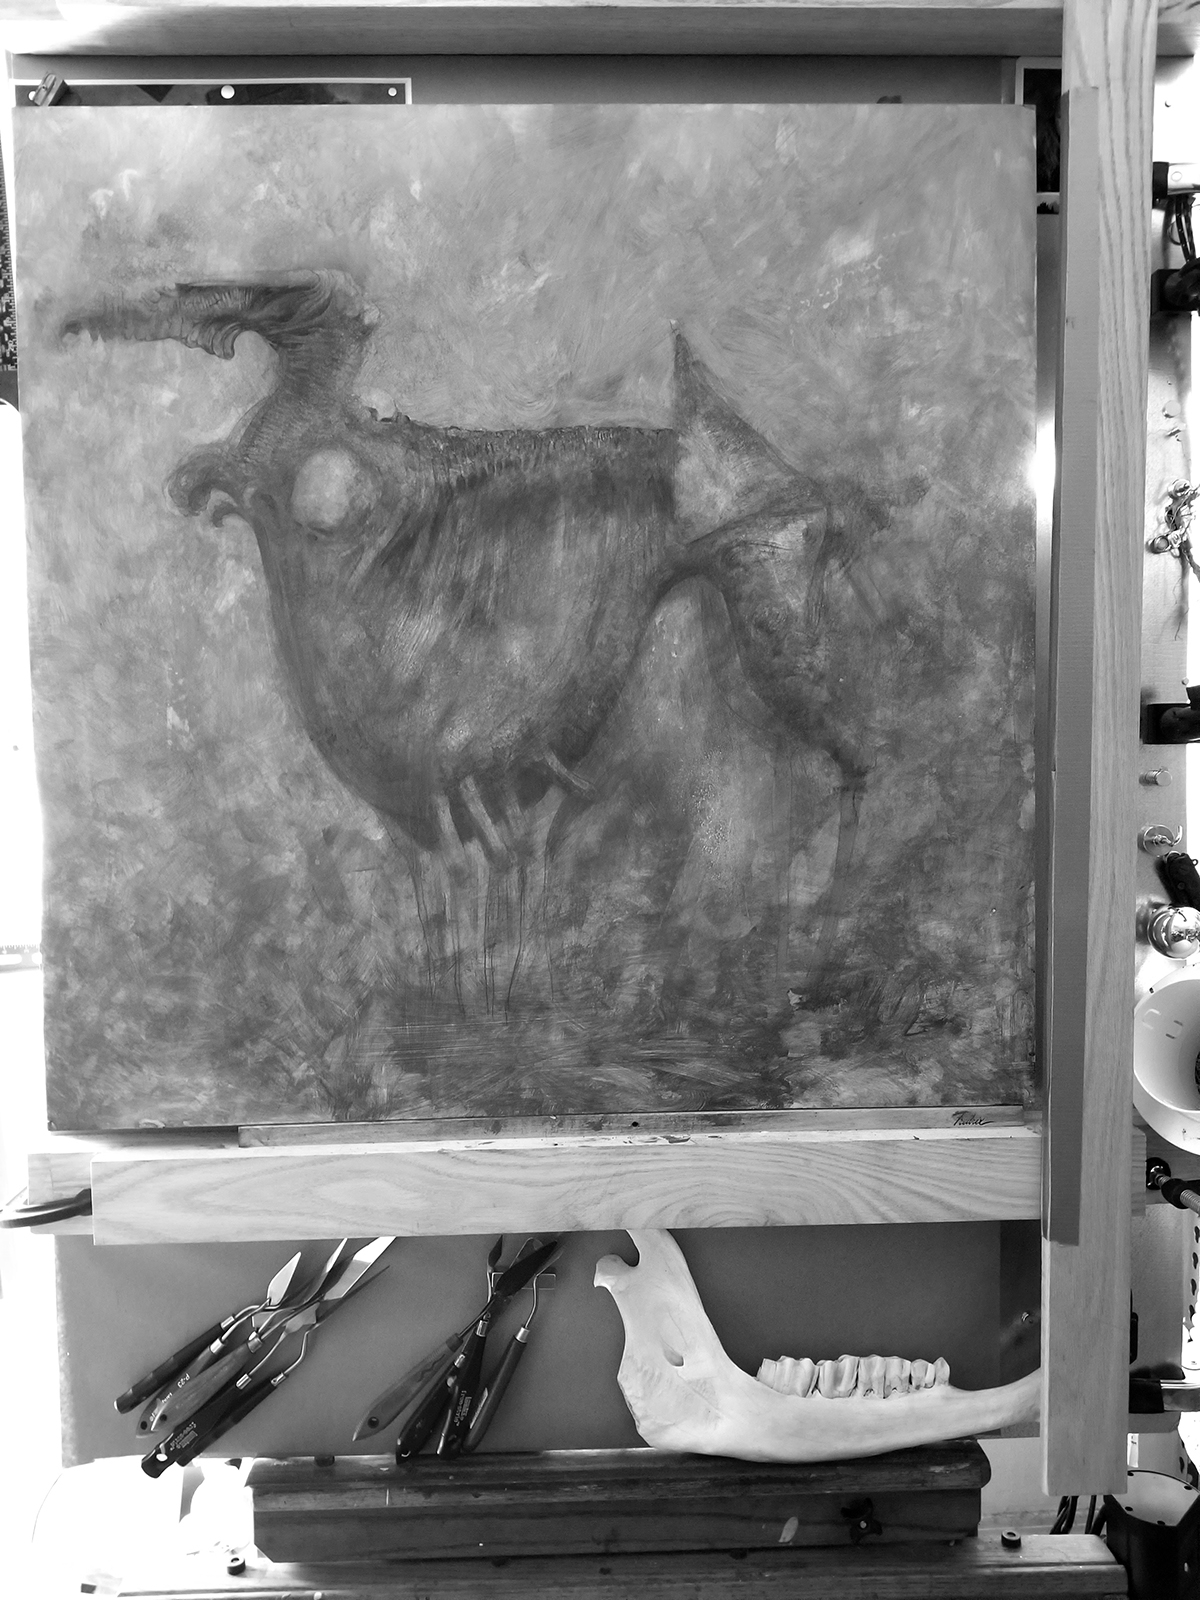
Image 9: Value Study
Frequently I’ll take a gray scale photo of my image with my phone to both reduce the size and to see the values as they lay.
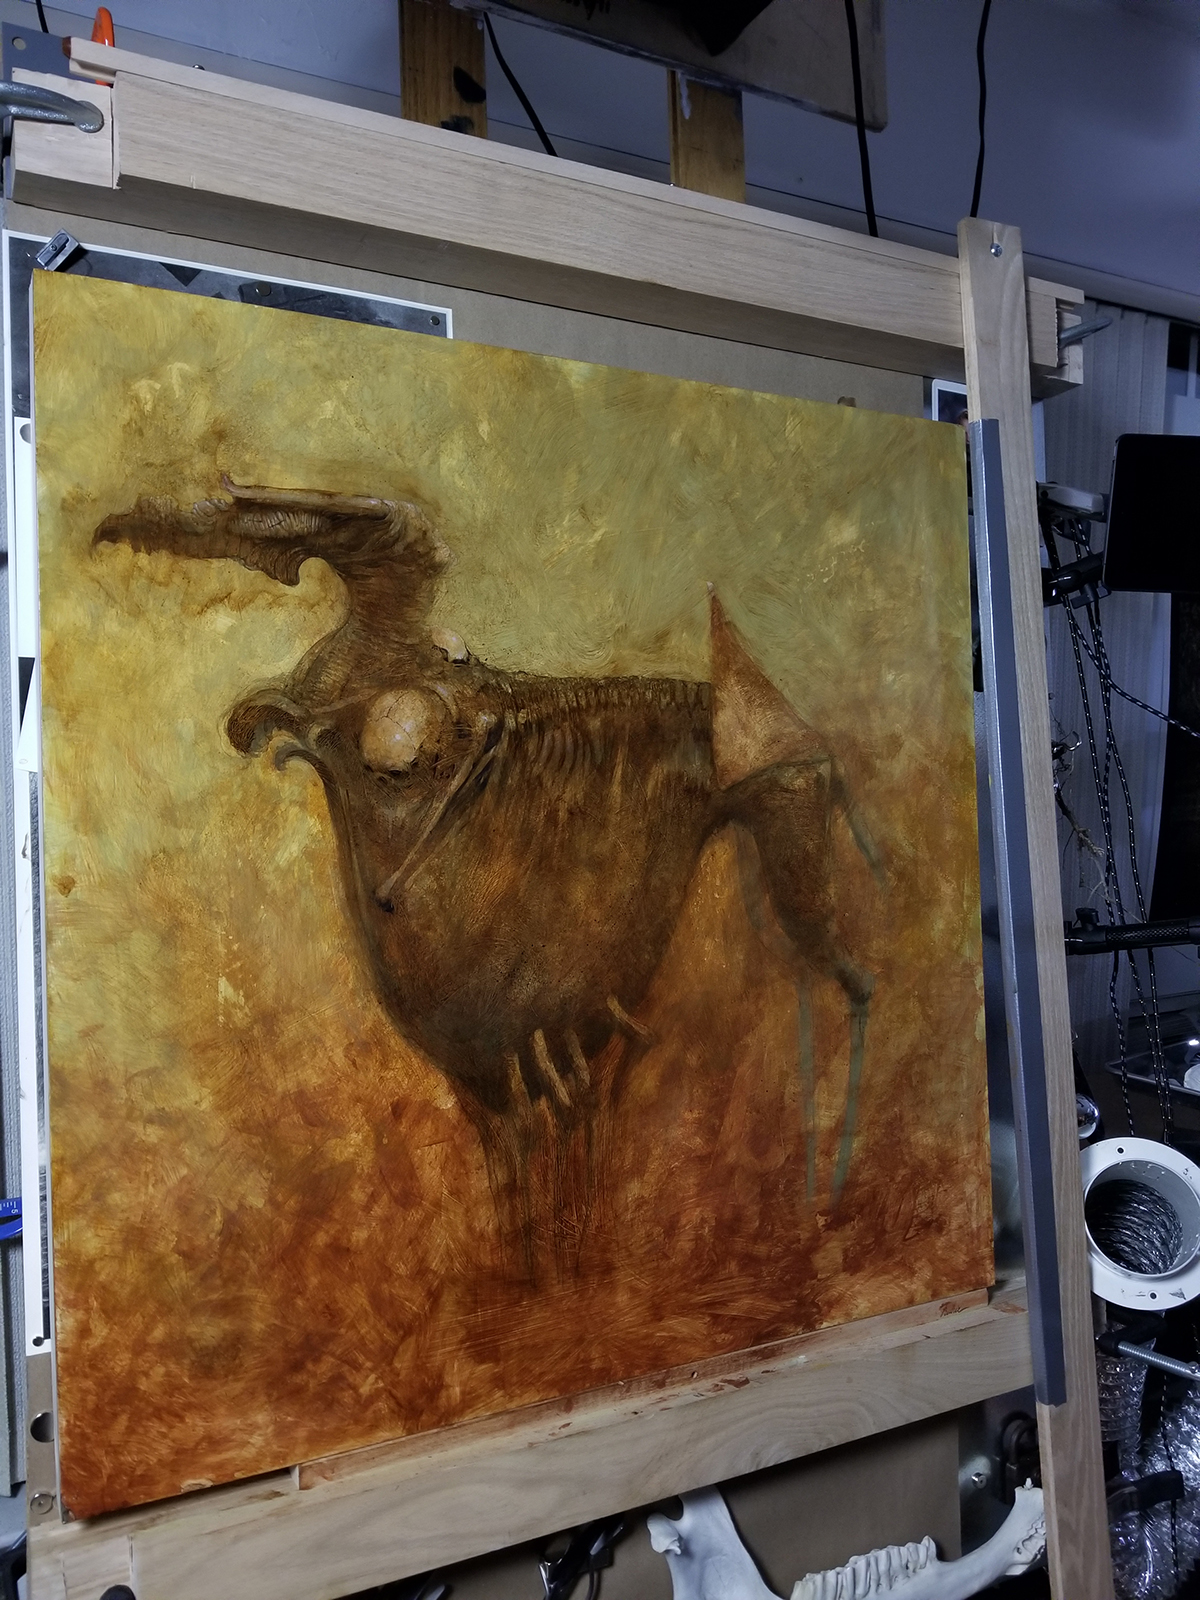
Image 10: Laying in Background
Scrubbing in my color, vaguely similar to my rough. I start to realize that I’m chasing a kind of uncomfortable color, purposefully. Nothing really jarring, but I guess unsettling would be the word.
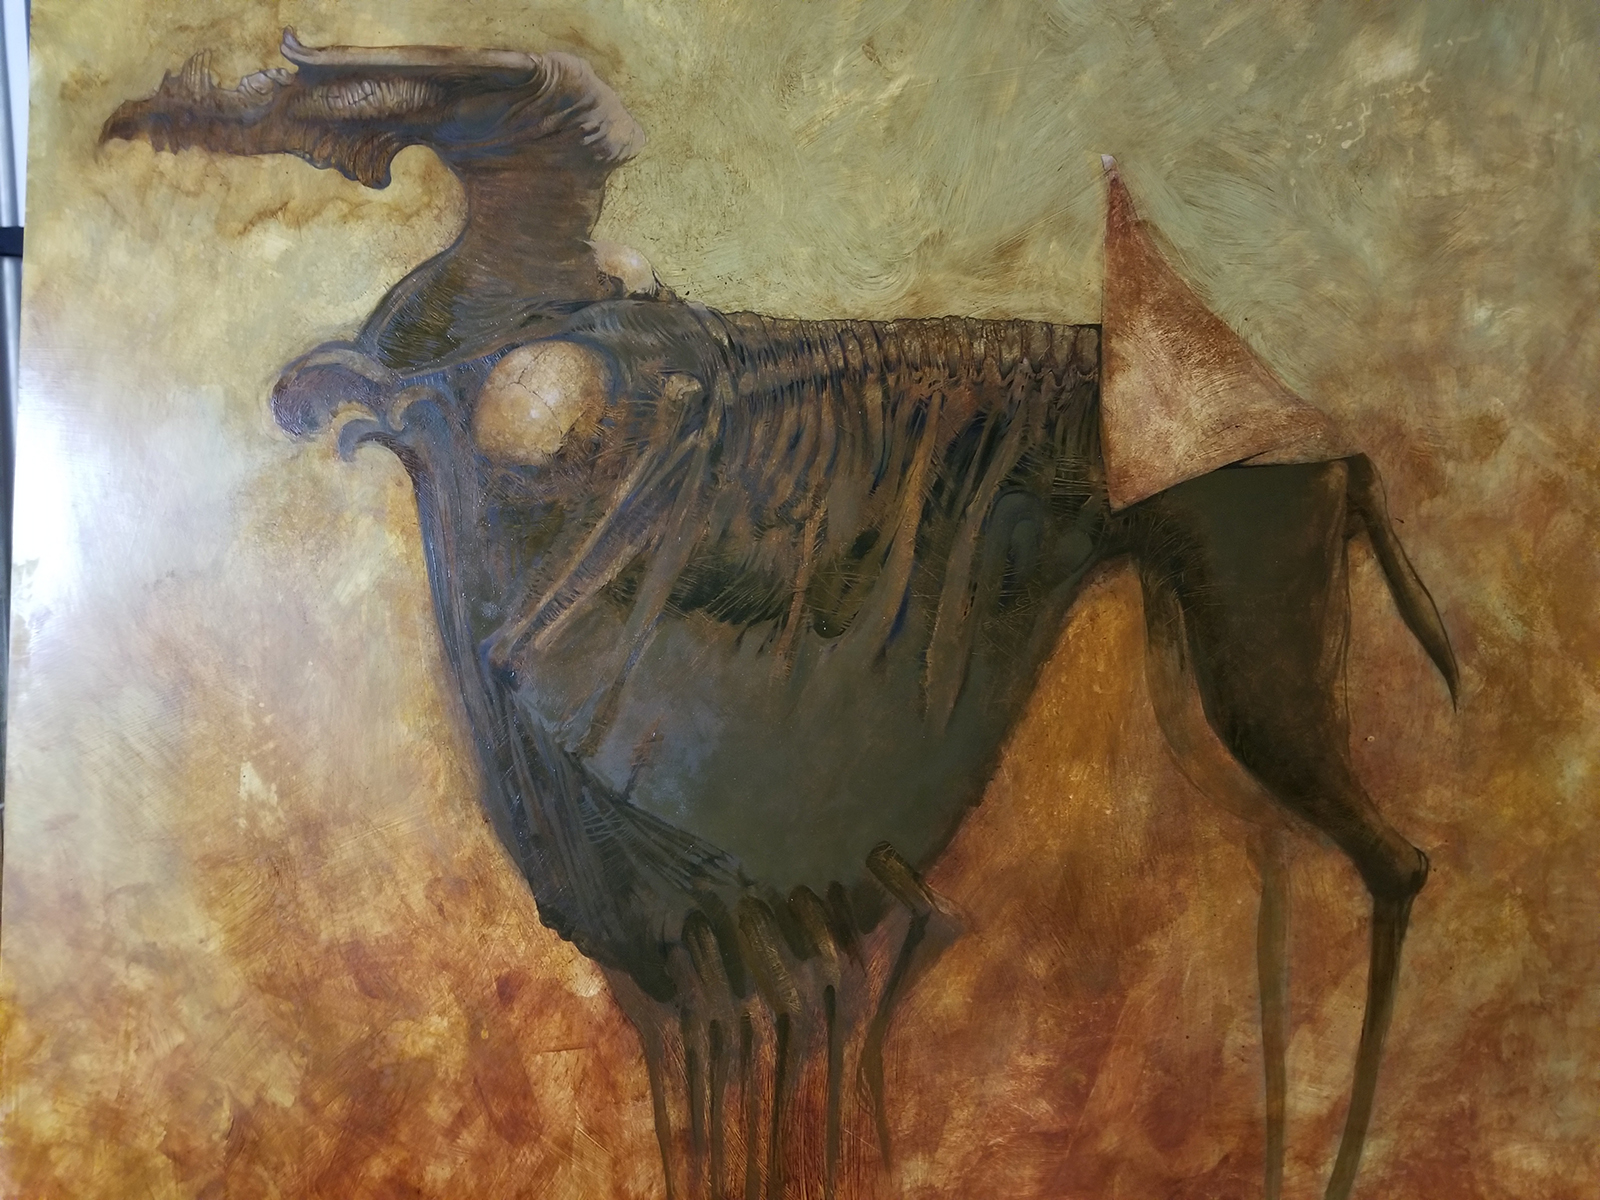
Image 11
Starting to play with more opaque color to further suggest the hints of shapes and details that seem to be emerging (much like what happens when I use graphite washes)

Image 12
I added a red to the triangle shape on the back end of the entity. (that’s going to change likely more than a few times… I can tell).
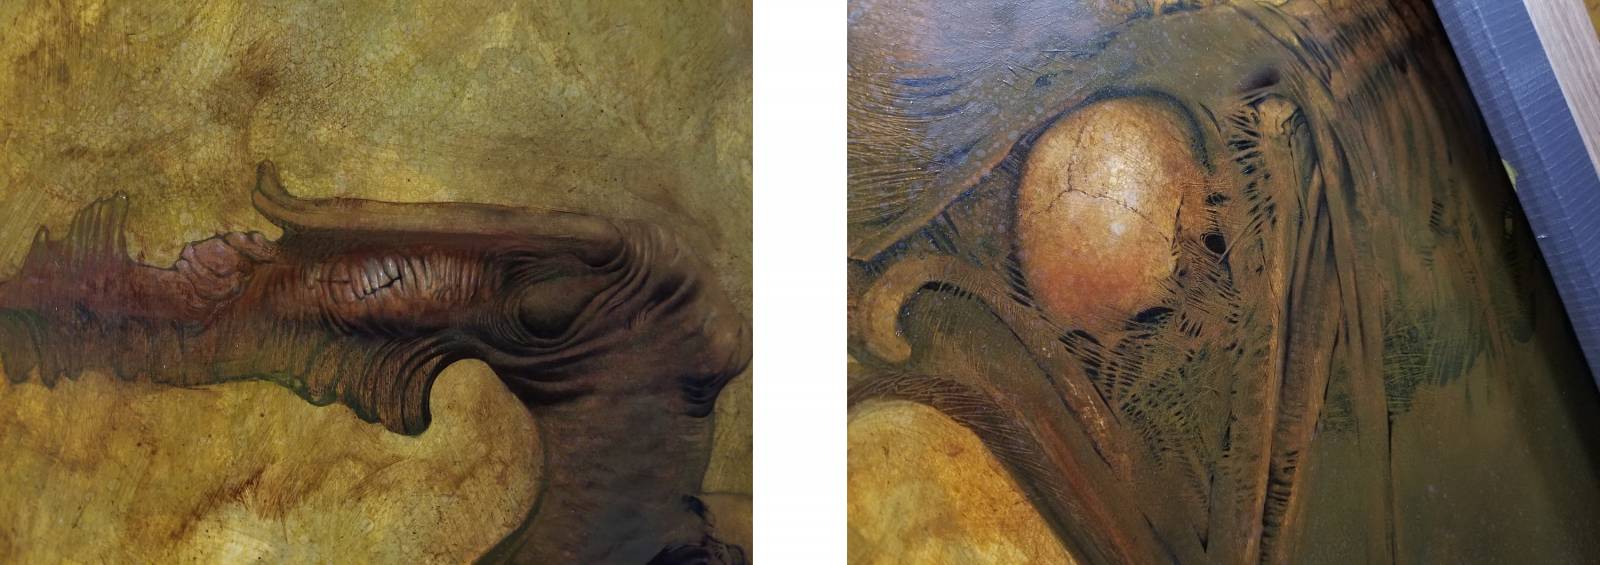
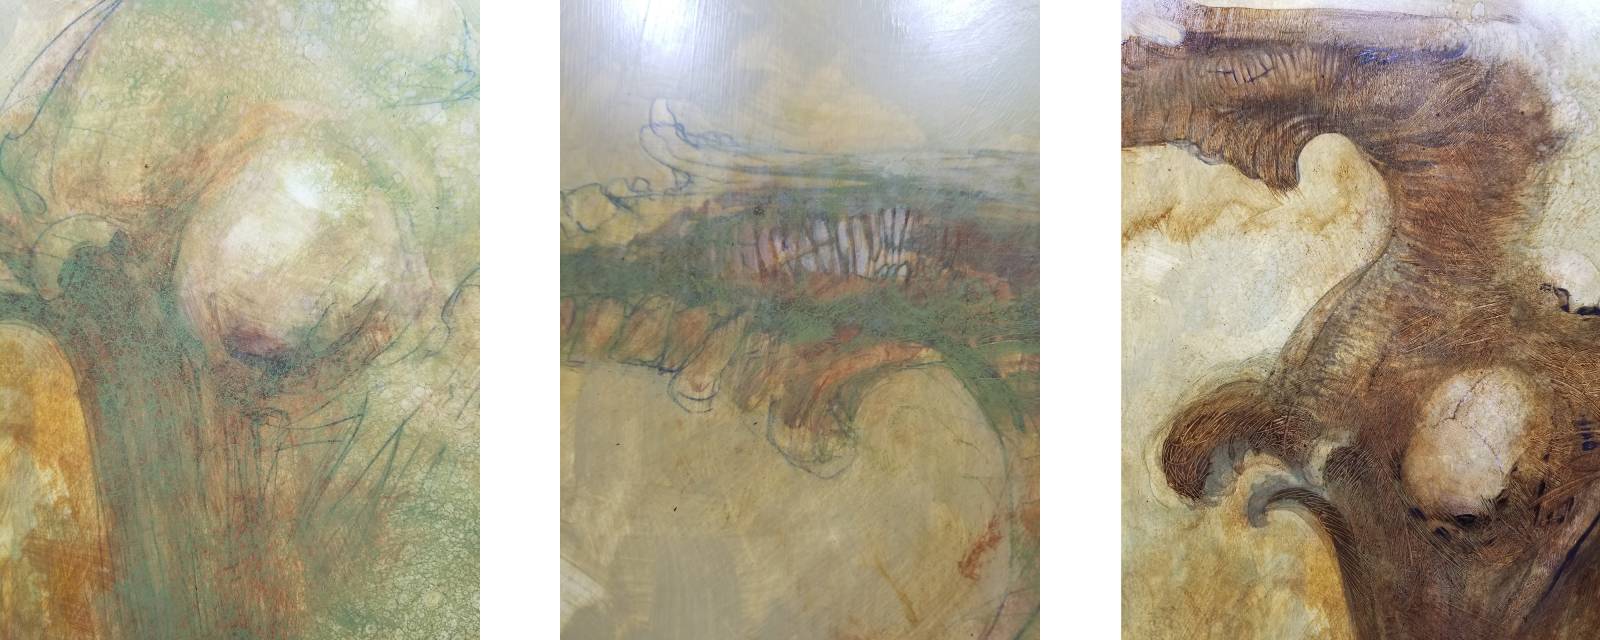
Images 13 & 14: Details
Two details as they stand now in comparison to the earlier roughly painted bits. An example of how things start to come into focus as the piece begins to speak to me. I’m not going to tell you if I hear voices in my head. It would ruin the mystery 🙂
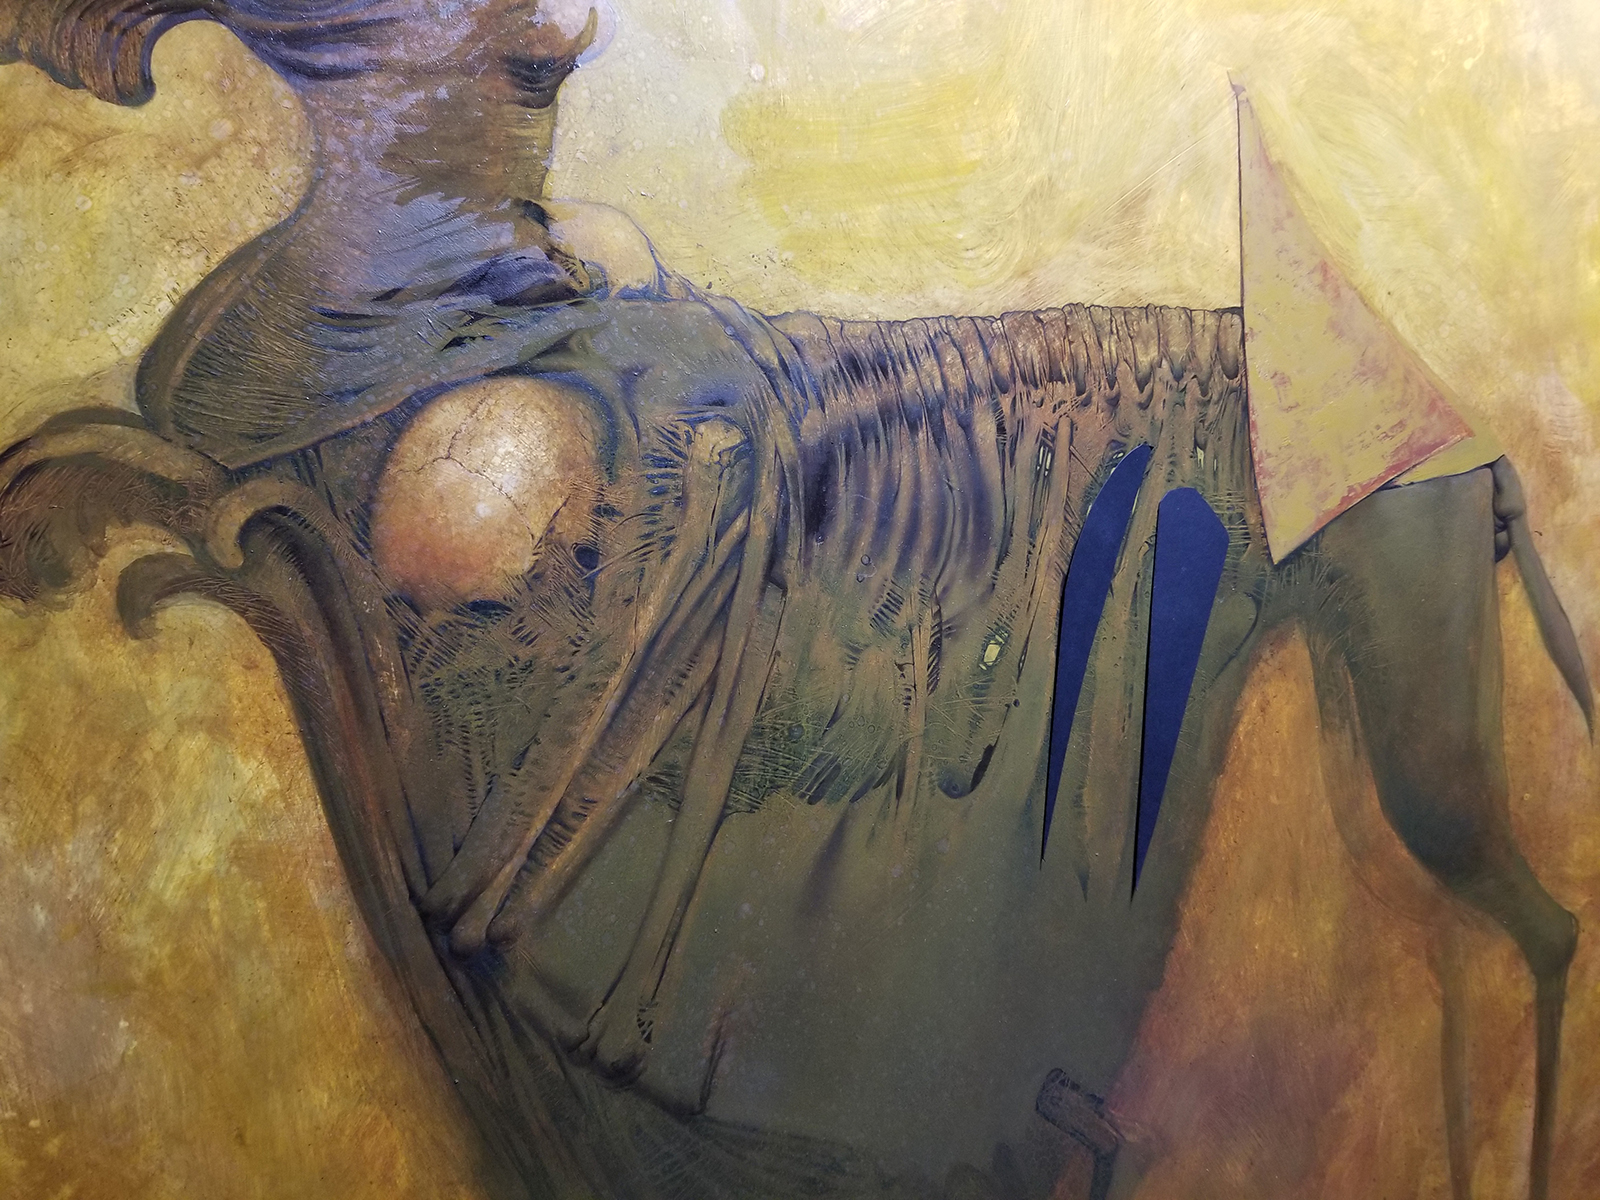
Image 15: Cut Paper Shapes
Sometimes I cut pieces of paper to explore shapes on a piece, other times I use transparent wet media film and paint shapes to explore.
… Also the triangle changed color for now.
I should say that I usually paint very thinly but this time I did some work with the palette knife.
The triangle shape seems to be a cloaked figure right now. There may be more figures in the end. I don’t know yet.
I am fully aware that the way I work would drive some people crazy but it seems to keep me sane. So there is that.

Image 16: As We Stand Now
The image as it stands now, as I said likely 50% done (I’m guessing) and three/four days in so far.
I will continue documenting it and make my next post the 2nd half… if it’s agreeable (the piece has some say in this you know). 😉
This is fantastic!
This way of working, so fluid … almost as if it was still living and moving, would be frustrating for some artists (incl. me) but it almost seems like the only way to create something like this without stiffness creeping in and ruining it.
Thank you for sharing the process and progress!
Looking forward to seeing more.