Hello everyone! My name is Francis and I’m an illustrator and educator based in wonderful Detroit, Michigan USA. This is my first post. I’ve been an avid reader of this blog since the early days and consider it a primary resource for illustrative knowledge. I’m honored to contribute. Ok, I’m done gushing. Time to share!
So let’s talk about my favorite approach to figure drawing and how it has informed my approach to rendering form and seeing shape. I call it “Shadow Mapping.”
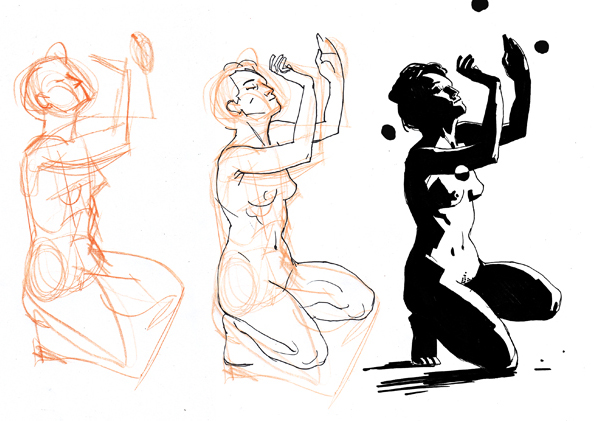
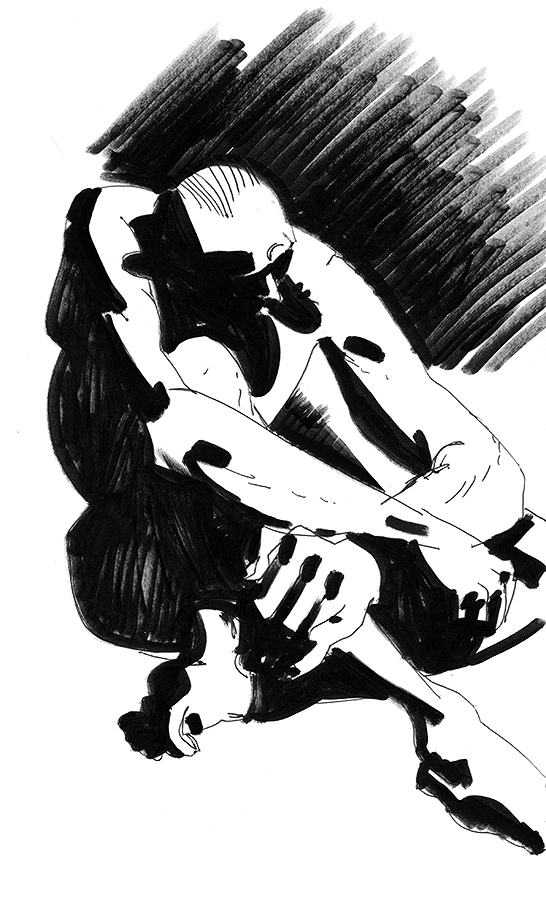
Myself and the great Jane Radstrom created this technique over 10 years ago while brainstorming lessons for a Figure 1 course that we were co-teaching. We wanted to emphasize the separation of light and dark. From our observation, and from our own personal trials and tribulations, we realized many figure students struggled with spotty details and the lack of a simple read. So before we allowed students to render form, we spent weeks with a ballpoint pen and brush marker simply blocking in pieces like you see here. Pose times were kept between 3-20 minutes and the instructor called out the various stages of the process to ensure each student completed the full pose with shadow masses. So you would hear “Sketch!” “Line!” “Shadow Mass!” yelled out incrementally for each pose. It was intense, but over time we saw results.
Personally, I regularly use this approach at live sessions, and continue to find it hugely beneficial.
I do want to emphasize that the lighting has to be set up in a way that emphasizes large sculptural shadows. If you are drawing near the light source you will most likely have to deal with flat lighting. This is not ideal. Move to a better spot with stronger shadows!
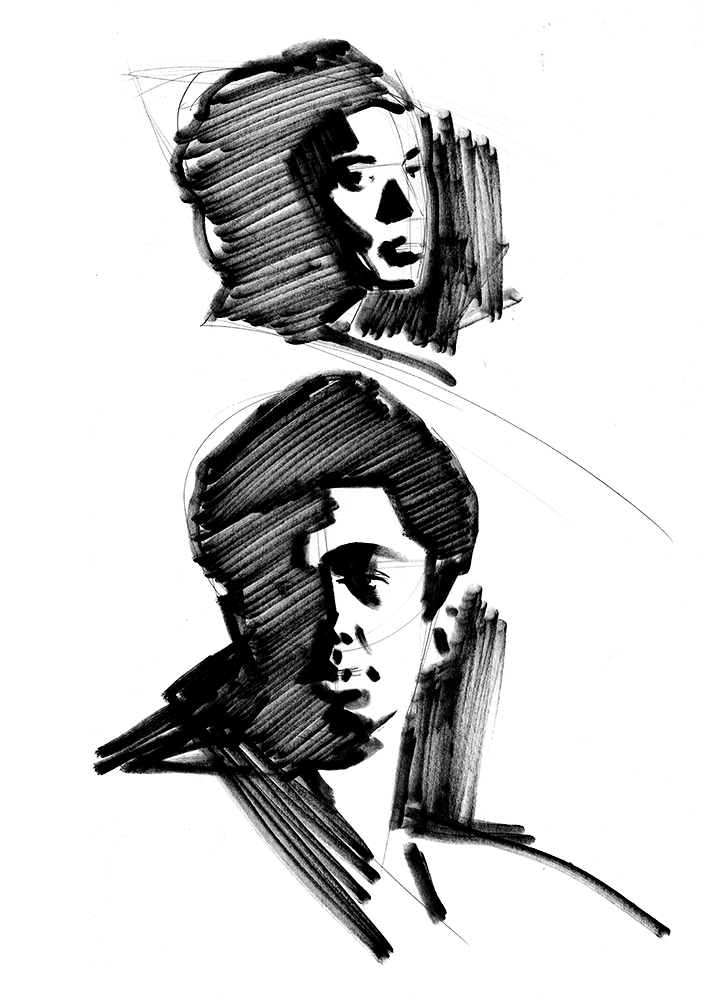
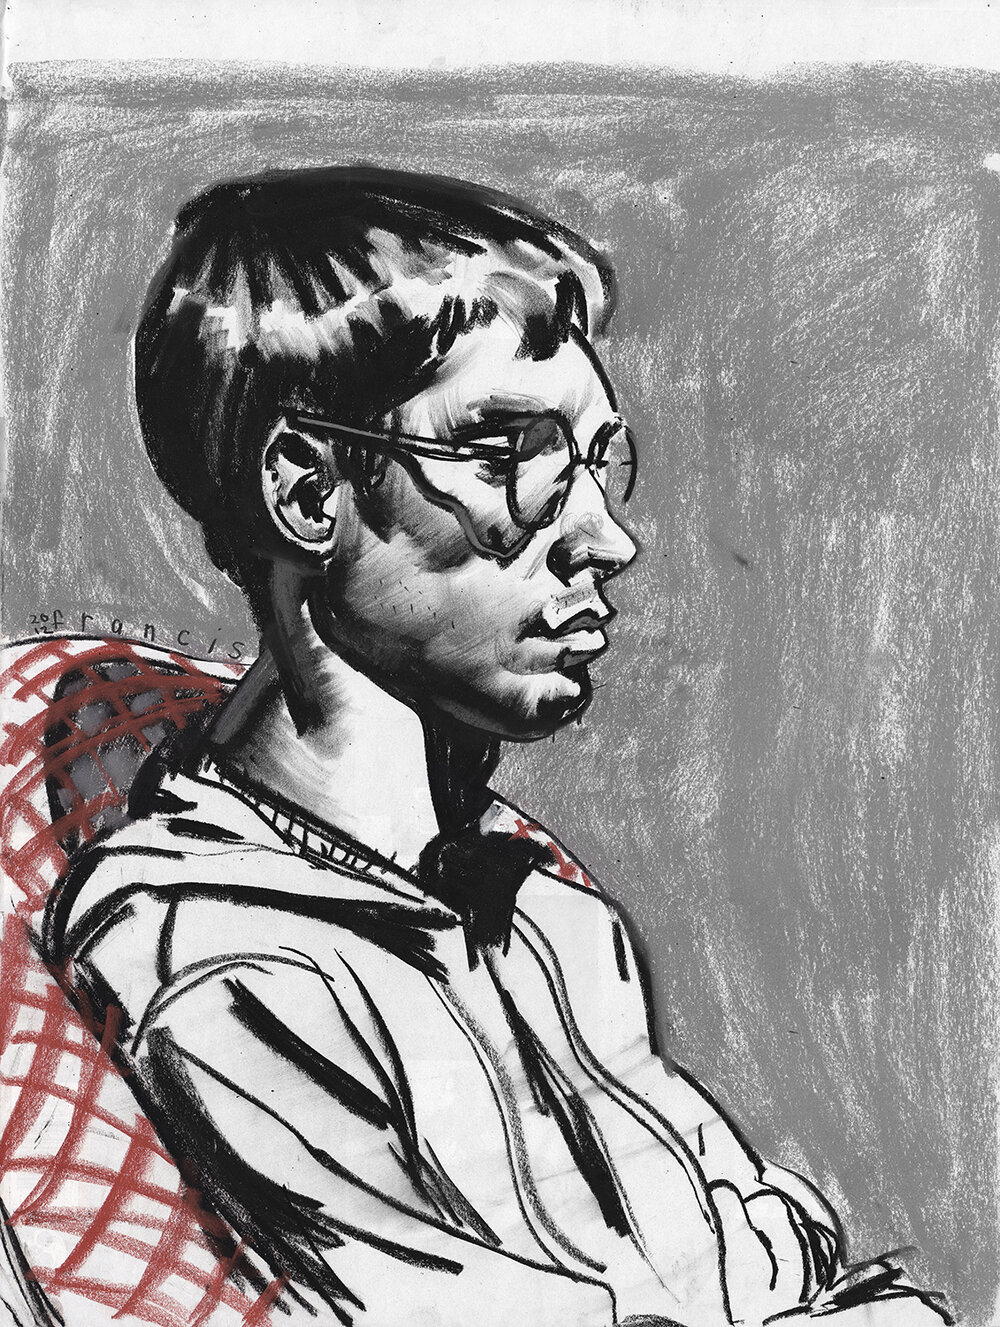
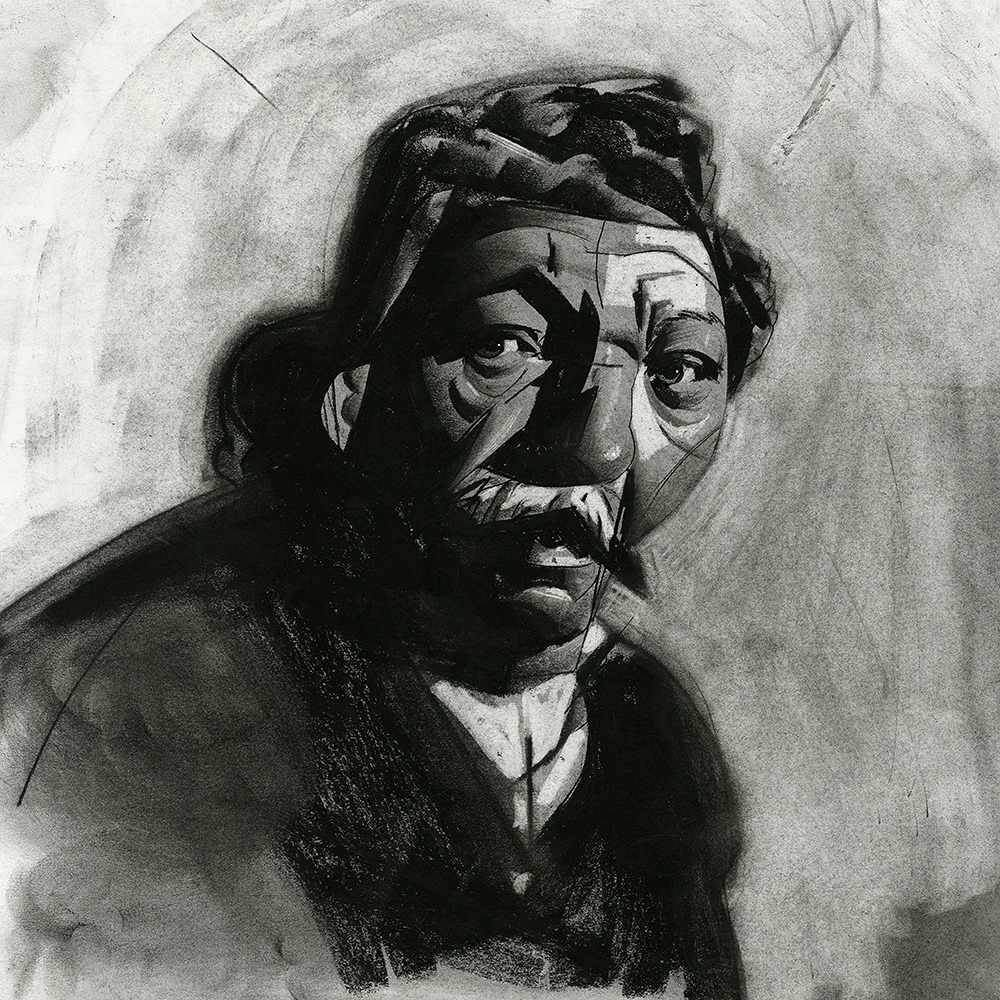
Sometimes, the same approach can be used on portraits. It really forces you to commit to (appealing) shapes.
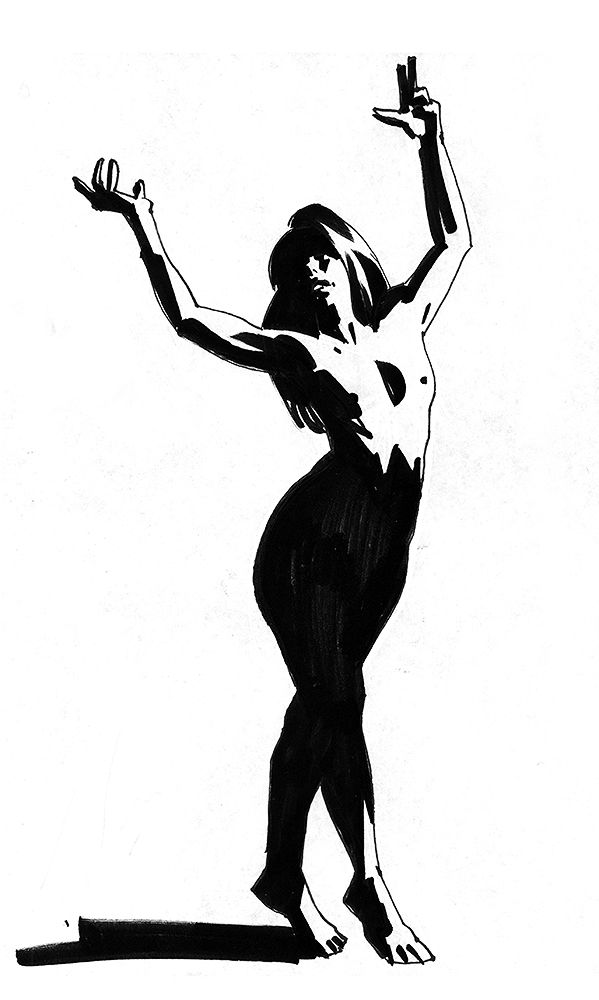
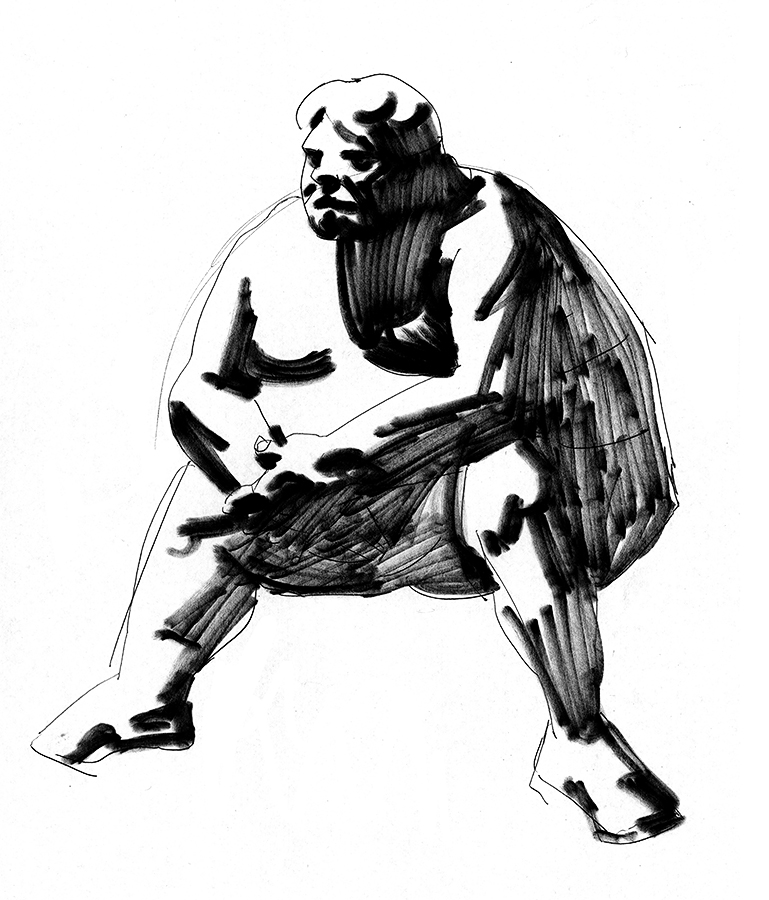
Once you’re warmed up, it’s normal to start exaggerating the forms. How you design the shapes is personal to each artist, and is a great way to develop your personal voice and shape language.
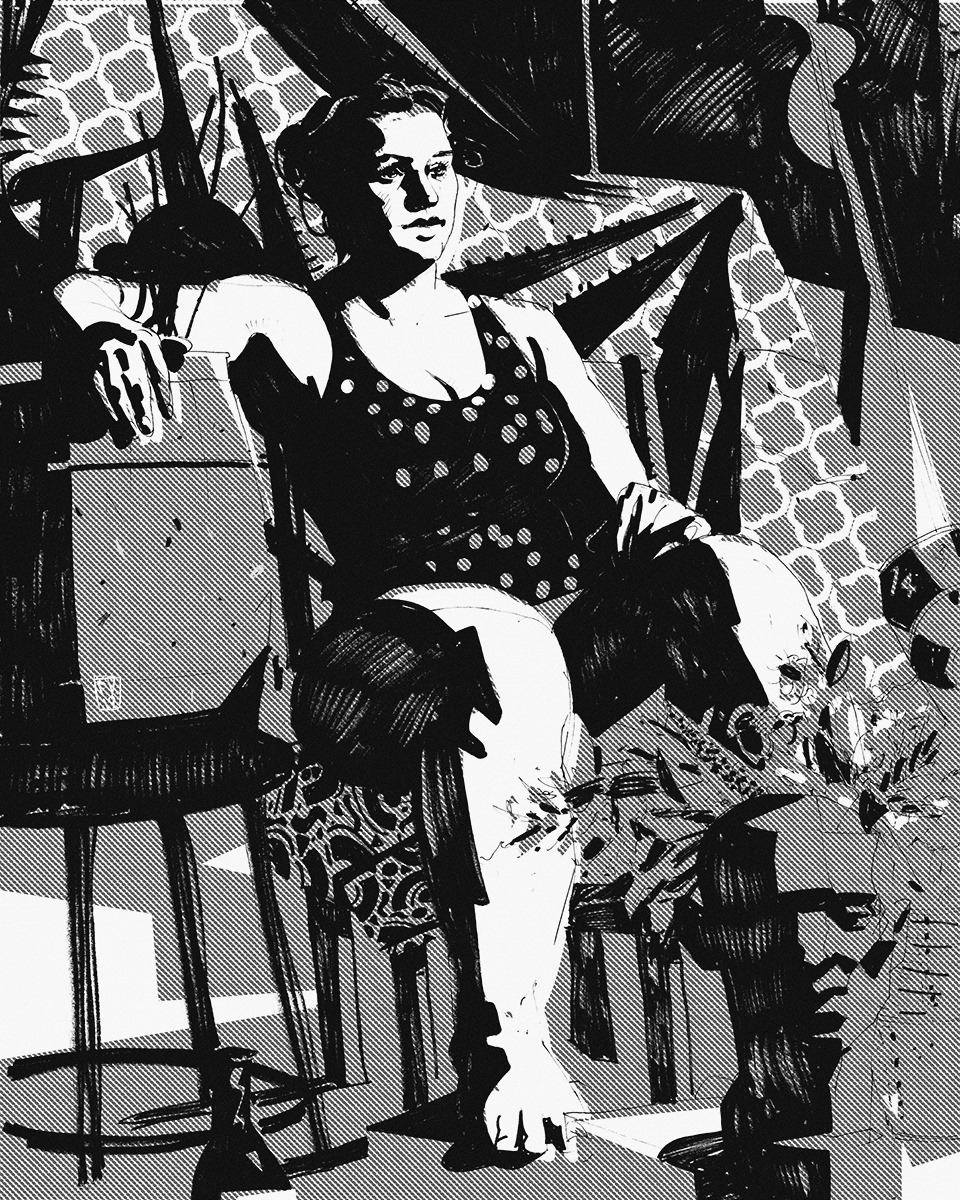
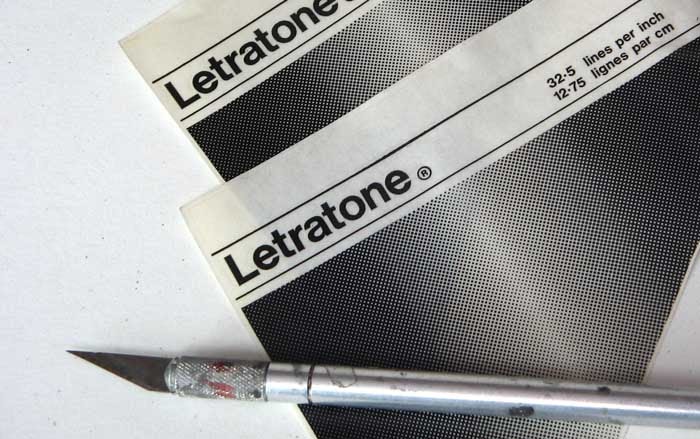
To mix things up, it’s fun to bring some sheets of Zip-A-Tone and an Exacto to add midtone:

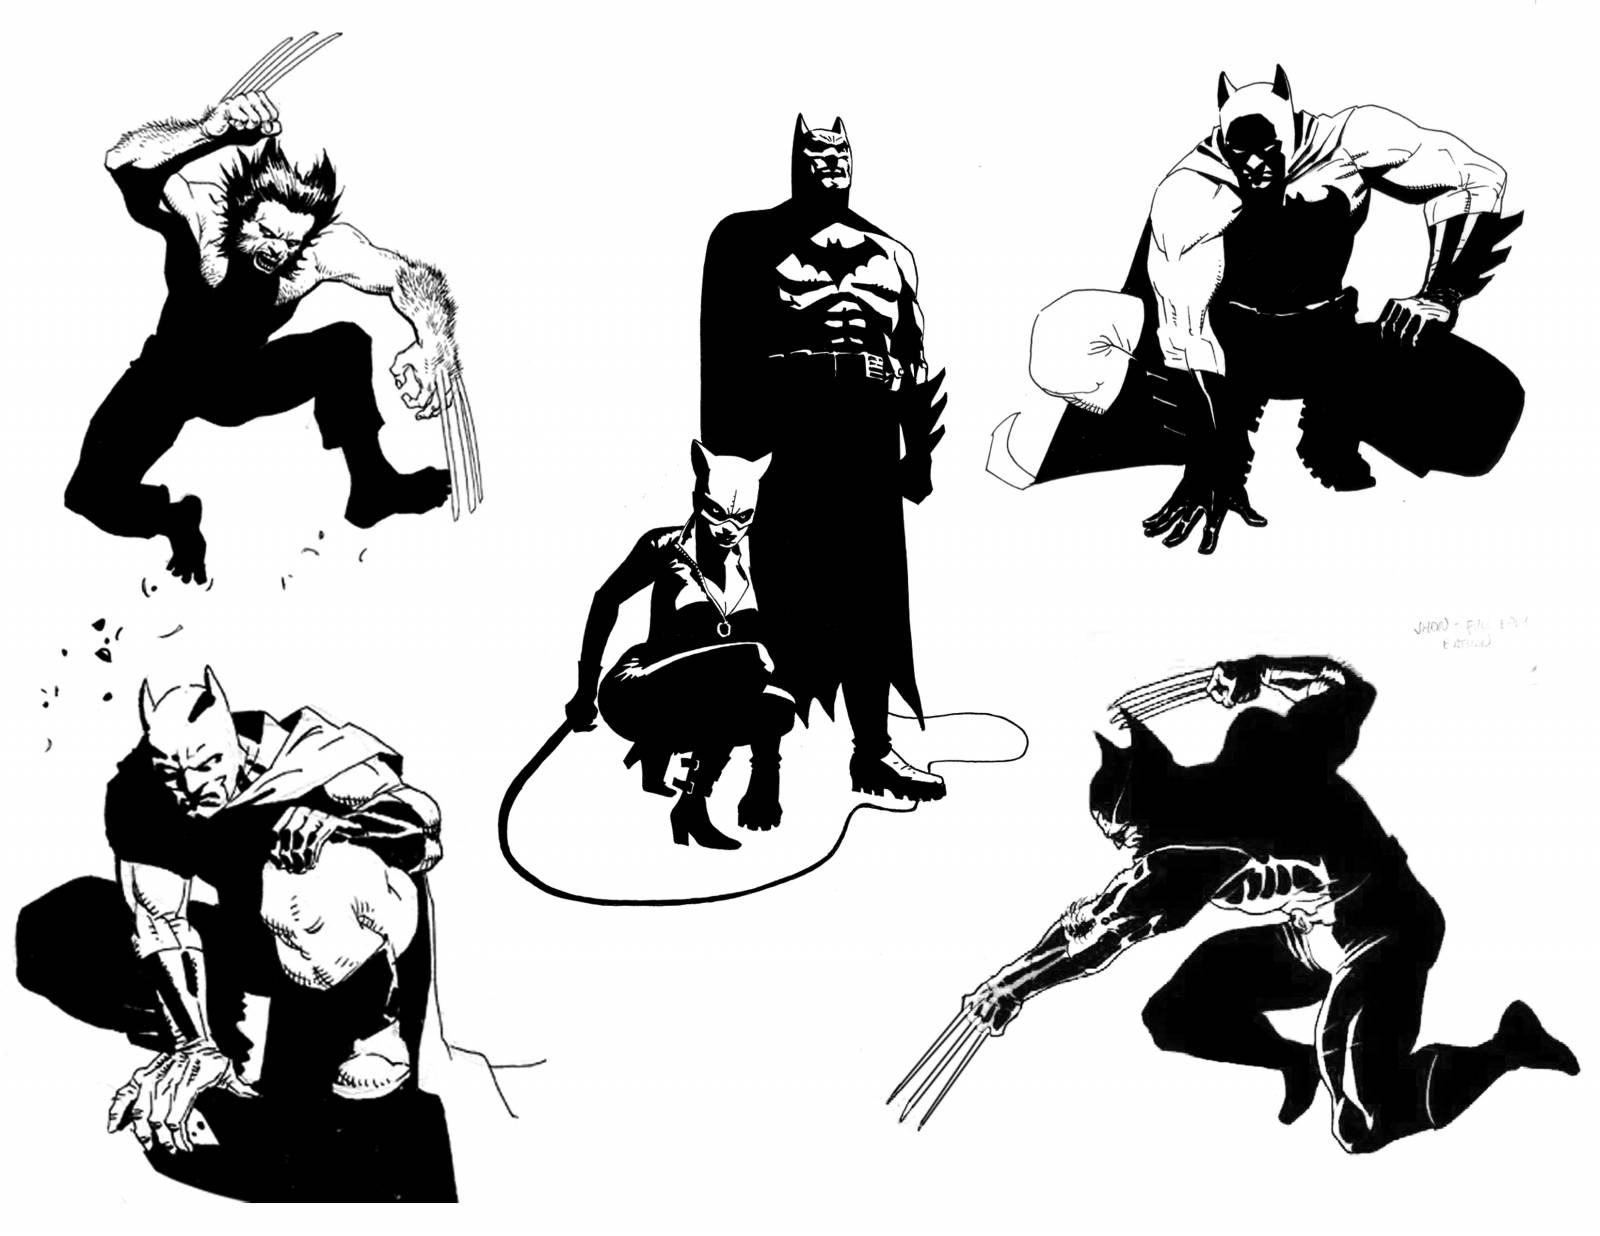
Or perhaps knock out some Mike Mignola or Eduardo Risso master copies before the session to warm up and get your mind thinking about less traditional designs. Here is a sheet of Risso drawings that I made for myself. I copied a few before a session and truly feel it warmed up my eyes to see new shapes.
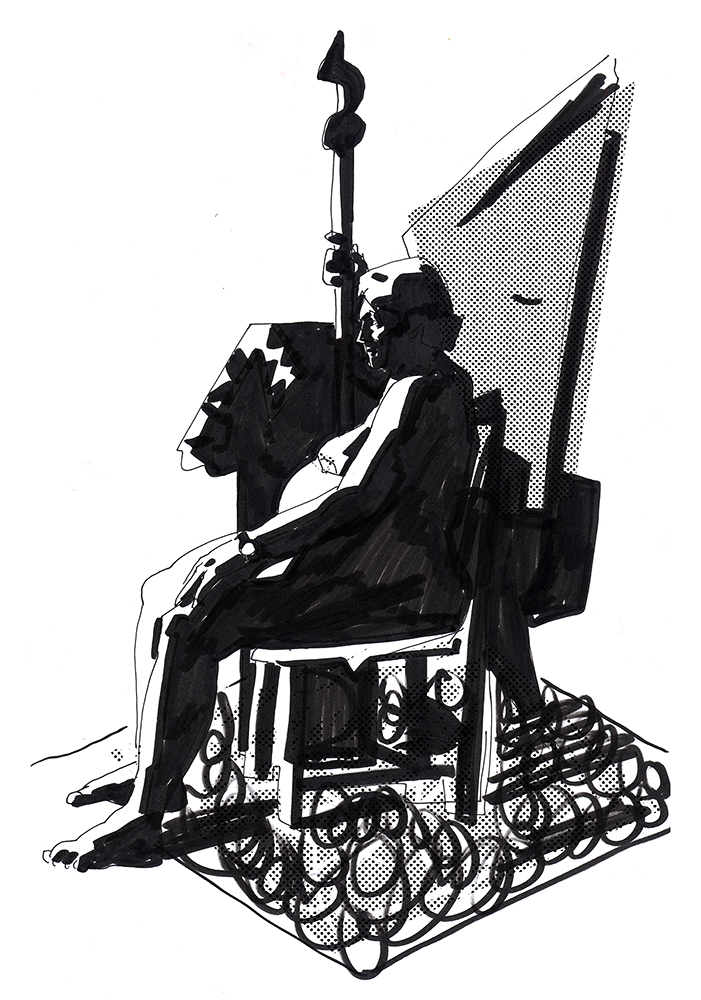
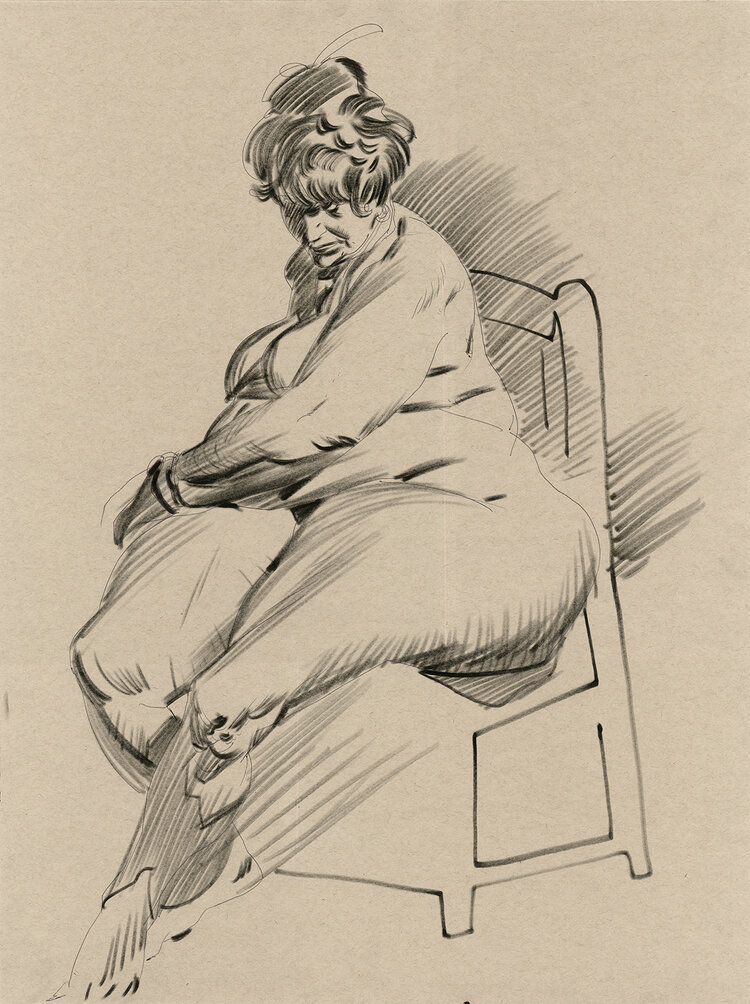
This approach can also be applied to a longer pose setup:
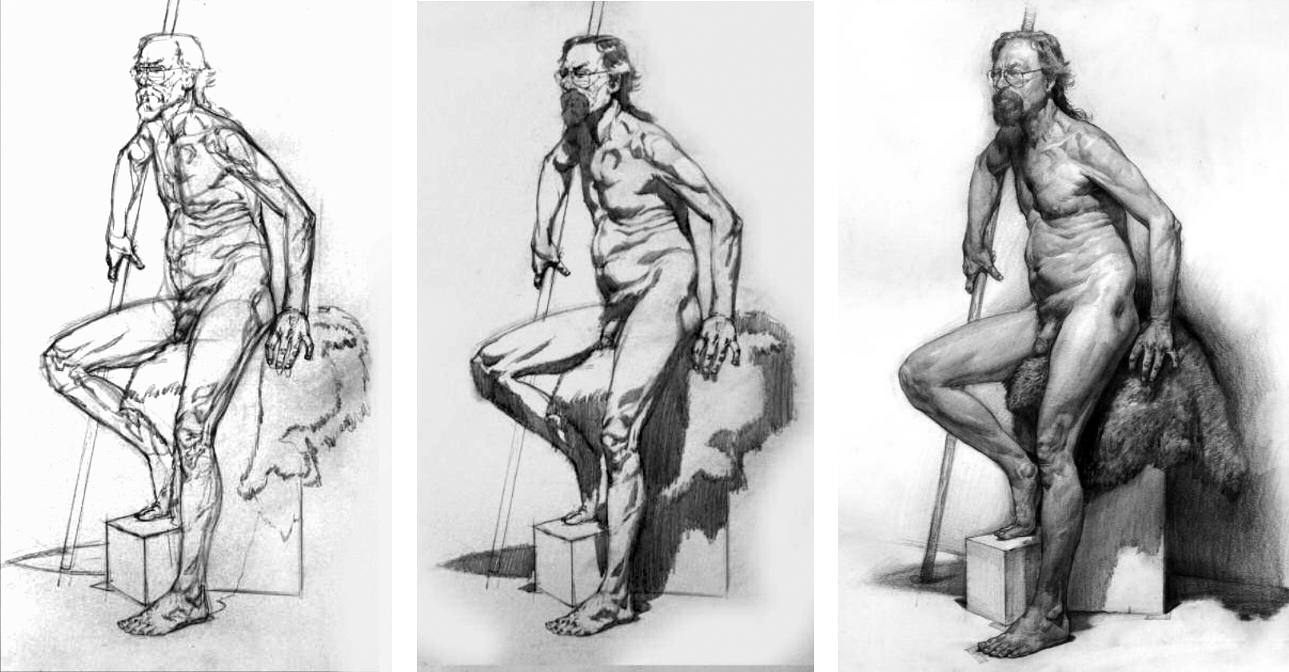
It starts to get really exciting when you apply this approach, but with more malleable mediums like charcoal. I like to use a compressed charcoal stick like I would a marker and block in a subject very graphically. Then using your finger or a blending stump, blend and soften the edges to turn the form! So many possibilities.
Marker drying out? Awesome! Dry markers create the best velvet-y feathered marks that turn form so well. This example doesn’t apply the shadow mapping approach directly, but does take advantage of the dry marker:
Lastly, this process benefits the artist looking to improve their traditional rendering abilities. Take for example this step-by-step by the excellent E.M. Gist:
Does that center step look familiar?
_______________
So I hope this approach is useful to some folks. I know I am far from the first person to point this idea out, but consider this a kind reminder! Happy drawing.


Something I would definietly try next time going through odl markers. Thanks!
You’re welcome, enjoy!
Welcome to the blog, and excellent information. I look forward to reading more content from you.
Thanks for the welcome 🙂
Welcome to the blog! A great article! 🙂 James Gurney wrote some posts about it calling it “notan”, if i remember correctly, as an exercise to group values in just 2 groups: the shadows and the lights, no middle tones. I find really difficult to decide if an halftone belongs to the shadow group or light one and as you showed, this exercise is great for both grouping values and seeing shapes, two things i really need to master yet. Thanks for the advice!
Yup, this is a form of Notan. Probably, academics would call this figurative Notan. Glad this helps!
Great post, Francis. Happy to see you posting here!
Thanks Wouter!
Man, this is so great. Amazing work and super helpful explanation of technique! Super inspired
Hi Aedan, glad it’s helpful!
thanks professor
No problem Professor!
That’s a great exercise! After the construction,I find easier to work first ont the black areas and then the lines. If it works well only with the shadow mass, that’s almost done.
I sketch digitally like this sometimes. Its really fun to like cut and pull at shadow shapes!
Hmm, this seems a little misleading.
This technique is used pretty often in comic book art and also animes.
I wouldn’t say that you and your colleague created it.
Regardless, this is a very useful post.
Really helps to think more about the shadow and light shapes, and can also speed up the process, without causing problems to the drawing.