Do you find you have collected a tinsy bit of information about everything you’ve drawn? Maybe there are a few objects you’ve drawn so many times you can draw at any angle from your imagination? Many people call this your visual library – a compilation of images in your head you’ve committed to memory through exposure, practice, and repetition.
In addition to being an illustrator, I also sew, which has changed the way I draw clothes. I’m bringing two of my worlds together to talk to you about the construction of the most basic garment, the t-shirt.
When you draw the seams in the right place it becomes instantly more believable. Even if you are drawing stylistically, actually, especially if you are stylizing, these are the notes you want to hit to tell the viewer what they are looking at.
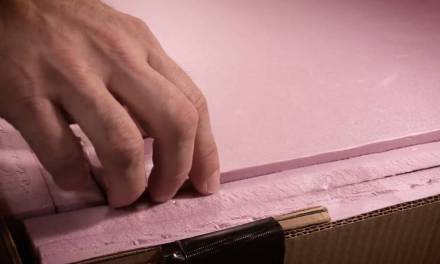
The image displayed below is with a cotton Kirkland short sleeve shirt. I would describe the weight of it as less sturdy than a Carhartt tee but thicker than your favorite graphic tee. Let’s start with a few terms.
Seams: The place where fabric is joined.
Hems: The edge of a fabric that is folded (turned under) and finished off.
Here are the locations of the seams (green) and hems (purple) on an average t-shirt:
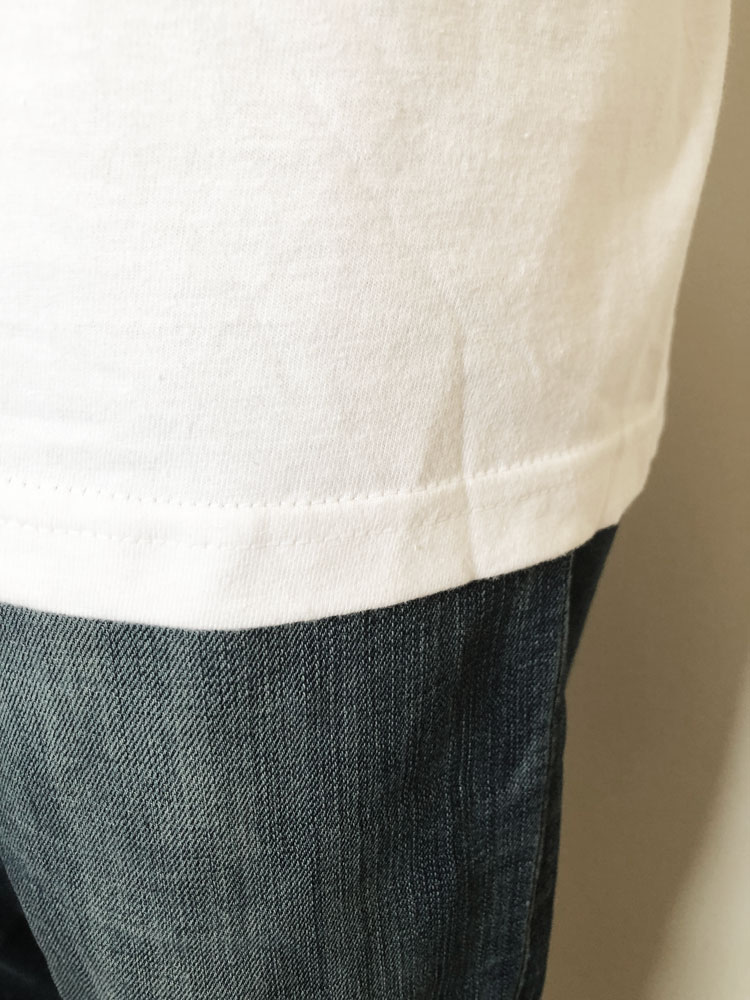
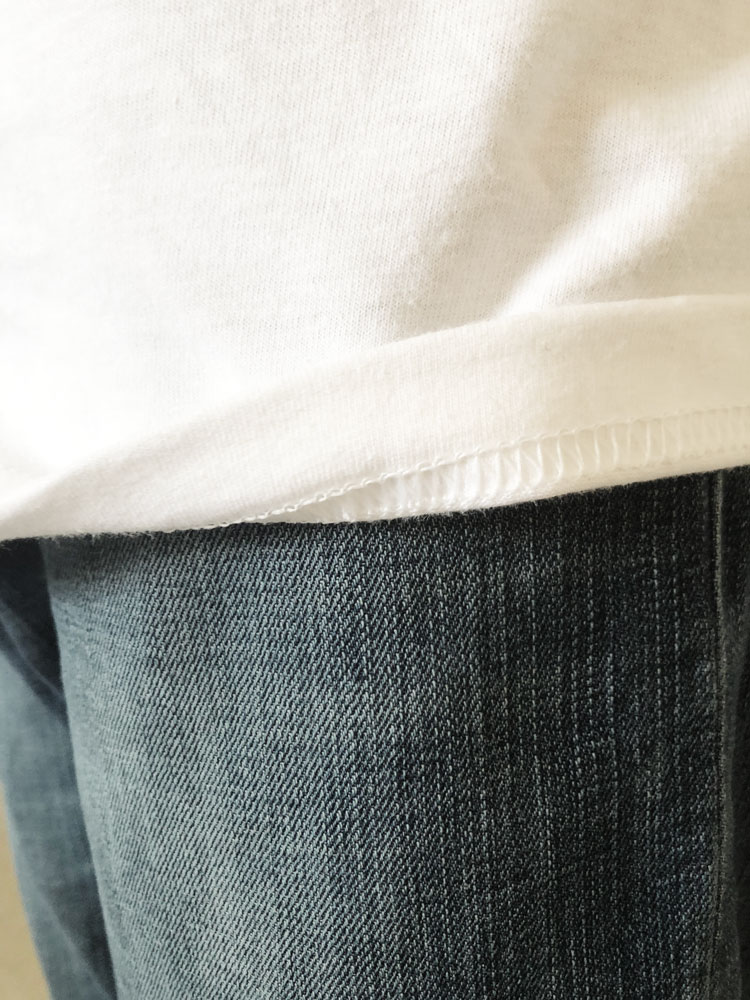
Anywhere there are hems or seams you’re going to see bulk. At hems, the shirt may be less transparent and stiffer because it’s two layers of fabric.
The bottom hem has two lines of stitching exposed. That’s because it’s serged. A serger machine uses two needles. On the inside, you’ll notice the iconic figure-eight or teardrop design that neatly tucks away the raw edge of the fabric. This helps the shirt from unraveling and gives it a polished finish.
![]()
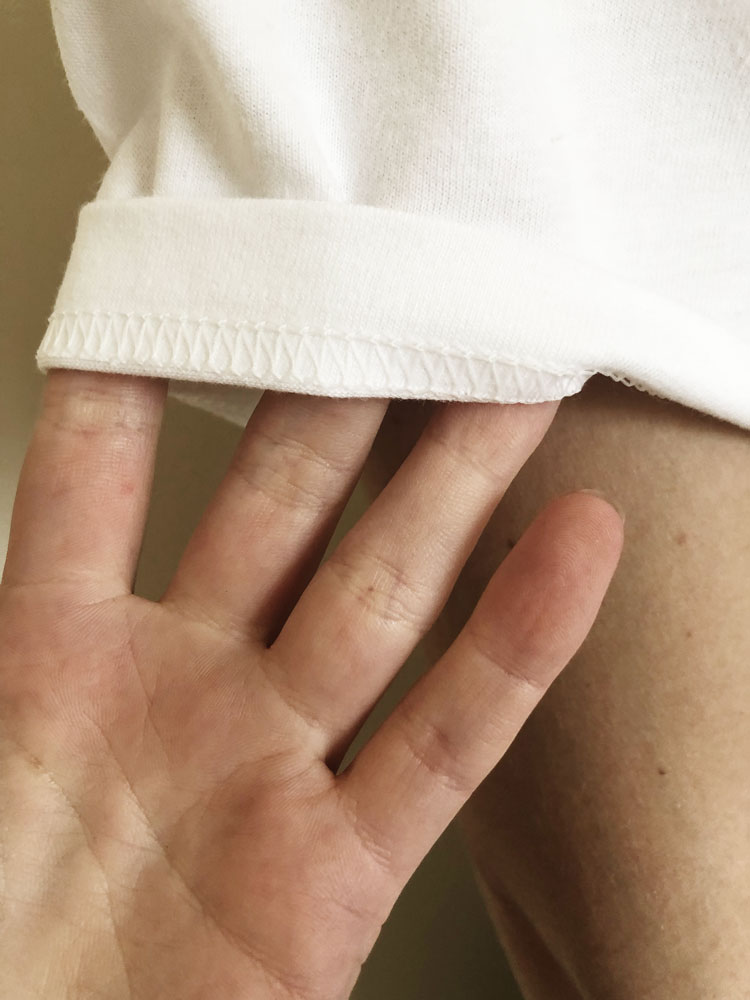
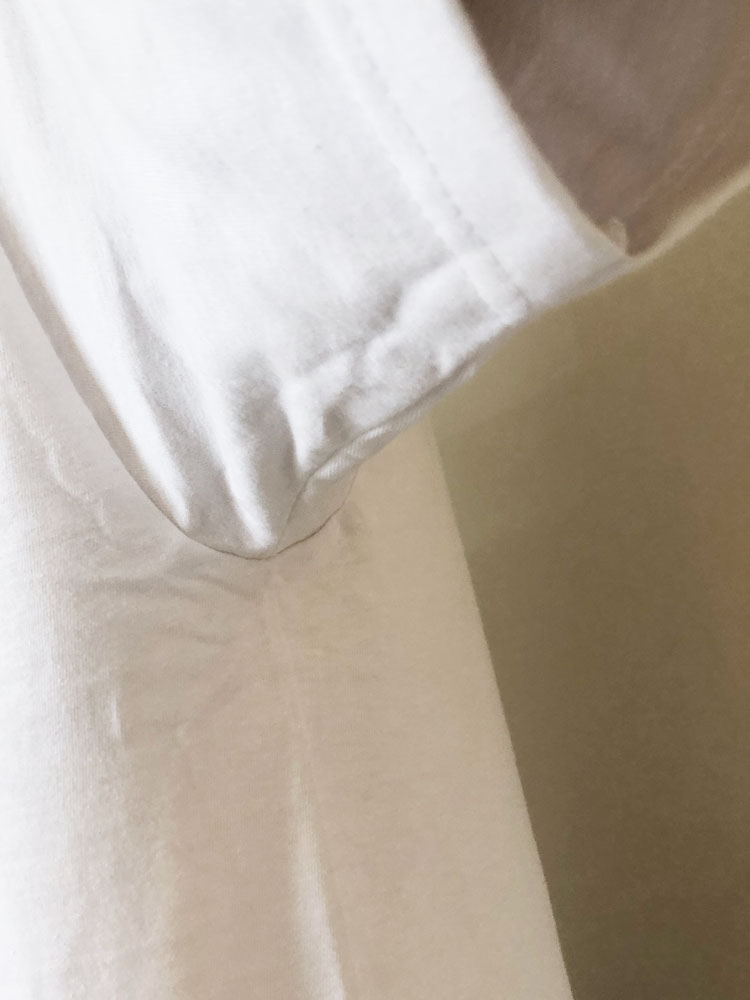
Looking at the sleeve, you will notice another hem in the same fashion.
You’ll notice there is not a seam on the sides! A very common drawing mistake. The seam is usually on the top of the shoulders. Like anything, there are always exceptions.

Check out the shoulder seams, notice how they do not go all the way down the top of the sleeve and are serged showing a double line of stitches. Where the sleeve is attached, we see a seam.
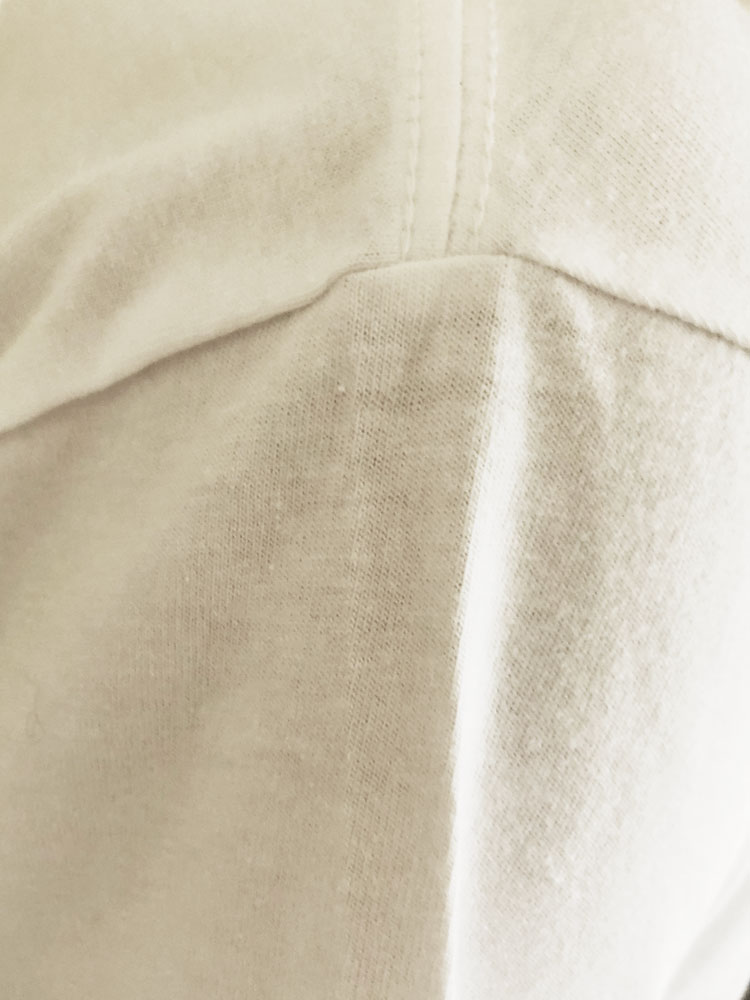
The seam that forms the “tube” of the sleeve is on the underside of the arm. This seam does not show any exposed stitches but if you look on the inside, the excessive fabric is serged to keep it from unraveling but is not serged to the sleeve (it doesn’t lay flat against the fabric.) Here you can see that annoying itchy flap just slightly stitch up in the arm hole.
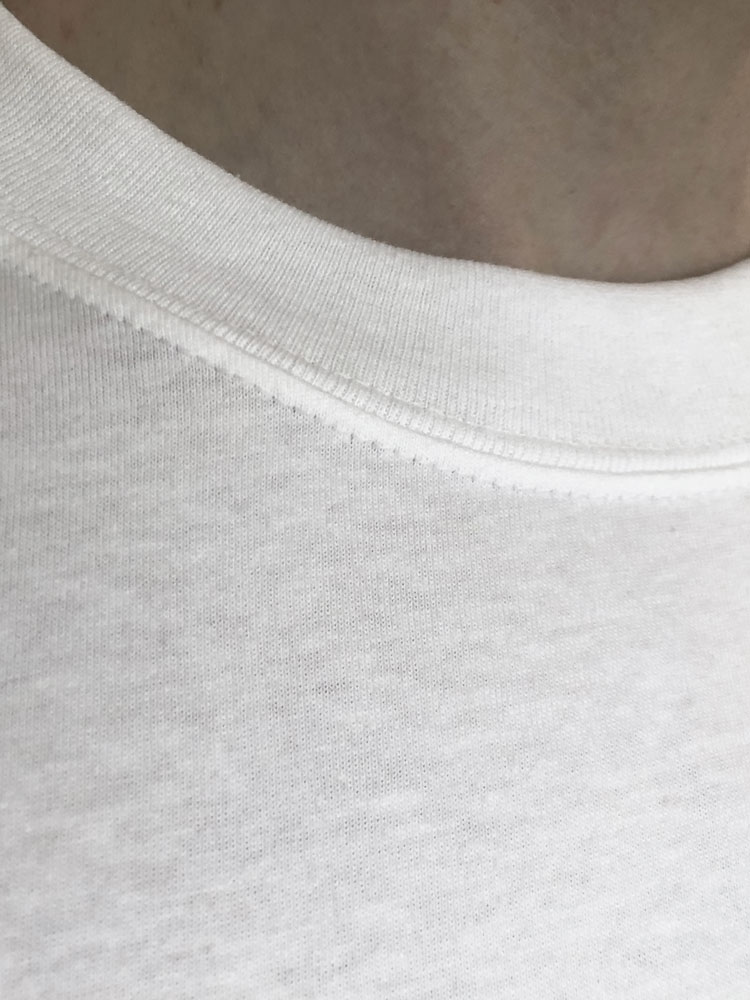
The neckline is made out of a ribbed knit. The ribbed aspect can be very bold or subtle like it is here. This is usually folded and joined at the raw edge. Giving the neckline a smooth edge that doesn’t need to be finished. This is attached with a serger and has the signature double stitch line exposed on the front of the shirt with the line for the seam running through the middle.
Everything we add to our characters, including what they wear is real estate to tell stories. Unfortunately, when we slap a tee on our characters it’s not the most character-defining look, but when you know the mechanics you can take a boring tee to new heights!
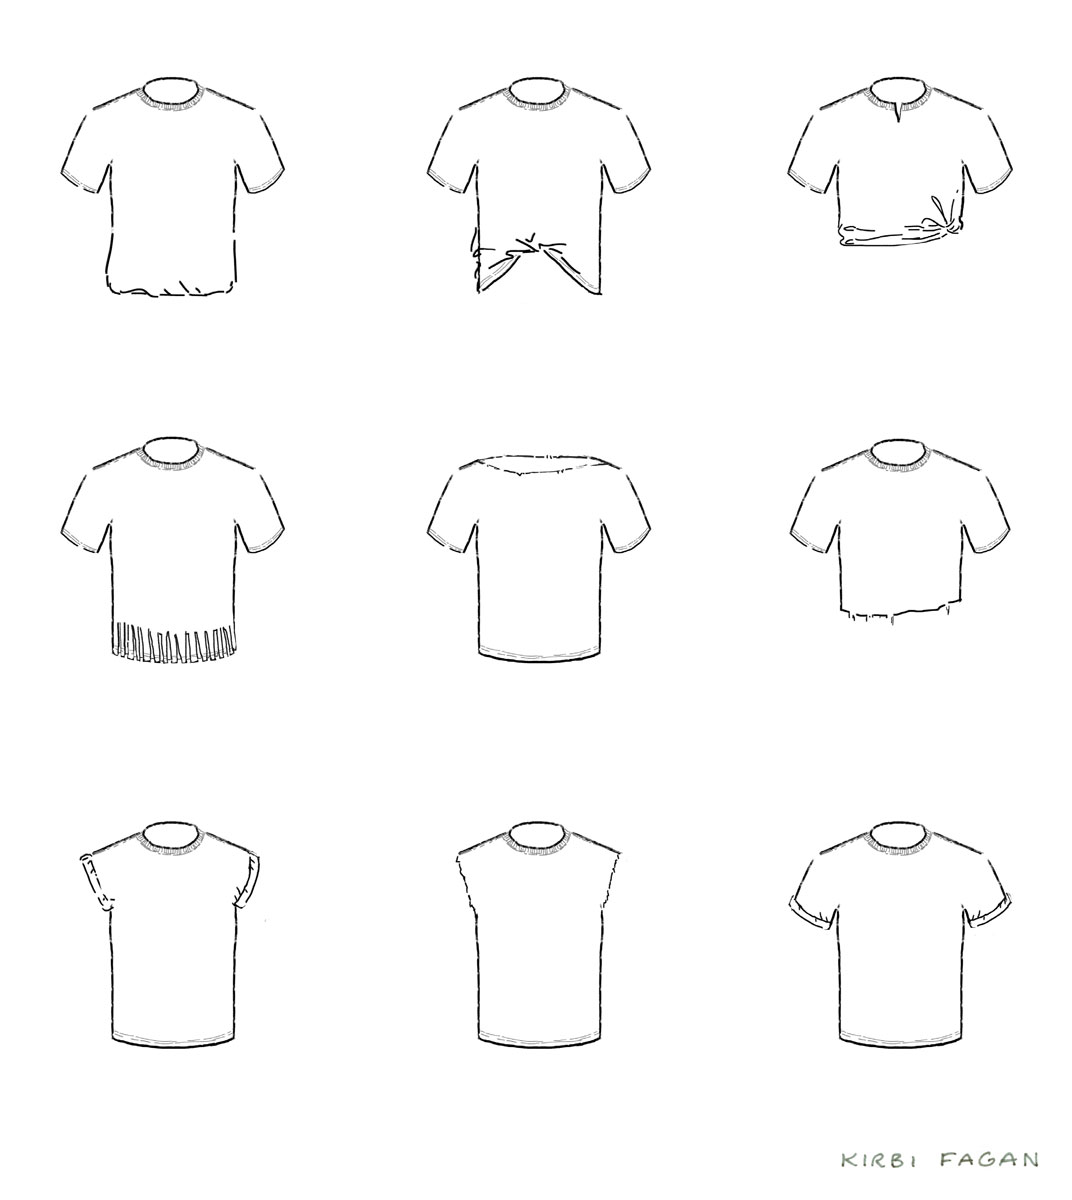
The most obvious thing you can do to add character is to put a print or design on the tee. To go further, think about how your character wears their shirt. Sometimes just the size of the shirt alone can show their character. Is it too big, too small? Tucked in? Half-tucked in? Cut? Or shredded? Seams are subject to tear. If a shirt is ripped apart in a brawl we know where we should draw the rips! Or maybe your character has altered it themselves, in college, I was obsessed with altering my tees. Imagine what could happen when we change the color of the thread?
Here is a small sampling of simple ways to add character to this commonly worn shirt. Pair these tweaks with layered clothing, accessories, colors, and patterns, and a boring t-shirt becomes worthy of your star character.
Sometimes when we don’t find an object interesting it can be a struggle to draw it accurately. I find the more I know about a topic or object the more interesting it becomes. I hope this look into t-shirts makes constructing your character’s outfits interesting and your results more accurate.
If you like my tips here you may like my YouTube channel where every Monday I give a mini-lecture and on Friday, I share with you what I worked on that week. Click here to check it out!
Happy drawing.
Kirbi

A very cool look into the construction of a simple clothing item! I’m not very interested in clothes so I definitely struggle to create outfits I can draw sometimes.
Gametipspro is the one who provides the daily spins link. If you are a daily player, you must be aware that when playing Coin Master Game, if your spins are exhausted, the only way to get more Coin Master Free Spin And Coin Links is to wait each hour for five to six spins.