Just last night, I was putting the finishes touches on the underdrawing for my next painting commission. As I stepped away from my table to inspect my work, I accidentally tipped my portable drawing board over, knocking it, along with my painting, and a glass of water, onto the hard floor below. The whole thing came crashing down in a mess of water and broken glass. I cringed not knowing what I was going to find beneath when I lifted my drawing board off the floor.
Luckily, the damage to my painting surface was minimal… just a few gouges here and there where the glass impaled the surface. (My real fear was that I had bent the surface in half, a MUCH more difficult repair.)
Weirdly, this has happened to me enough that I didn’t freak out. Fixing a gouge like this is a relatively simple process and I’ve done it more times than I can count.
I figured this would be a nice opportunity to share with you how to repair scrapes and gouges in a painting surface. This method will work on pretty much any common painting surface other than canvas, be it wood or illustration board.

Fortunate for me, this happened in the drawing phase of my painting, making the fix extremely simple. But if I had already been laying paint down, the process would still be much the same.
If the painting was done in acrylics, nothing about this process would change.
If the painting was done in oils, I would first need to wipe off or sand down the damaged area, removing as much of the oil layer as possible to revealing the ground beneath.
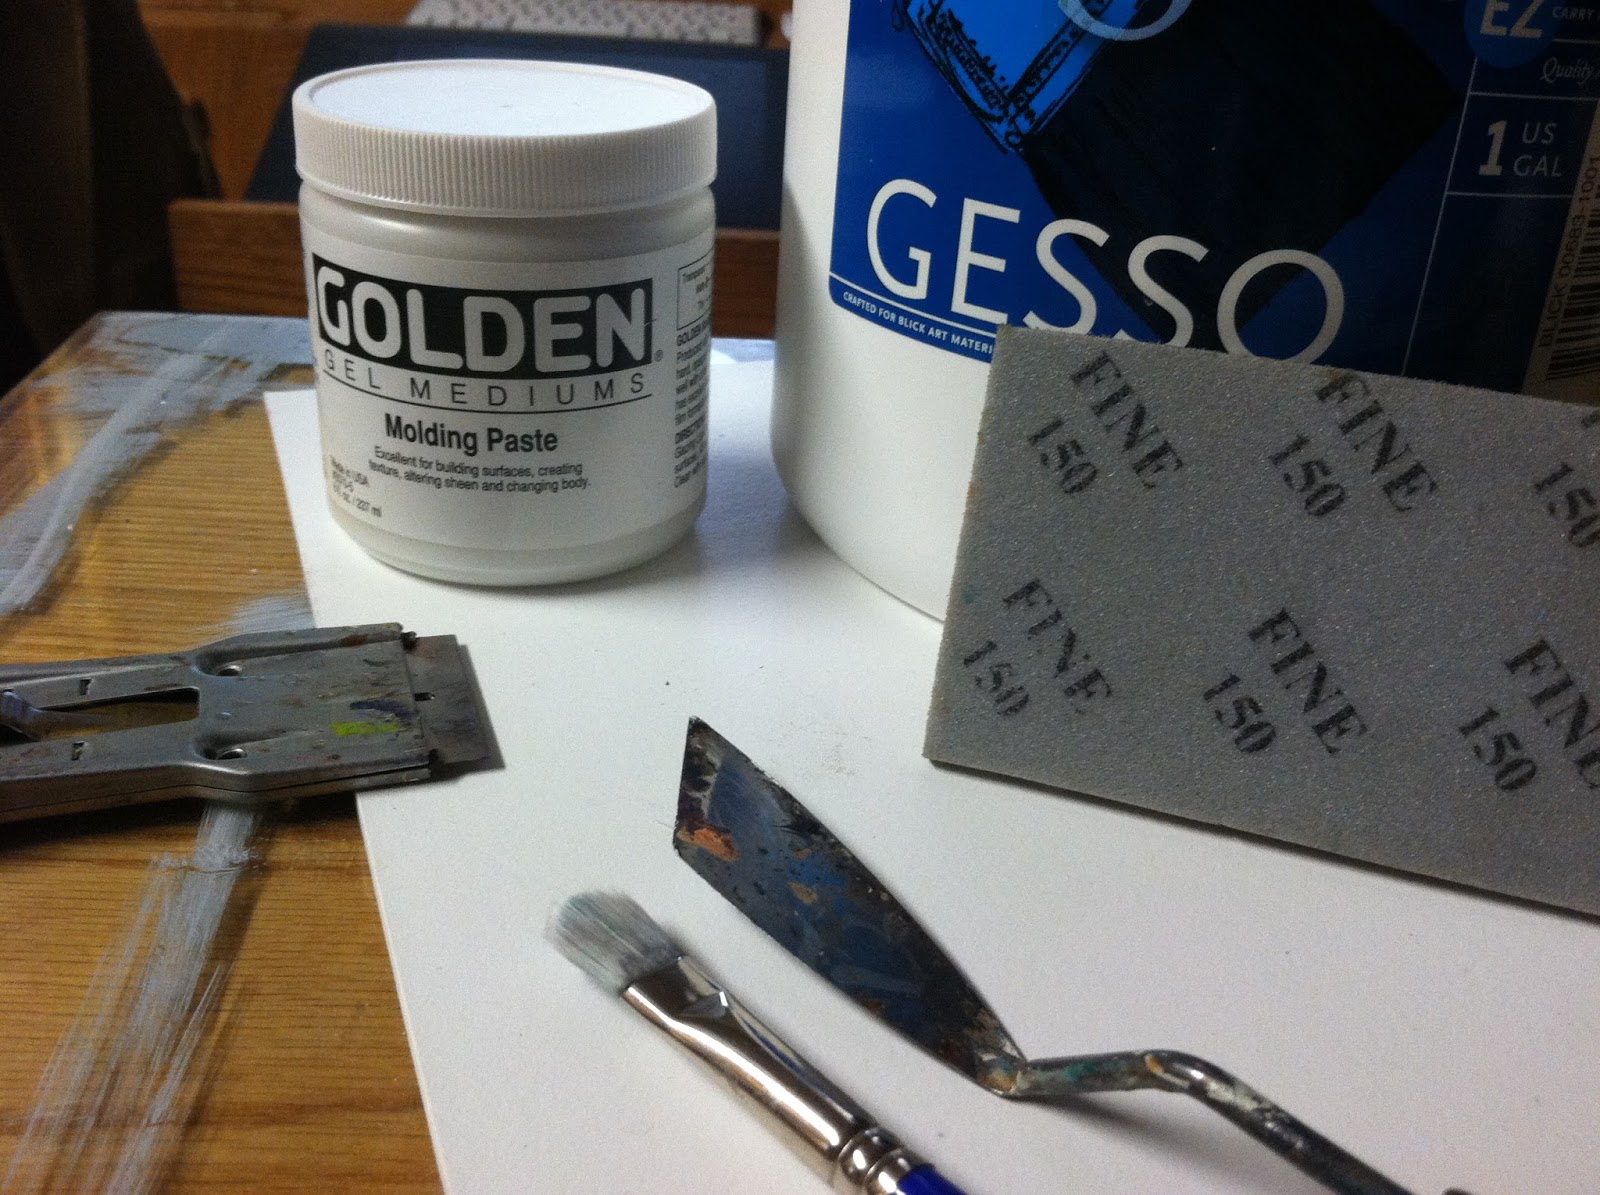
To repair something like this, you will need:
-Modeling Paste
-Primer (the same kind you used to prime the surface)
-Fresh razor blade
-Palette knife
-Paintbrush
-Extra-fine sandpaper
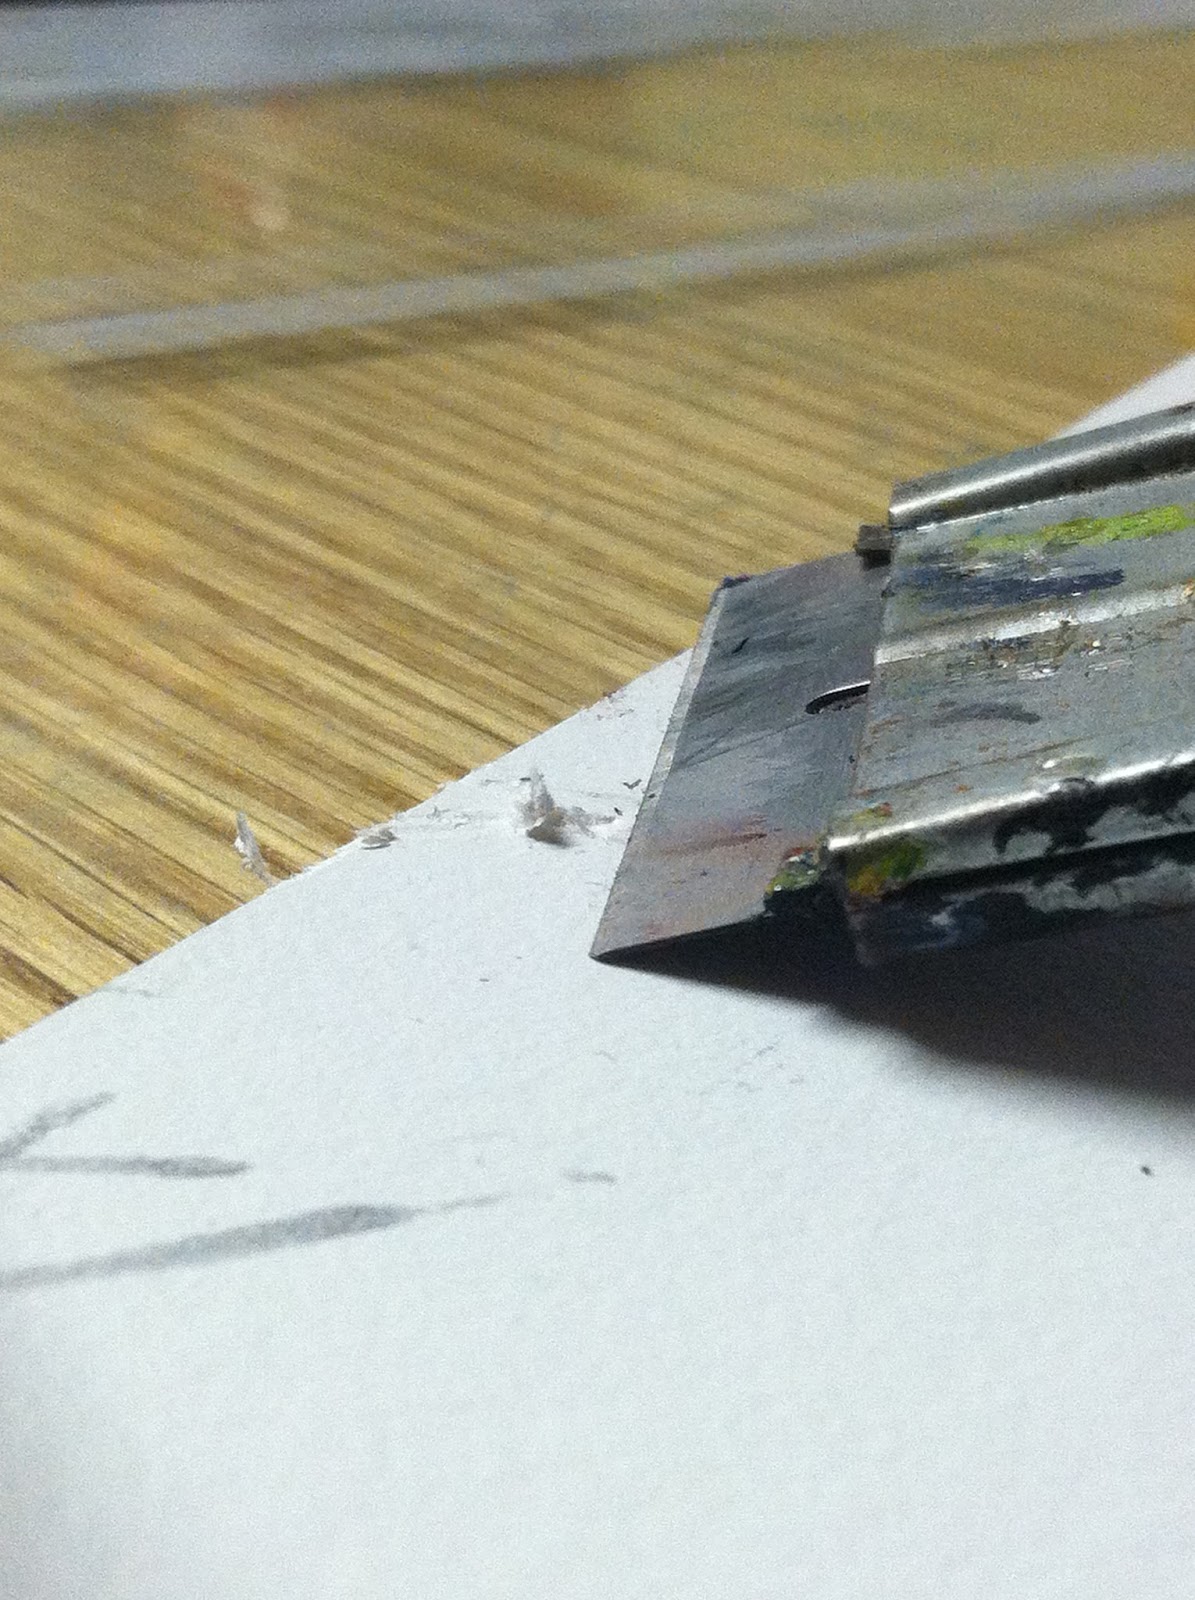
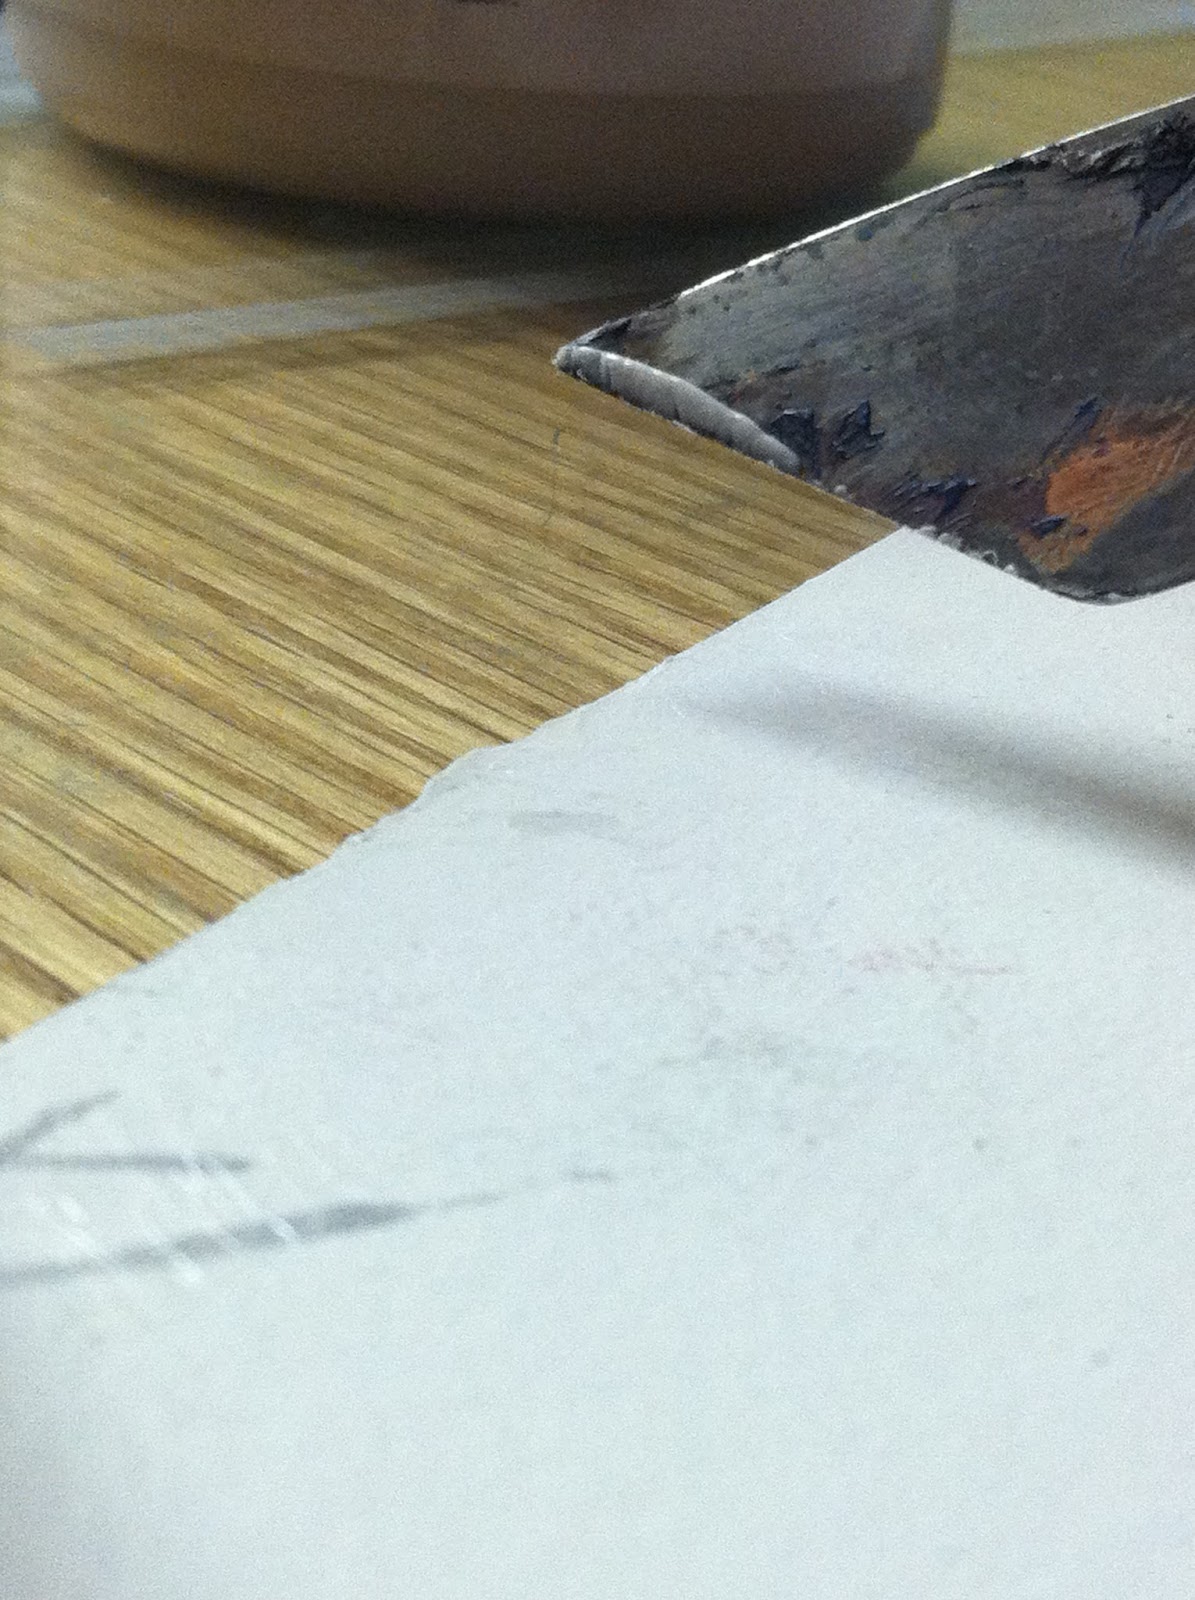
The first step is to take a fresh razor blade and scrape the damaged area clean. This way, you can better see what you’re really dealing with. Simply scrape off any extruding parts. Try to make it nice and level. It’s better to have a larger hole than it is to have parts that jut up from the surface.
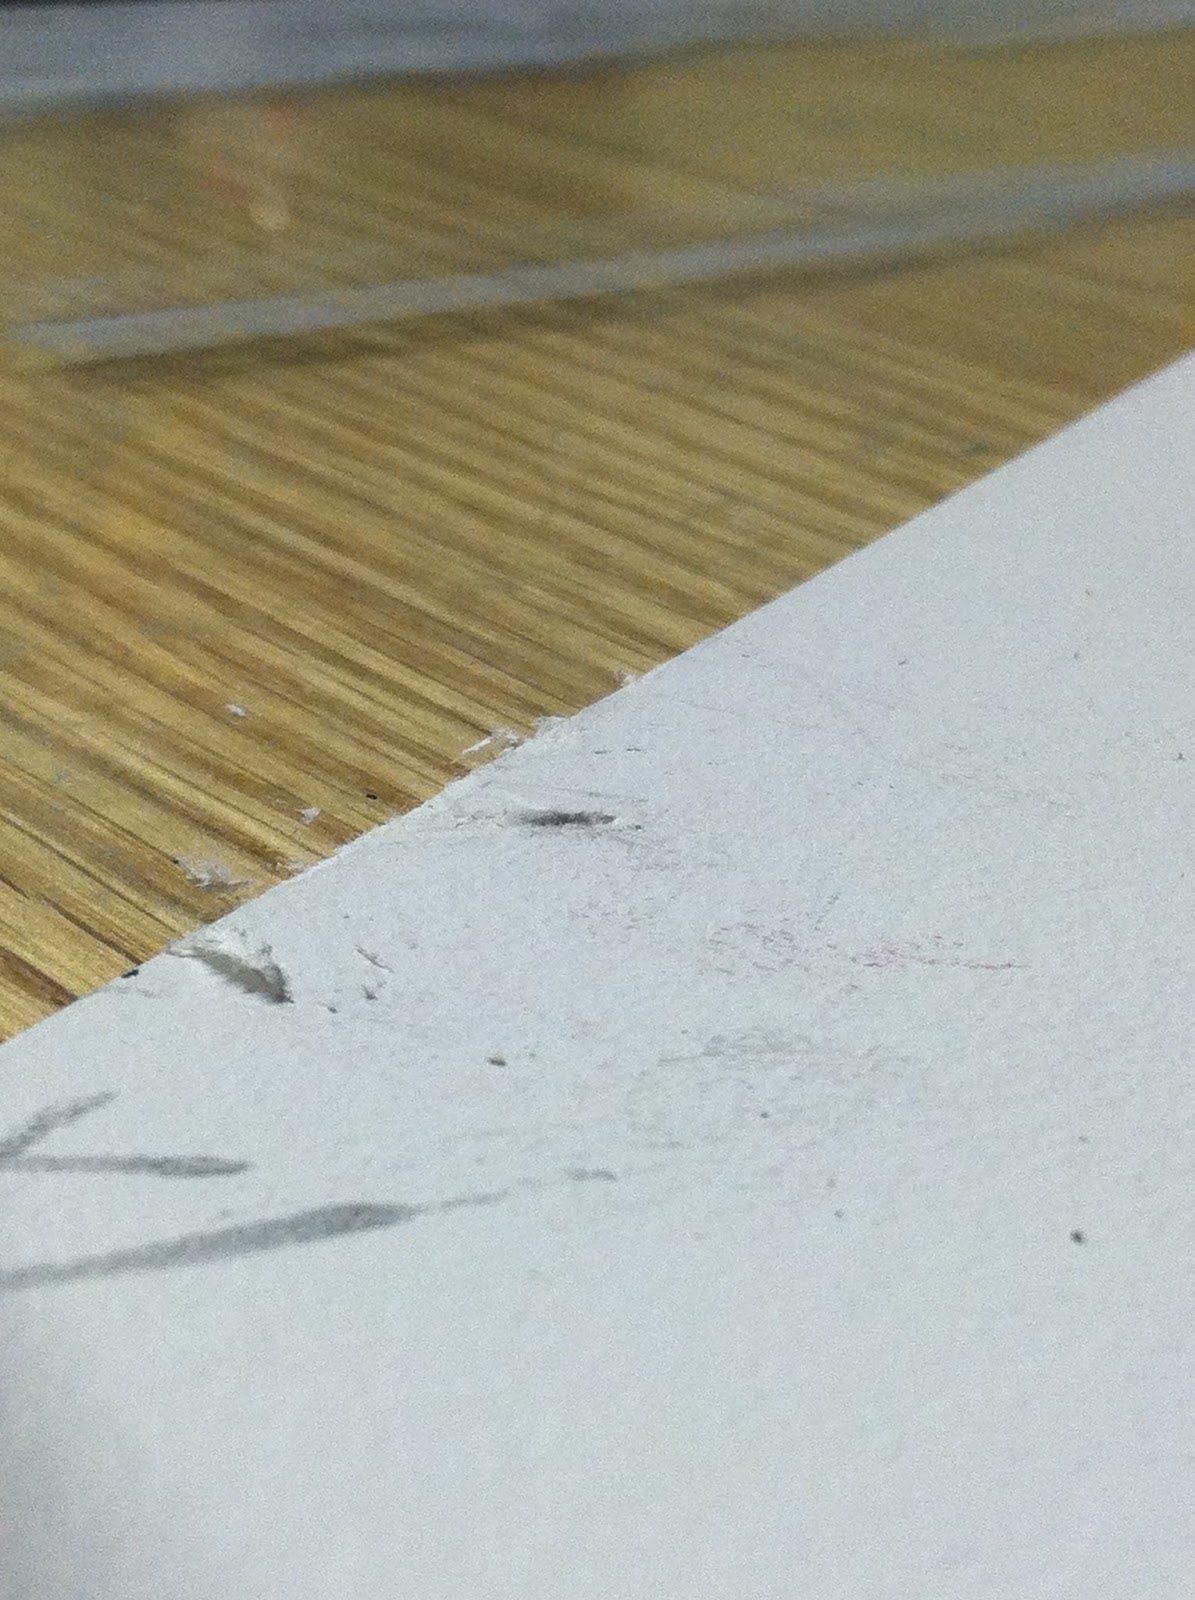
Once you remove the extraneous bits, the damage is often not as bad as it first seems. I paint on a 20-ply illustration board. I would guess that this gouge went through about 6 or 7 of those plys.
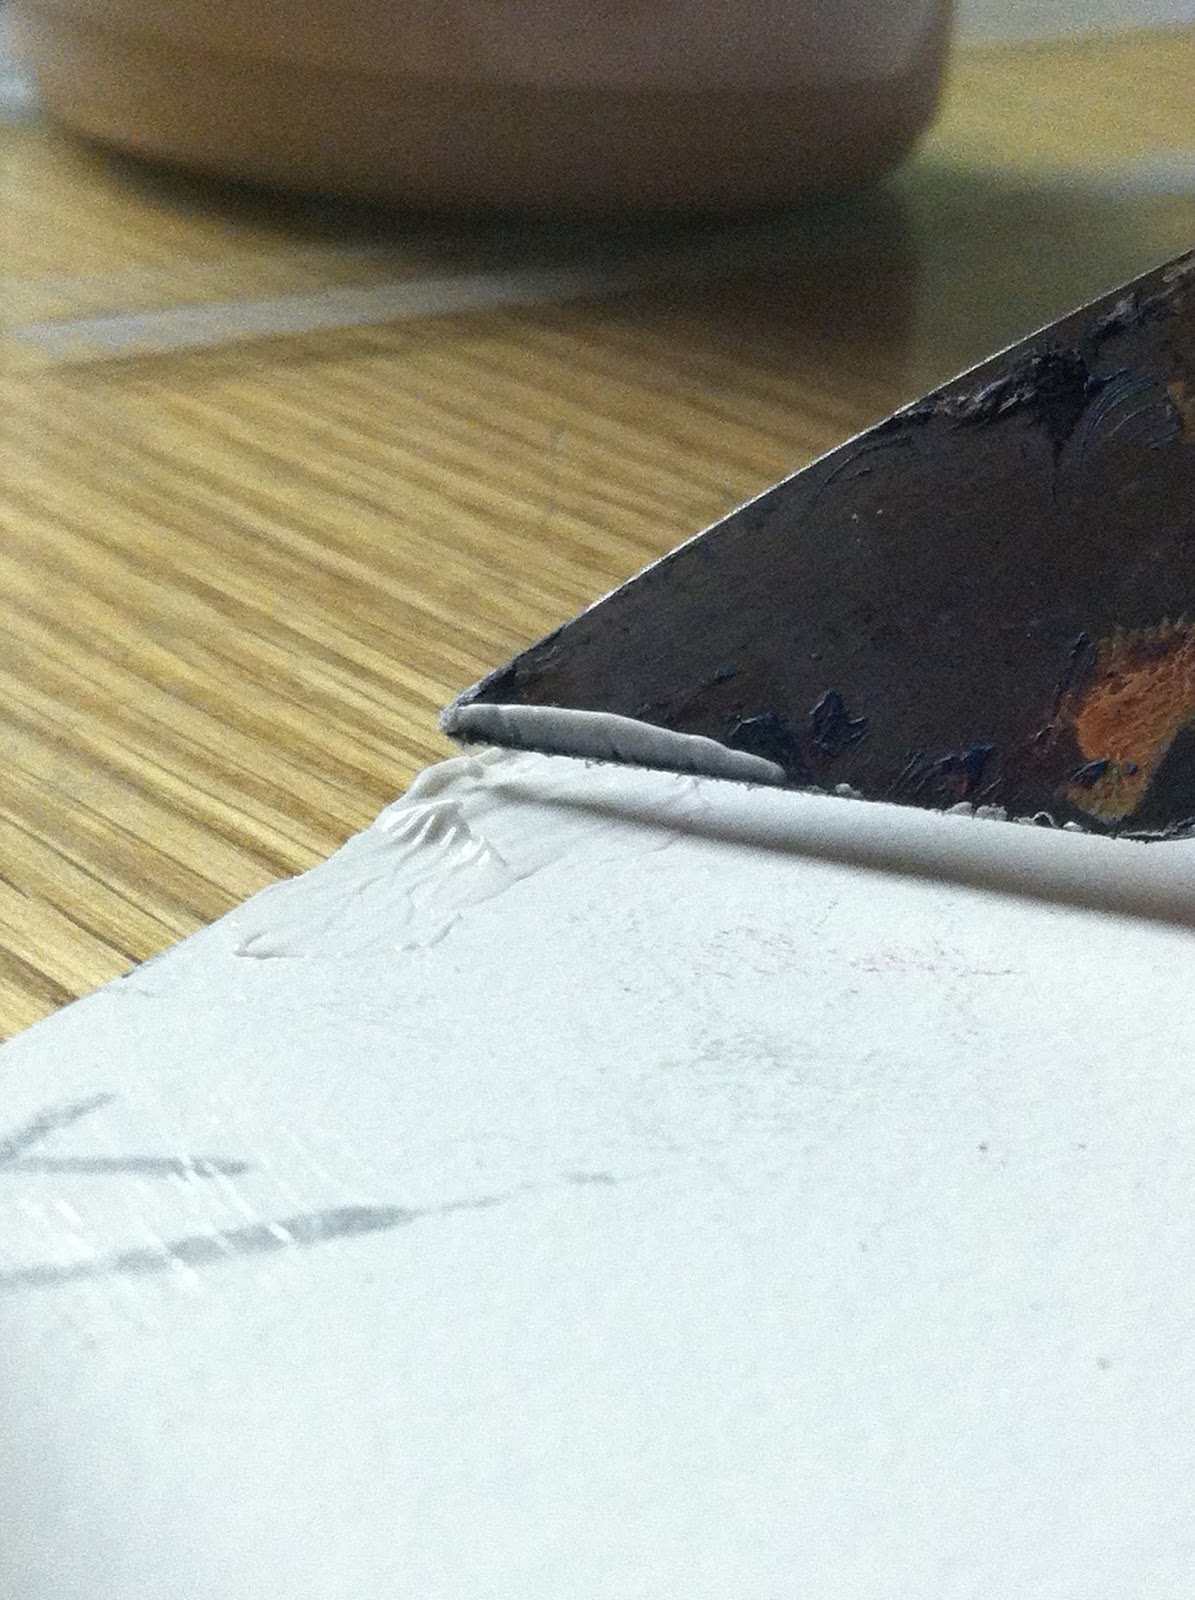
Next we fill the hole with Modeling Paste. Be sure to apply a very liberal amount, being certain that you really get it deep into the cracks. I used a palette knife for this, but you could just as easily use your finger, pushing the paste into the gouge.
Using that same palette knife, smooth out the surface. This is the part that takes some finesse. The tendency is to want to really scrape as hard possible, but doing so tends to leave you with a divot. Try to drag the knife across the surface very gently. You don’t need to push down on it, the weight of the palette knife itself is more than enough pressure. When you’re done, leave it alone. Don’t fuss with it too much. It’s better to have too much paste left on the surface than too little. And don’t fill just the holes, try to leave some paste covering the surrounding areas as well (think of it like a band-aid).
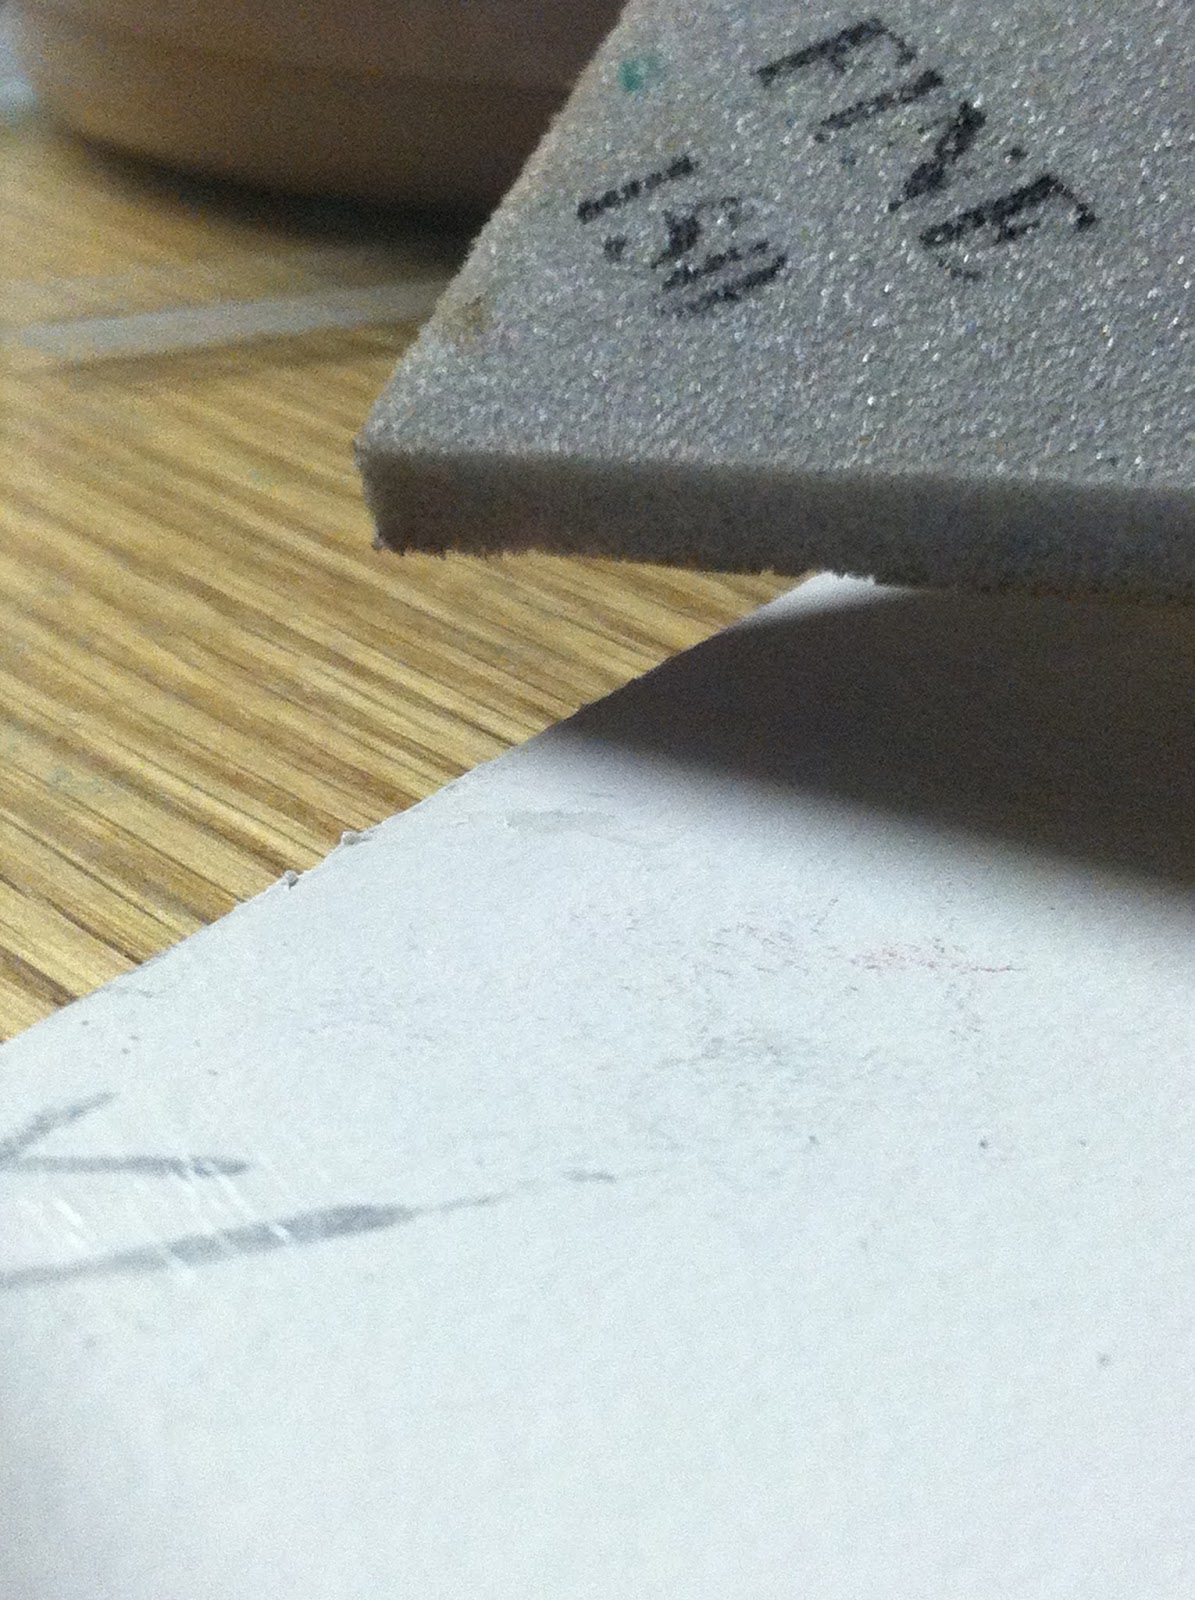
Once the paste dries, about 5 minutes or so depending on how deep the gouge is, go over it with very fine sand paper or a sanding block. Be sure to get those edges of the board where extra paste spilled over. Once this phase is done, you will be able to tell if you need to apply another coat of paste or not. Deep cracks may require 2 or even 3 passes before it’s completely filled due to the modeling paste shrinking a bit as it dries. In this particular case, one coat was fine.
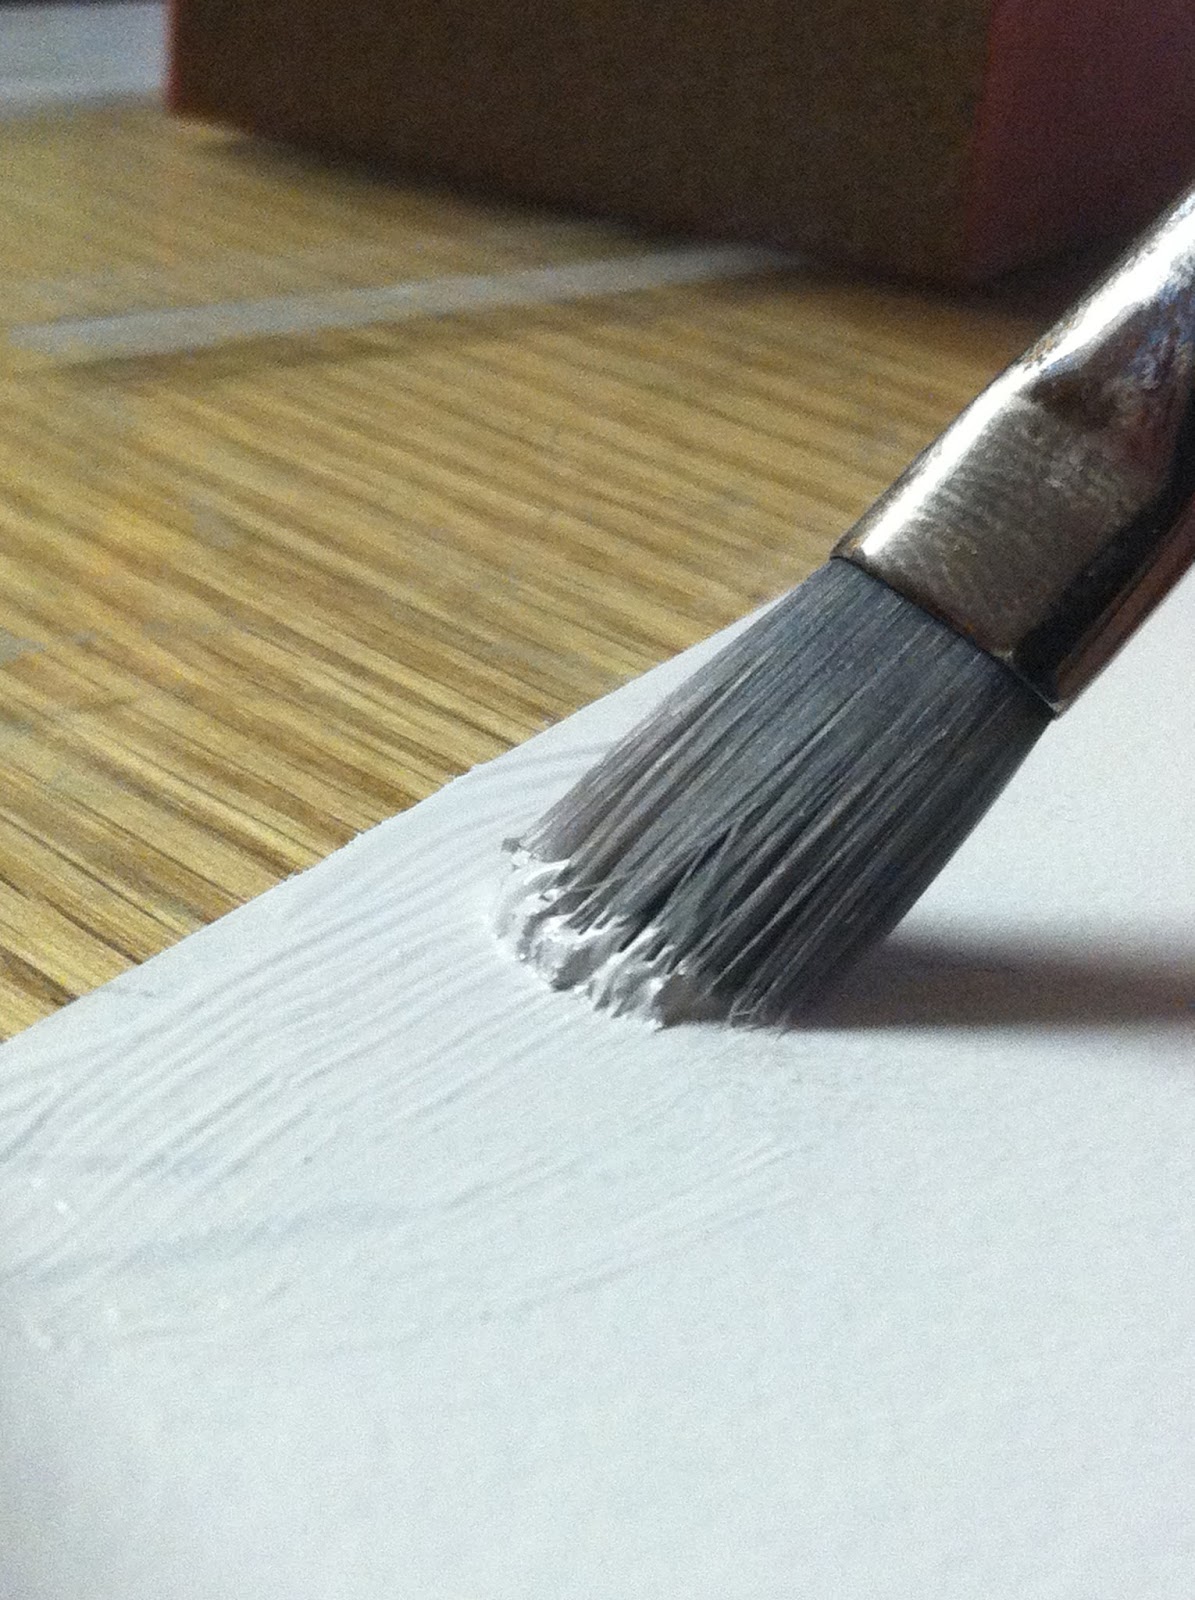
Modeling paste is quite abrasive, and isn’t the most ideal surface to work back into. It’s also a bit fragile, so it’s a good idea to seal it afterwards. Since I draw on a primed surface, I simply applied a fresh coat of gesso to the affected area.
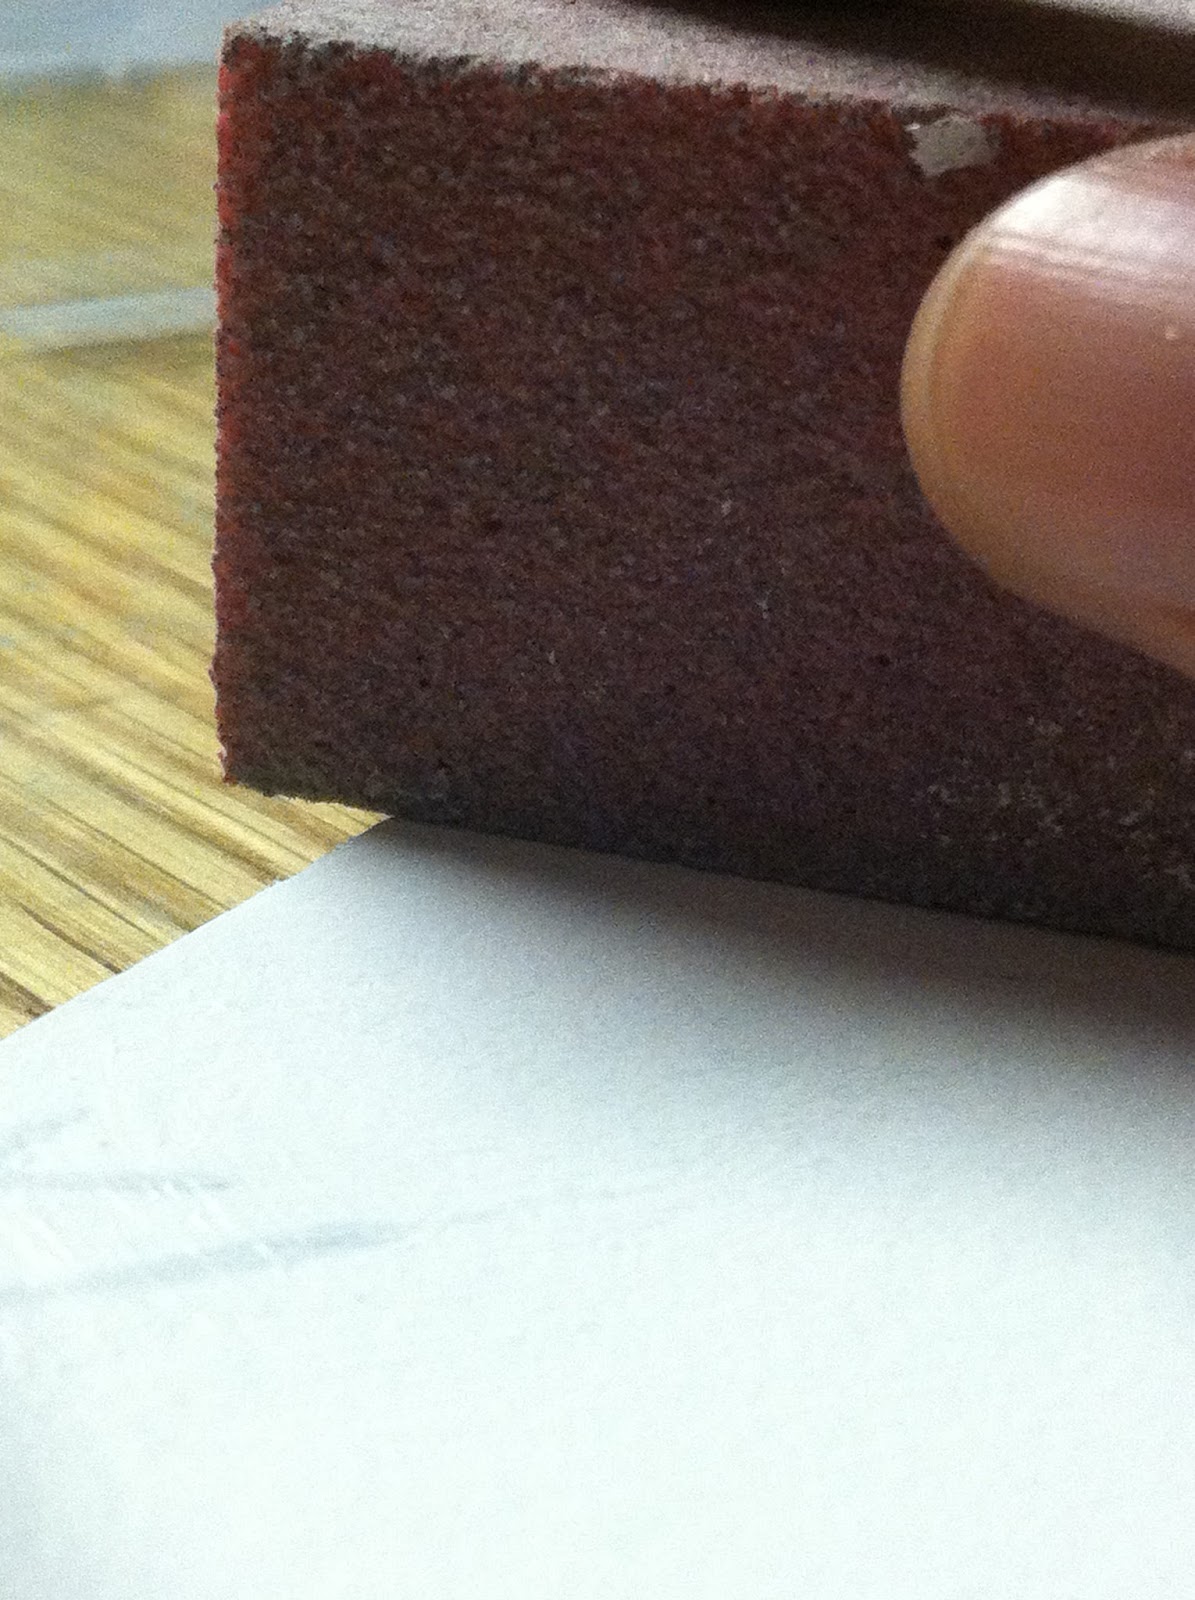
Once the gesso dries, give that another light sanding. Sometimes acrylic primer can get a little rubbery when applied too thickly, so I chose to use a slightly more coarse sanding block than the previous one to really get rid of any texture, but that’s just a personal preference.
And that’s it! Easy, right?!
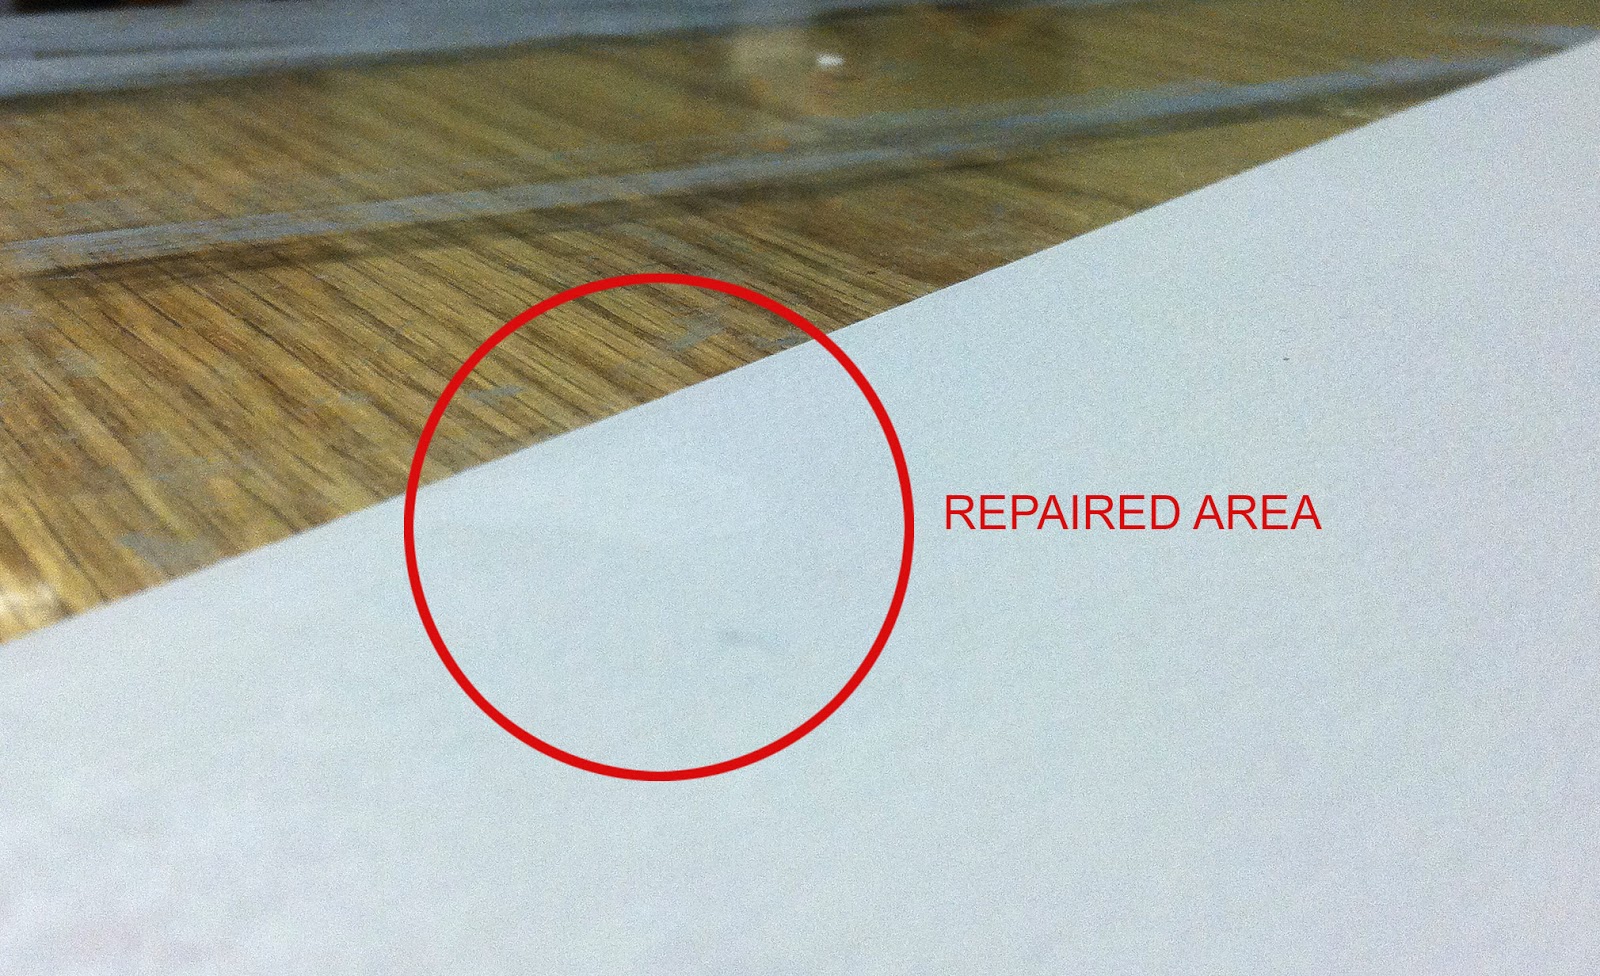
Above you can see the repaired board. The surface is smooth and strong again, and just as absorbent as it was before. The only real difference would be a lack of flexibility in that area. If I bend the board too much in that spot, the repair may crack.
Once I begin to paint on this surface, the damaged area should be completely undetectable. If I had already begun painting prior to the damage, I would simply need to repaint the affected area as it was before.
You’d be surprised at just how extensive of a repair you can pull off with quality paper, primer and modeling paste. I’ve actually cut out whole sections of paintings before, inserted new board into the gaps, and filled in the seams. The next time disaster strikes, I’ll be sure to document it for you. 😉

I worked at an art restoration studio for several years and I've seen my fair share of damaged art. I've seen paintings come in mended with duck tape to car glue, this post is a breath of fresh air! This is an excellent example of all the right things to do!
Thanks, Tiffany. I'm glad to hear it.
Thanks Dan. Forgive me being so obvious, but what kind of modelling paste did you use?
BTW Tiffany:
At Architectural Salvage, in Tangmere UK (near our studios) and there's an 18th religious oil painting covered in wood dust, on the stained concrete floor.
It's a Christ in Bondage piece (attribution dubious but seems genuine).
It needs cleaning but the owner's a bit eccentric and doesn't even want to get it up safe on the wall!
Please call them call them and wrangle the job for yourself or a mate:)
You can see it in the photo above, it's Golden brand. Though honestly, I haven't done much comparison. Any of the professional brands should be adequate.
Oops! Thanks Dan, was viewing on a small device 😀
My cousin really likes to collect paintings and she really wants to make sure that she can have all of her paintings as perfect as possible. She has one that is really rare but damaged and she would really like to get it repaired by a professional. It was interesting to learn about how holes are easier to fix than parts that jut out because they can be fixed with molding paste.
Hey dan! I have some questions regarding an oil painting I’m trying to restore. It looks like a painted illustration board (but the owner of the painting doesn’t know). The exposed gouge is fiber-like, thus I’m assuming it’s that. What do you suggest doing with a finished oil painting? Sand first? Then fill with modeling paste and gesso? And sand again? Then paint? Let me know:)