Sketchbooks provide an opportunity for artists to explore alternative mark making. There are creative painting instruments that have been introduced into my artistic process that I would have never thought of or use if it was not for my daily sketchbook practice. In the sketchbook, I am free to play and explore without limits or boundaries.
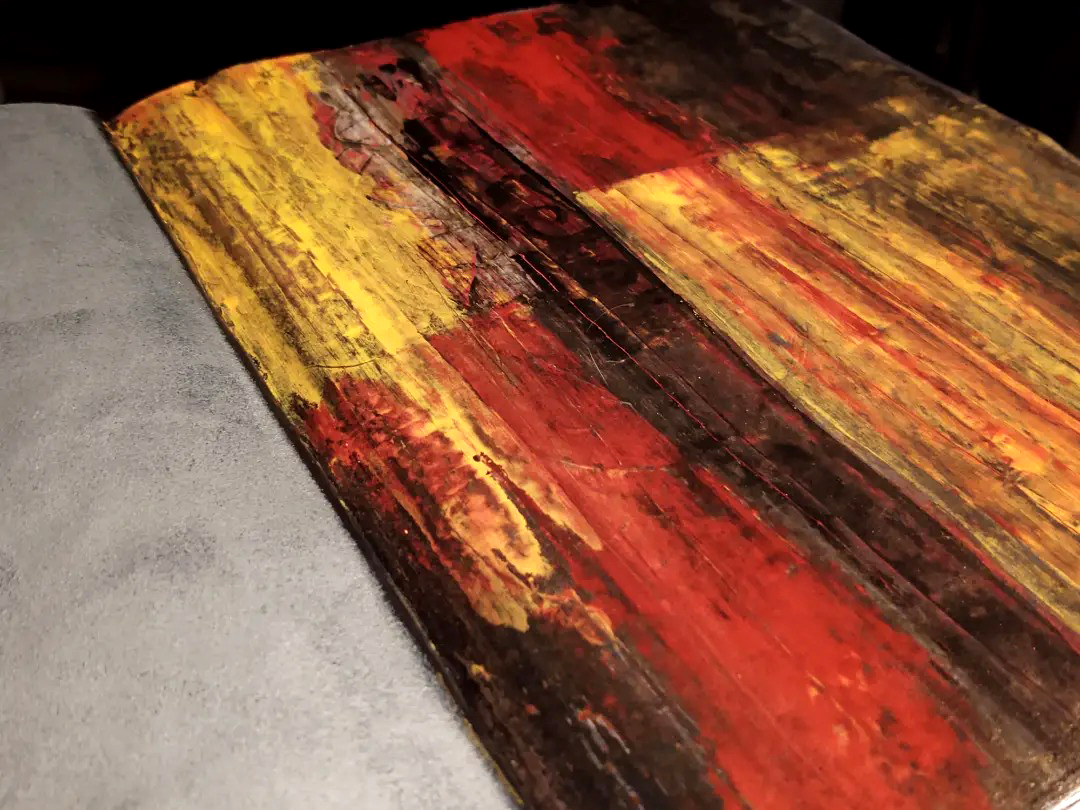
One of the things that I love to do in my sketchbooks is create engaging backgrounds that utilize tools that aren’t seen in the typical painter’s toolkit. In the detail pictures of my sketchbook pages below, you can see all kinds of marks that are being made into the surface, using a variety of non-art related tools. The color-infused, bold and graphic backgrounds are an exciting place from which to pull out a subject.
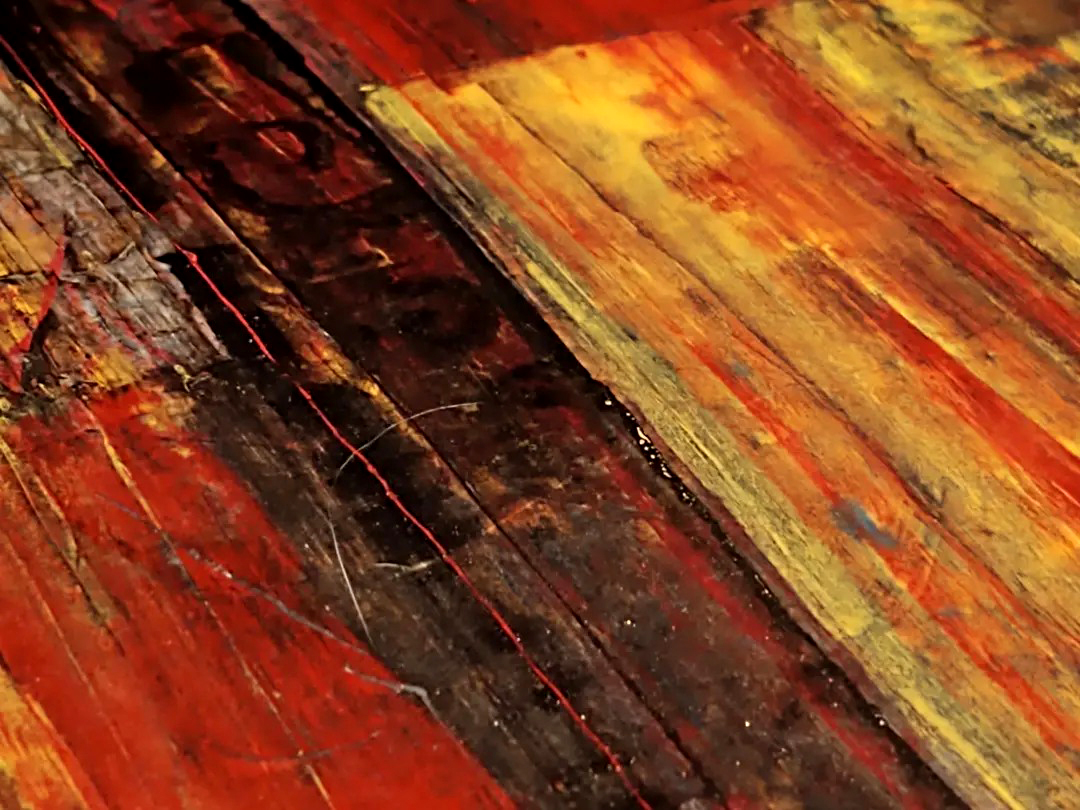
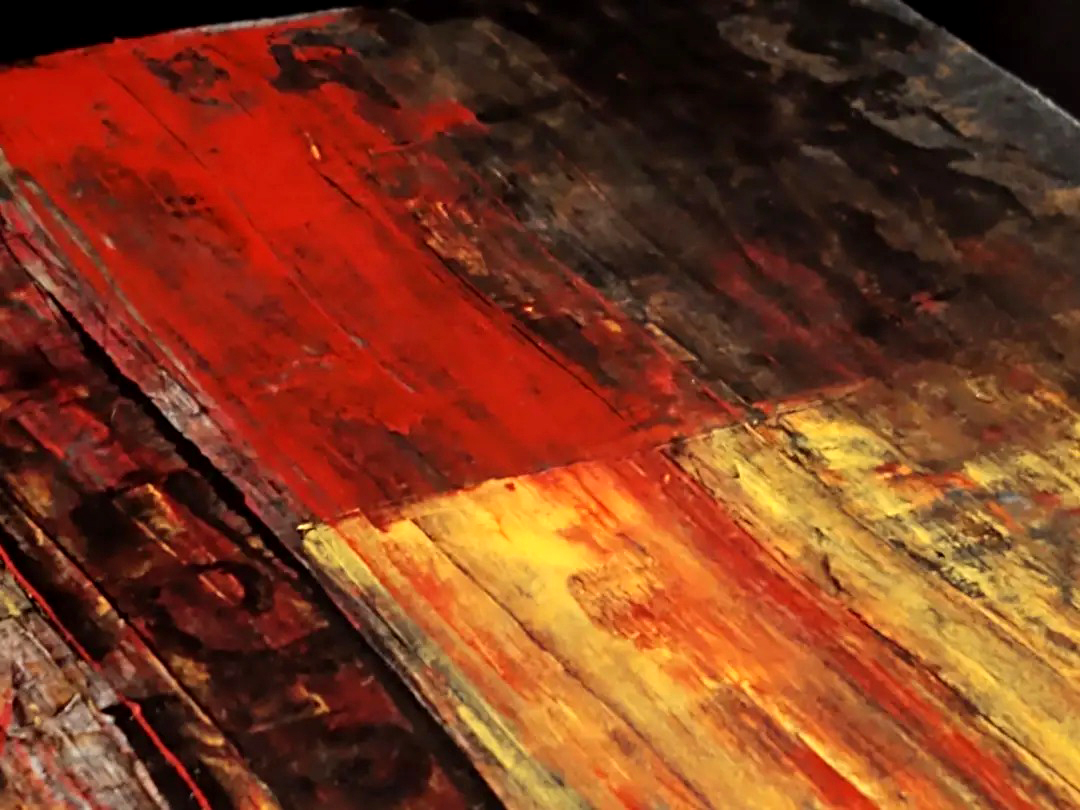
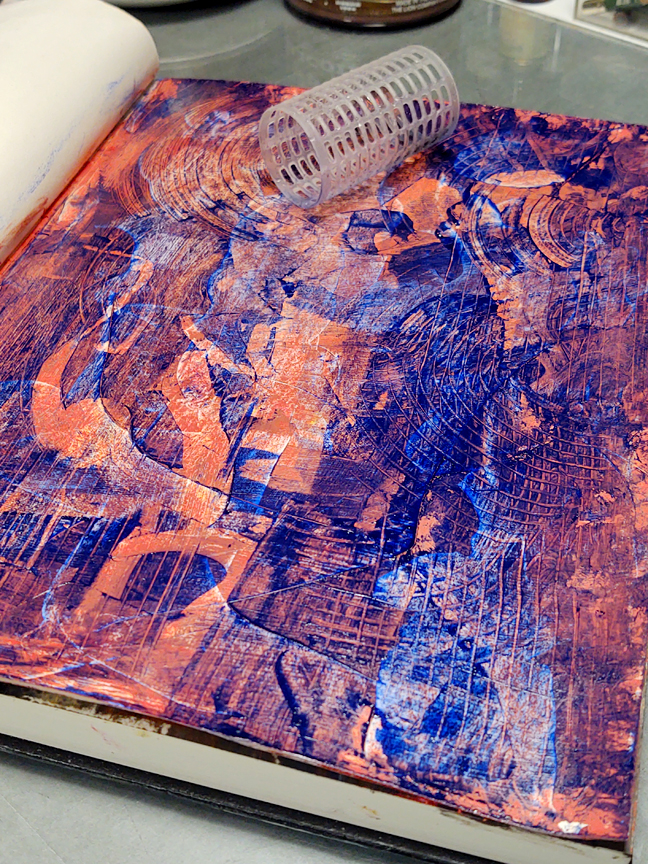
I’ve taken the Velcro off my hair curlers when they were falling apart and used the inside plastic structure to scratch in interesting linear and circular lines into my abstract backgrounds, later pulling a subject out of them in an interesting way. I have also used wooden chopsticks to scrape into as well as draw onto a surface. Toothpicks are used for fine detail.
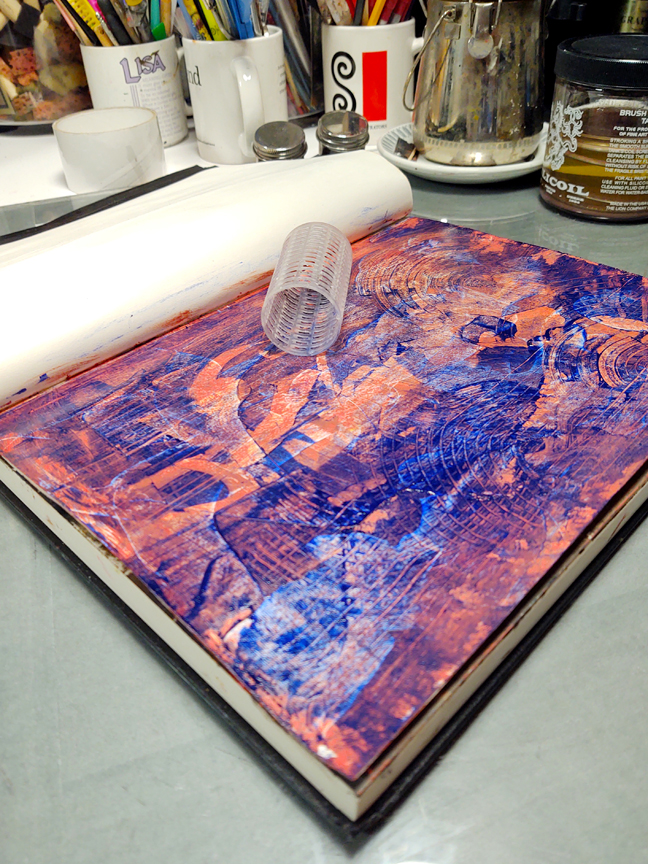
Above and below are pages from one of my mixed-media sketchbooks that features a color field background painting, using a velcro roller base to scratch into the surface.
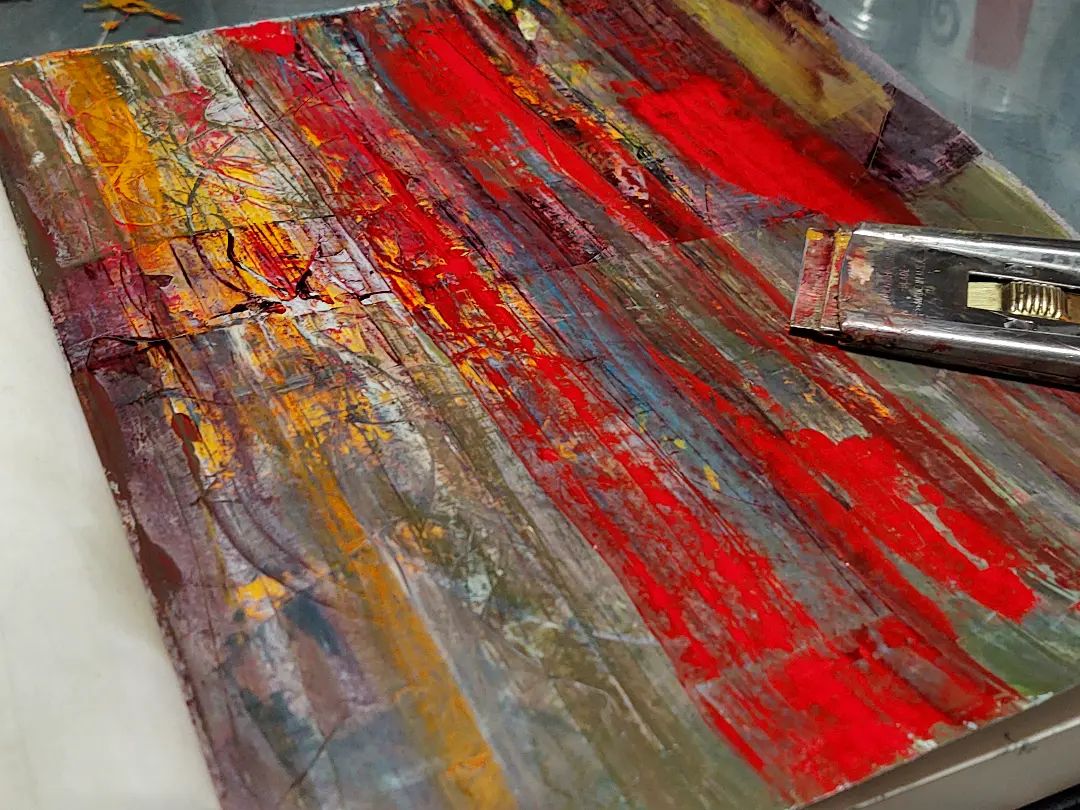
I’ve repurposed my bamboo brush from my wok set and now use it as an interesting stippling tool. The razor that I use to scrape leftover paint for my pallete has now become one of my favorite tools. I use it to scrape back into a surface to reveal what has been dried underneath. It works differently than a palette knife, as it is more sensitive to the touch. The blade I use is dull not sharp.
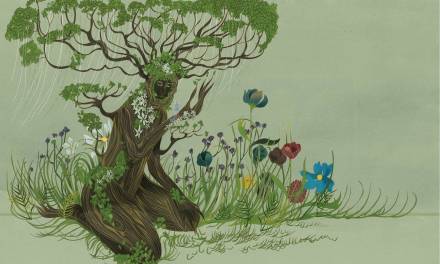
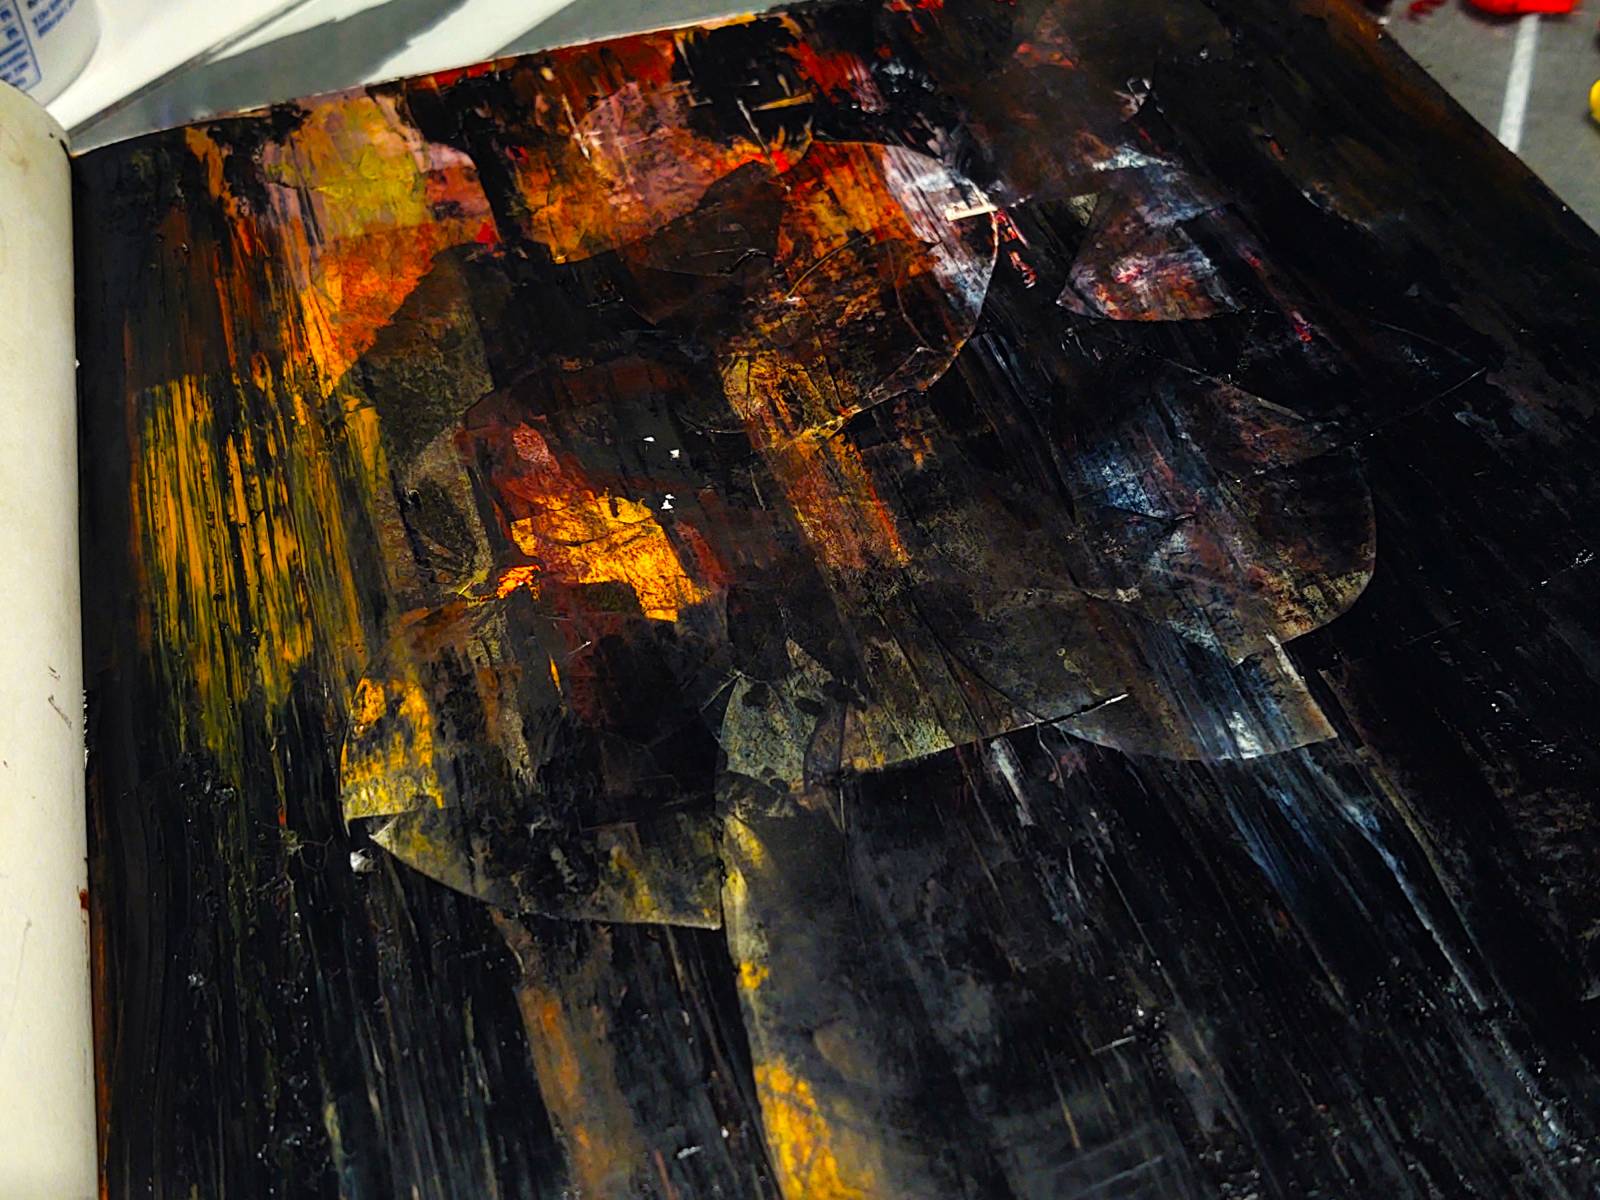 In the sketchbook page above is a detail of an intuitive painting I did. As I was working, I realized there was a dancer coming out of the abstraction so I left it as is. When you are working in a free-form manner, sometimes interesting things rise up to the surface and you go with it.
Cotton swabs, makeup sponges, electric nail files and so many other household items are all now being used in my art making process because they got introduced into my work through my sketchbook practice. The list is endless as to what can be done.
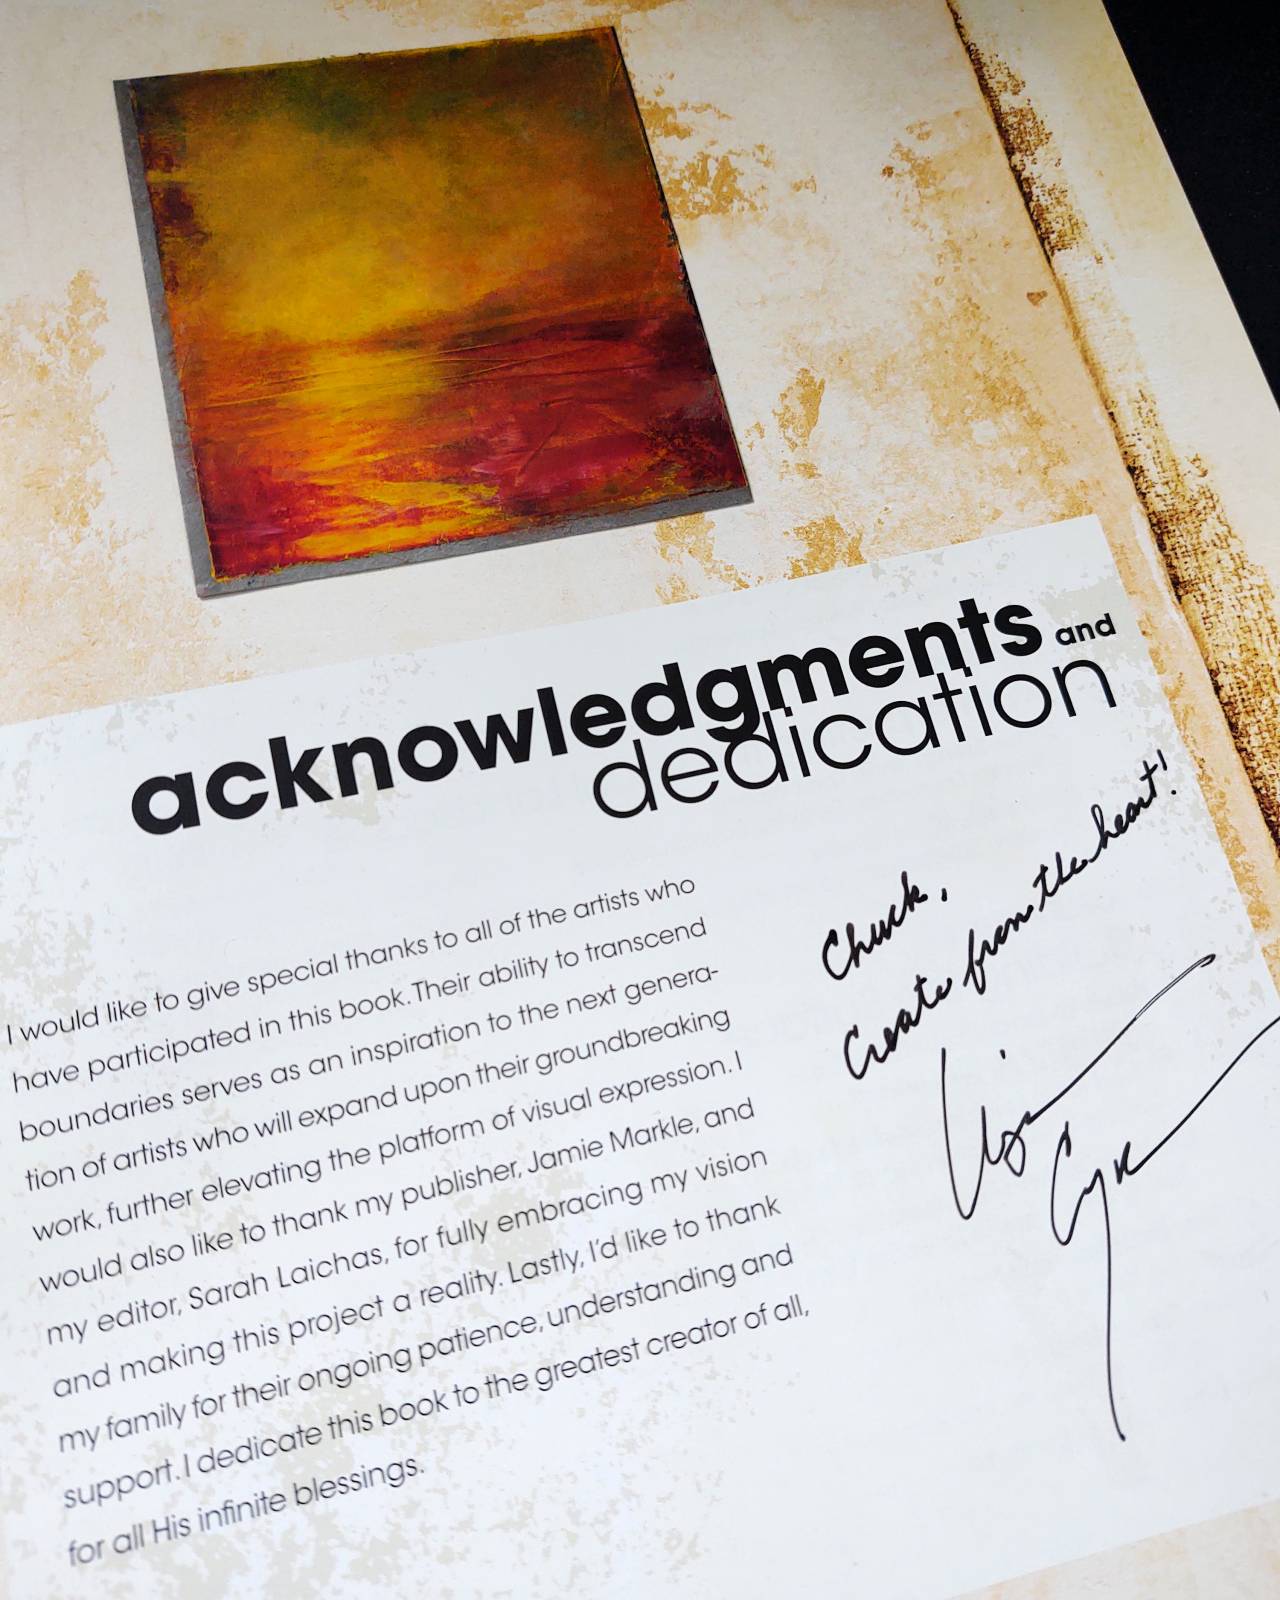
My various sketchbook pages always seem to find a home with people who buy my books. When I sign them, I add a little mindscape original sketchbook art inside!
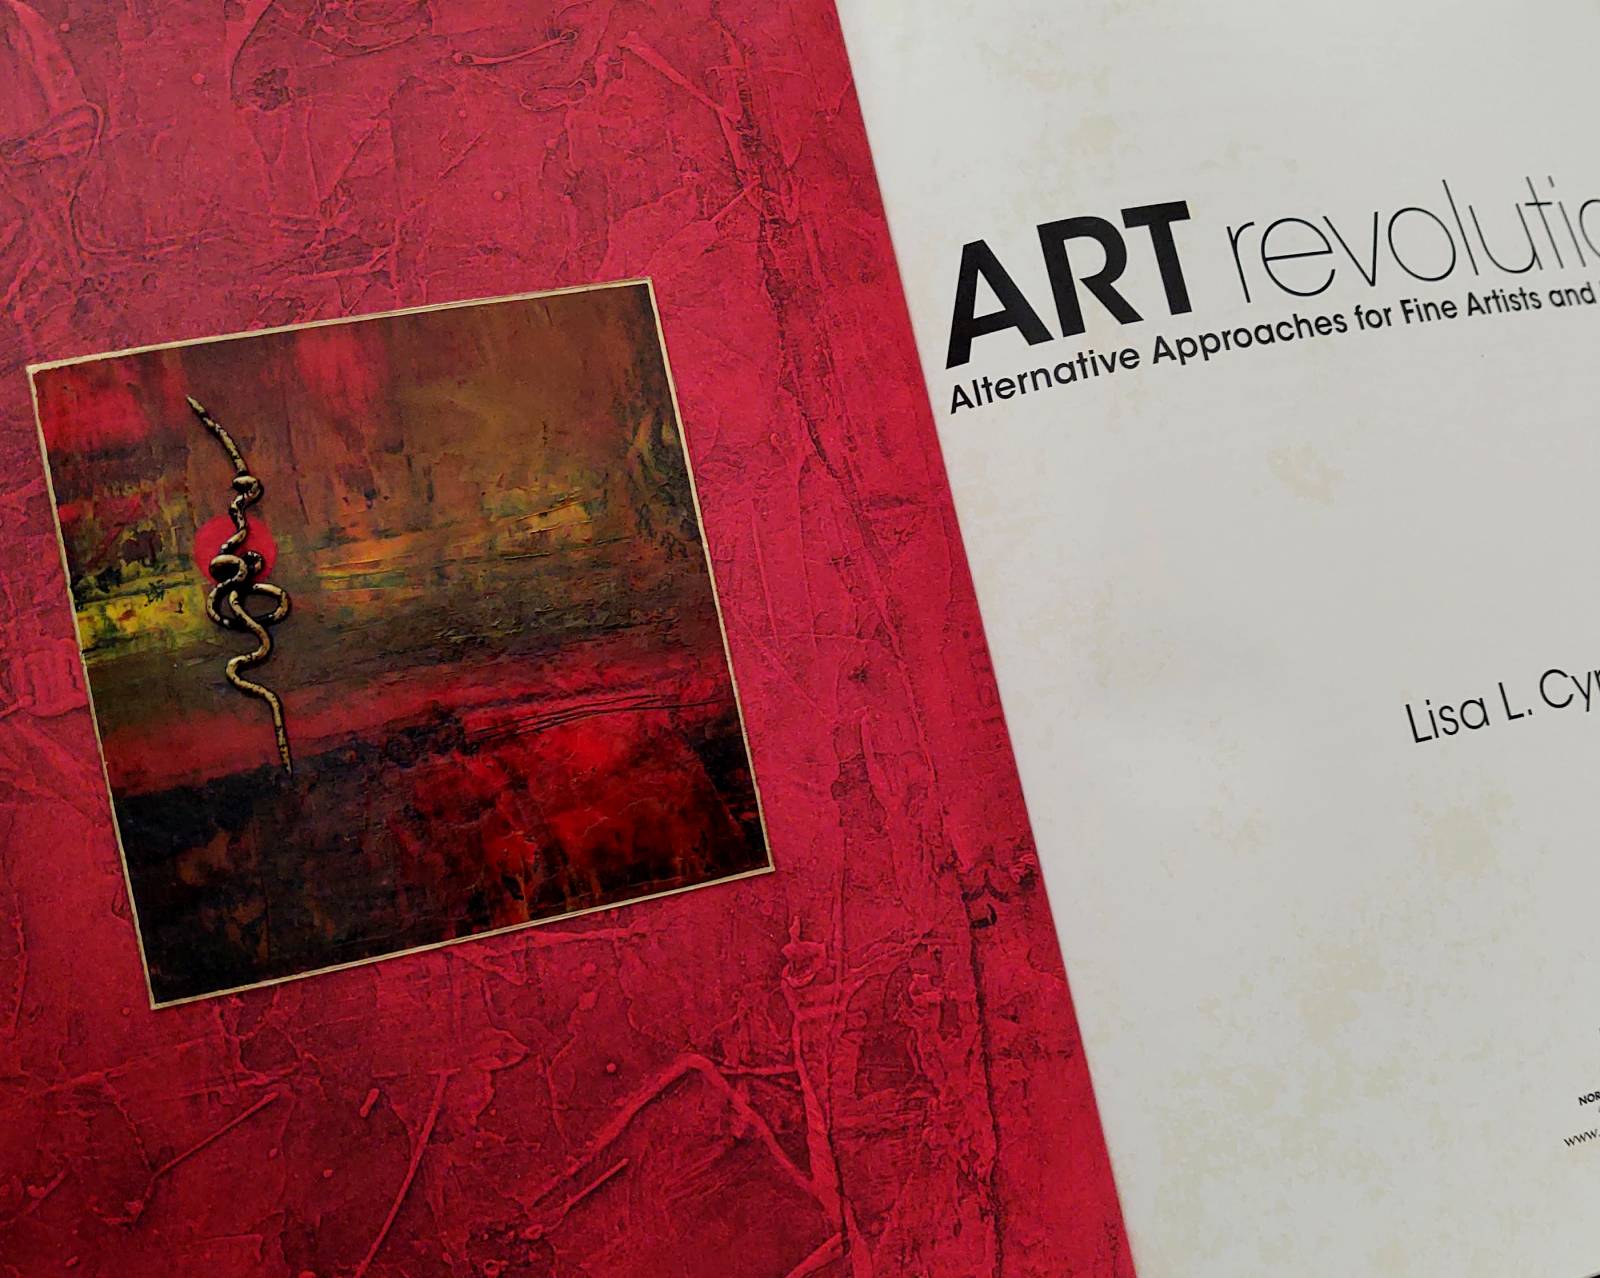
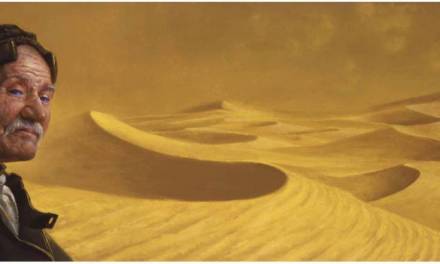
This mixed-media mindscape painting from my sketchbook is called Over the Horizon. It has been added into my book entitled Art Revolution: Alternative Approaches for Artists and Illustrators
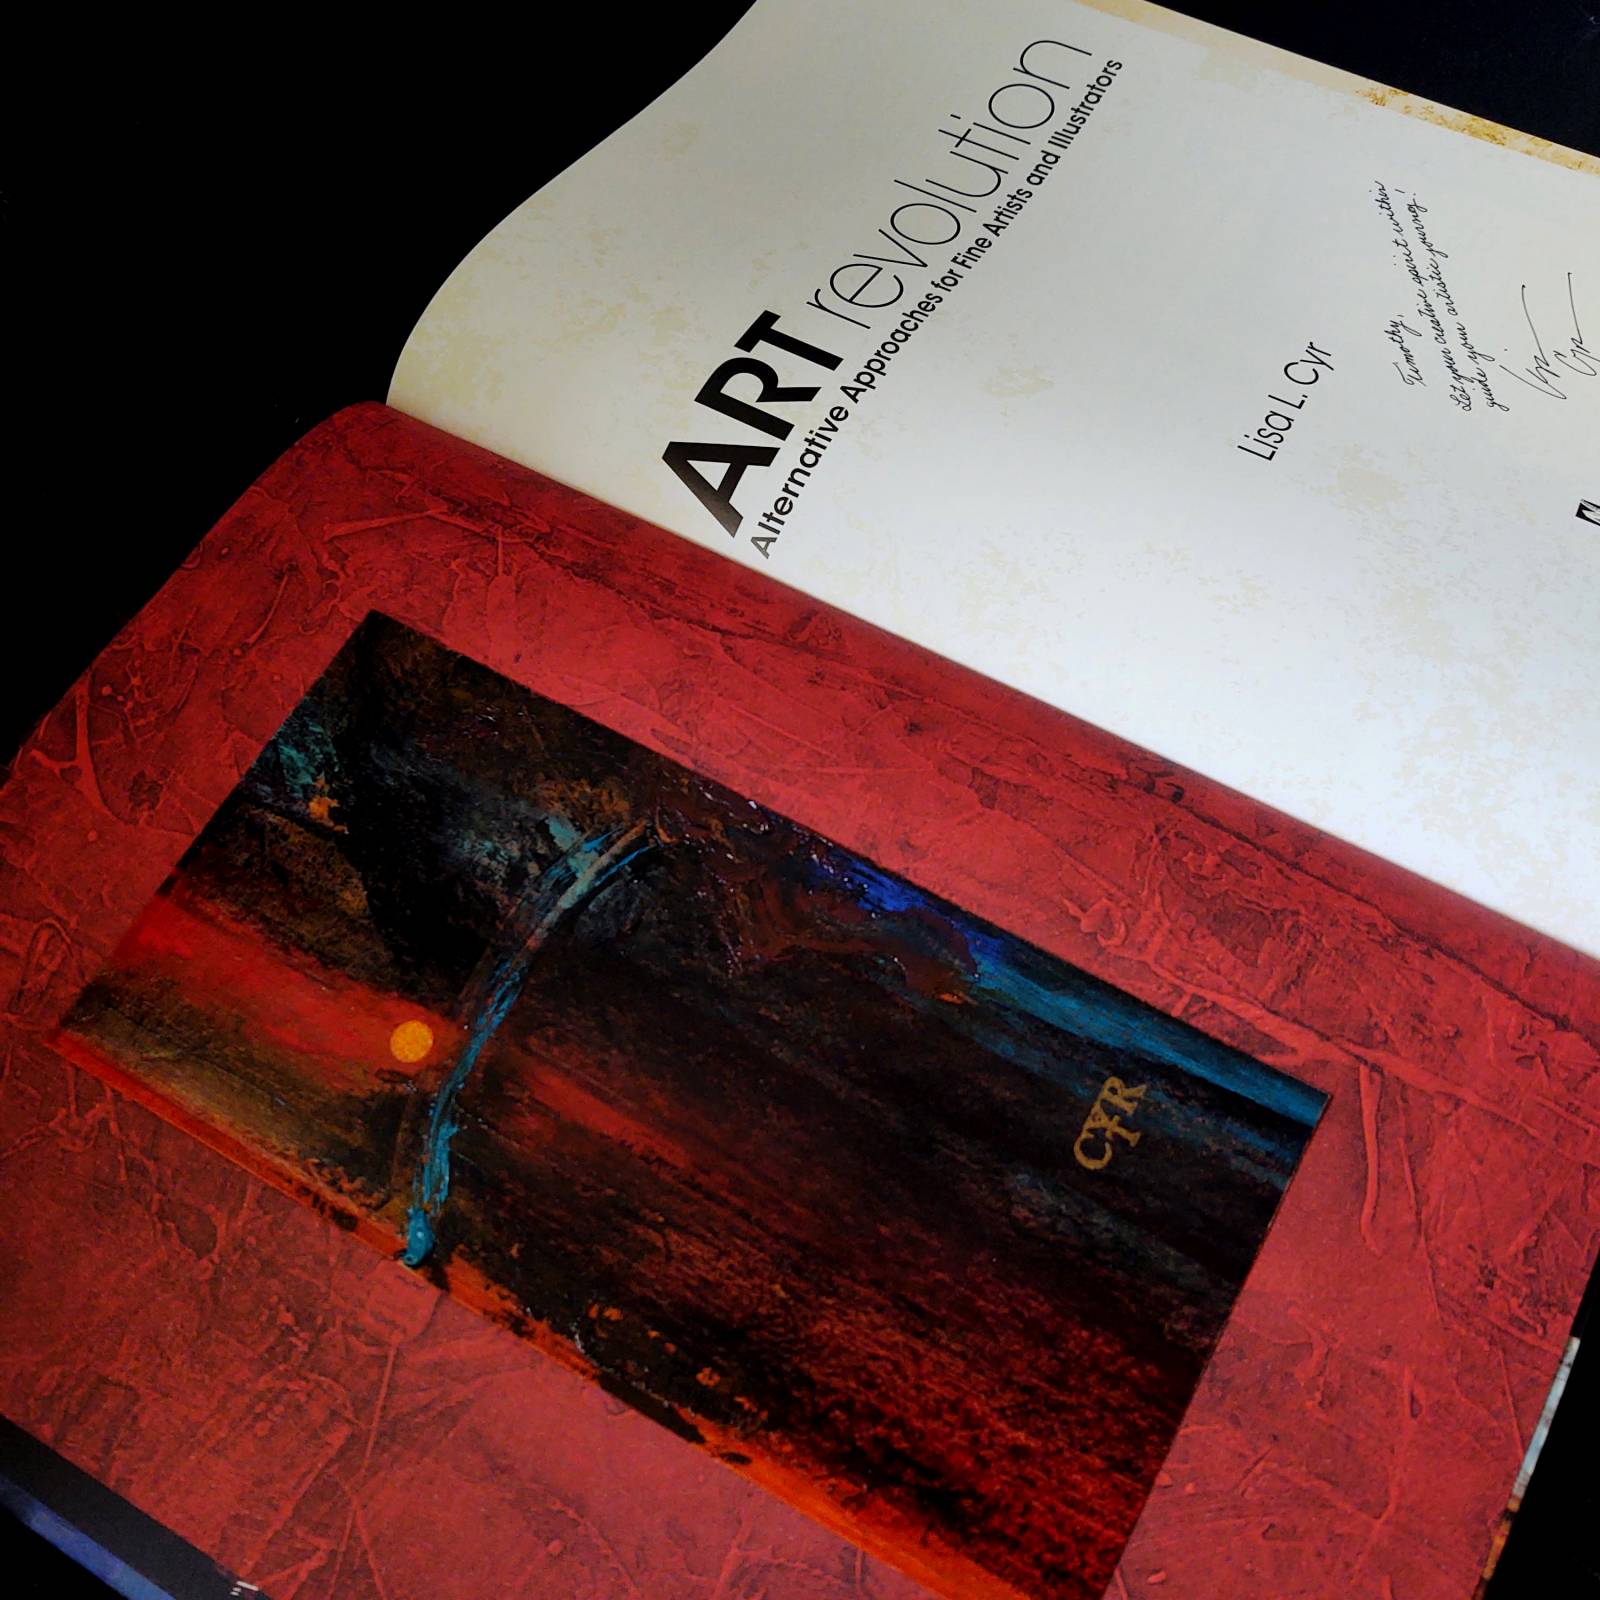
The mixed-media mindscape paintings featured above and below were originally in my sketchbooks before they found a home in my art books Experimental Painting and Art Revolution. I think it is a nice touch to have a small piece of art from the artist that you are reading a book about!
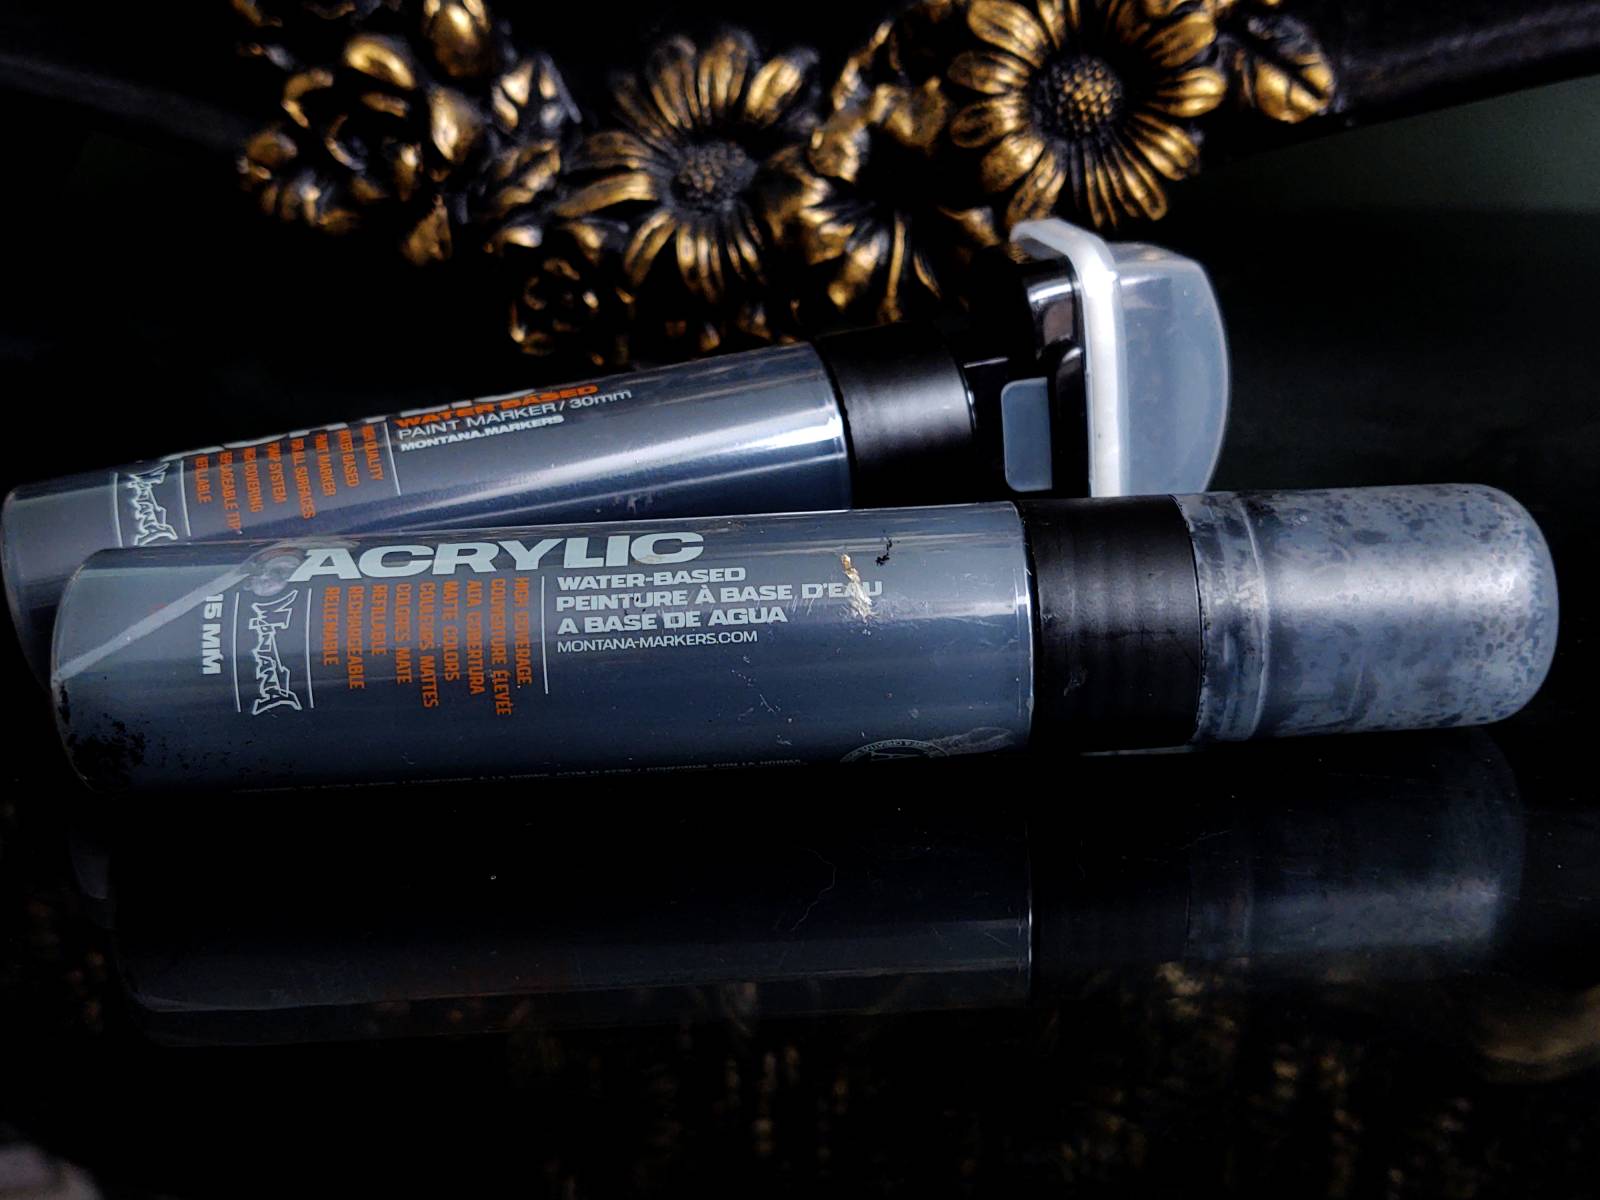
I also like to use non-traditional art tools as well. I absolutely love using paint pens and markers, such as brush pens, parallel pens, bamboo pens, brushes and the like in my mixed-media sketchbooks. Acrylic paint pens come in many different colors as well as shapes and sizes. Some of the larger ones resemble a sponge brush but in a refillable acrylic marker form.
My acrylic paint pens have a soft rounded tip and create a consistent mark. I like to use them often in opaque applications, where I draw with the paint pen onto the surface and then removing parts with a wooden stick and other tools. This additive and subtractive technique breaks up the surface, creating interesting marks. I also use them to create border treatments on the edges of work in my sketchbook. See the gold painted borders on the mixed-media mindscape paintings above that have been tipped into my art books.
In addition, I use gel pens for delicate linear accents. They have a nice even flow and are really great for drawing little details as well as writing onto acrylic painted surfaces. For more precision detail, I have a series of refillable technical pens. They come in various round thicknesses and can be used and reused as long as you keep them clean.
My parallel pen is much like a calligraphy nib pen, except it does not have to be dipped. You can get an interesting mix of thick and thin lines just by angling it in different ways. For broader markmaking, I use the Montana acrylic water-based paint markers that come in various sizes. They work great for bold and graphic strokes.
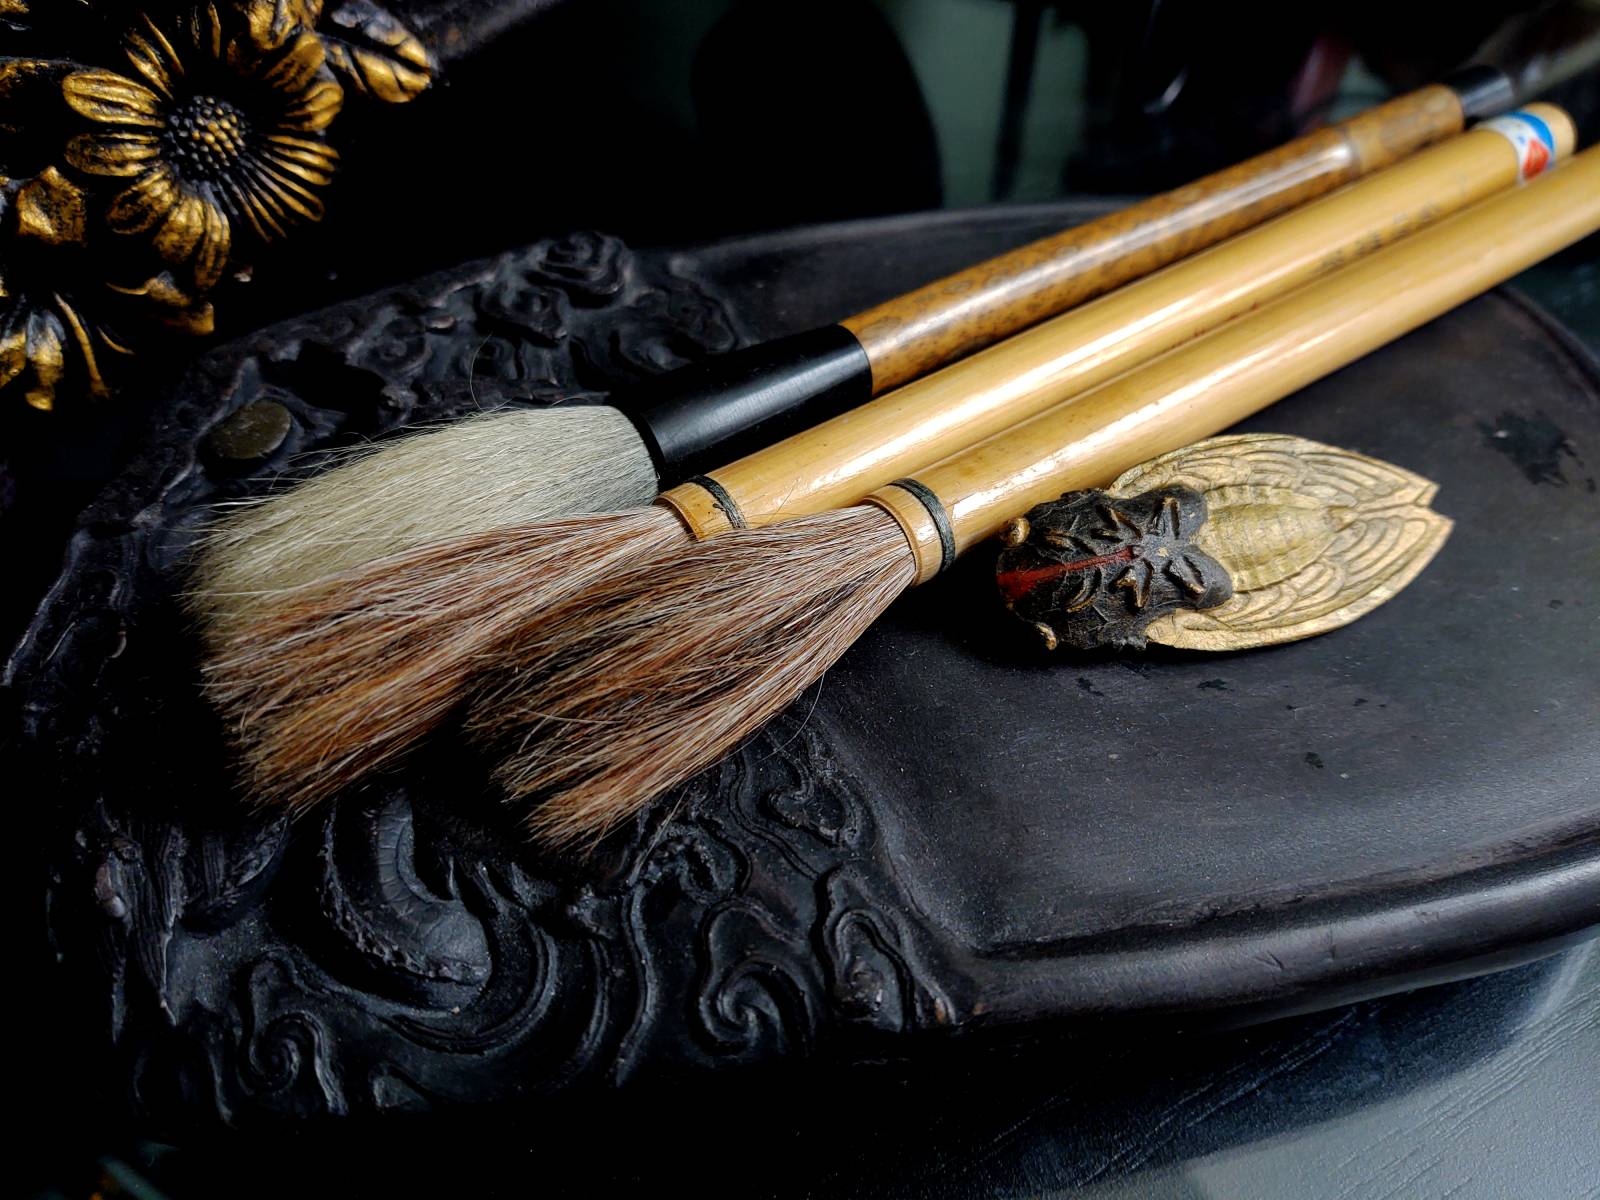
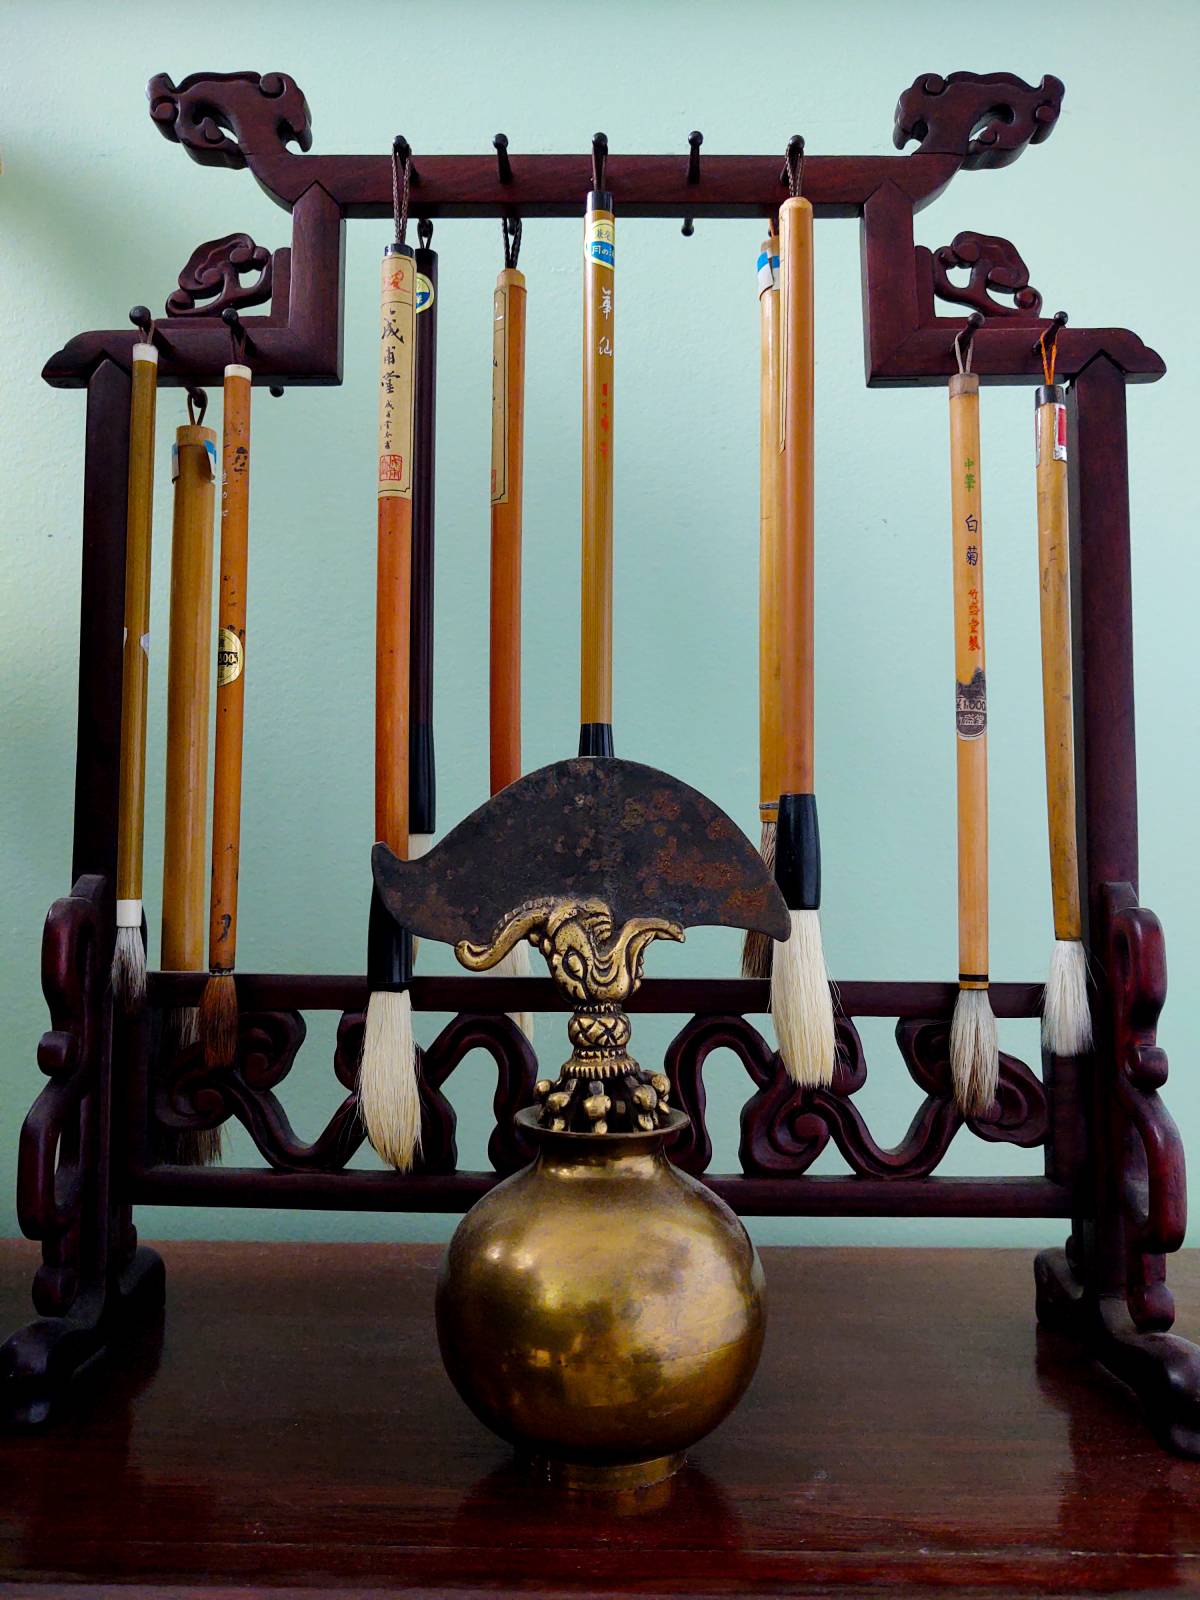
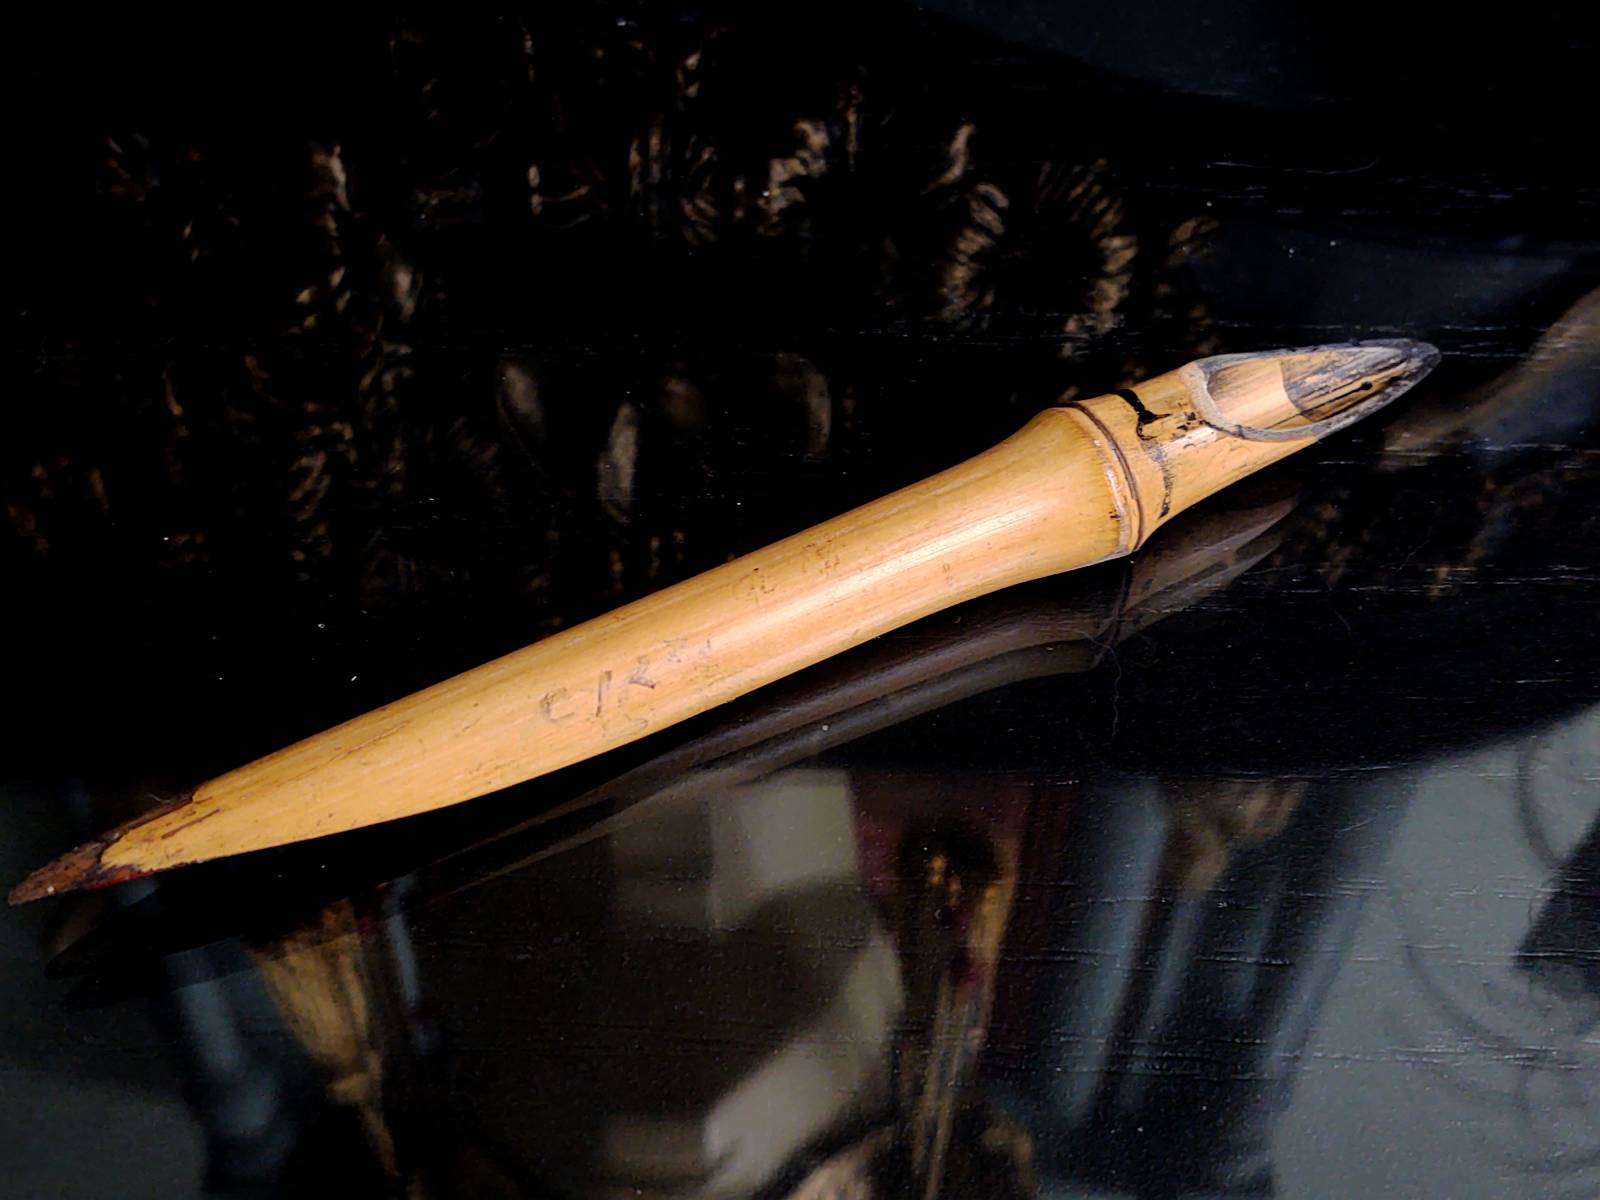
To get really interesting marks on the surface, I use my bamboo pen and vintage brush set. They are some of my favorite tools when it comes to markmaking in ink as well as fluid acrylic.
Each tool that you employ in your artmaking can be used in a different way by simply changing the handling of that tool. For instance, if you are using a brush or pen and you hold it in the same way that you would hold a pencil, your range of motion and your ability to create a certain set of marks is limited. Although it allows for a certain amount of control within a small space, you are extremely limited to the kind of marks that you could make. If a stroke or mark needs to move from thick to thin, you will struggle with the fluidity of that mark-making. But, by simply changing the way you hold the brush or pen, you now open up a larger range of motion, because you have the ability to use your entire arm to create a more dynamic stroke or mark onto the surface.
In addition, the angle at which you hold your brush or pen can also make a very different stroke or mark onto a surface. An extreme angle creates a very different look onto the surface then holding something at a slight angle or completely upright. Next time you are painting or drawing, try holding your instrument in a different way, exploring the way you hold it in your hand as well as the angle in which to apply your marks to the surface.
Whether you hold your instrument like a pencil or grab it over handed so that you are you able to use a more full range of motion, you need to also consider the distance and the position that you are working in relationship to your surface. If you are sitting down at a table, and your elbows and shoulders lift up, then you have again limited the way your natural range of motion works.
On the other hand, if you stand when working flat, you’ve now created a greater distance and can naturally keep your shoulders down to allow a more natural range of motion. If you stand up with your shoulders lifted up and try to extend your arm out as if you were going to draw. You will more than likely start to hear things cracking and moving in odd ways in your arm. So DO NOT DO THAT. On the other hand, drop your shoulders down then extend your arm out. You will see a big difference. So, how closely you work to your surface, will change your shoulder positioning.
The other thing that you want to consider has to do with practical painting best practices. If you are working flat on the surface, your fluid media will puddle and move differently than if you angle your surface upright. The higher you angle something the quicker things will move with gravity. All of these things will change the aesthetics of your image making, especially with fluid media.
Next time that you pick up your sketchbook, consider using some tools outside of your typical brushes and knives just to see what kinds of marks you can introduce into the surface. Try changing the handling of your tools and your proximity to the working surface. You may surprise yourself and add some new tricks to your process as a result!
For more mixed-media explorations check out this video on Muddy Colors:
NEW VIDEO: IGNITING THE CREATIVE PROCESS: Backgrounds, Borders & Beyond!
$20.00 download and $15.00 Rent
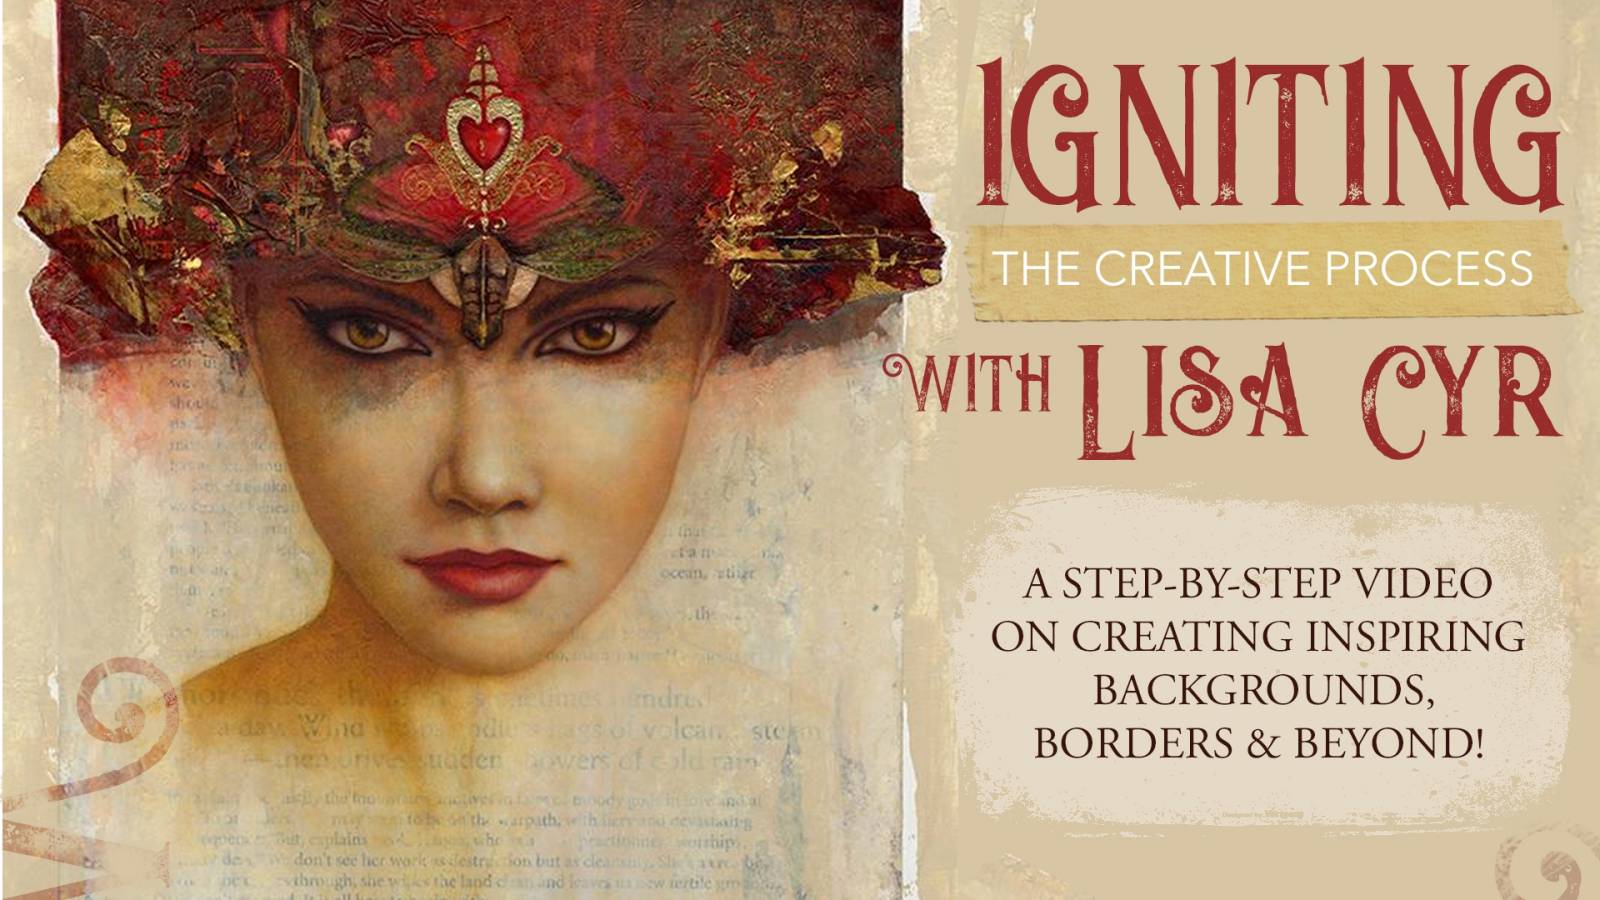
Runtime: 1 hr, 41 min
Resolution: 1080p
NEW SERIES OF VIDEOS COMING OUT ON MUDDY COLORS in 2023!
Here is a sneak peek into my upcoming PAINTING SURFACES + GROUNDS video from Muddy Colors!
I am showing just some of the unique Artefex surfaces to be featured. STAY TUNED!
If you are interested in learning more about working in relief on the painted surface or working in experimental mixed-media techniques, check out my Masterclass on patreon!
https://www.patreon.com/lisalcyr
A Unique Approach:
Masterclass is a unique approach to learning, where each artist works on their own projects, whether that be standalone works or works in a series. Unlike a workshop or an assignment-driven class, this online atelier supports each individual artist’s intent on creating works that they really want to pursue.
There are approximately SEVEN Live Events every month. The Masterclass Saturday sessions (usually held on the first Saturday of the month) are from 11:00am to 1:00pm EST and the In the Studio sessions are from 2:00pm to 3:00pm on the same day. In addition, there is a monthly Paint, Draw + Create Together event (once a month) on Tuesday from 11:00am to 1:00pm EST and the weekly Sketchbook Meditation + Exploration Social events (3 to 4 times a month) are on Tuesday from 7:00pm to 8:30pm.
Patron Art Feedback sessions for Masterclass are conducted four times a year, giving each artist time to create their works. Artists that cannot attend live can submit up to 3 pieces for a live session review. Each review is recorded.
Experimental + Traditional Techniques:
The Masterclass online atelier covers a variety of topics from studio best practices to a vast array of experimental and traditional painting as well as expressive drawing techniques. The instructor provides monthly assistance and guidance through live demonstrations, lectures and group chats. If you miss a class, you can watch the recording at a later date.
Painted Passages: This series of posts and videos on how to employ freeform painting techniques to create magical backgrounds and environments in mixed media.
Collage Techniques: This series of posts and videos on using collage techniques in mixed-media works of art.
Working in Relief: This series of posts and videos focuses on working in relief in mixed media, exploring self-expression through texture-building and bas-relief techniques onto the painted surface.
Studio Basics: This series of posts and videos on artistic best practices for the studio artist, from working surfaces, grounds, painting mediums, varnishes, drawing and painting media to brushes, tools and equipment.
Expressive Drawing Series: This series of posts and videos explores alternative mark-making using drawing materials to create expressive works of art.
Conceptual Development: This series of posts and videos focuses on developing concepts for visually expressive works of art.
Masks, Props + Costuming: This series of posts and videos focuses on how I create unique masks, props and costumes for my figurative subjects.
Insights from the Natural World: This series of posts and videos explores using nature as an inspirational muse for creating artistic works
Just Imagine: This series of posts and videos explore working in a sketchbook as well as creating custom made books. Tactile surfaces, unique designs and engaging presentations stimulate brain activity, allowing artists to drift back to a playful state of mind.
Paint Pictures with Words Writing Club: This series of posts and videos explore writing about our works, creating poetry and prose and using the power of words to assist in the creative process!
Mixed Media Artist Series: This series of posts and videos includes insightful and thought-provoking profiles of leading artists, working in unique techniques and innovative approaches in art.
The Art of Promotion: This series of posts and videos cover artistic promotional strategies and practices.
Check out the complete Collection of Content already on the Navigating the Labyrinth of the Creative Mind site!
Behind-the-Scenes Access:
The artist brings you into her studio through live behind-the-scenes access and weekly posts and videos to current projects and creative endeavors.
In addition, you have early access to the artist’s upcoming Shows and Exhibitions.
Creative Enrichment:
Discussions regarding artistic growth and development, nurturing the creative spirit, developing personal content, embracing a multidisciplinary mindset and creating message-driven art are also explored as ways to assist artists on their own creative path.
Throughout this online workshop experience, artists discover a multitude of ways to ignite creativity, opening the door for the artistic spirit to shine! Check out the testimonials above from artists around the globe!
Get weekly access to the Rediscovering Your Creative Self weekly podcast which focuses on developing a relationship with the creative spirit that resides within and making daily lifestyle changes that enhance creativity, building a more creative and playful mindset.
Throughout the audio program, topics such as battling the inner critic, handling creative block, working through anxiety and self-doubt and interrupting the patterns that bind are explored. Managing fears, seeing mistakes as rites of passage, knowing when to open and close doors, riding the wave of triumphs and tribulations, avoiding distractions and coping with naysayers that keep one from seeing the light that resides within are covered.
Every month on the Navigating the Labyrinth of the Creative Mind site, there is new Sketchbook Challenge prompt and directive, allowing artists to discover alternative ways in which to practice art that is more personal. Art created from this endeavor is shared on the private Community Chat with other artists.
Sketchbook Meditation + Exploration Weekly Social
Every Tuesday night from 7:00pm to 8:30pm EST, you can attend an open sketchbook night social event called Sketchbook Meditation + Exploration. We discuss the Rediscovering Your Creative Self podcast episode of the week, setting an intention for our work and making daily lifestyle changes that enhance creativity.
Artists use the Sketchbook Meditation + Exploration weekly get-together as a time to commit to working in their sketchbook, experimenting and discussing with other artists topics that will help in developing a relationship with the creative spirit that resides within. Recordings are available for Masterclass artists if they miss a session!
Build a Community:
Be a part of a creative tribe, interacting with artists and enthusiasts from all around the world who have shared interests in art. This is an opportunity to create a robust artistic community, broadening your horizons as a creative person.
Your membership also includes private access to the Community Group, where patrons share art and works-in-progress, post the monthly Sketchbook Challenges as well as the weekly Sketchbook Meditation + Exploration Social art and work from the Paint Pictures with Words Writing Club. They also share inspiration, discuss new artistic tools, products and equipment as well as interesting and informative books on art and so much more!
Join Us:
The Navigating the Labyrinth of the Creative Mind Online Atelier has weekly posts and videos as well as several LIVE events each month.
Join month-to-month for $25/mo US or save 5% if you join yearly!
copyright 2023 Lisa L. Cyr, Cyr Studio LLC all rights reserved
This looks like a lot of fun, I need to try more of this myself. It reminds me also of Vanessa Lemen’s sketchbook practices. I can’t help but wonder what kind of rabbit hole this style of creating leads to in terms of finding all kinds of objects to make interesting marks with. 🙂
It is such a fun process and when you find something that makes magic…it just lights up the world in that moment!
I firmly believe that non traditional art tools can create magical works of art, lots of great info & gorgeous paintings Lisa, thank you for sharing! 🙂
Working in my sketchbooks are a way to cut loose and just play!
Ever since painting and drawing became my job, and what I make is for other people’s tastes, the sketch book has become more than just studies, but a place where I can experiment and be myself
I hear you! Sketchbooks are my sanctuary of exploration and play!
대전출장마사지로 쉽고 간편하게 집에서 경험해볼 수 있습니다.