I have a fun tip to share that some of you might not know about. It is an easy way to make very nice looking time-lapses taking photos with your phone without setting up a tripod. Ideally you can setup your tripod and use a good camera with an interval timer, which is how I do longer time-lapses, but sometimes you just want to capture a few images and share the progression and setting up your whole camera rig isn’t practical (like in a life drawing class, or when you are out and about sketching impromptu).
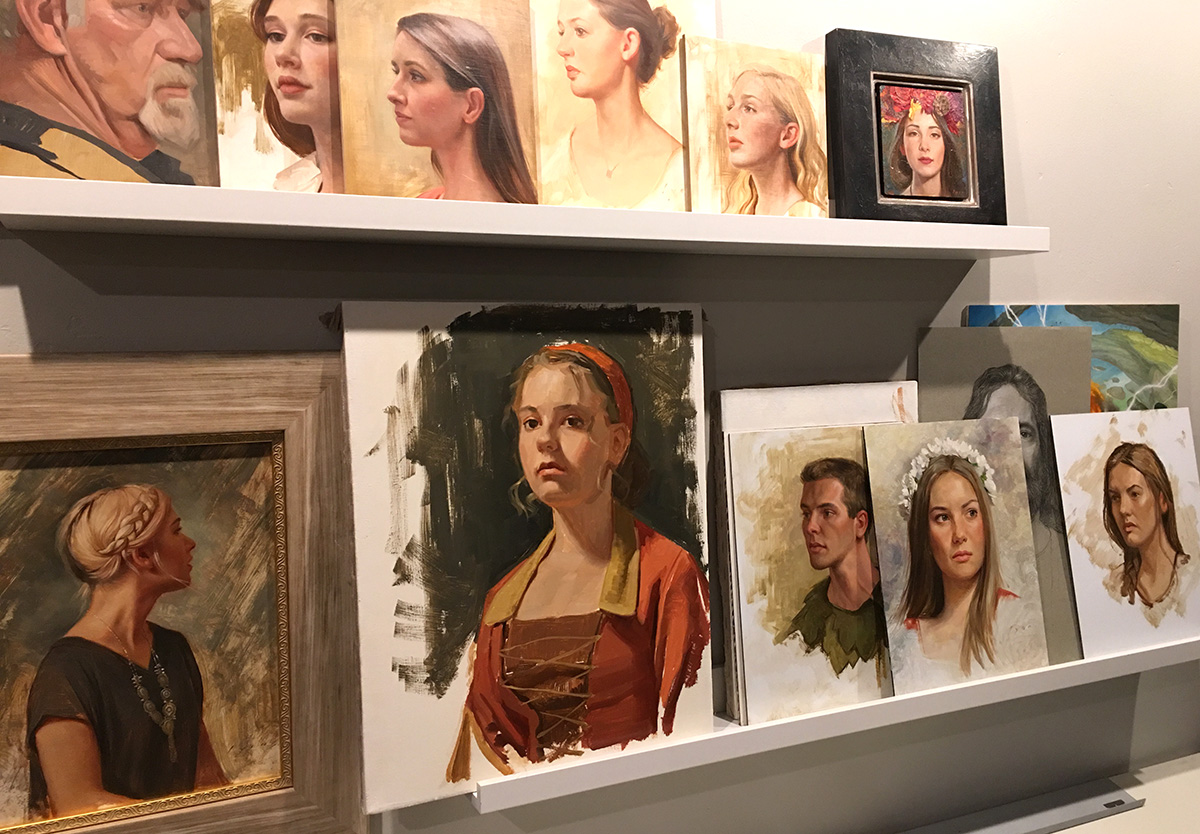
I have been hosting life painting sessions in my studio on a weekly basis and I will take shots at each break to share. I usually shoot with my phone, for convenience and then I don’t take up good space with my camera on a tripod. The problem with this is it is impossible to really line up each shot perfectly so that each image has the same framing and perspective. The resulting GIF can be a little jarring or distracting, like this:
I don’t like how it jumps around, and it isn’t as informative as it could be if it were steady. Photoshop can save the day!
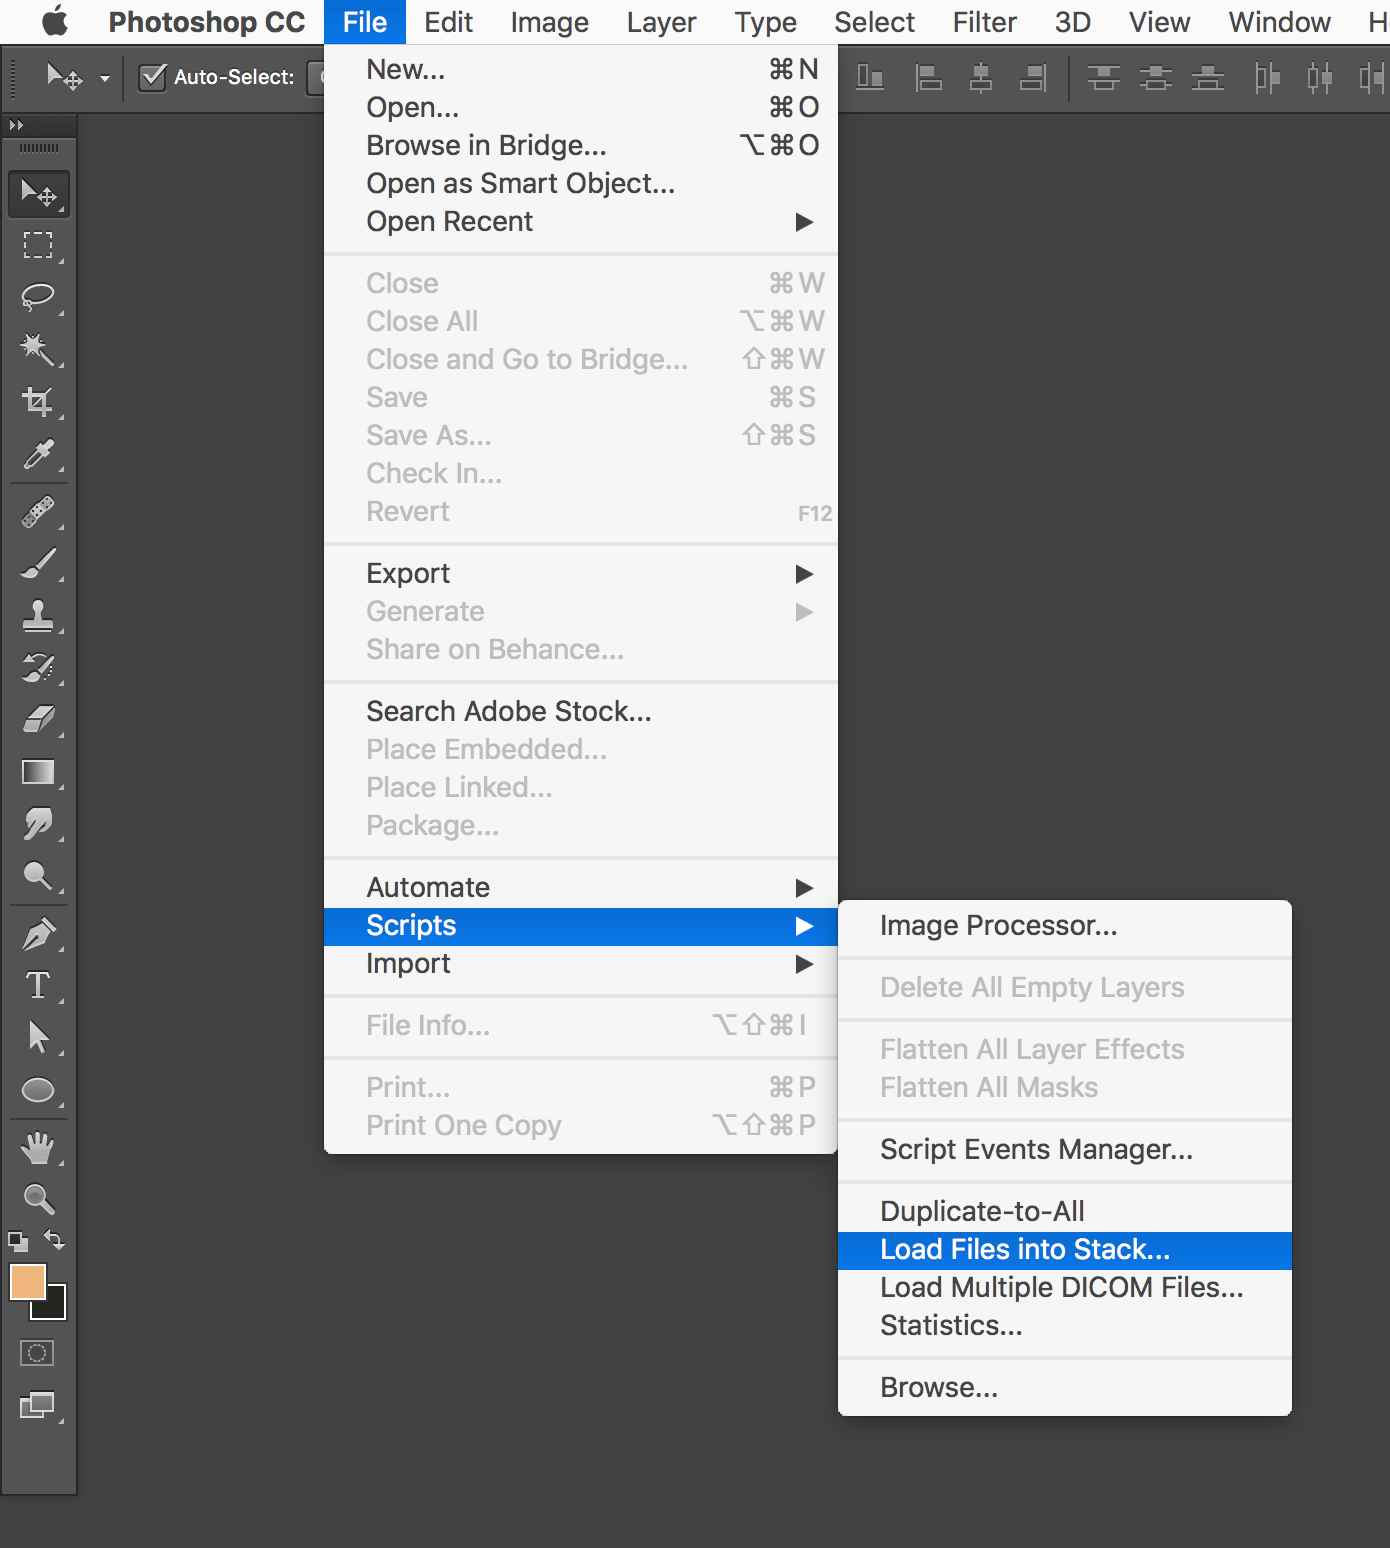
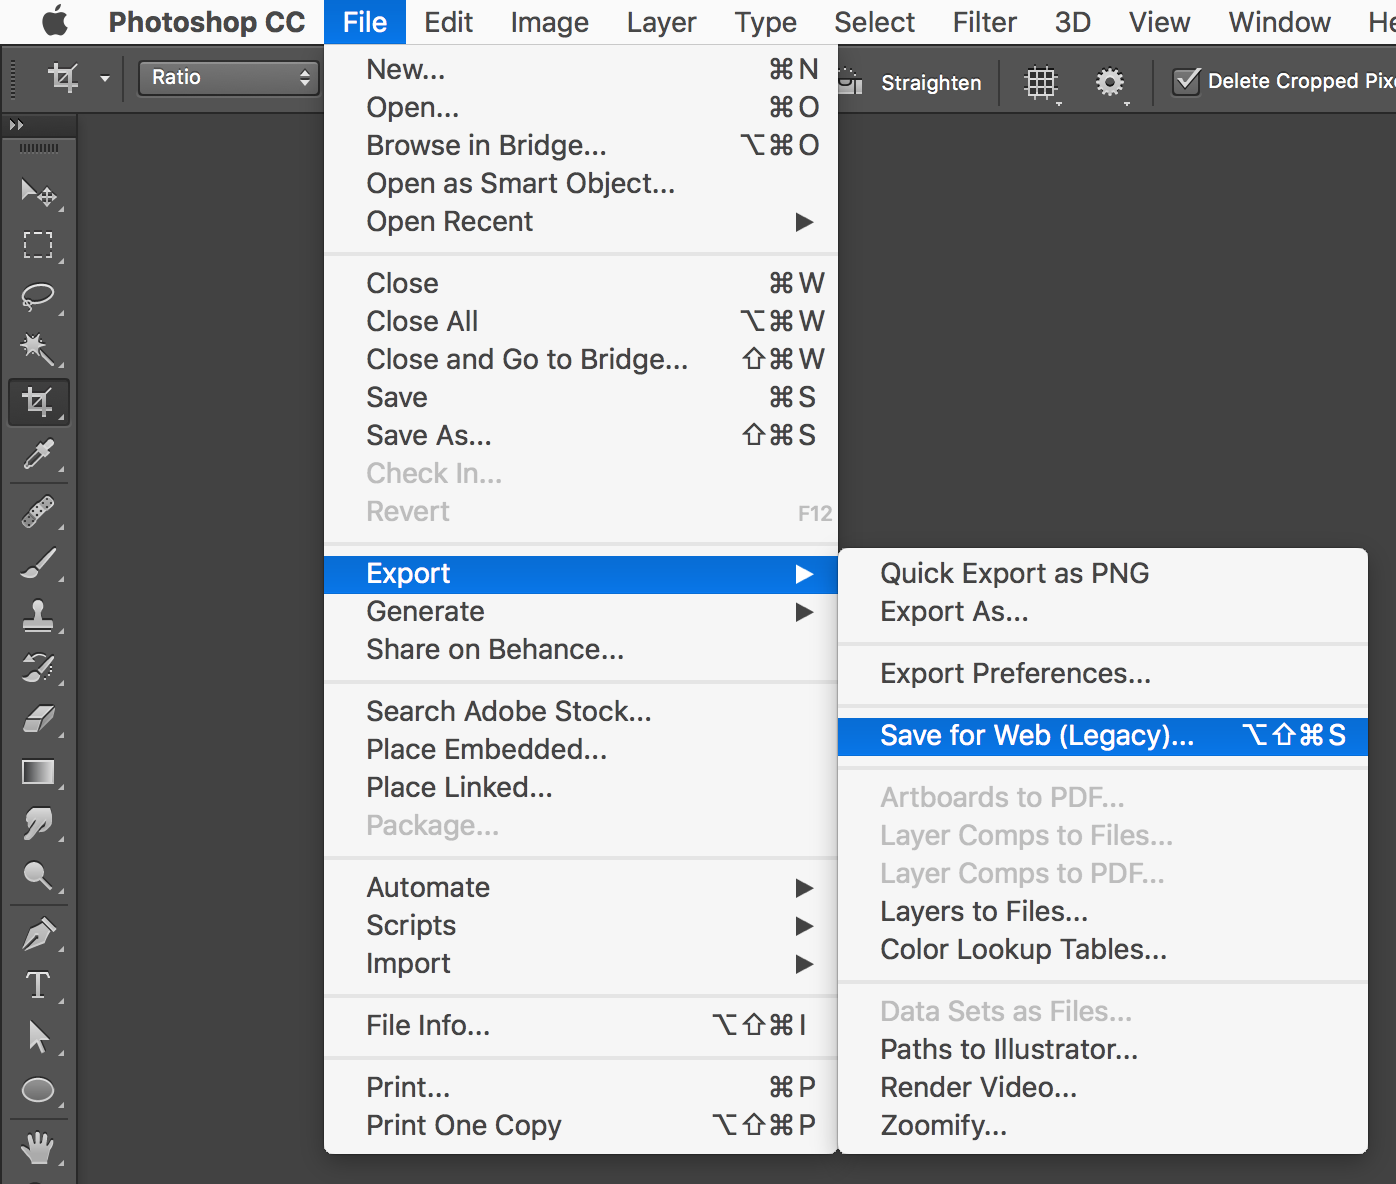
Once you have copied the photos from your phone to your computer, open Photoshop and go to
File>Scripts>Load Files Into Stack…
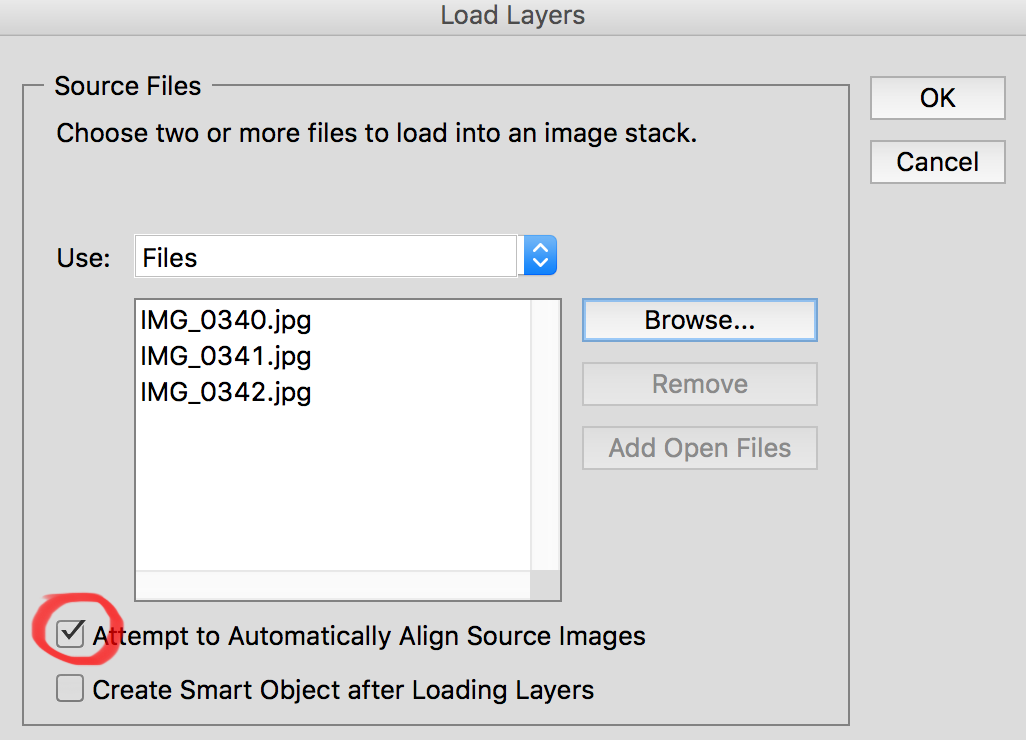
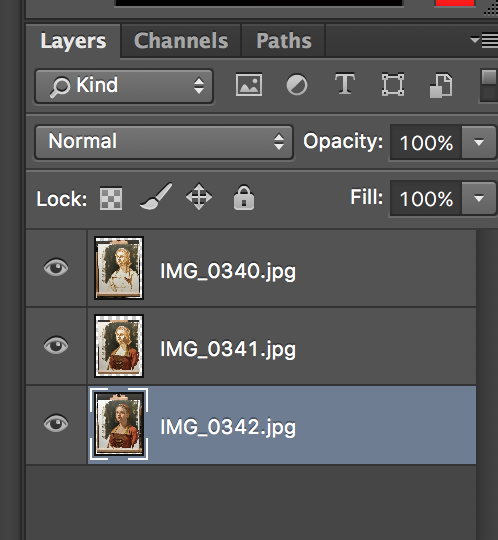
When the “Load Layers” dialogue opens click the “Browse” button and select the files that you want to use. For this example, I am just doing a simple 3 frame time-lapse, but you can do many more, up to you. Before you click “OK” make sure that you click the “Attempt to Automatically Align Source Images” checkbox. This enables all the little imps that live inside the actual Photoshop to work their arcane magic.
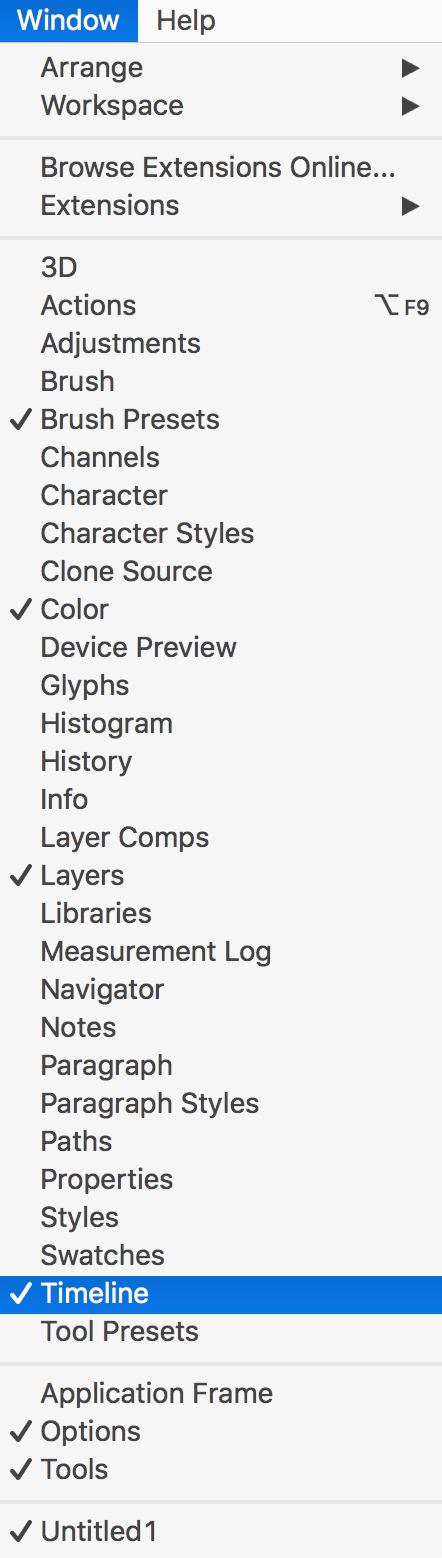
The Timeline window show pop up at the bottom of the screen. Click the “Create Frame Animation” button

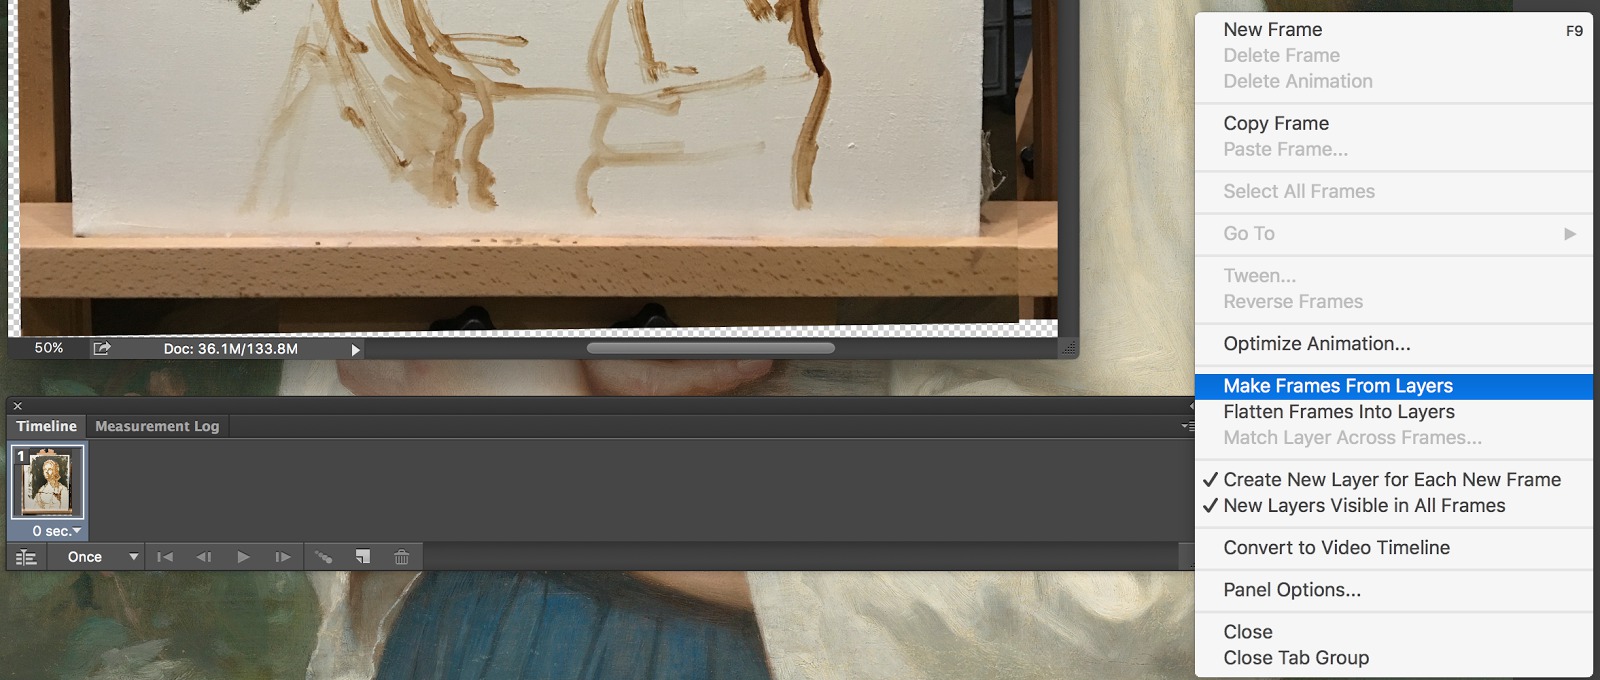
On the right hand side of the Timeline window you will see the little menu icon (looks like a stack of pancakes… mmm pancakes). Click that and then click “Make Frames From Layers”. This will take all your layers and make frames out of them.
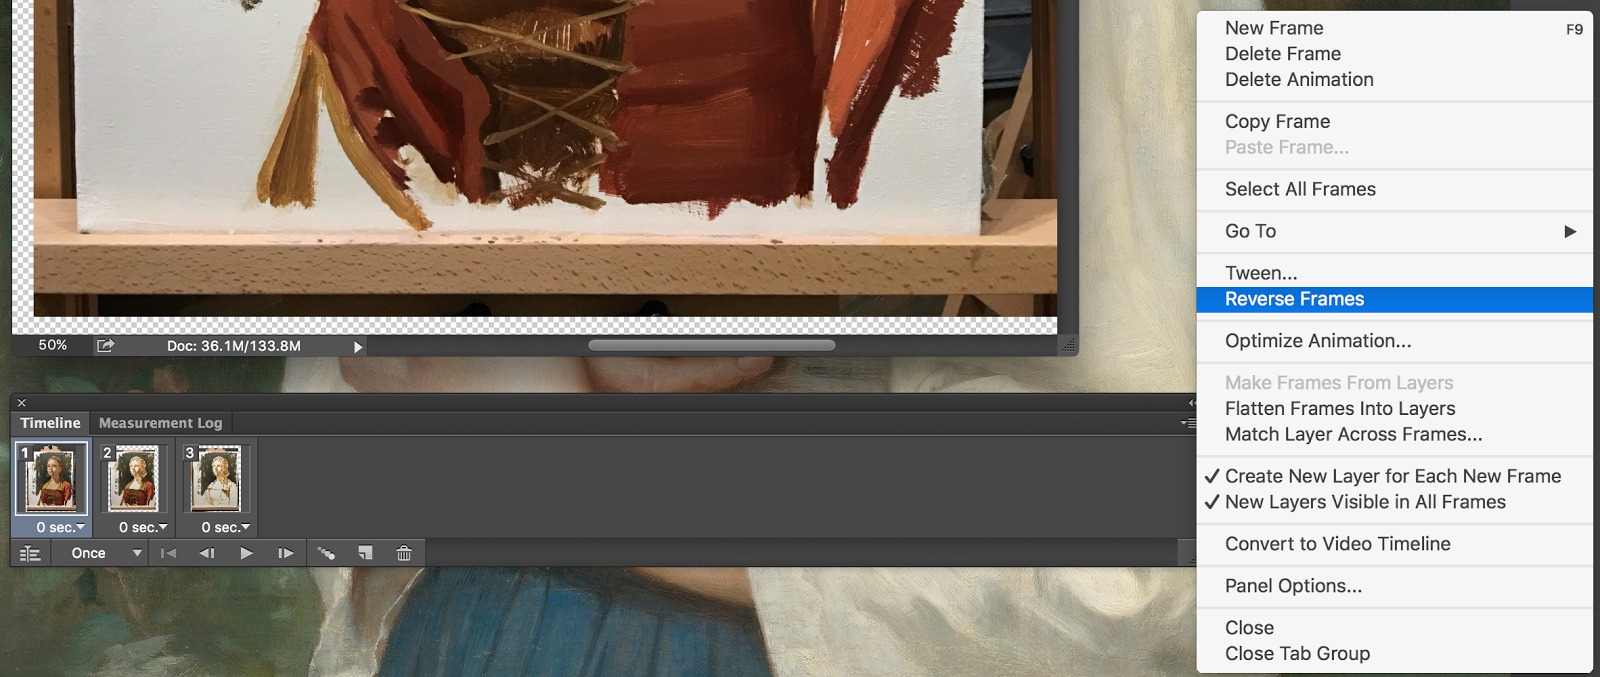
There is a good chance that the frames will be in the reverse order, but if you go back the stack of pancakes Timeline menu there is an option to “Reverse Frames” if they need to be reversed.
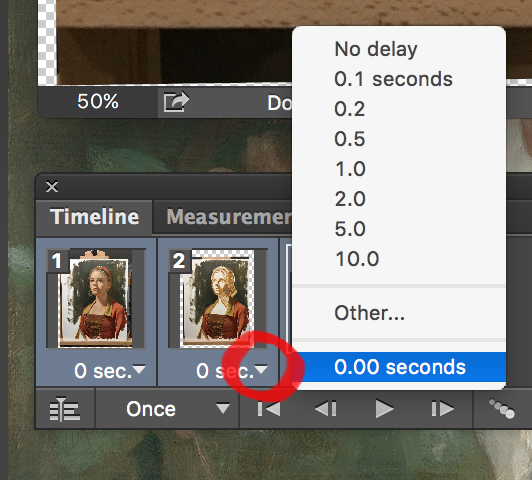
Now you can set the timing. Select all the frames by selecting frame 1 and then hold ‘SHIFT’ and click on the last frame. Now click the little arrow next to ‘0 sec’ and choose your timing. You can even set key frames to last a little longer if you want. Play around with the timing to see what works for you.
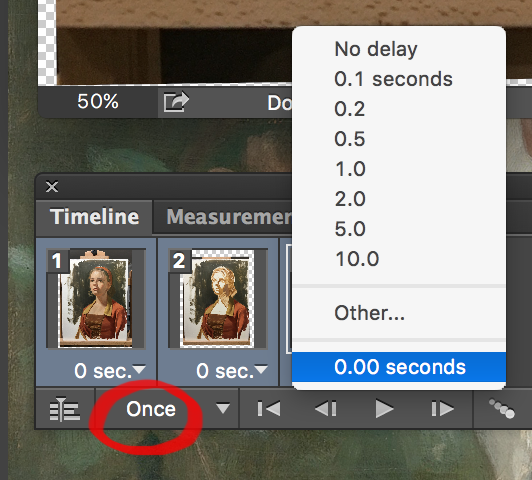
If you are making a GIF, you will want to also set it to loop forever. You can do this by clicking the button that says ‘Once’ and choose the ‘Forever’ option. You will also have the chance to set this when exporting too.

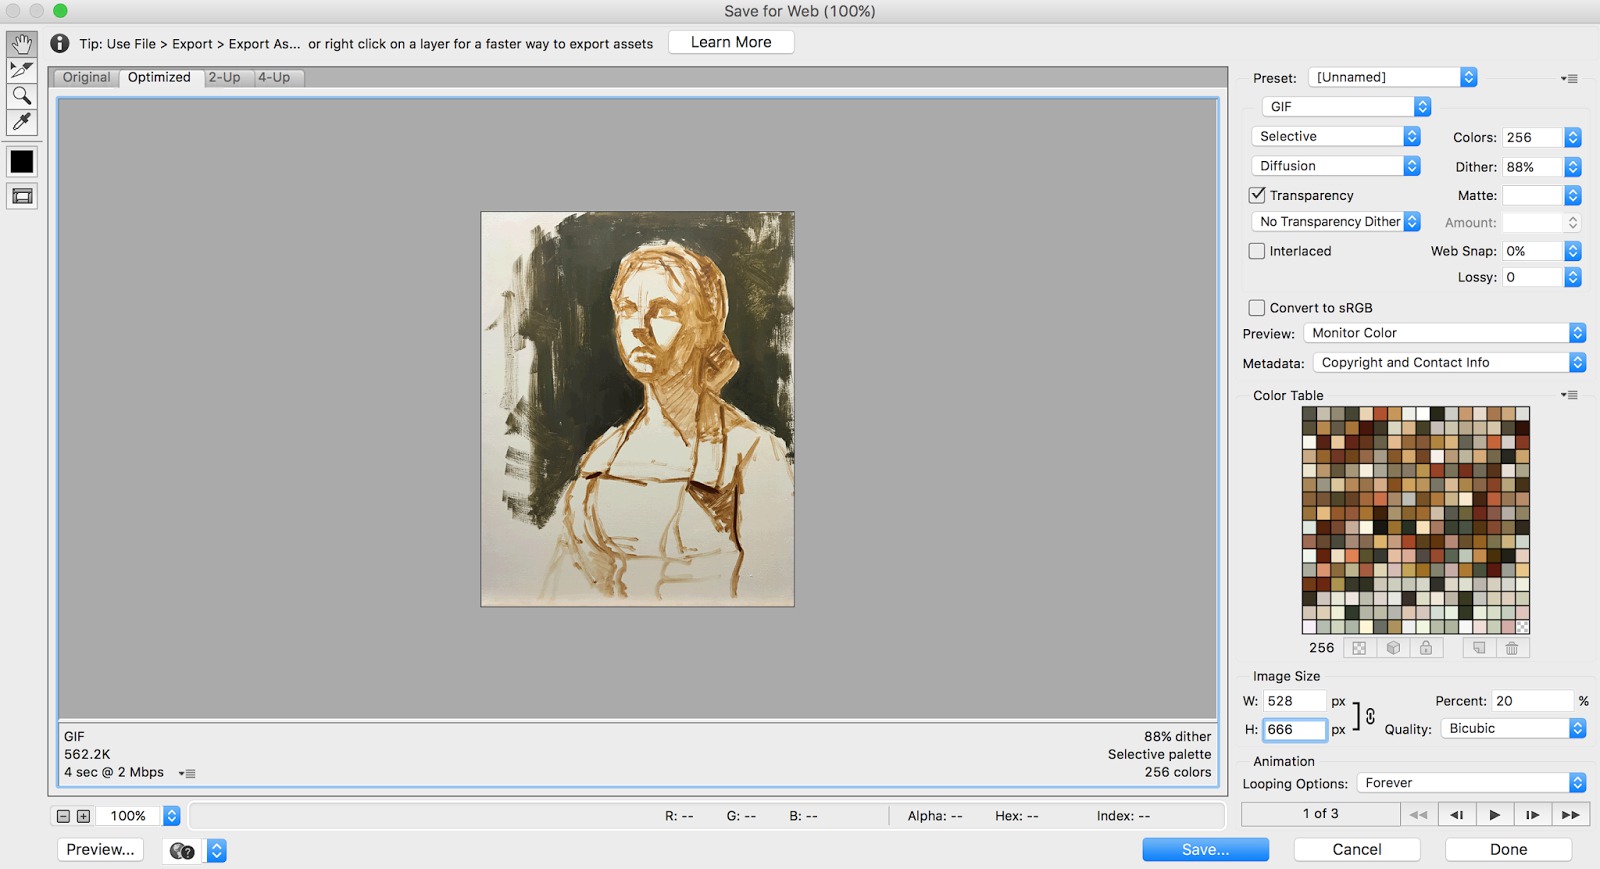
This dialogue box will pop up and let you adjust your GIF and scale it if you would like. At the bottom is a ‘Looping Options’ button as well if you forgot to set it earlier.
Now our GIF looks rock solid, like we shot with a tripod and not a handheld phone:

I hope that this was useful and that you now go out and make some progression videos or GIFs while you are out and about sketching and painting. Why not, it is easy and fun to share and I think everyone likes to see progress shots now and then.
Thank you,
Howard
Website
Instagram
Twitter


Fantastic tip, Howard! I had no idea that align function was there!
This is a keeper! Thank you.
Thanks, Howard. I wasn't aware of this Photoshop tool either. No more manual fiddling! It seems to correct off-angle perspective issues and exposure/color correction problems as well as cropping, right?
Interesting how you scraped down the background on that last portrait. Seeing quick step-by-step GIFS is better than a time lapse or even a full video in some ways.
Wow!…great post Howard. Thank you!
Nice tip Howard – thanks!
So cool- thanks Howard!
That's awesome! Now to get good enough to make use of this awesome tip!!!
Thanks! This is brilliant.
You wrote these directions so clearly I think I could actually follow them! Thanks!
Thanks!! this was a great tutorial. Enjoyed making a few this one turned out the best to far. http://giphy.com/gifs/xTiTnhXDlbLwFaOPQI
Awesome. This is going to be “way much better-er.”
Thanks for the tip!
Awesome. This is going to be “way much better-er.”
Thanks for the tip!
That is really handy. Thanks, Howard!
Didn't know about the align feature either. I have spent hours manually aligning my photos before.
May very well learned 's a lot of from your very own web logs that i wish giving spine. I recently came across a website that you will find absolutely effective l virtually anyone expecting to see a particular Aussie dissertation. might be reliable, experienced not to mention efficient. free photoshop elements actions
Thank you. Very helpful and works like a treat!
대전출장마사지로 쉽고 간편하게 집에서 경험해볼 수 있습니다.