

Inspired by my students, and in response to so many questions, let’s take a look at brushwork basics necessary for most expressions in paint. I use mostly brights, so I’ll focus comments toward that very versatile brush shape.
Understanding your brushwork comes from long hours of using it. It is about the training and doesn’t necessarily come easily. If it feels good to you initially and you take to it comfortably, it is likely to have started with the experience of an earlier tool, like a pencil, or a pen, even a crayon.
I’ve found that people who enjoy calligraphy are generally good with a brush and early development of a clean stroke can be traced to working with letterforms and sign painting. Training for these aspects leads to brush discipline as they demand precision.
When it comes to painting, however, especially in the beginning when one first takes on the idea of attempting to paint, most people think of using the brush as an expression of their innermost
creative genius. That somehow taking up the brush automatically empowers the potential painter with a license of complete and utter control of pigment.
What matters most for brush control is how it allows you to express those images and who knows what else lying in your grey matter. Being able to do that well takes training and experience. To understand this, just watch a calligrapher handle a brush, or those monks that paint big, black O’s. Why is one O better than another? Why does the novice get shrugs while the master get ooh’s and ah’s? Right. Experience.
There is no substitute for it.


1. Angle
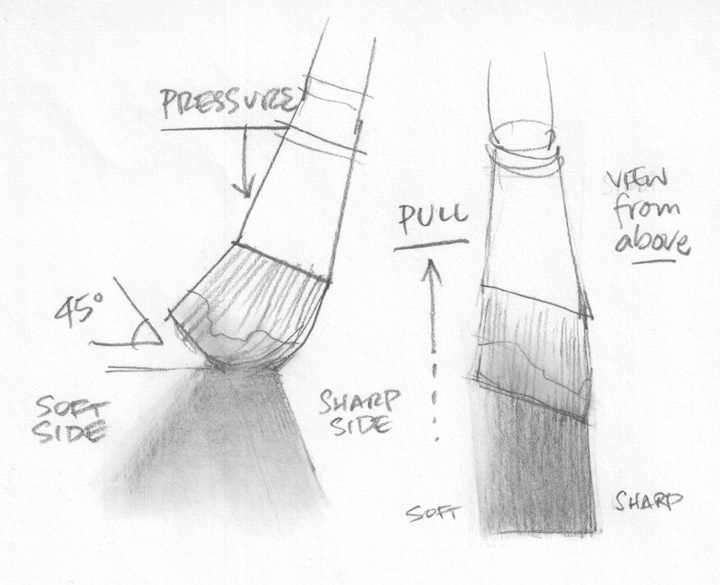
No matter what shape brush you are using, the angle of the brush to the surface is important. This is especially true for flats or brights. The angle will record how the stroke was applied: flat on or angled and to what degree. The angle will allow you to work in tight spaces with just the edge or tip, even when using a large brush. A fat brush doesn’t just make fat strokes y’know.


2. Pressure
The pressure you use to apply the stroke will record how firm or delicate you push the brush against the surface. The pressure will determine how wide the stroke is beyond just the width of the brush. More pressure gives a wider stroke, but also builds pigment behind the tip of the hairs and tends to flatten any striations. Sometimes you want that. Sometimes you don’t.
3. Shape
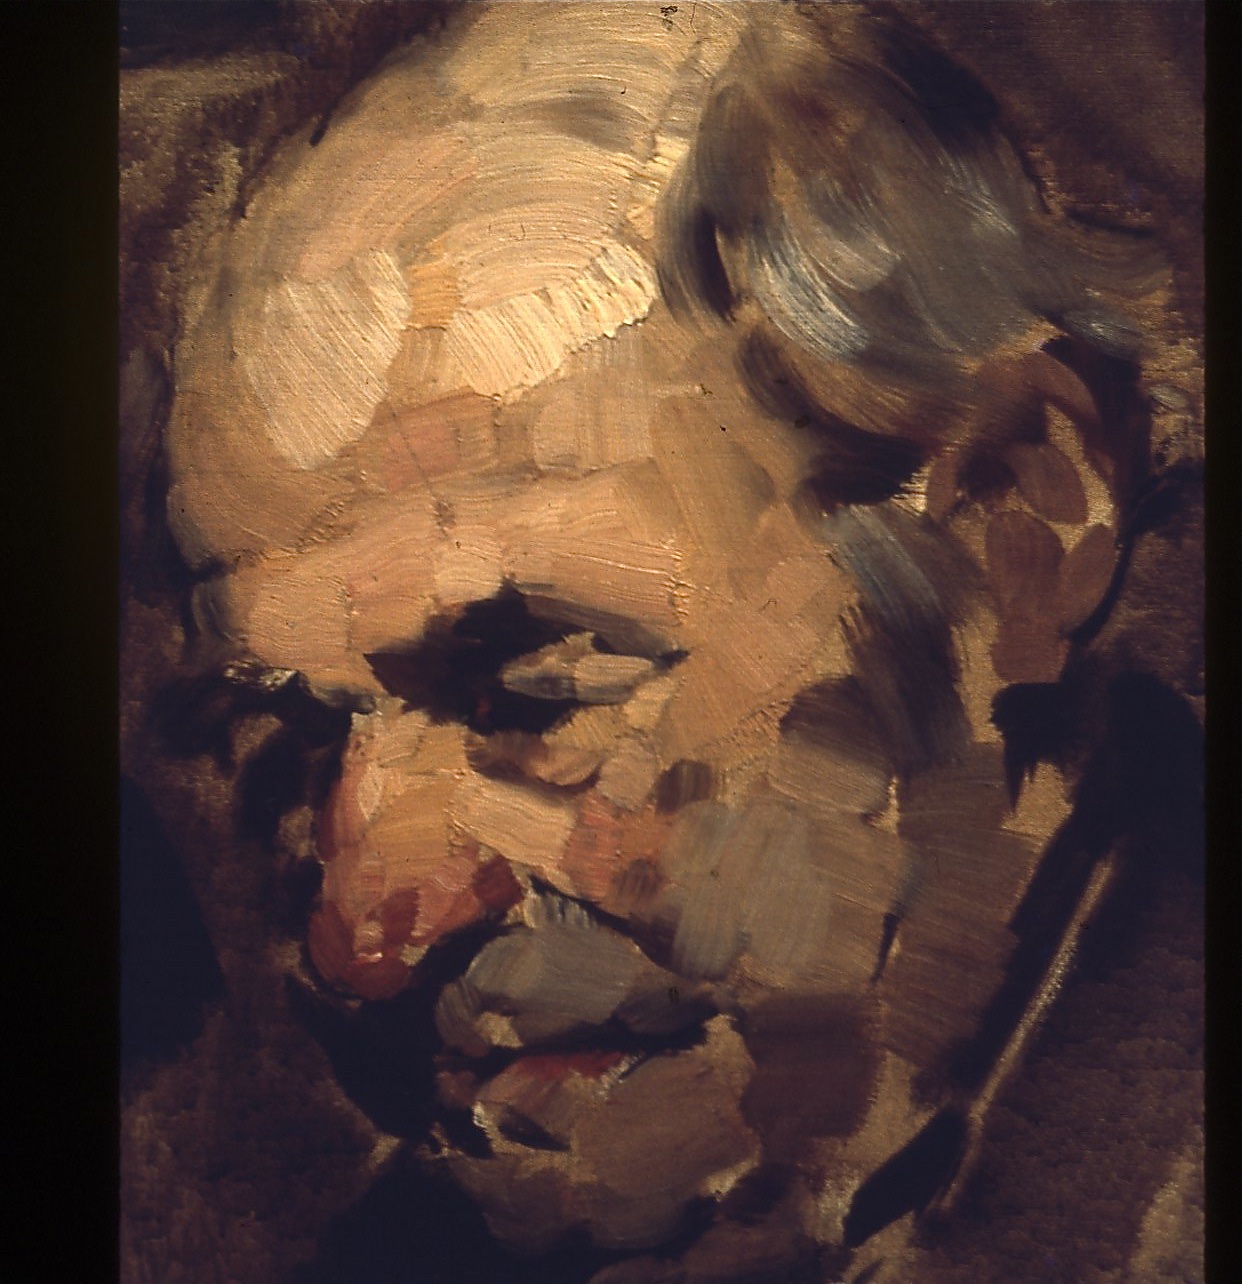
Angle and pressure will give you shape. The shape is about the stroke, not the brush. The brush and the pigment are an extension of your…mind. Not hand. Even though you use your hand, the strokes will telegraph what’s on your mind. Work to blend the intensions of your mind, your ideas, with the tool to apply the paint with awareness.
4. Load
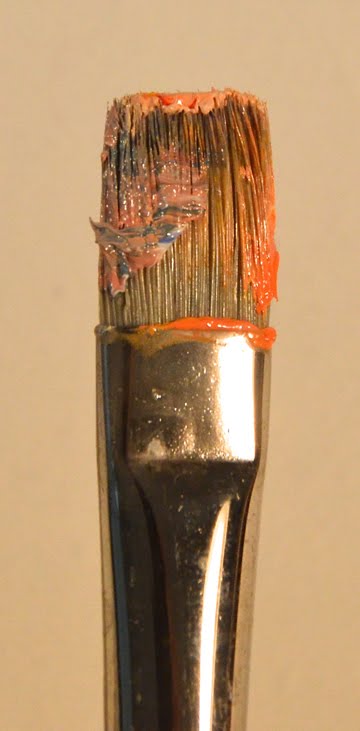
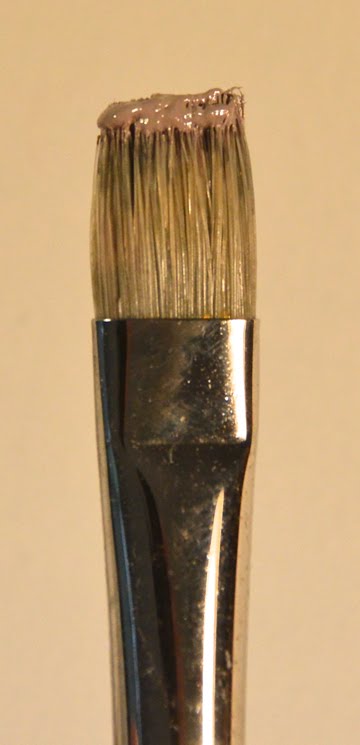
How much pigment is on the brush hairs. You should be able to tell at all times how much pigment starts on the brush and how much is left on it. Feeling this will help you know when to stop stabbing the poor canvas. It also let’s you know when the brush is overloaded with too much pigment, squeezing out along the edges. That’s ok—when you want it. When you don’t, sloppy strokes can look ugly and excessive.
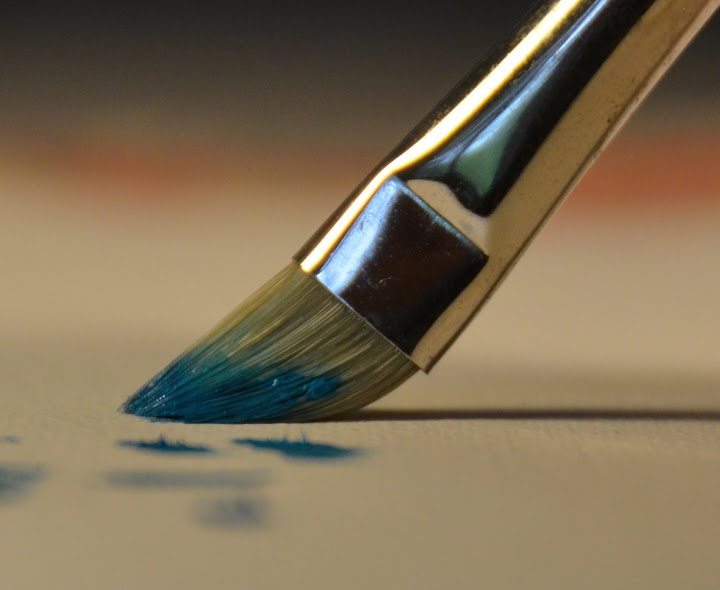
5. Pull
Generally, ‘pull’ refers to the length of the stroke depending on how much pigment is loaded on the brush, how fluid the pigment mix, and how flexible the brush hairs are. A long pull can give finishing layers great character, but can also be helpful for underpainting in the beginning stages. A short pull is characteristic of a flat, and especially a bright, and is also good for last layer accent strokes.

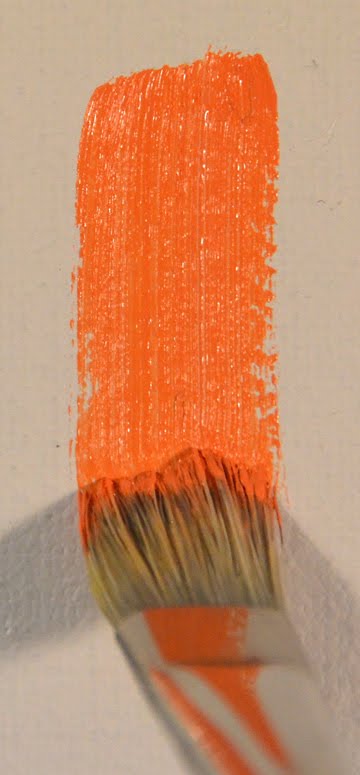
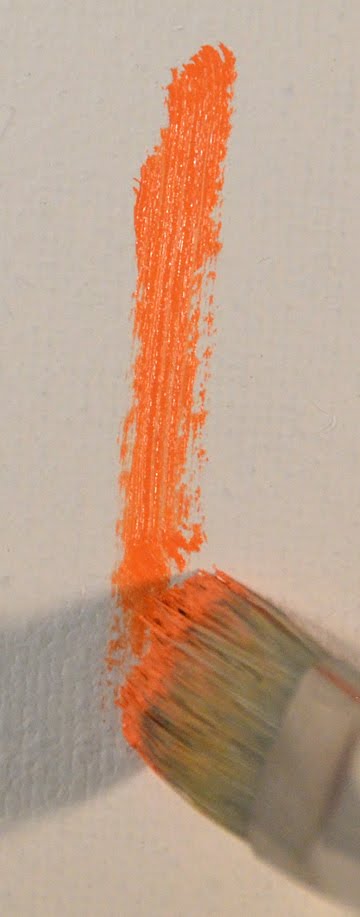
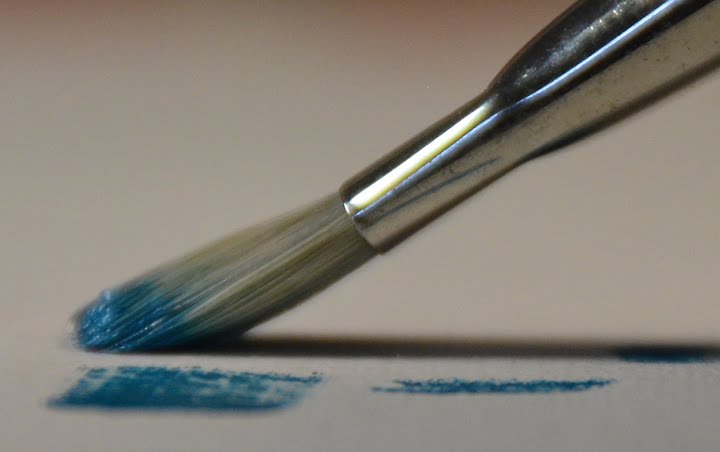
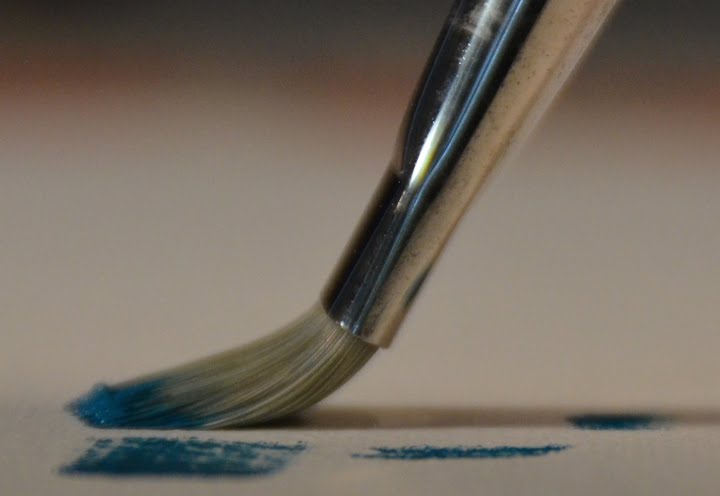
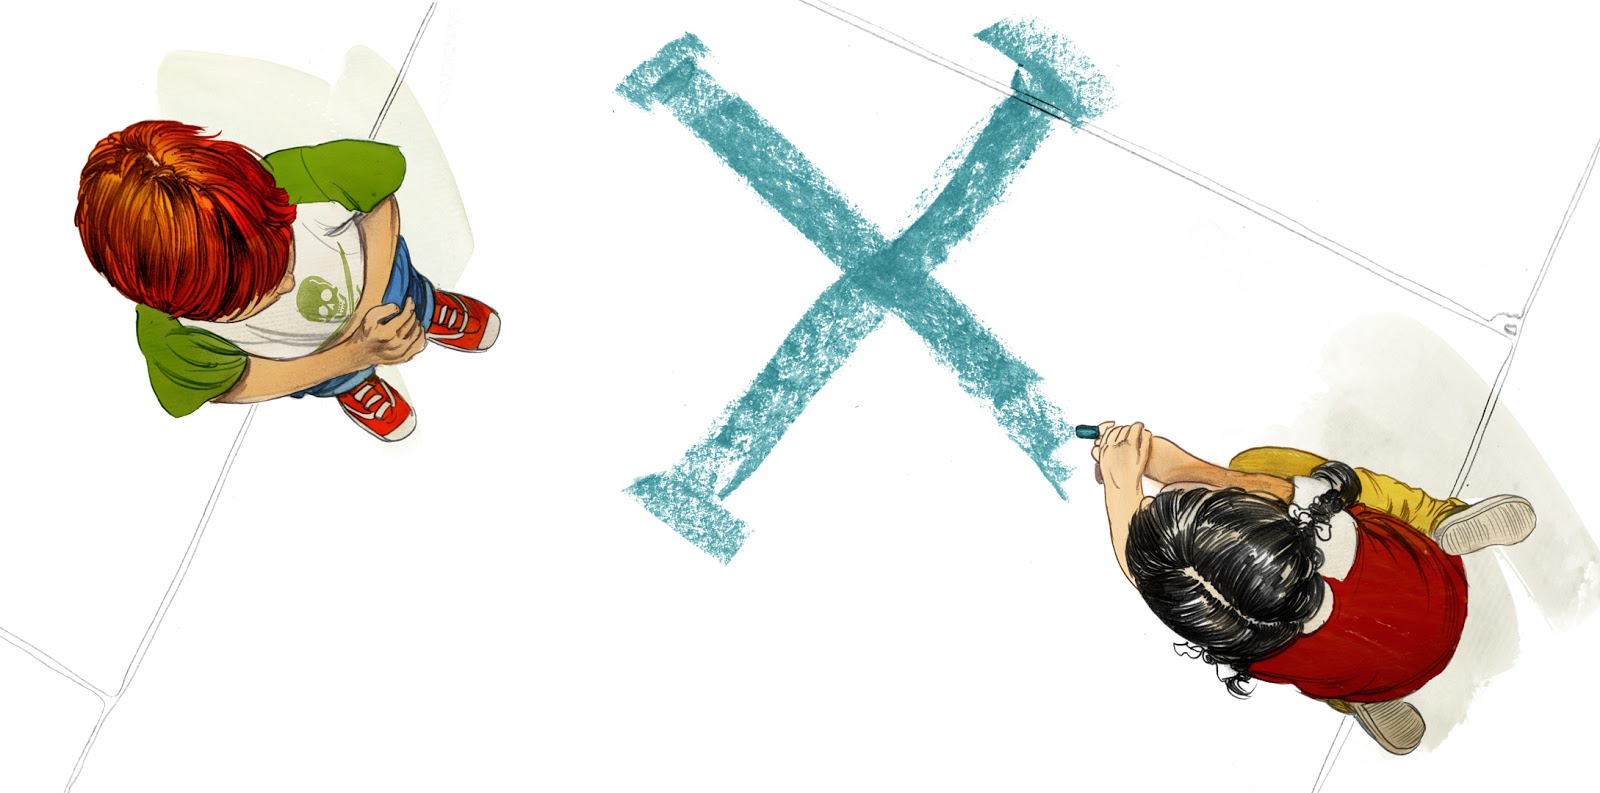
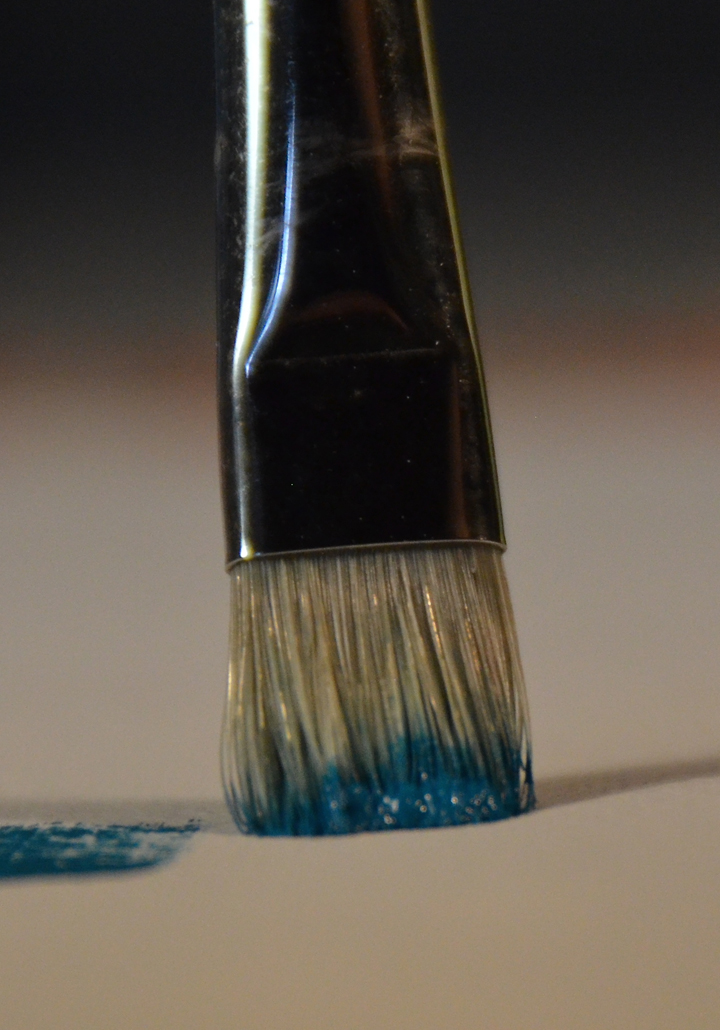
6. Edge
The edge of the stroke is as important to think about as the edges of elements in your overall painting. A stroke can be clean and sharp. It can be soft and fuzzy. Either way, you’re only using the brush based on it’s shape. To go beyond this, as pictured above, use the edges of the stroke to determine a sharp edge or a soft edge at the same time. Lift one edge or another by twisting the brush, applying pressure to adjust how sharp and how soft.
7. Size
Generally, use the biggest brush for the longest amount of time. Broad strokes in the beginning help one to visualize the composition and shapes in the painting. Work your way down to smaller brushes as you build layers.
Quick example: painting the sea. Big broad strokes establish the overall wave patterns and shape differences. Next layers establish more wave detail, but don’t jump to the small brush. Use the big one to describe another level of detail. Next layer, generally describe light patterns on the waves with a brush size that’s smaller than the last, then eventually go to a smaller brush to add wave details and light reflections, etc.
Think: you wouldn’t use a #12 brush to paint the early stage of a 10’ mural. It’s too small. You’d use a much wider brush. Then as you get more focused and detailed you change the size of the brush to fit the subject. It’s the same approach for much smaller works. Pick the brush sizes to fit the appropriate strokes needed for the painting at hand.
8. Direction
Direction is important. Use as much of your arm movement as possible. It allows for good expression and helps relax your application. One can tell when someone is holding back or is unsure of where they are going with the stroke. When building layers, keep the angles moving, going in different directions. This builds volume and depth. Don’t keep stroking in the same direction for long periods of time. Stabbing motions look EXACTLY like that: stabbing. The pigment records everything you are thinking.
9. Attention
Focus. Determine how you are going to lay down the pigment, the stroke, before you lay it down. See it. Think about it. Where will it go. How will it look. Short stroke? Long pull? How much pressure is warranted. How much pigment is necessary to achieve it. Don’t panic. If it doesn’t come out the way you want the first time, remix, rethink, reapply. Stay 100% aware of what you are doing, even if it is in one very tiny area. Know what you are about to do, picture it, then apply.
10. Expression
The brush records every thought. The pigment expresses every attitude. Your strokes bely what you are thinking, have been thinking, and will be thinking throughout the entire piece. Hesitation with the brush will show hesitation. Confident bold strokes will show determination, and direction. Nervous stabbing will express that insecurity. Most times, all these different mindsets show up in every painting as you learn how you want to work. Recognize them. Study them. Learn what you like and don’t like about them, and why.
But don’t allow yourself to agonize about them too much. That initiates hesitation, and then immobility. You must work with strokes to develop them.
Don’t worry about it. If your nervous, over-stroked, unconfident, rambling strokes have everyone salivating for your work, then what’s the problem?
Digital doesn’t get a pass here. The same is true for a digital stroke with a few, very few, exceptions. Track how often you undo, or if you are layer-crazy. Train to reduce these. It will improve your strokes, which improves your technique, which improves your ideas.
Basically…learn strong, direct, sensitive, delicate, confident brushwork so that you can have all of it work for you.

Excellent post. Thanks for spending your time to share this! Note to self: VISUALIZE the stroke before I commit. Good stuff.
Wonderful post. Very generous. Thank you. I wonder if you might share any thoughts you have on painting straight lines or very thin lines, like the use of a liner/rigger brush? Thanks again… kev
Thanks for this post, I've long been a fan of your brush work and you have great insight into the process.
Thank you so much for these posts Greg! I read every single one and they are always full of great information and inspiration.
I have a question about how to keep the paint on the canvas clean. Whenever i've seen you paint you seem to be able to come back to one spot over and over and just lay another stroke on top of the one you put down earlier, and it seems like the new stroke is unaffected by the still wet paint underneath. When i paint i feel like i can maybe put down maybe two strokes on top of one another and then if i want to come back and change it i basically have to wait for the paint to dry before laying down another stroke on top, because if i don't i keep getting the new stroke dirty with the color already lying on the canvas. I really want to figure out how to get past this problem, and i was wondering if you had any advice? Thank you so much in advance.
/Adam
It's about timing and pressure. If you're adding oil to your paint, it's going to stay wet so long, and mix so easily, that it will always tint the stroke above it. But if you just use turpentine, the turp will evaporate after 15 minutes or so, leaving a relatively stiff paint behind. On a coarse surface like canvas, you can usually lay another stroke on top of that one without them mixing provided you apply it softly.
Thank you for the answer!
Great article, Greg! Thank you for taking the time to write about the mechanics of the painting process. Its such an intuitive part of creating and not articulated often enough. Your reminder to “improve your strokes”, regardless of whether traditional or digital, resonated the most with me. I’ve recently transitioned from traditional to digital and the challenge to keep things looking fresh has been a constant struggle. Visualize before applying. Think before acting. No excuses!