I thought I would share a work in progress today and then the final in two weeks for my next post.
I started the process by doing thumbnails and then a detailed sketch. With that in hand I hired a model for a photoshoot and then did a couple color comps to nail things down. I usually do my color work in Photoshop, but I have been falling deeper in love with oils and as much as I can these days they are my go to medium.
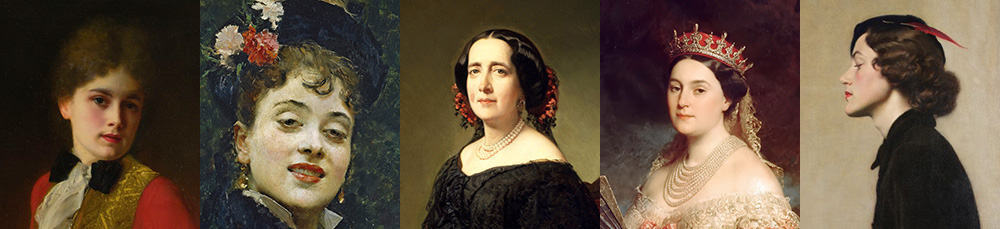
Here is the first color study I did:
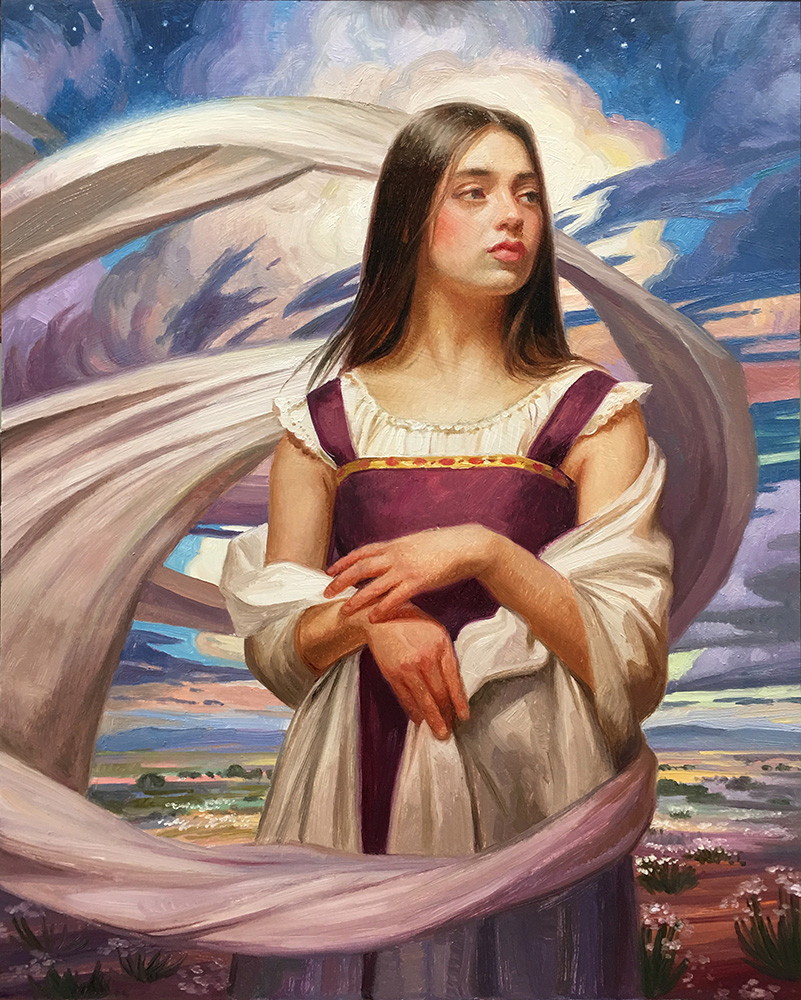
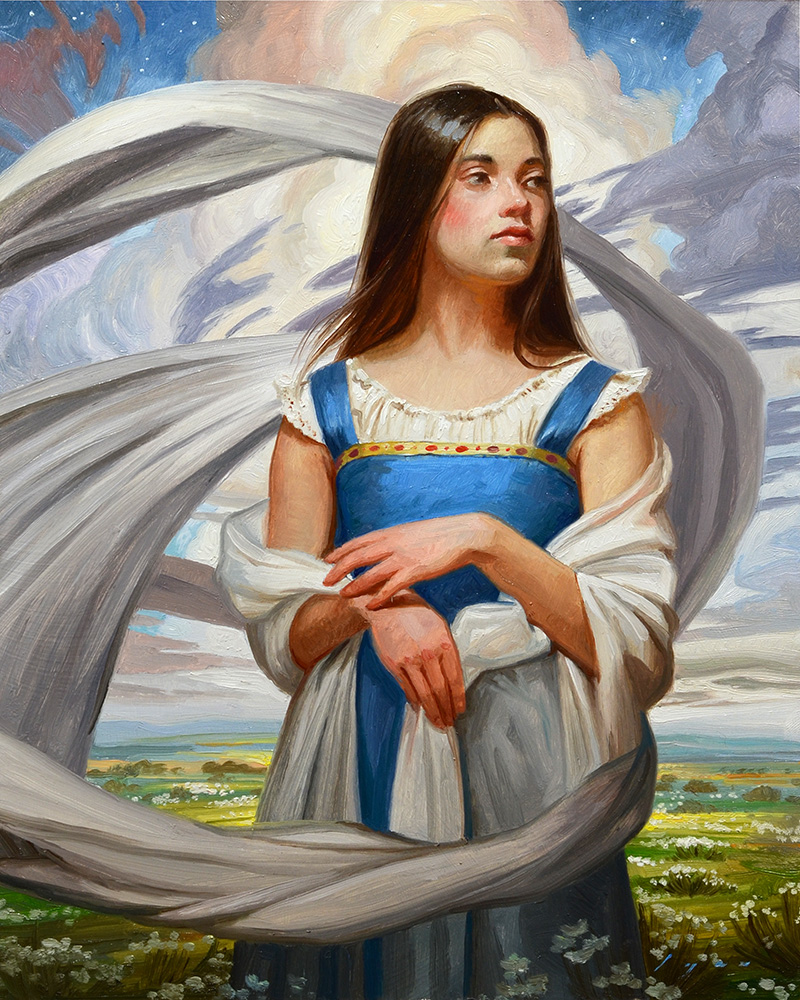
I felt that this more appropriate for the image. It was a tough choice though. If you happen to follow me on Instagram or Facebook, there was some strong opinion towards the purple palette and the blue palette. I received some great input from friends too, thank you! Ultimately, I had to go with my gut on it and went with the latter.
I shot a video of the study being painting. It is 5 hours of painting time sped up to 30 minutes.
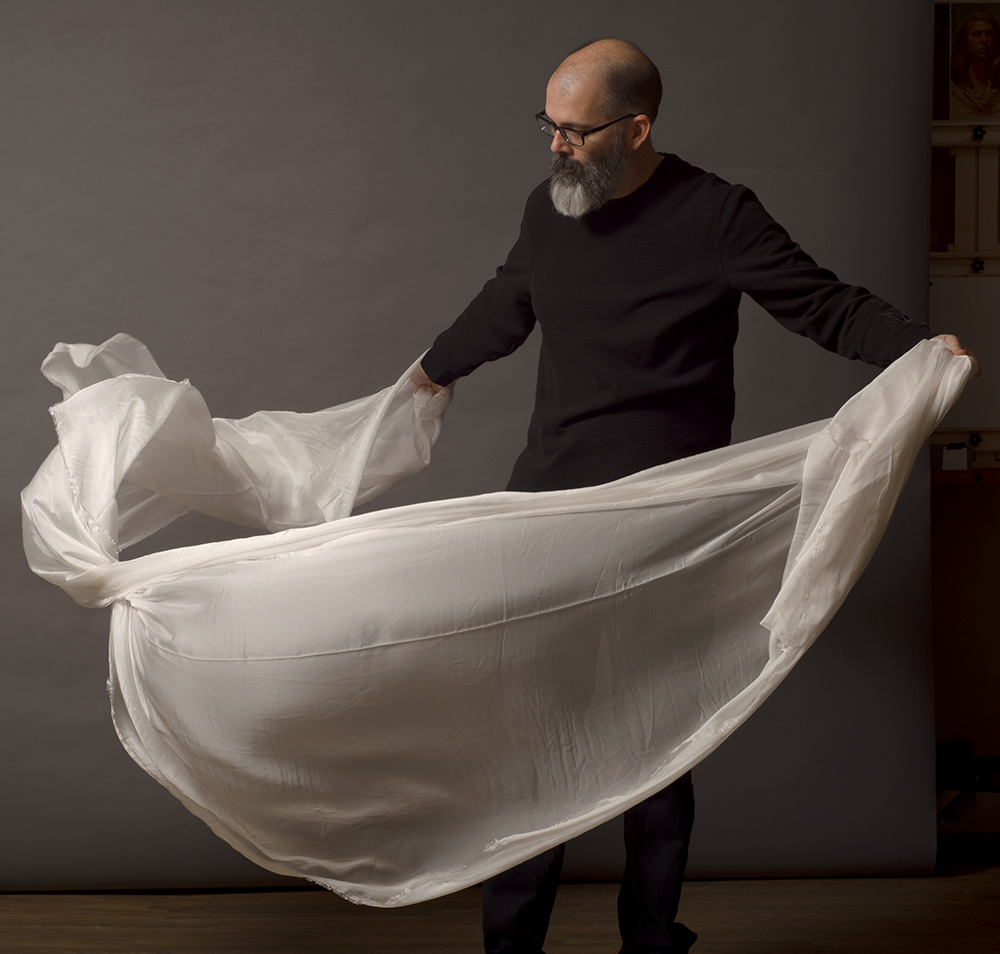
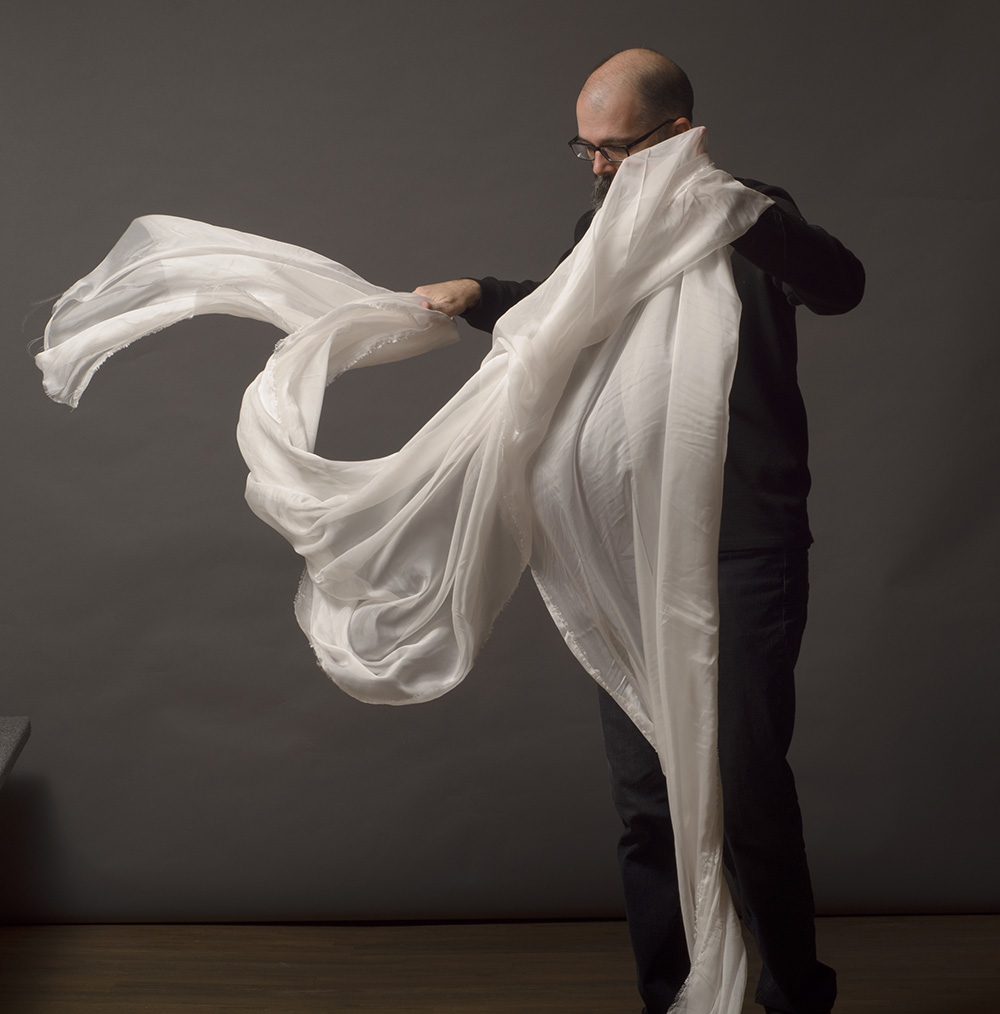
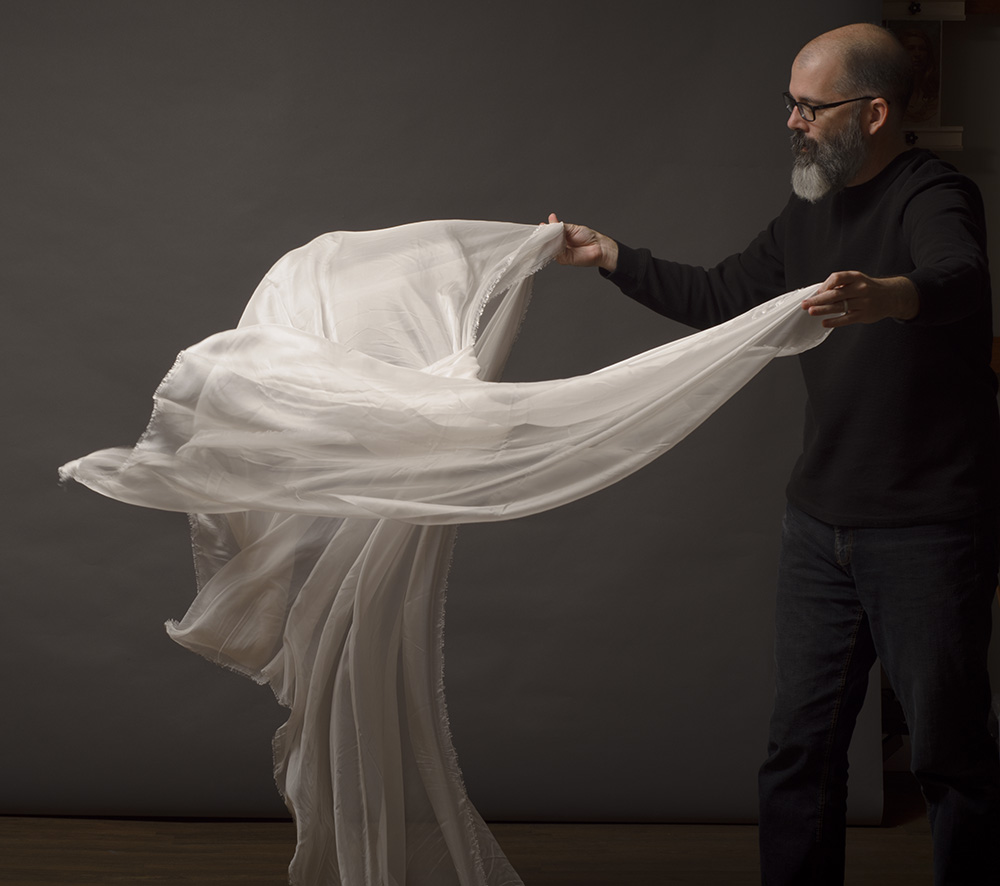
To get the reference for the fabric, I bought 5 yards of the lightest fabric I could find and set up a strong fan. I set up my studio strobe and set my camera to take a photo every 5 seconds. After some experimentation, I got a few shots that I think worked well. Here are some outtakes. 🙂
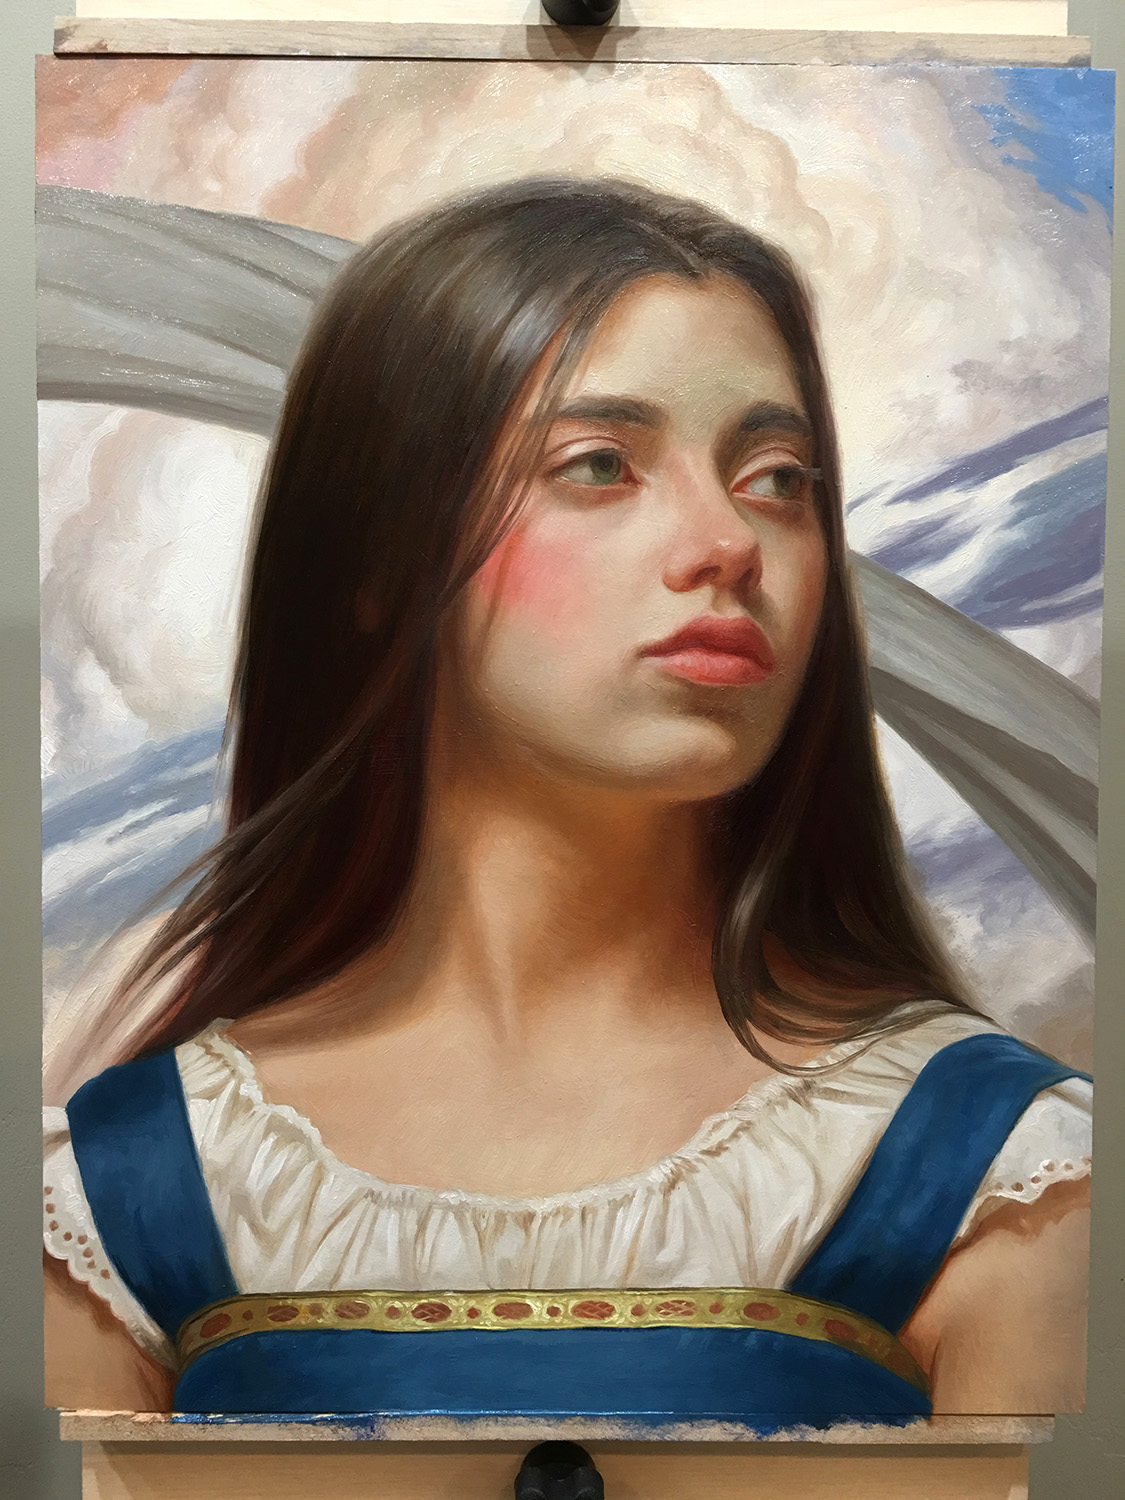
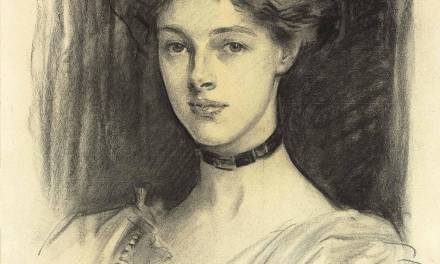
Next up, I wanted to do a head study to workout the flesh tones and expression. Even though I was painting from a photograph, doing the head study let me make changes to the face and experiment a little which helps me not be a slave to reference, but not experiment on the final paint surface.
With the color study, photography and head study finished, I was ready to move onto the final.
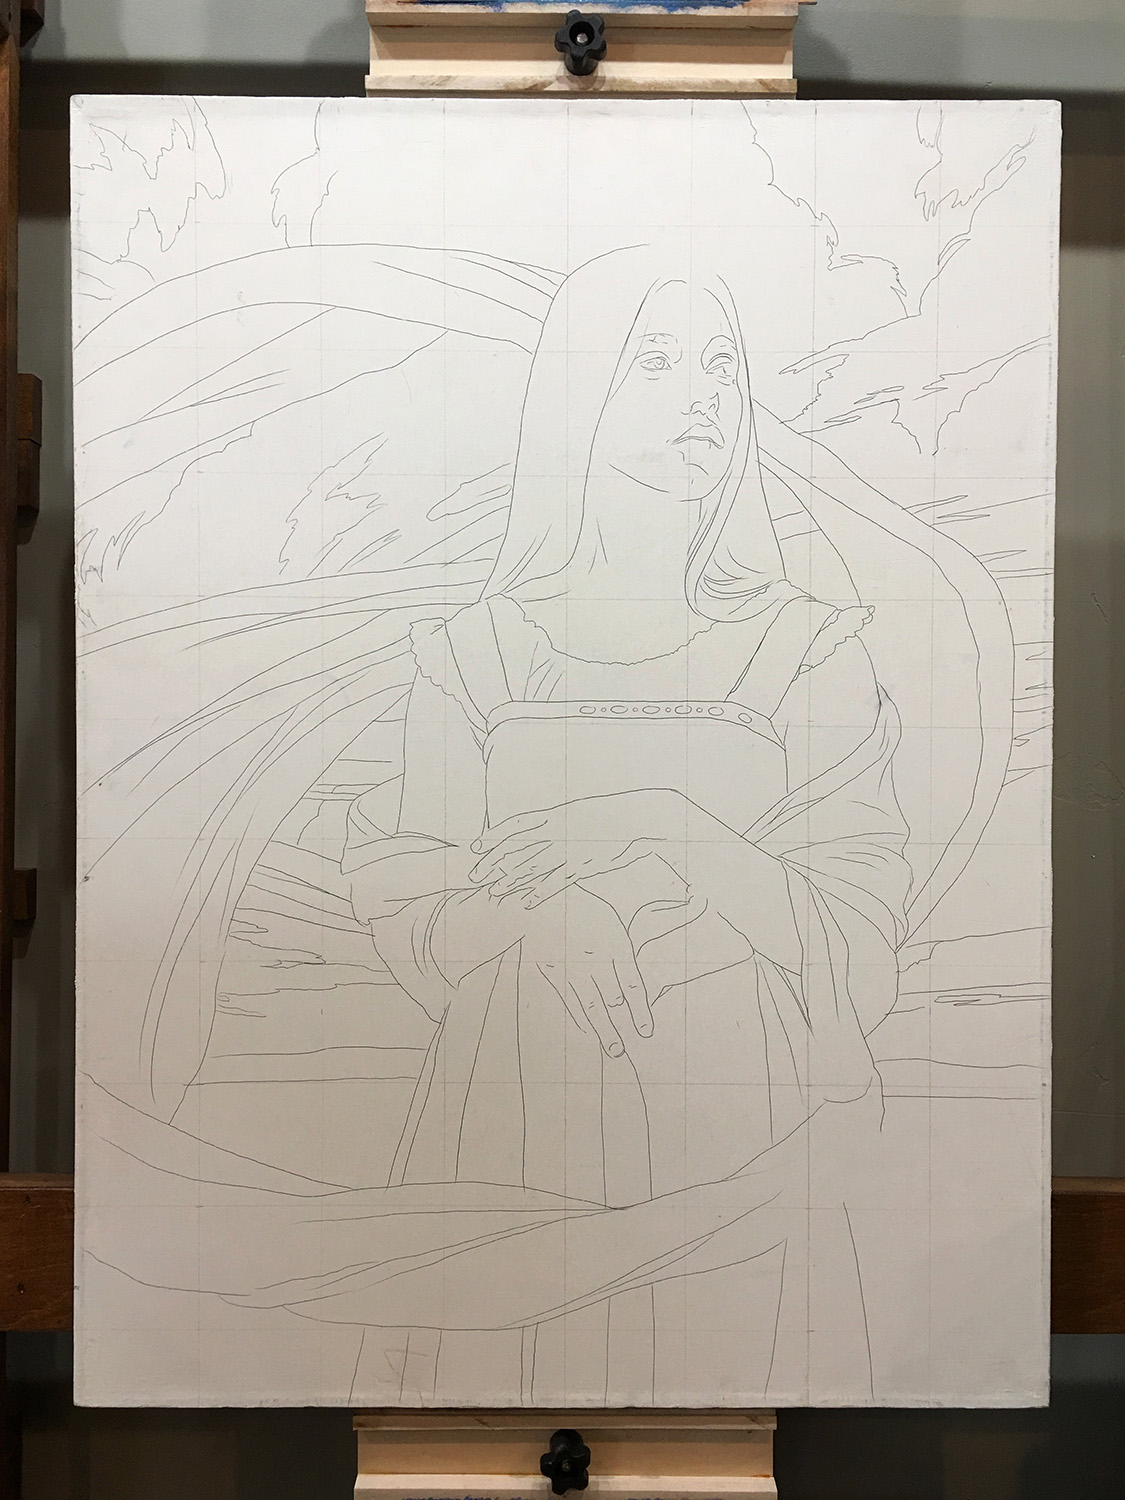
I transferred the drawing using a 2″x2″ grid, and then inked the important lines.
Here is the color block-in, or ébauche stage:
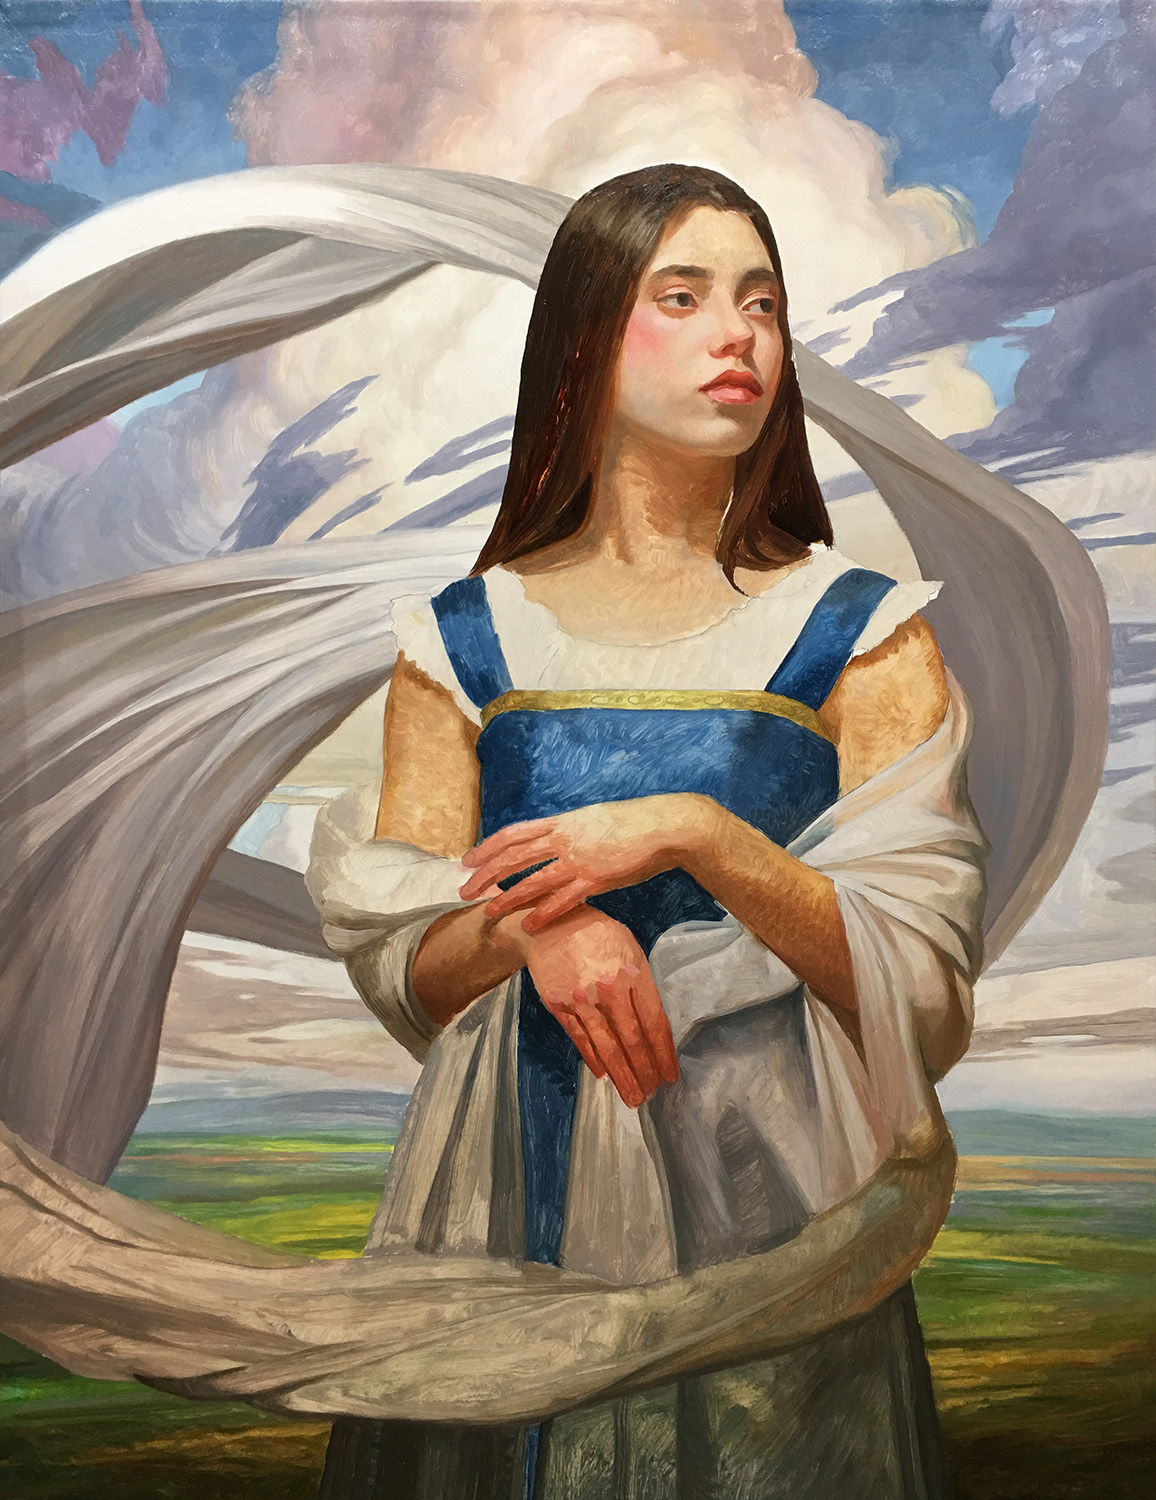
This stage is done in a few hours and the goal isn’t to do a lot of rendering, but to block in some of the key values and colors. You can see things look a little strange and flat, but that is alright. This stage just provides a foundation to paint into. I find that I am more successful with a color block-in like this and it adds some depth to the final paint layer. It also gives a good reference point for subsequent layers of the painting. When you put a color down, onto something that is fairly close to the end result you immediately see if it is too warm or cool, too dark or light, and you can make simple adjustments. So while this stage looks ugly, it is really useful.
I used a little drier for the ébauche (Galkyd Gel, I really don’t like straight Galkyd, but the gel is quite nice), and by the next day it was dry enough to start the 1st pass of painting.
Check back in two weeks to see the final!
That's a great way to get ideas for drapery, why didn't I think of that? Thanks a bunch, Howard 🙂
Beautiful painting! I love the composition, especially the slightly off center figure.
Thanks Staffan, I am glad that it was useful!
Thank you Sam!
What a cliffhanger! Watching your process is so engaging, I can't wait until we see the rest.
“Even though I was painting from a photograph, doing the head study let me make changes to the face and experiment a little which helps me not be a slave to reference, but not experiment on the final paint surface.”
That sounds so common-sense. And yet I keep trying to change a face from photographic reference as I go along instead of making a separate, simpler study first. Why did I not think of it that way? No wonder I keep struggling!
Great process, thank you for sharing it is very inspiring!
This ebauche stage, are you just painting in local colors thinly then? It looks like it from the photograph but I just wanted to be sure. I am trying to teach myself to oil paint and man, it`s hard!! haha. Thanks!
Pretty much, though if you look at the flesh, I am adjusting the color temperatures and saturations. It just isn't rendered out all the way. Keep your ébauche stage simple but accurate to your colors. It will make the next pass much simpler!
Thanks for giving it a read!
Catherine, I am glad that it was useful. An added bonus is that it creates more products to sell. I know, capitalism, right? 🙂 I find that if someone can't afford the final, they will buy the studies. Or the person that buys that final will sometimes buy all the studies too.
Thanks Gerimi! Hopefully the final will be worth the wait. I better go paint! 🙂