One of the often overlooked tools for building mood in an image is how you choose to light the scene. I think it’s just too easy to get caught up in the narrative and default to overhead ¾ lighting. It describes forms, but it doesn’t always serve the story. This tends to be a common habit when sketching from imagination (which is where a lot of paintings begin) simply because it’s so familiar and easy to visualize. More creative placement of lighting can give a major boost to the drama though, which is why I try to make of point of finding less expected choices whenever possible.
Realism vs. Idealism
One issue that I sometimes run up against is when to follow the laws of physics and when to bend or break them to suit a composition. I’m personally a fan of embracing realism whenever possible in the hope that it gives a piece more authenticity and allows the viewer to really feel the weight of a scene. It’s the same sentiment that makes me appreciate in movies when the armor is functional and the guns run out of bullets. But I can also appreciate that sometimes you need to suspend disbelief in service of the story.
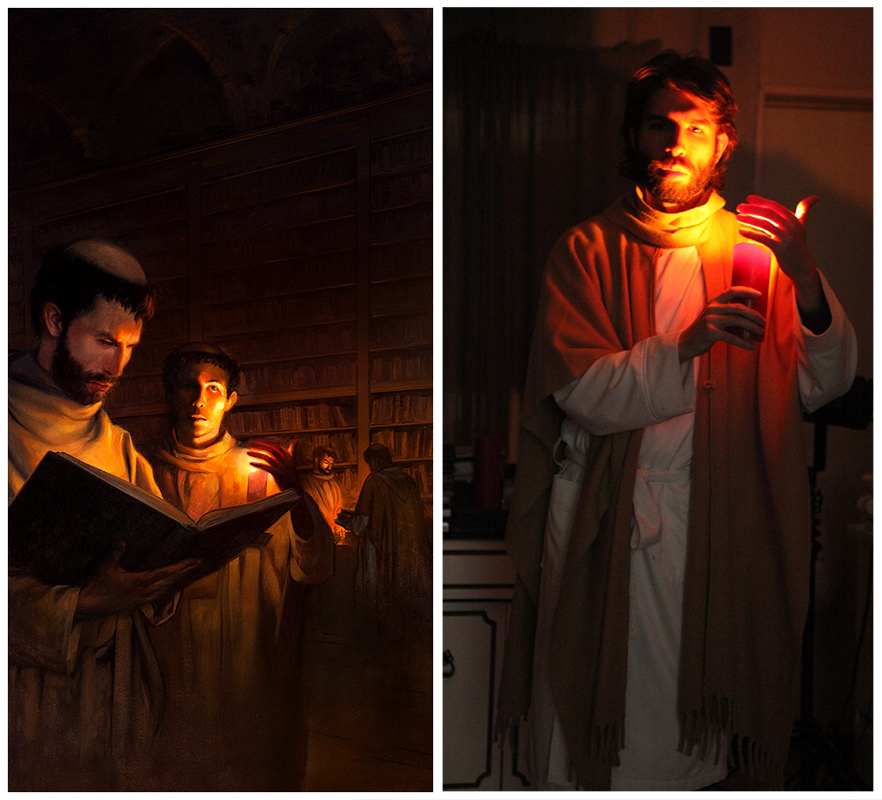 |
| Shooting by the light of a single candle is a challenge and will significantly limit the image quality, but there was a good amount of useful info here that would have been very tricky to fake |
This is where referencing comes into play for me. My starting point is always to explore the real lighting effects of a scene as best I can and see how it looks. For example, if a figure is holding a candle (as above), I’ll try doing my shoot by candle light and see what happens. The results can be surprising though not always workable. If reality is more interesting that my expectation, fantastic! If it falls short, that’s when I’ll start sacrificing realism for a more effective image.
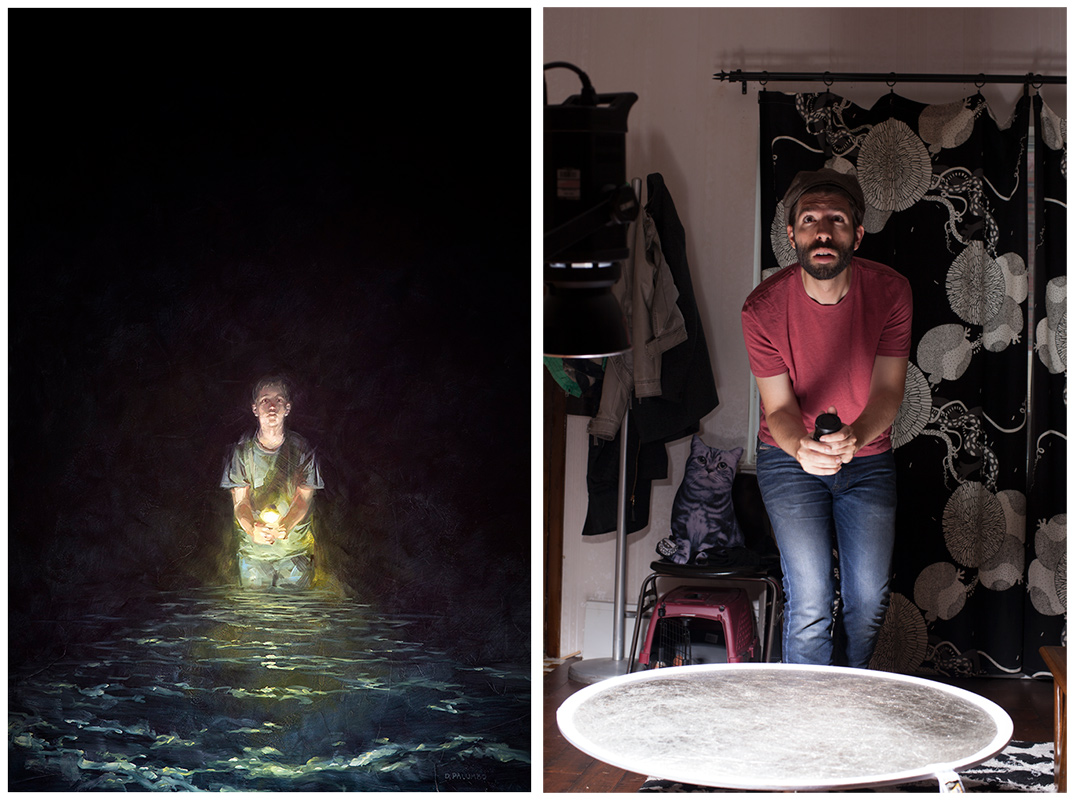 |
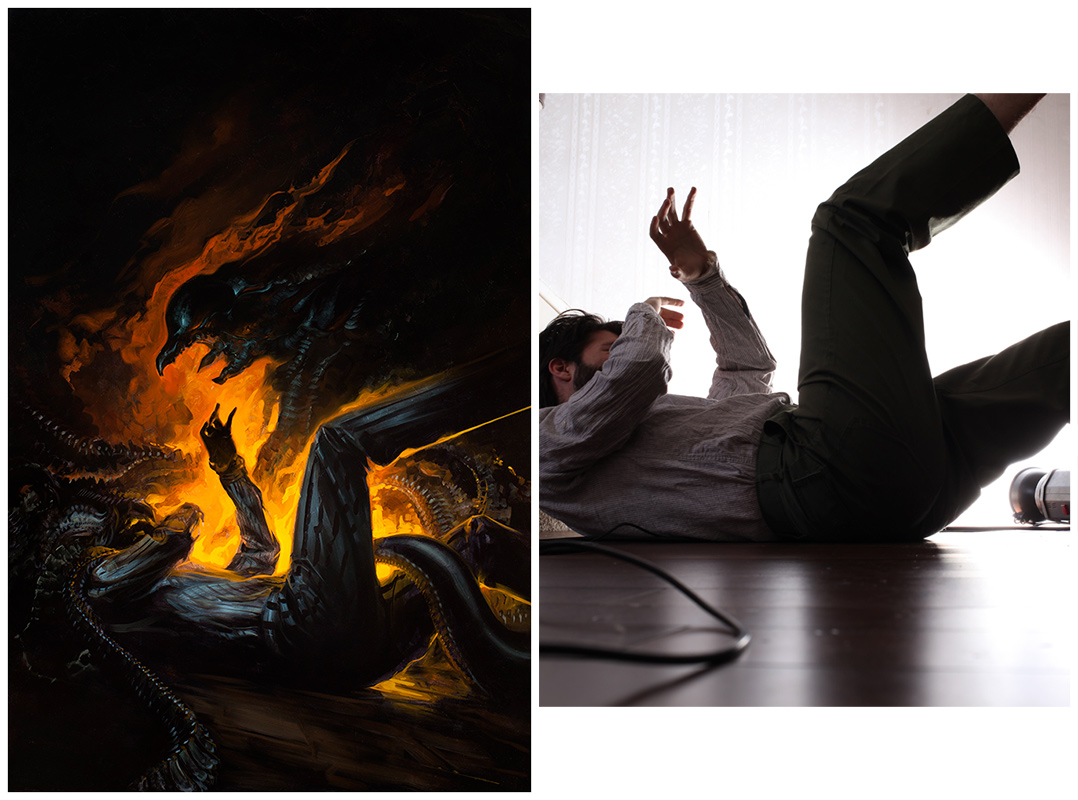
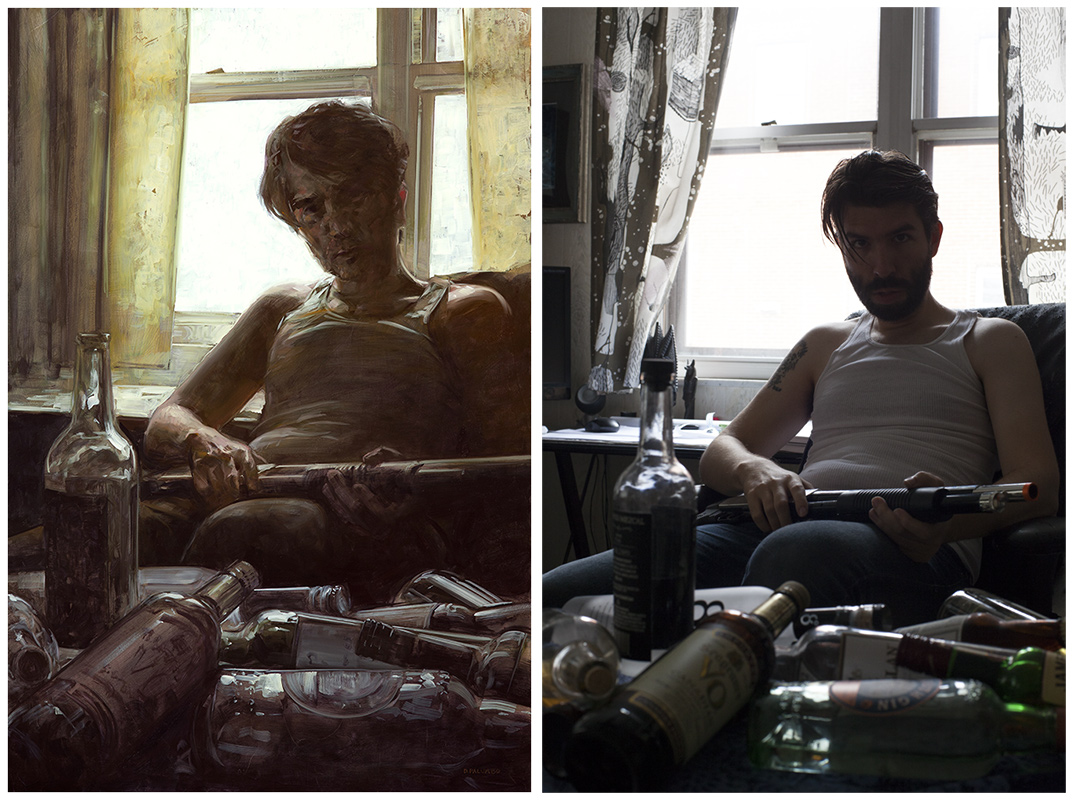
| Fake Fake Fake! I wanted to light my figure by the bounce from an in-frame flashlight, but the reality is they don’t throw any light backwards and conventional surfaces are not nearly reflective enough to give that effect. But the feel is what I want here, so fake it. |
Some of my favored lighting plans and reference set-ups
In-Frame light sources
Along the lines of the above examples, I find lighting your scene by an object which is in-frame to be a pretty reliable way to turn up the mood. The difficulty here is primarily in balancing the intensity of the light source with the characters and environment in a way that is convincing and does not disturb the design. Composing in this way requires extra care when it comes to the value shapes that make up the picture. It’s easy to confuse focal points when the brightest spot or highest contrast are not the most interesting thing to look at.
To deal with this, there are a few possible strategies. You can have the light source in a light area so that it is relatively low contrast compared with focal points.
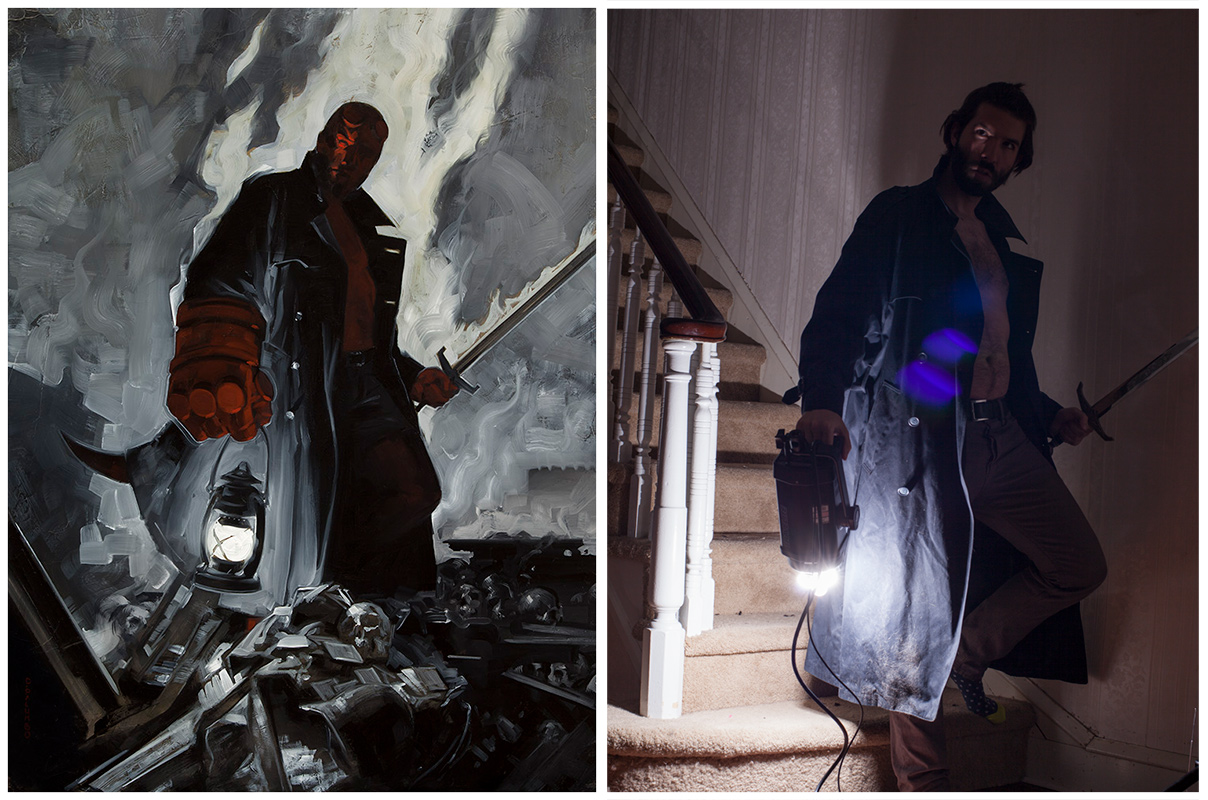 |
| Holding a photostrobe for a lantern, but keying it down in the final piece while also punching up the more interesting looking silhouette of the figure. The color pops on an otherwise monochome piece help as well. Out of dozens of shots, this one just happened to cast that triangle of light over the one eye, an example of finding an interesting, unplanned detail in the reference and carrying it forward |
You can make sure the light source IS the focal point, or adjacent enough to it that they merge.
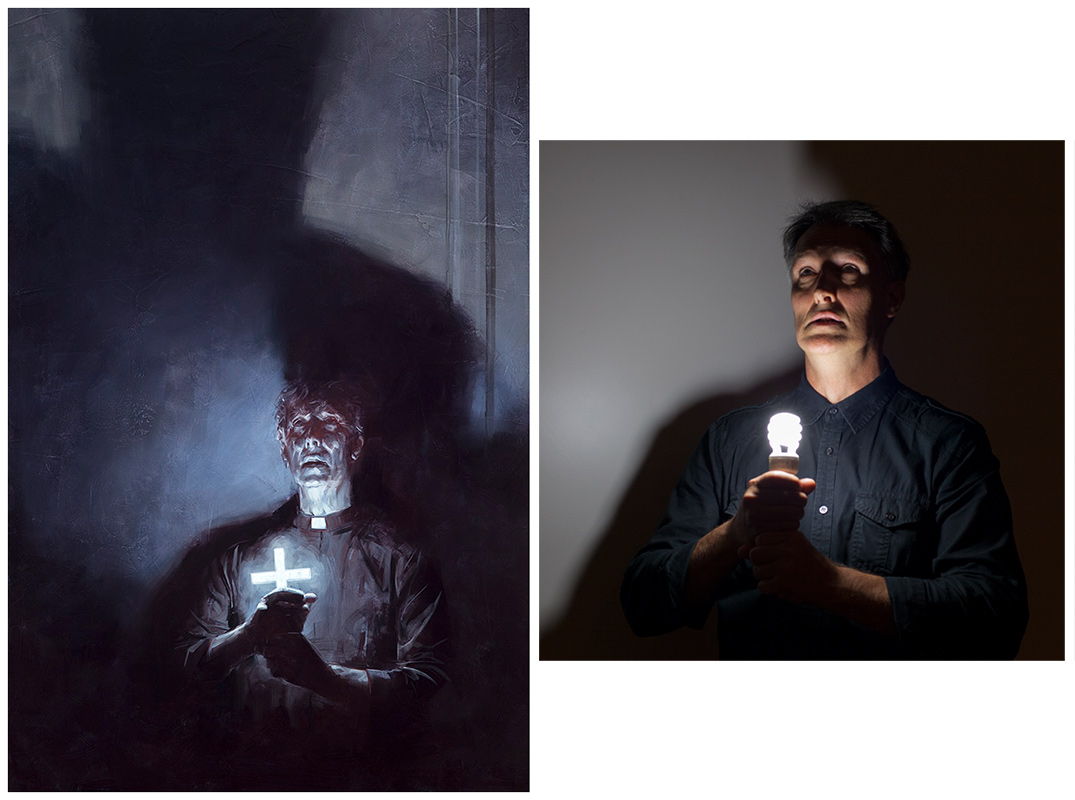 |
| In my original plan, I didn’t know how to make the cast shadow of the vampire read without confusing it with the priest’s own shadow. As soon as my model picked up the light, I saw how I could layer their two shadows together, a solution I’d not likely have come up with without acting the scene out |
Or you can “shield” the light from the viewer so that it is in frame but not actually visible.
Quick tip: the versatility of a speedlight for an in-frame lightsource
I’ve recently found that, due to it’s small size, a radio-triggered speedlight (battery powered flash) can do some really amazing things for in-frame set-ups. Conventional lightbulbs and studio strobes are often too hot and too big or awkward to go where a speedlight can.
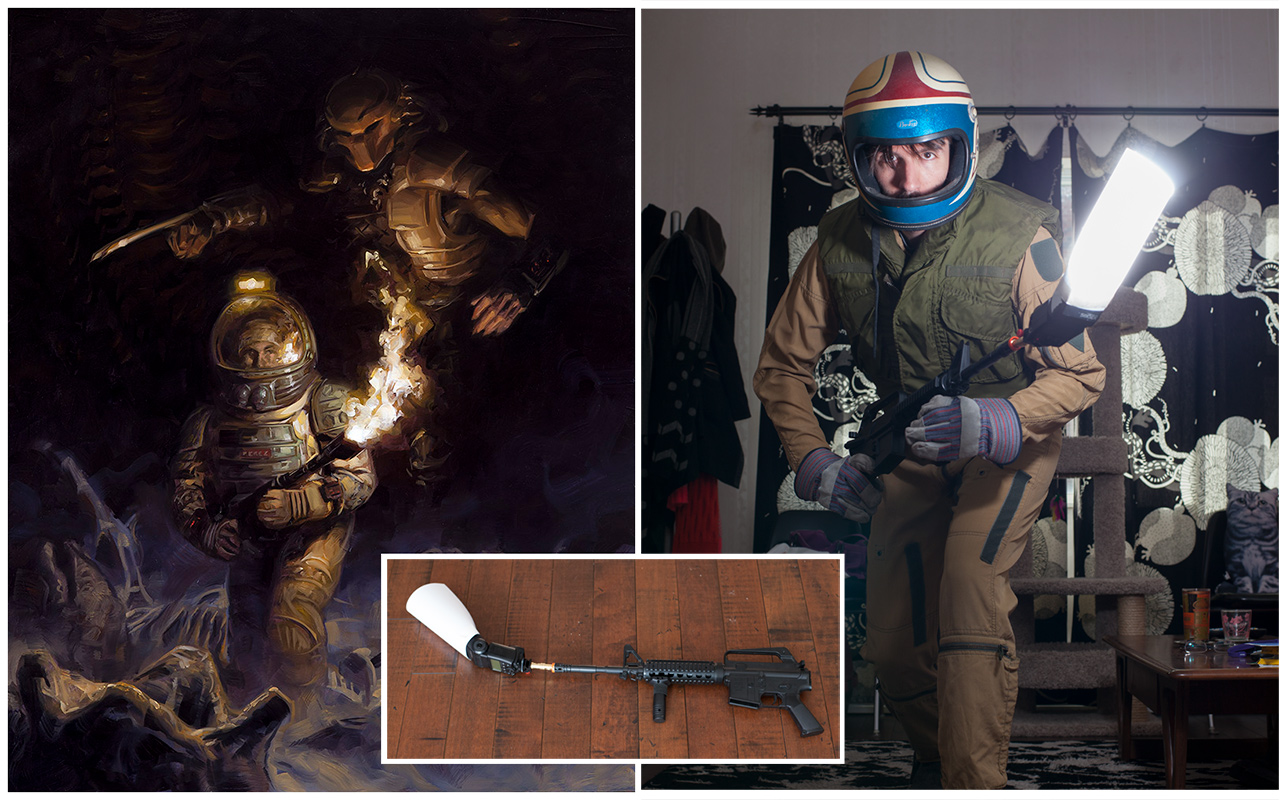 |
| With a speedlight, a toy gun, some flash attachment bits, and a sheet of paper, you too can make a “flamethrower.” The flash lights up the paper cone taped around it, turning it into a roughly flamespout shaped lightsource on the end of my rifle. The speedlight was the only light used for this shot. Yes, I could have faked this by setting up a fixed light about where the flamethrower is pointing, but with this rig I was able to move freely and have the lighting follow whatever position I took. The paper used as a diffuser gave a very convincing imitation of torchlight |
Head-on lighting
My advice on lighting usually begins with “whatever you do, never use the flash built onto the camera.” Camera mounted flashes are so small and so close to the lens that they completely kill shadows, which means they hide the form instead of describing it. The results are flat and unattractive.
That isn’t to say, however, that you can’t front light your subject for dramatic results. Just ask Phil Hale. The trick is to either put some distance between the light and the lens or make your lightsource large. If you shift the light slightly off to the side or place it closer to the subject (between the subject and camera) you’ll introduce just enough shadows to give it form. With a small flash the results can be harsh, but that might be a look you want. The result is similar to observing the scene by flashlight, or possibly reminiscent of old news photographs.
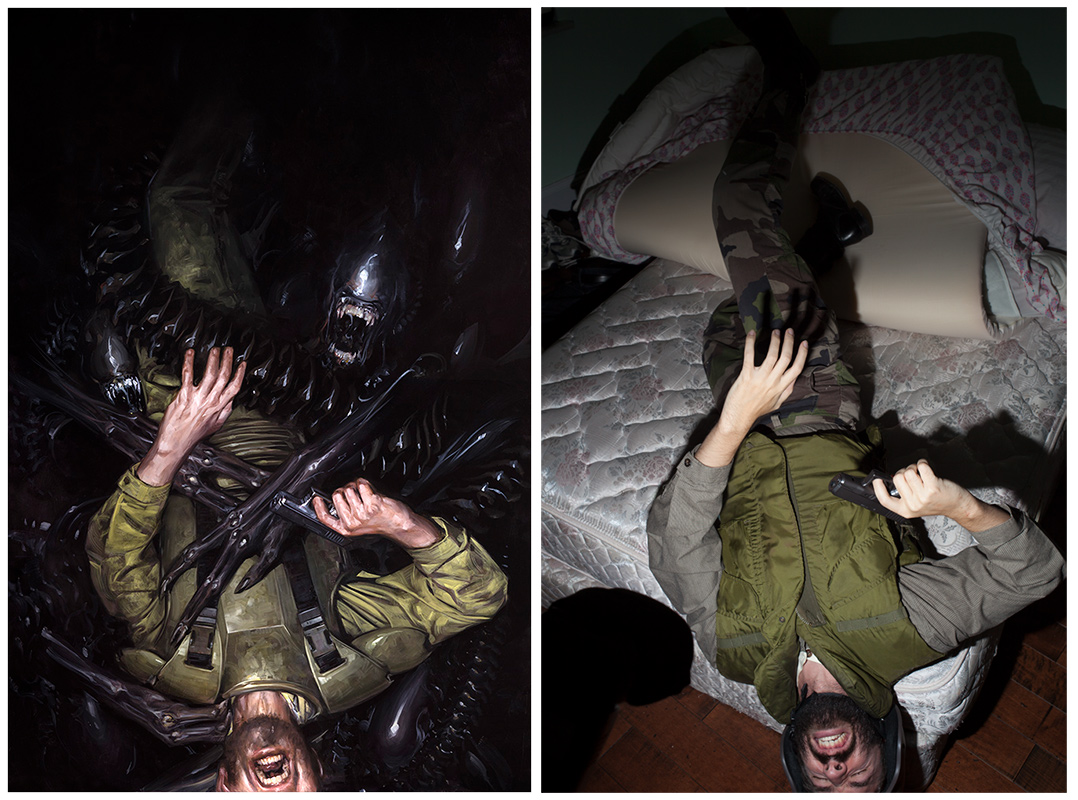 |
| Light positioned left and in front of the lens (you can see it in the lower left corner) so the shadows radiate outward instead of all falling in one direction. I wanted the scene to feel as though lit by a flashlight held by the viewer |
When you scale up the light source but keep it close to the camera (a big softbox or umbrella for example), the result is softer.
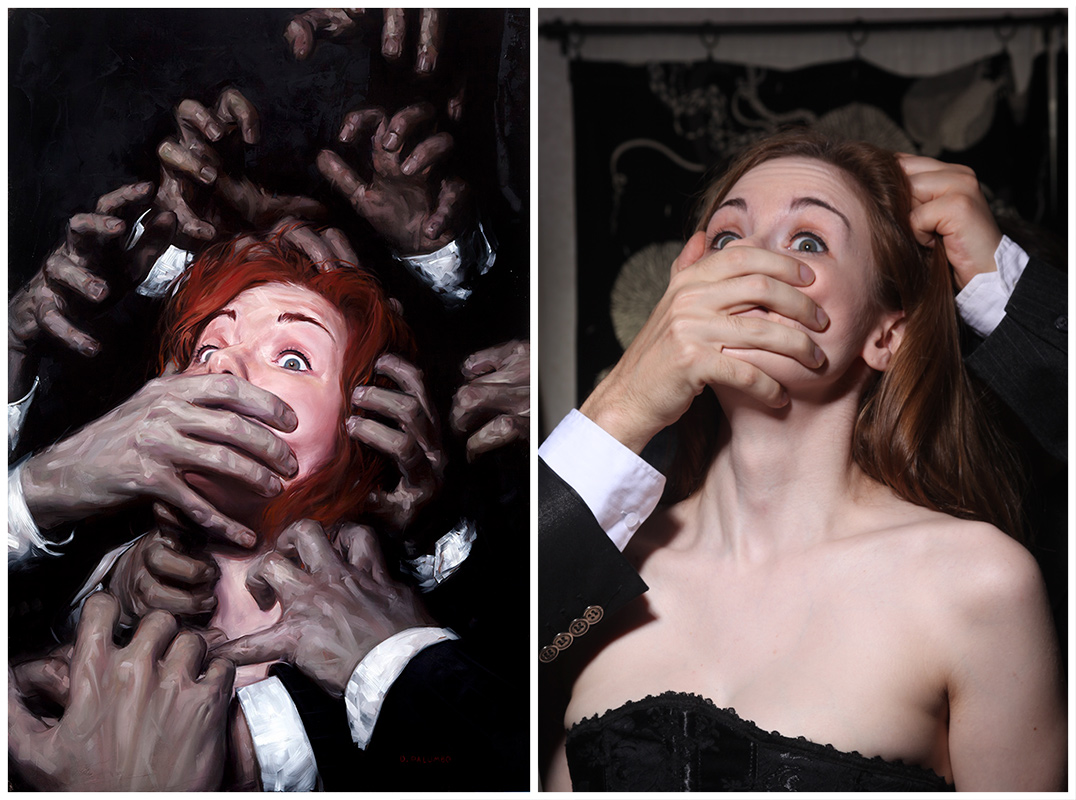 |
| Umbrella light positioned just slightly left and above the lens |
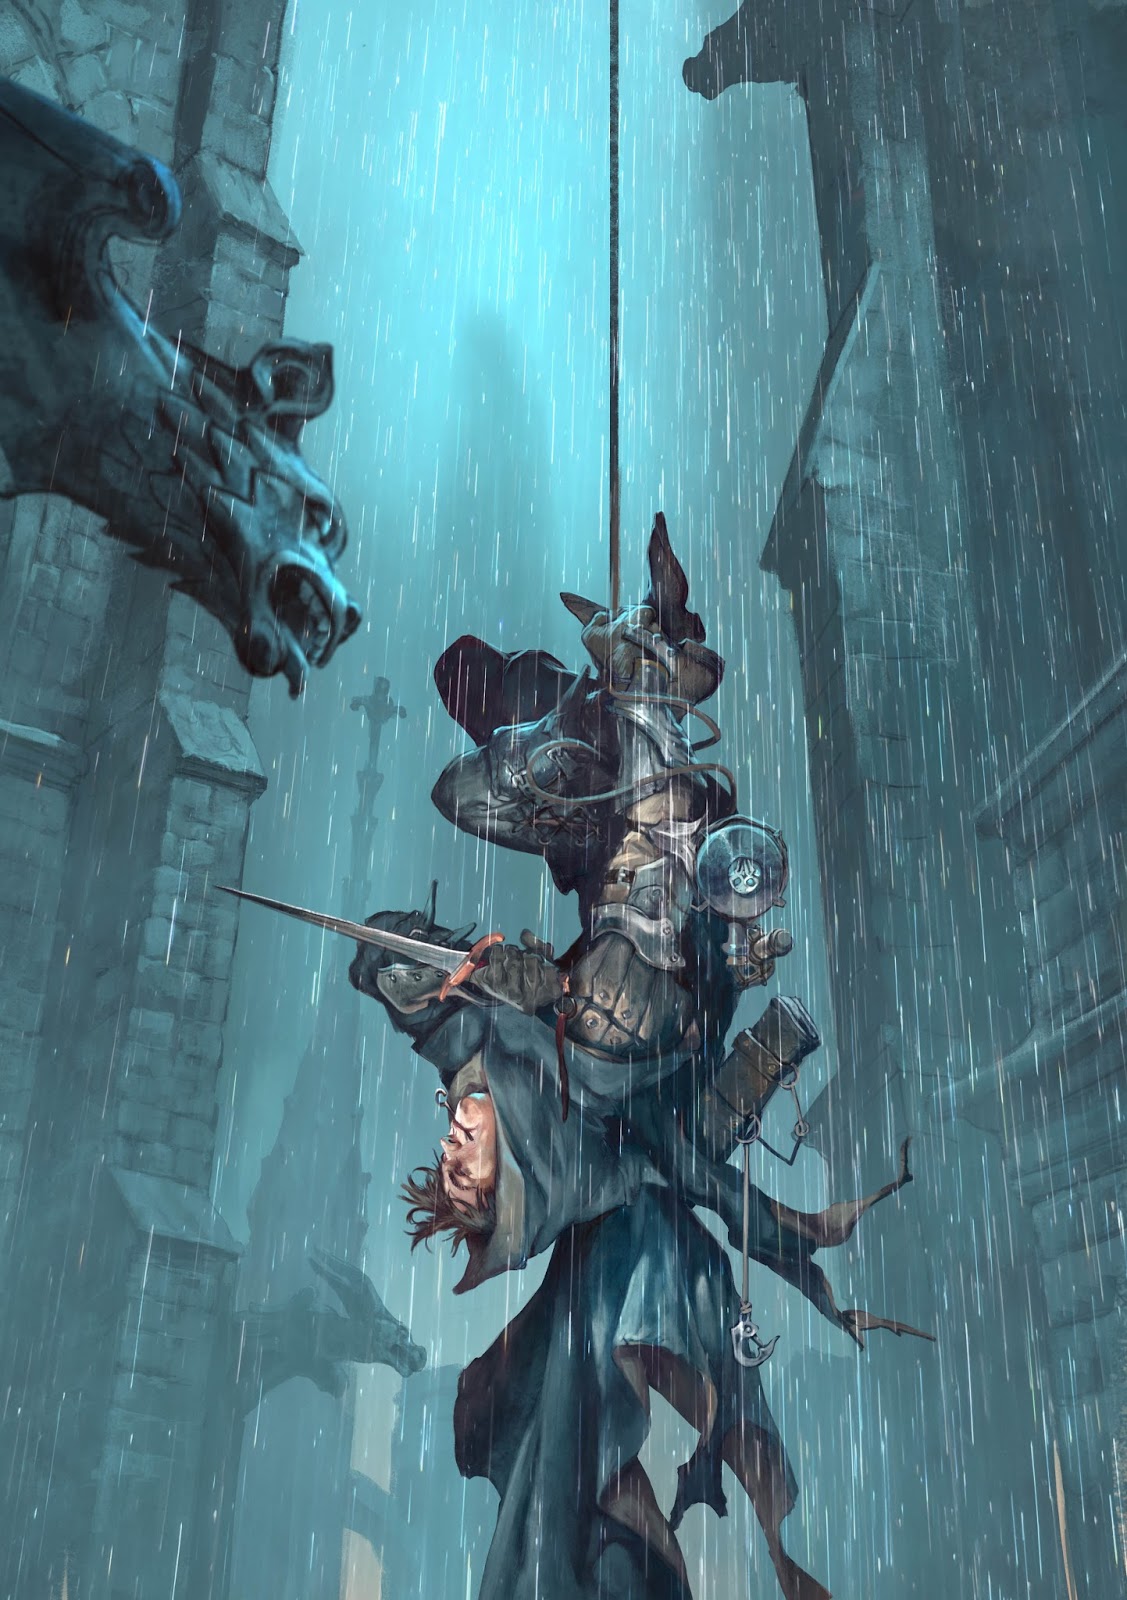
Back-lit scenes
I suppose this is a sort of in-frame lighting, but the idea is that you are silhouetting your subject in front of a bright environment. The shape of the subject silhouette becomes extremely important, and you can show interior detail with subtle light wrapping around the edges.
 |
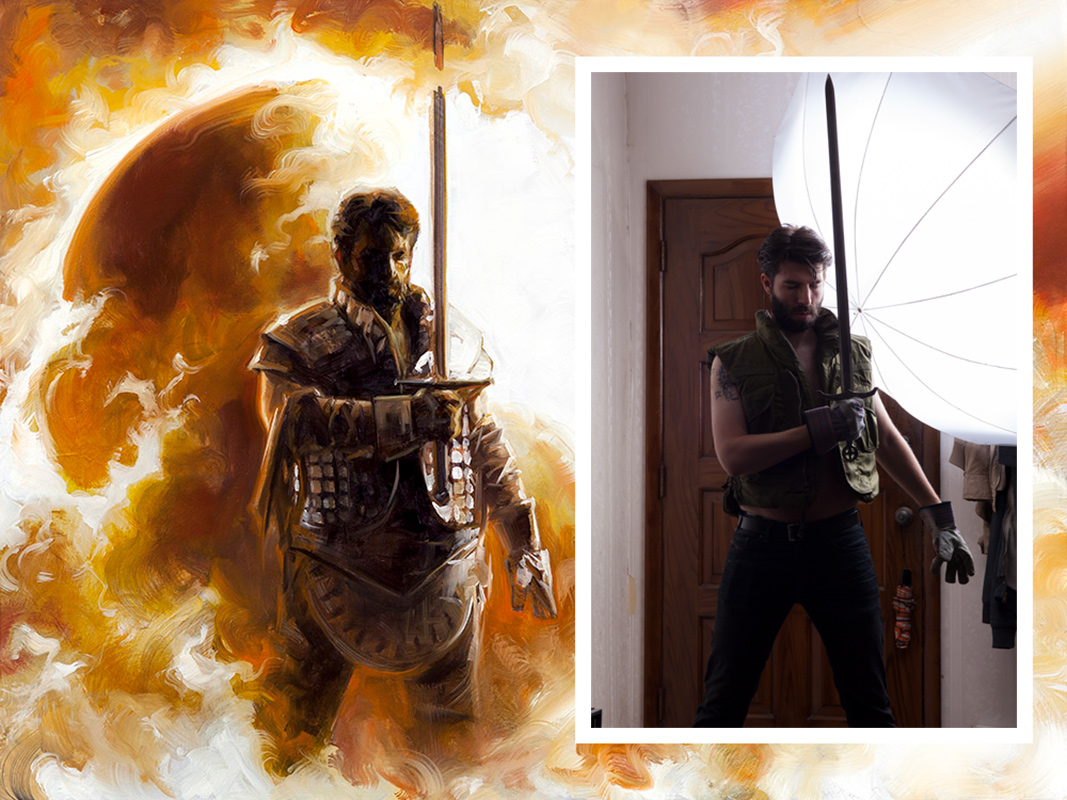
| If I can actually dress the whole scene, I’ll dress the whole scene |
 |
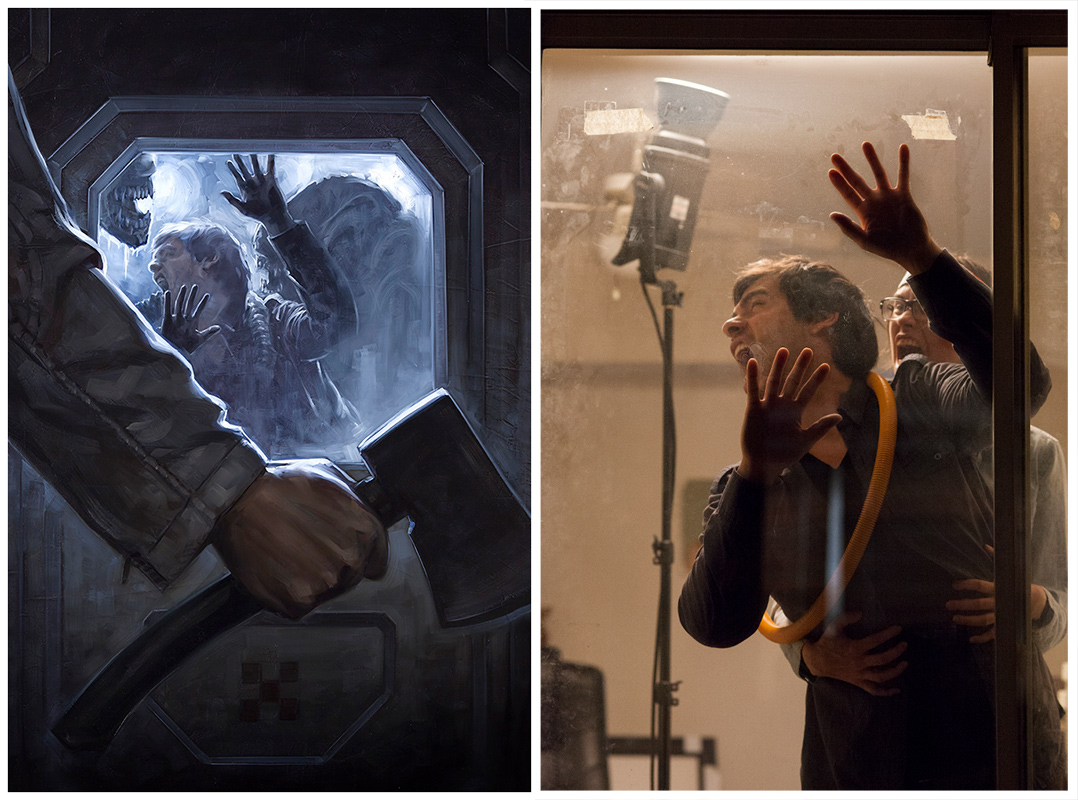
| A big umbrella and a white wall to bounce makes a good set-up for being surrounded by flames |
 |
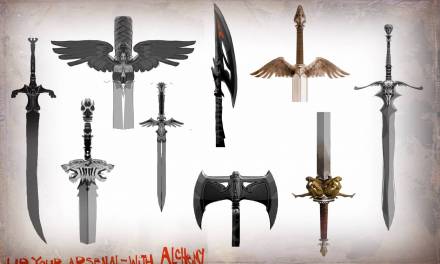
| OK, I just included this one for fun |

Excellent post, Dave. It's always a treat to get to see the behind the scenes stuff for how an image came together, especially in regards to seeing how you deviated from the reference in your final. Thanks!
Very interesting post, thanks for sharing these. I love to see the reference and final image to gether like this. Also thanks for explaining the lighting.
this is a super useful post, thank you!
Thanks all, appreciated!
thanks for the post.
I'm curious on how you get the lighting right on the non human characters that don't have human skin like the alien (aliens-LaD-1) image.
I'm interested in painting human like characters that have different skin materials.
To be honest, I think I was winging it on those just based on past experience. The xenomorphs are very dark and often shinny, so I thought about them mostly as dark shapes and extensions of the shadowy background, then painted in soft highlights and accented those with hard light highlights. Having that hard front lighting made it relatively simple to improvise here (as oppose to a more complicated multi-lighting situation)
I have in other cases used toys and models of the Alien creature for lighting reference. The most important thing though is just practicing painting and understanding different surface materials. How quickly light turns to shadow tells a lot about what the texture is. For example, hard bright highlights that rapidly change to dark make a surface look smoother and shinier than a more gradual and subdued transition. Probably the best way to practice this is to do studies of different types of animals (furry, scaled, slimy, with exoskeletons, light colored, dark colored, etc.) and pay close attention to what marks help achieve what effects.
Awesome post Dave. It's interesting to the transformation from your photo reference to final image. And super cool paintings!
Thank you, David. This interesting and informative.
Can you answer a question for starting illustrators that have a tight budget of $200,00-$250.00?
I’d like to see an article on what lighting set up you recommend for lighting a model for reference. Ive been informed that 2X600 watt for 1200 watts minimum with stands and umbrellas is recommended.