Originally, I’d planned to discuss how I scan, assemble the various scans, and then retouch my artwork. However, the article became unwieldy and I figured I’d cut to the gist and focus on the real meat of article: the retouching. If, however, folks want me to go into the scanning and assembly of my work, I’ll be happy to do so—just let me know in the comments below.
Okay, so here’s the deal: I don’t own a camera that can produce high enough quality images to utilize for reproduction. I do, however, own a scanner. While a lot of folks I know who work in watercolor, gouache and acrylic seem to regularly scan their work with relative ease, some mixed-media processes and oil paints can make for more a more challenging task. The good news is that I’ve developed a process over the years that helps me get my images ready with relative speed and ease. And that’s what I’m going to share with you now.
The Retouchening
One of the big reasons folks advise against scanning oil paintings especially, is that scanners create and pick up specular highlights. These are tiny reflections caused by individual bristles within brushstrokes, dirt and dust trapped in the paint, and sometimes the texture of the substrate’s surface. A properly lit and photographed painting will generally have FAR fewer visible glints—and sometimes none—but a scan will document, every fingerprint, hair, and piece of lint and mark each of these with a tiny reflection of the scanner’s warm, glowing, warming glow. When I talk about “retouching my paintings,” removing these highlights is primarily what I’m talking about.

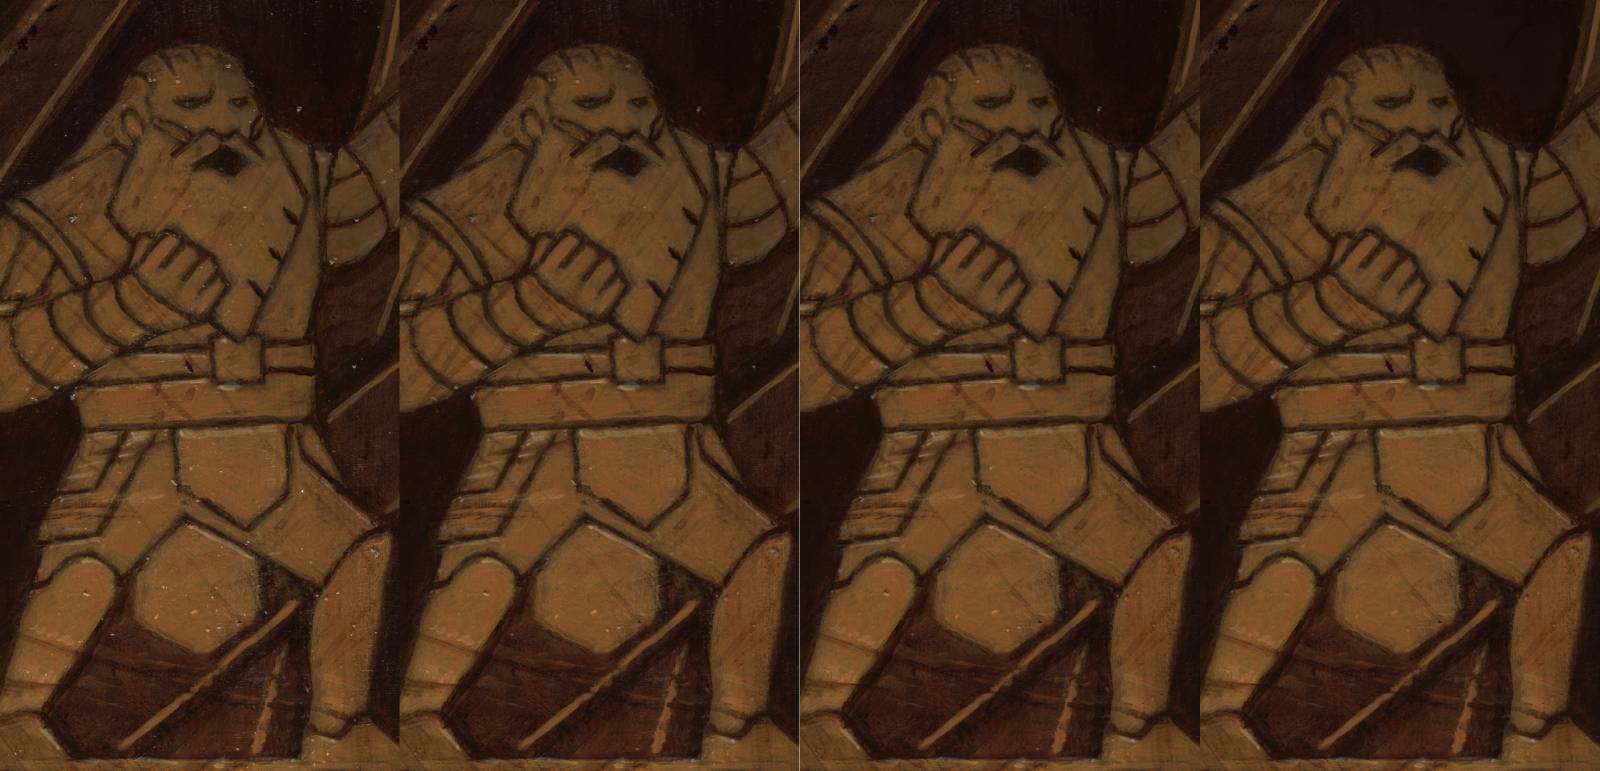
Let’s take this image, zoom in on it, and turn off all the retouching for example…
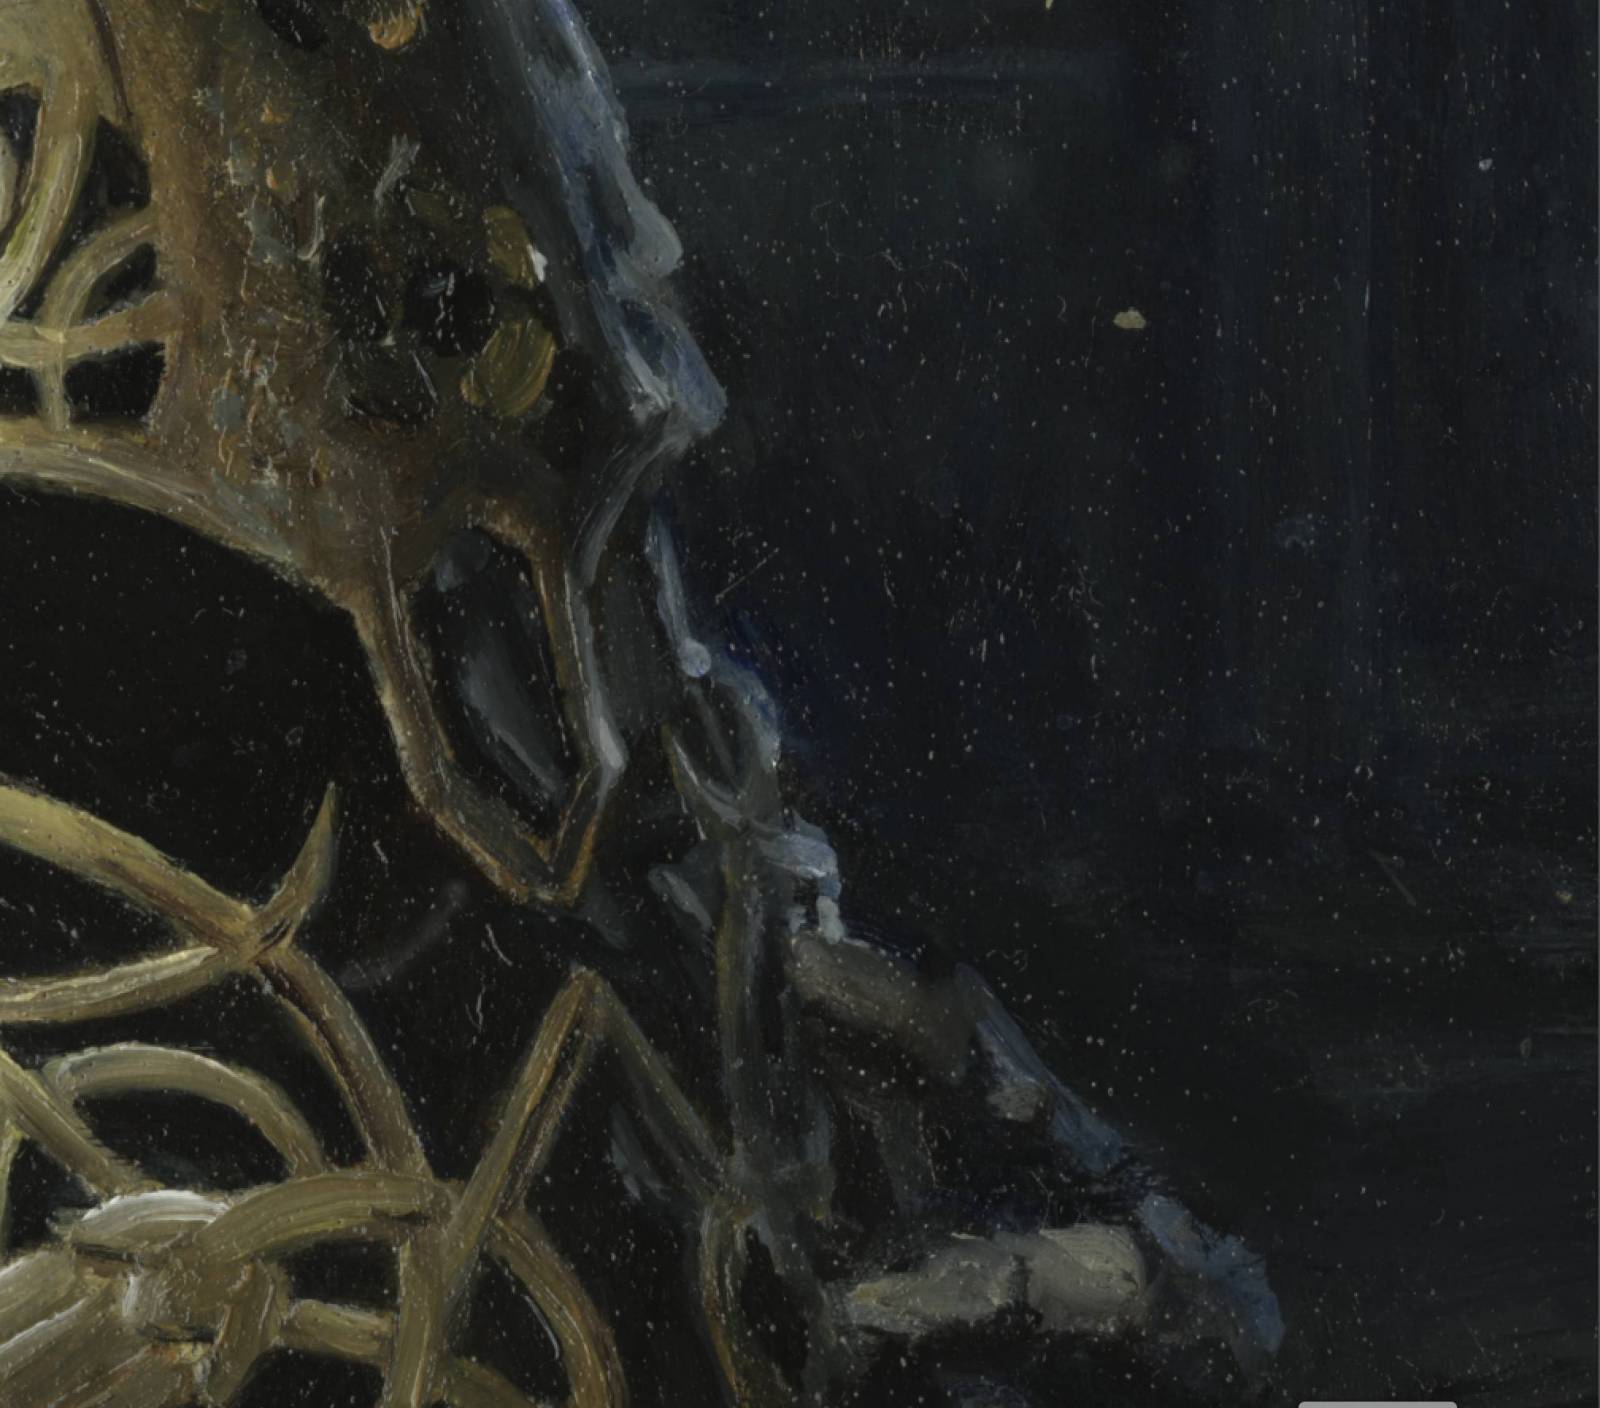
See all those little flecks? The highlights in the paint on the helmet that don’t feel like they belong? Yeah. Specular highlights. All that has to go.
My first step in retouching is to make sure I have all of my various scans aligned and masked properly and assembled into a group of layers. Whether you want to flatten this group is up to you, but I tend to keep them separate—just in case. Now, I take the group of layers (which are my scans), and duplicate it. I then take the new, duplicated group and merge that group down to a single layer. For the sake of clarity, we’ll refer to this layer as “Merged Layer.” Even if I decided to flatten the original group of scans, I’d still create a duplicate of that layer so I could keep the raw information that the original scans contain. I don’t want to lose that and I may need to refer to it or bring some of it forward during the process.
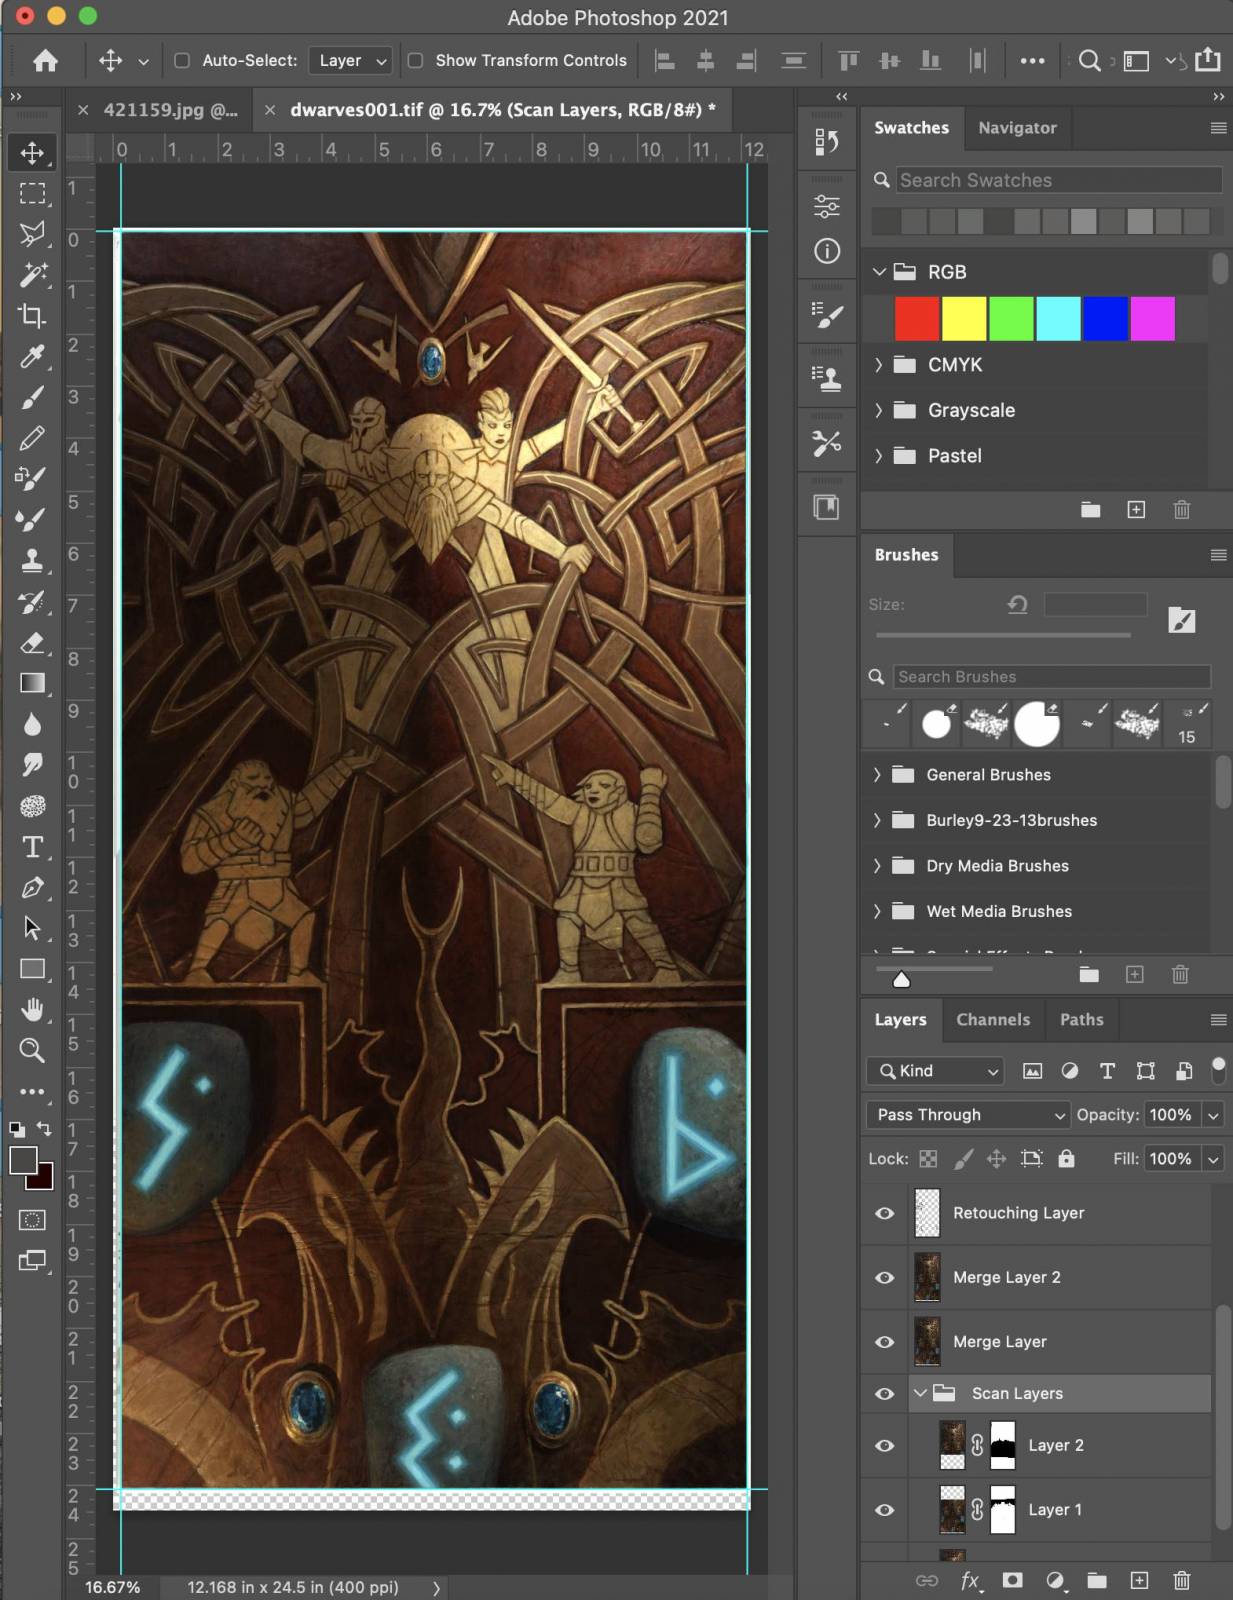
Here’s my setup, complete with labeled layers. I doubt this is useful outside of providing context.
With this newly created, Merged Layer selected, I then apply a Dust and Scratches filter. This can be found by going to Filter>Noise>Dust and Scratches.
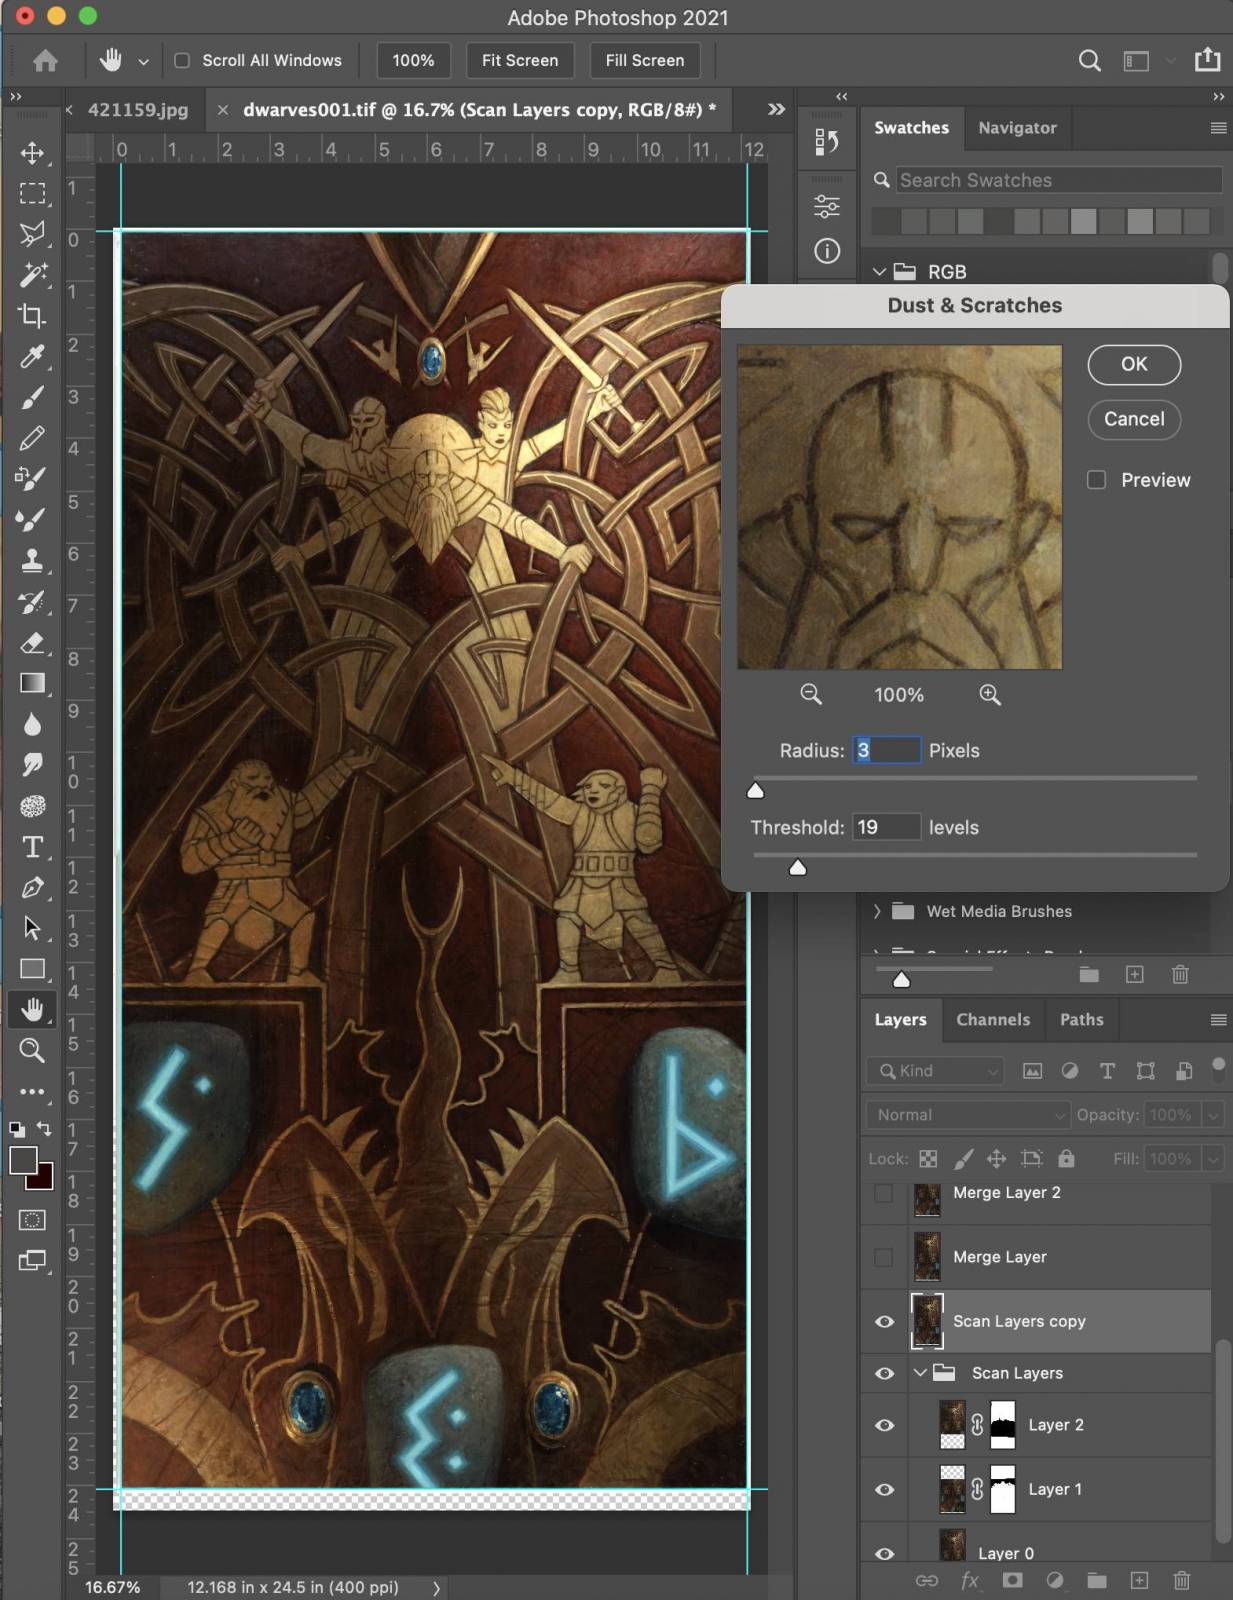
Behold the Dust and Scratches filter window (on the right there, with the stylized bald guy in gold)! Gaze upon its mighty wizard powers as it messes with the image using…math…and stuff.
The Dust and Scratches filter uses some sort of algorithm or wizardry to eliminate dust and scratches within an image. However, its implementation should be handled with care, as a heavy-handed application of the filter results in an image where you can practically taste the algorithm’s presence. When you open the Dust and Scratches filter, you’ll see a preview window, which shows a small part of the image at 100%, a toggle that allows you to turn on and off a preview of the filter’s affects, and two settings in the form of sliders. The first slider is Radius, which basically determines how broadly the affect of dust removal will be. The second setting is Threshold, which basically determines what actually constitutes a speck of dust that the filter needs to remove.
These are weird sentences to write, and even weirder ones to read, so I recommend that folks just open the filter and just mess around with it to actually see how the two sliders affect the image. Remember, too, that the small preview window within the filter’s menu can be dragged around so that you can see various parts of the image and how the filter affects them. Generally speaking, I tend to move the any faces in the image into that preview box because there tends to be a lot of specular highlights in those areas and those areas are also the places that require the most delicate retouching.
As for what I, personally, set the Dust and Scratches filter to, I generally tend to set my radius at no higher than 3. And my threshold tends to be as low as I can tolerate and generally isn’t ever above 19. Figuring out the settings that are right for you is all about retaining a high level of detail, but still getting rid of a majority of those specular highlights—just remember that your level of tolerance for the algorithm’s finger prints may differ from mine.
Once I’ve found a happy place in terms of the Dust and Scratches filter, I apply it to the Merged Layer.
The result of this step may be enough for me to move on to the final round of retouching. But sometimes it’s not. Sometimes additional actions are necessary (this is particularly the case with darker images where the specular highlights are more numerous and more obvious). Should further aNow, at this point I may do several things, and it depends on the image, how well the Dust and Scratches filter performed, and the degree of retouching that image requires.
The first thing I may (and often do), is take the Merged Layer (that I’ve just applied the Dust and Scratches filter to) and turn it into a “darken” layer. Doing this makes Photoshop compare this layer with the other layers below it and anywhere there’s a color discrepancy, it allows whichever color is darker to show through. So why do this? Well, as good as the Dust and Scrathes filter is, it can also mess with minute details (we’re talking bristle marks and weird textural elements). Switching this layer to darken can allow a bit more crispness into those tiny details—especially in the mid-tones and highlights.

In case you’re unfamiliar, this is how you change the layer into a Darken layer. I’m sure everyone reading this is rolling their eyes at me, but it never hurts to be thorough.
If the Merged Layer is insufficient in getting rid of all the weird highlights and brush stroke reflections, the second thing I might do is take the additional step of duplicating that darken layer—we’ll call this new layer “Merged Layer 2″—and then zooming in to at least 100%. I will then select the Move tool and using the arrow keys, I will nudge Merged Layer 2 to the left or the right by a single pixel. That’s one key tap. Seriously. This is a move you do NOT want to overdo. A single pixel is really all you need.
What this essentially does is even out the piece overall, and it can often make the really subtle scratches and glints disappear altogether.
“But Steve,” you might say, “that will soften the image.” And you’d be right. It does. But if you’ve got a 600 dpi image and you soften it by a single pixel, what exactly are you losing? Again. You’re tolerance may be different than mine. However, I want to point out that the majority of specular highlights appear in mid-tone and dark areas. I can eliminate much of the softness this step causes by creating a layer mask and masking out everything that doesn’t need that extra bit of darkening. By doing that, I typically get the crispness I need where I need it, but I get a lot less noise in the darks where I don’t want it.
Regardless, when I create these darken layers, I always take the time to zoom in to the piece (again 100% at least) and scan back and forth over the piece, turning the Merged Layers off and on repeatedly to make sure that I haven’t haven’t retouched anything that was intentional (I usually keep the original painting next to me for direct comparison). I find that sometimes glints I intentionally painted in are mistaken for highlights or scratches, and so in those cases, I create a layer mask (if one isn’t already created) and mask out any areas where the filter and layers have countered my intentions.
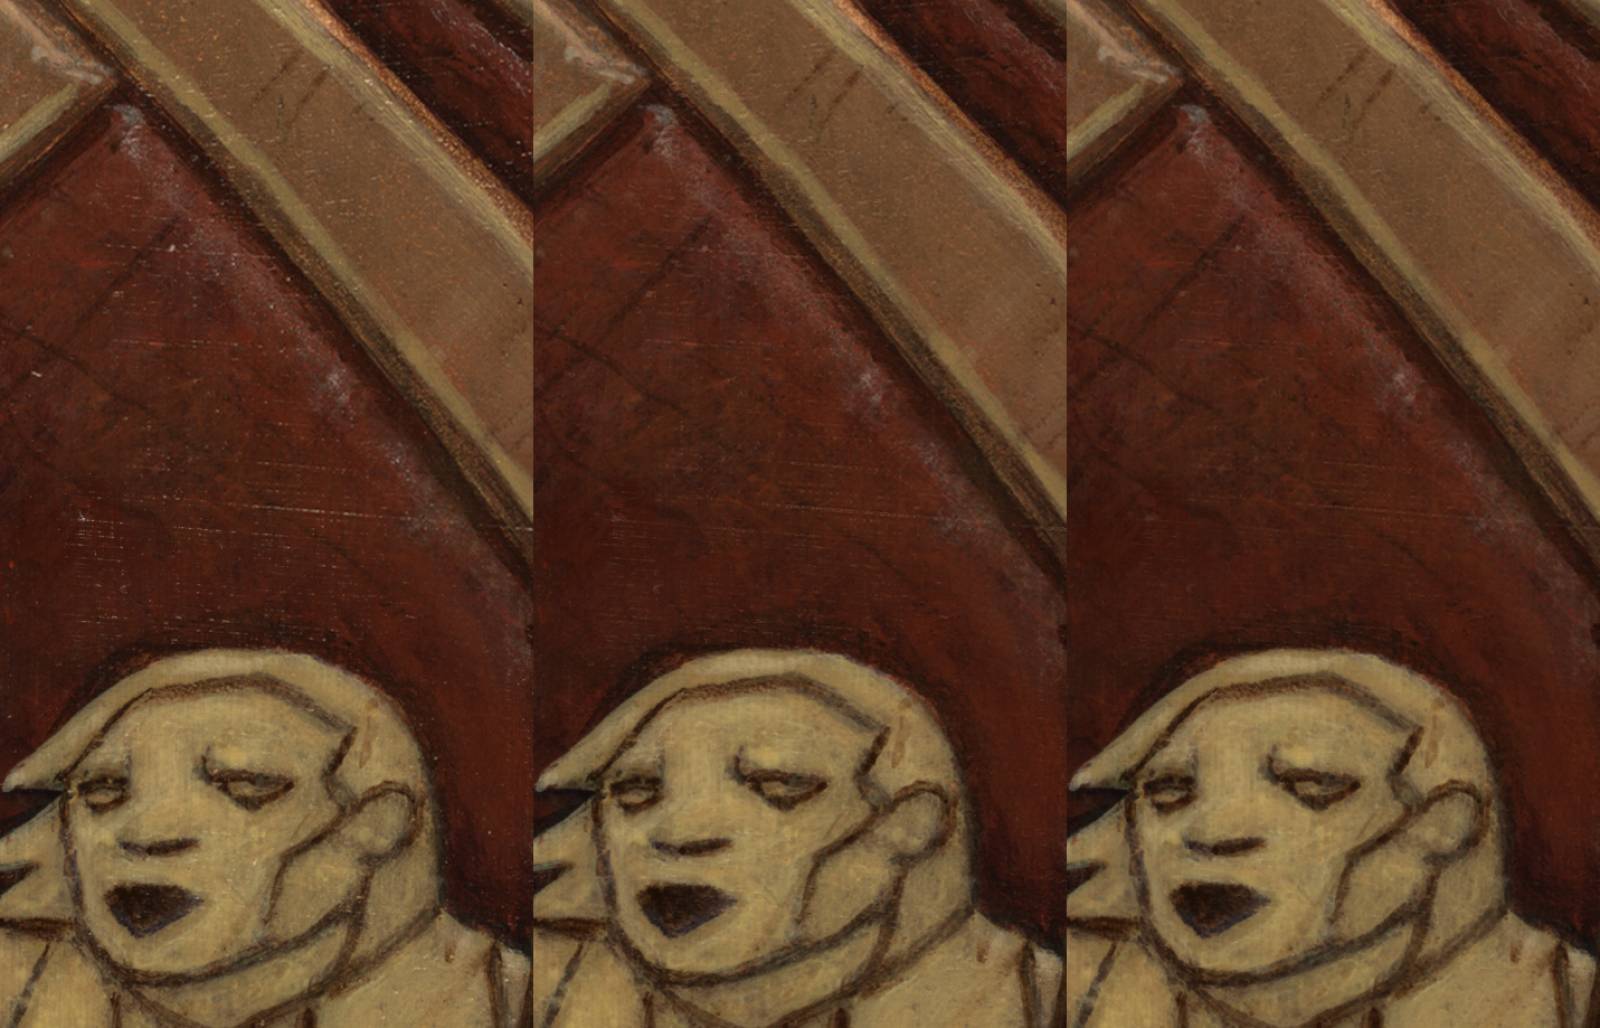
Here’s a closeup of a part of image in my Photoshop setup above. On the left is the raw scan. The center is with a Darken Dust and Scratches Layer applied. On the right is with a second Darken Dust and Scratches Layer applied nudged one pixel to the right. Notice how the streaks in the center all but disappear while still retaining a good degree of detail and sharpness.
Once I’m satisfied with these layers, I move on to the next step, which is to create a new layer. This new layer should be a normal layer, and it is on this layer that I do my final pass of retouching. We’ll call this one “Retouch Layer.”
Now, despite the amazing job that the Dust and scratches filter does, there will invariably be additional things that need retouching. And for these things, I select the Retouch Layer, zoom in to at least 100% and start at the top left corner of the painting. I then take either the Clone Stamp or the Healing tool (or a little of both), and begin retouching anything else that needs it.
For the sake of clarity, the Clone Stamp actively clones a selected area of an image. So it’s actually recreating another area to cover up the area you want to retouch. I typically set the clone stamp to 85% opacity in order to avoid obviously duplicated areas. Mind you, I’m typically using a brush that is only about 20 pixels wide (remember, we’re talking images that are 400-600dpi), so I’m working very small to begin with. Still, I am constantly sampling and layering my marks in order to disguise them.
The Healing Tool, on the other hand, preserves the lights and darks within the area you’re applying it to (so it kind of keeps the texture already present), and automatically blends the information from the source to your target area. The Healing Tool can be a bit subtler, which is nice, but there are occasions where I take issue with the what it ends up doing. I tend to work mostly with the Clone Stamp as I can more easily predict the results.
Anyway, using these tools, I methodically scan back and forth over the piece retouching and saving as I go, until I’ve gone over the whole piece.
Usually by the time I get to this step, there is relatively little to retouch, so it doesn’t take especially long. But there was a time that this was the only step I took to retouch my work and l can tell you that it was painstaking and incredibly time consuming. Fortunately, the Dust and Scratches filter has come a long way, and also I’ve gotten to know Photoshop a bit better, as well.
Let’s look at some more examples using various combinations of the steps I’ve described above:
On the far left is the raw scan. Second from left is with the single Darken Dust and Scratches layer applied. Second from right is with the second Darken Dust and Scratches layer applied nudged one pixel to the right. The far right is after a retouching pass with the Clone Stamp tool.
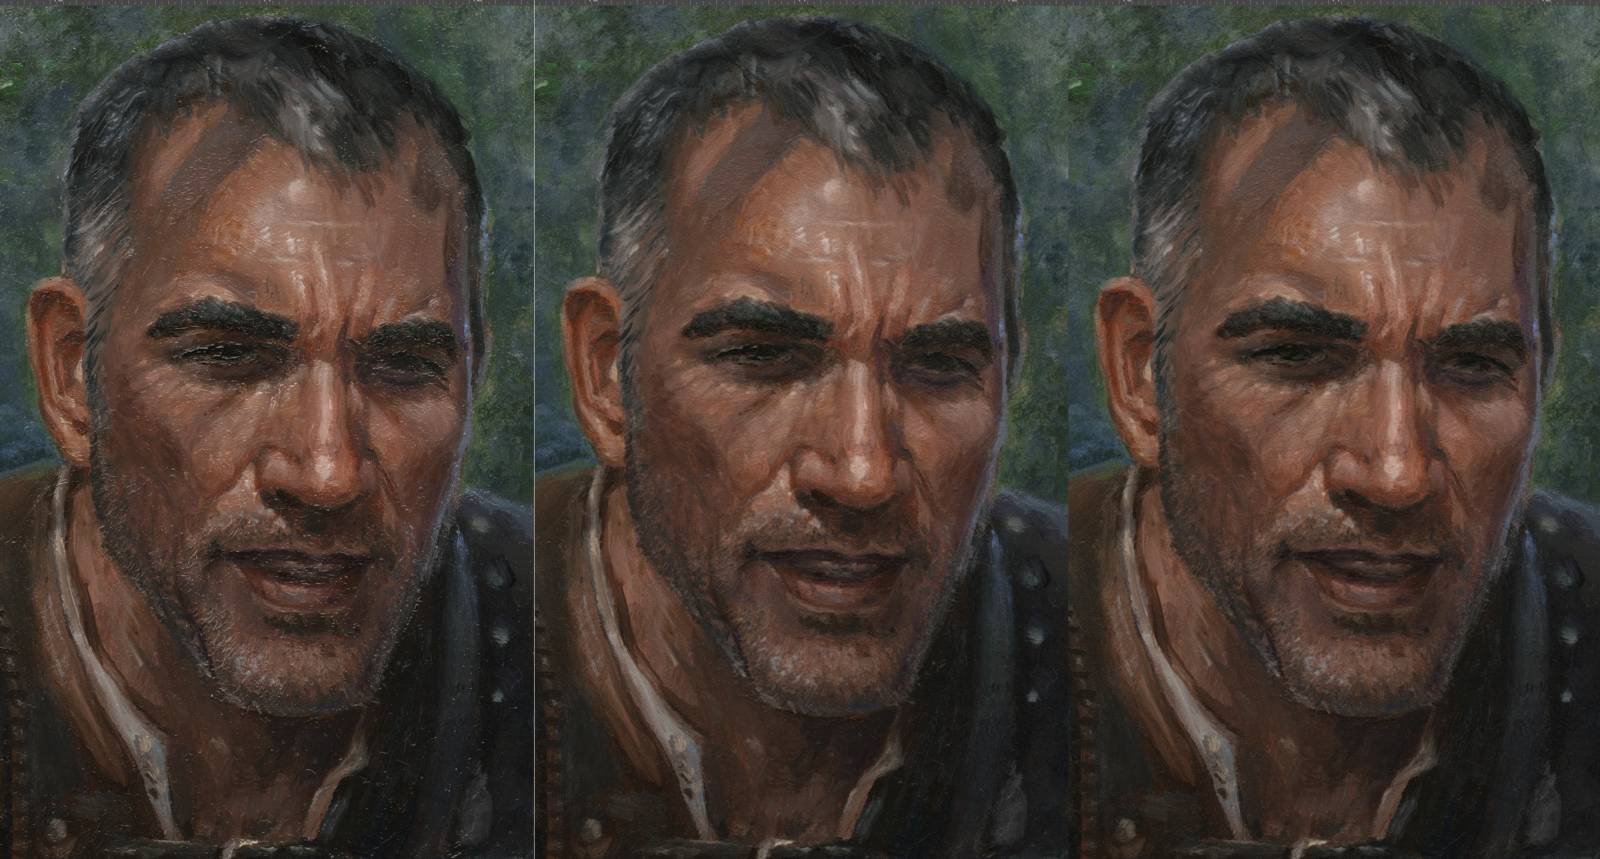
On the left is the raw scan, in the middle is with a single Darken Dust and Scratches Layer applied, and on the right is after being retouched with the Clone Stamp tool.
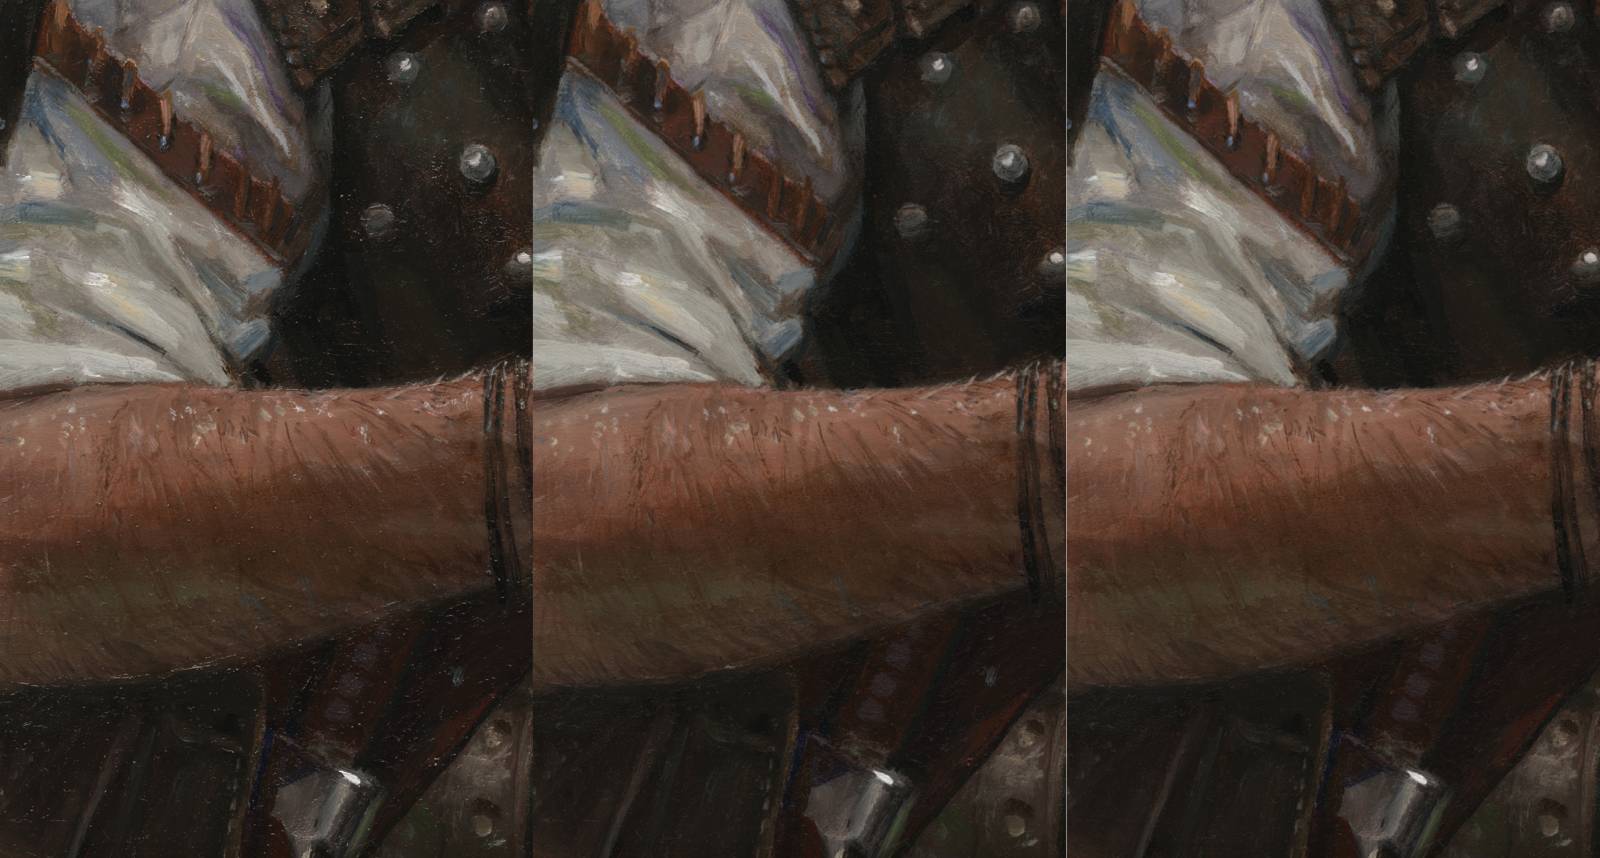
As above, on the let is the raw scan, in the middle is with a single Darken Dust and Scratches layer applied, and at right is after the final Clone Stamp pass.
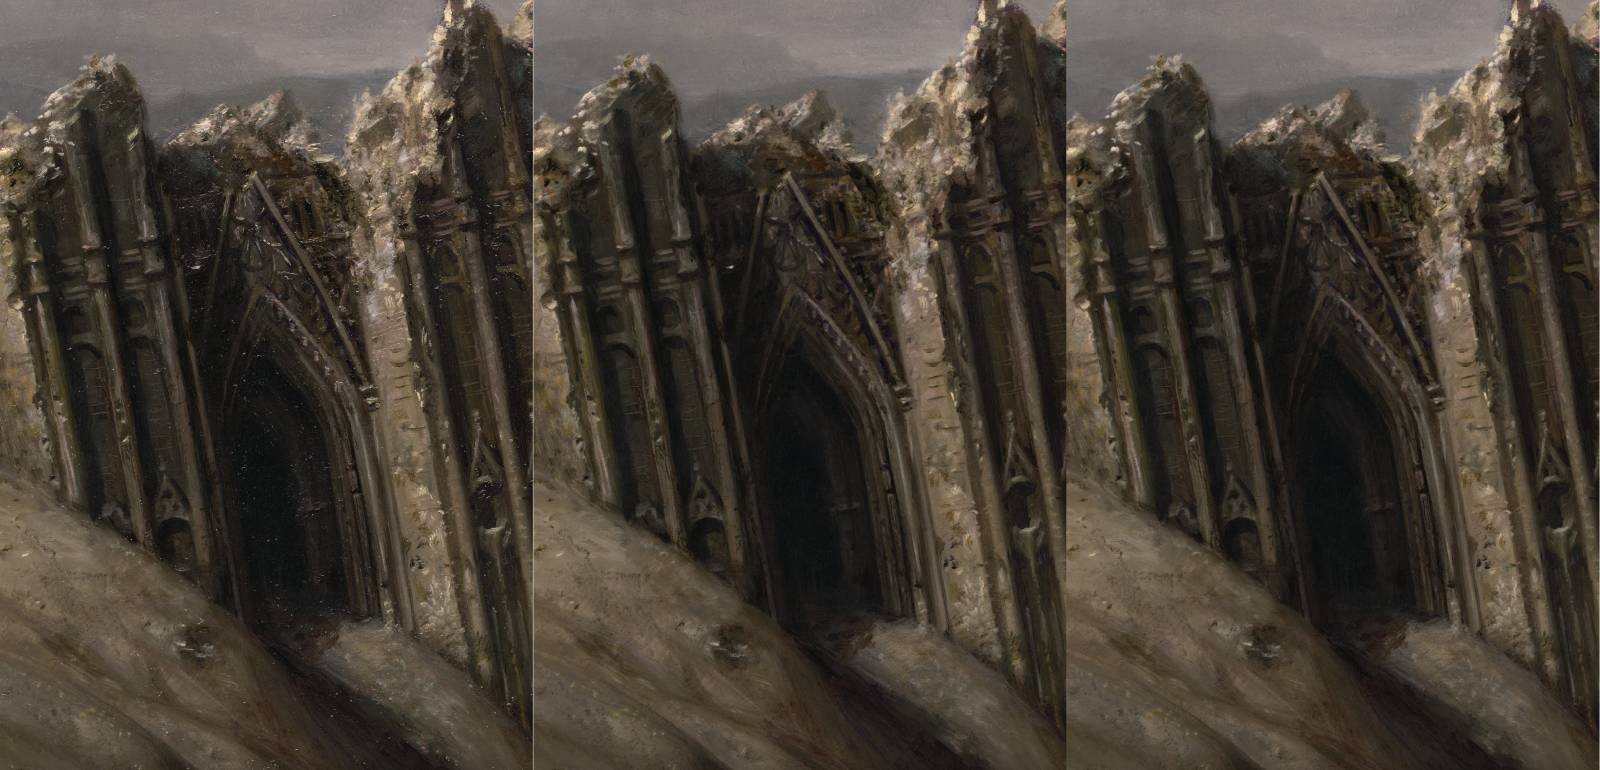
And once again, the raw scan on the left, the Dust and Scratches Layer in the middle, and the final Clone Stamp pass on the right.
As I said above, it’s been my experience that watercolor, gouache and acrylic don’t typically need as much retouching. But I still end up doing a once over with the clone stamp to get rid of tiny hares or bits of fuzz that aren’t part of the image. There have been times that specular highlights have been an issue with work I’ve done in acrylic, but I’d say that it wasn’t nearly as big an issue as with work done in oils.
Color Commentary
Anyway, once I’m finished with this last pass, I move onto color correction. And that, my friends, is a whole other ball of wax and is something that I’m probably not the right guy to talk to about. Sure, I have developed my own means of correcting the color in my paintings over the years, but there are probably better ways of doing it. Suffice it to say that my process mostly involves adding multiple Levels layers with whatever masking is necessary, as well as at least one Hue/Saturation layer (again, with any necessary masking). But I’m far from an expert. And I’m not always right. There have been many times that I have had to recorrect the color on my work months after the fact because I didn’t get it quite right the first time around. I wasn’t criminally wrong, mind you. But I try to be as exact as possible, and don’t always manage to be as exact as I’d like the first time around.
Still, I’ve gotten better.
Files Upon Files
Generally speaking, I save the layered version of my files, and I keep them. It sounds like a colossal waste of space, but I’ve been surprised by how many times I’ve needed to go back to these files over the years, and I’ve been relieved that I’ve kept them every time. I tend to get rid of my raw scans because those exist as individual layers (albeit with layer masks) within the layered files. However, I don’t bother submitting these layered files because they’re unwieldy and large. I create a flattened copy and submit that instead.
Whether you bother keeping layered files is, of course, up to you. I’ve found it useful over the years, but I can’t guarantee that you will. Maybe it’s the kind of thing where you keep the layered versions around for a year or two and then chuck them after that. I trust that everyone reading this will do what’s right for them.
The End…At Last
So there you have it. My process for scanning and retouching my work. I’m sure there are folks out there with a much deeper knowledge of Photoshop and who have their own techniques using completely different tools. If you’ve got a tip, please don’t hesitate to share it in the comments below. I’m sure there’s more than one person who’d love to read about it. And again, if you want to read about how I scan and digitally assemble my work, please post that in the comments, as well.
Until next time…


Great post, I for one would be interested in how you digitally reassemble your work.
Considering that I have it pretty much written already, feels like the thing to do is go ahead and write that one next. Thanks for the interest!
Great article! Retouching simply requires an in-depth walkthrough such as this. Reproduction is just less painful if the amount of care taken on this step equals that of the actual creation process.
What scanner / size do you use?
There might be one final step that could be beneficial: Reduce Noise Filter
Switch everything off or dial down to zero, except the ‘Reduce Colour Noise’ feature. This will reduce the colour fidelity a tiny bit (usually not visible to the human eye, unless overused), but will also reduce those tiny spikes in colour (often seen in digital photography and sometimes scans).
Thanks for sharing your process!
Interesting. I’ve never used that filter and I’m definitely going to play around with it next time I have a piece to retouch.
As for the scanner, I’ll get into that in depth in the next article (which I’m now definitely going to write). But it’s a large scanner. Epson. It scans something like 12.5 inches x 17.5 inches or something. I don’t remember exactly off the top of my head, I just know that anything 12×16 or smaller can be scanned with a single pass.
Very interesting! I’m looking forward to trying out this method because it seems a bit more efficient than what I do. I’m also going to try the Reduce Noise filter mentioned above. But I’d definitely like to hear more about scanning and assembling, because that’s basically the bane of my existence. Thanks for this!
this is very great advice. I would usually take the scan and just use 3 hours cloning out all the specks in an OCD way. When you write your next article, I’m curious if this is an issue for me. I find that my scanner is not 100% proportional. I.E. I need to slightly stretch horizontally scanned images to match the same image scanned vertically. I tend to overlap the scanned areas, as my bed has a lip and it creates shadows near the edges where the art does not actually touch the scanner glass. If i have a 16 x 20 piece, I’d scan in 8 slices and (again) use all my OCD powers to assemble it over several hours. Seems like you may do it better
Fantastic, thank you!