
After my post in March on Applying Transparent Color in Photoshop, I received a number of messages, emails and threats asking for more detail on the order of layers I prefer to use. As I mentioned in that post, I often end up working in hundreds of layers so a list of this would read like a phone book of seemingly random Photoshop gibberish. And listen, I need my layers! Partly because I love the look it gives, and partly to see my computer slowly going insane. (It’s a cutting edge space age device that can speak every language on the planet, can see people fixing mirrors in low earth orbit and can do math at the quantum level; yet all I have it do is look at videos of cats falling in bathtubs.)
Back to layers: I use a lot. Too many some might say. But a number of people asked if I would give a basic order of layers to work from, which is what I will be doing briefly today.
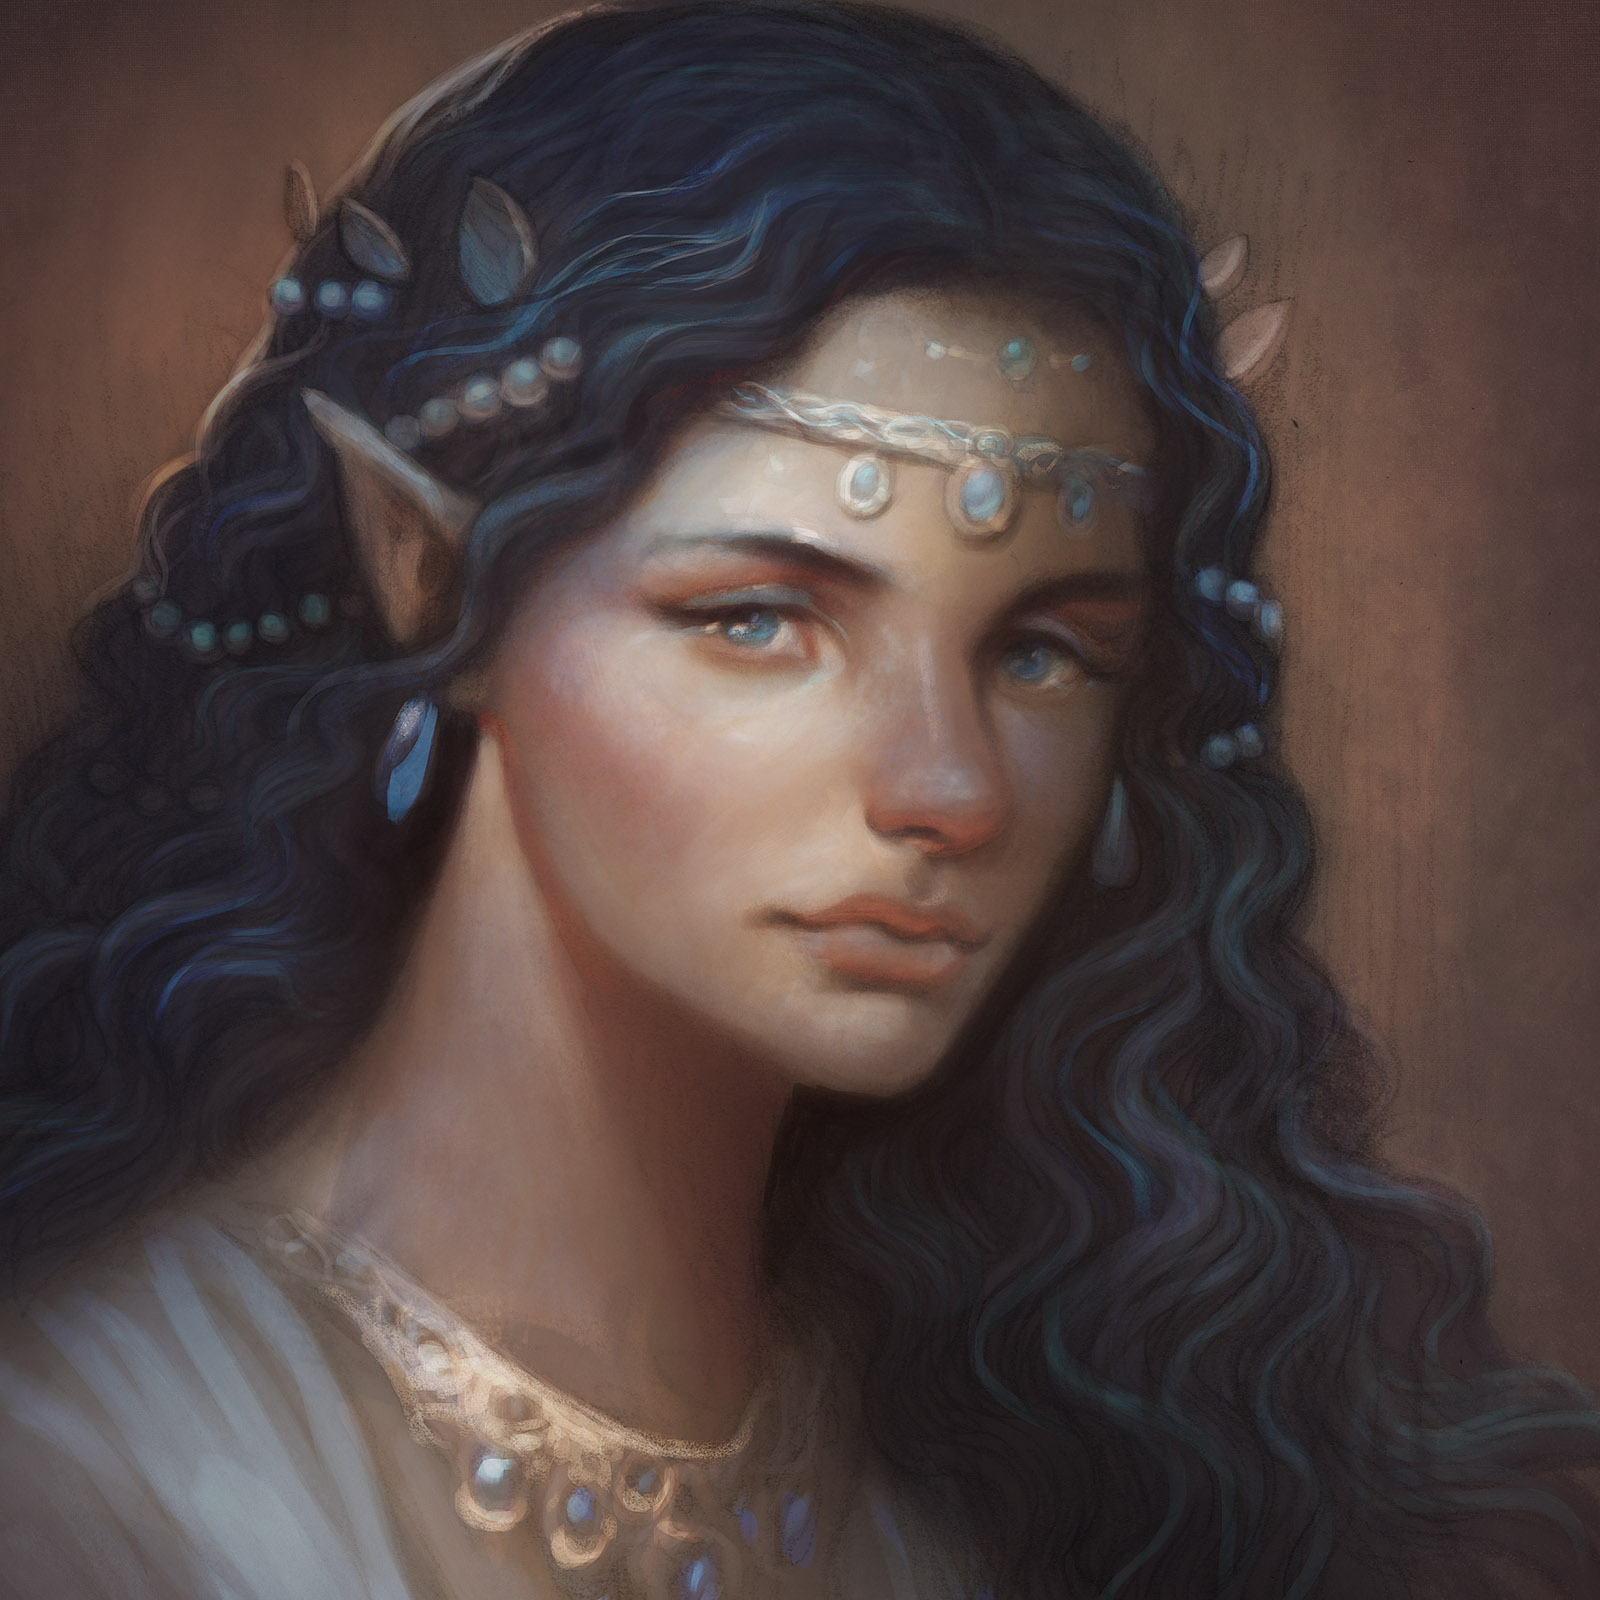
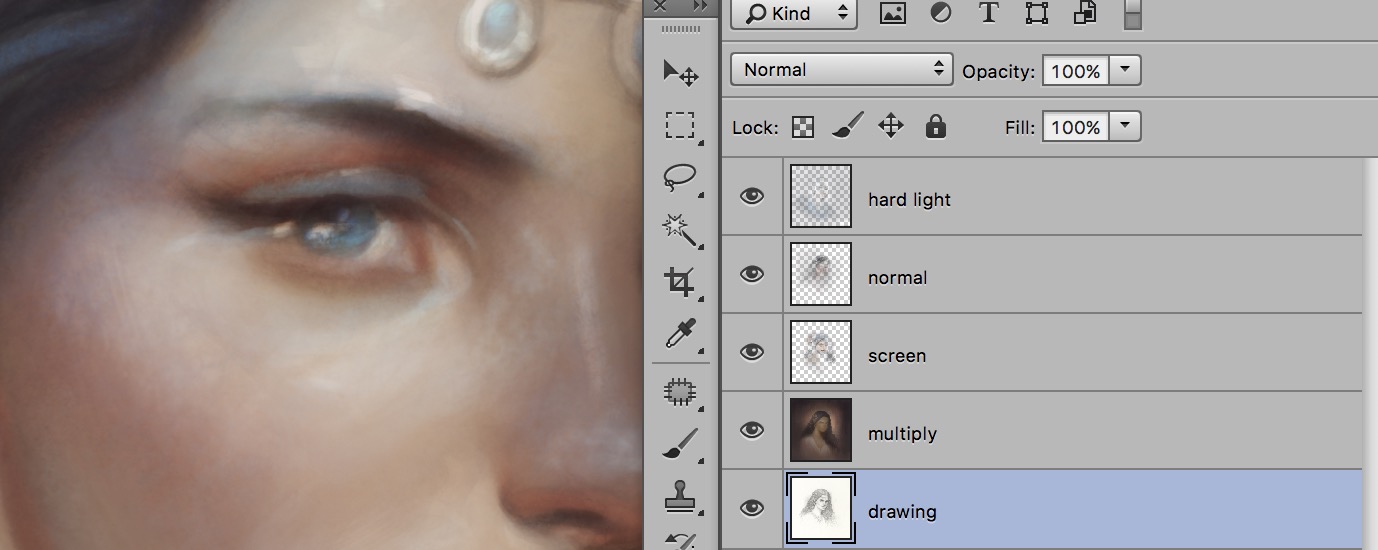
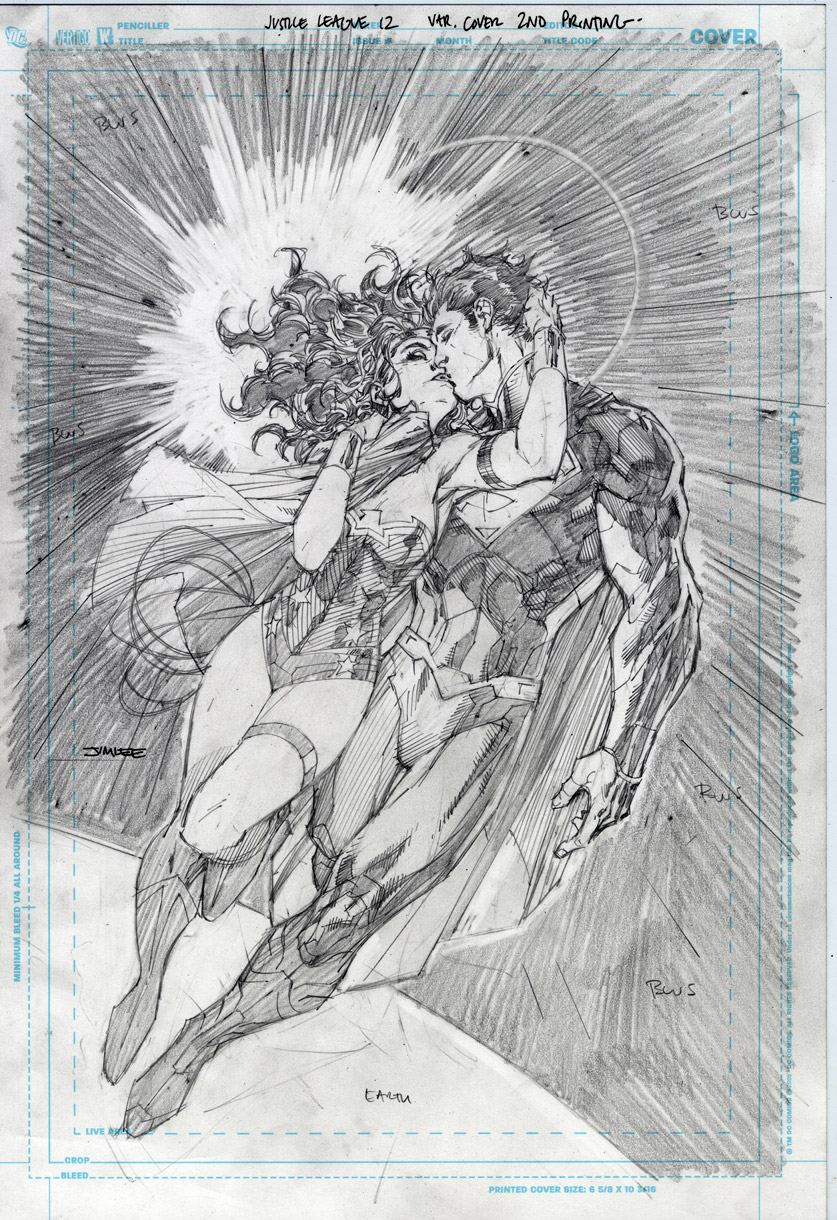
When I work I tend to find this basic arrangement of layers that can get good, reliable results when worked over a solid drawing:
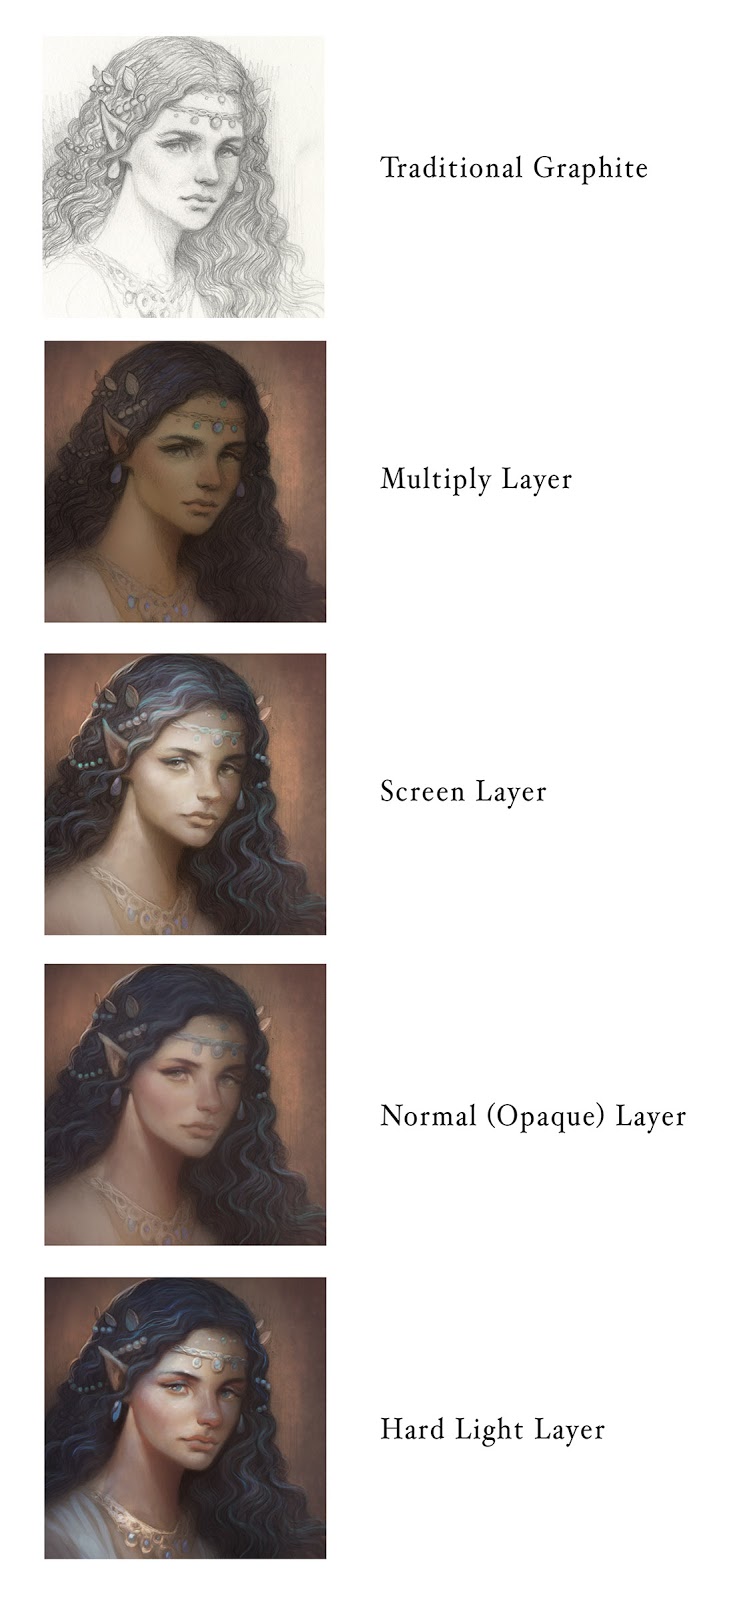
Multiply is excellent for laying in a foundation of tone and color temperature. Screen is a very controllable way of laying in both details and lighting effects. At some point you will need to pull back stray textures and lines that no longer seem helpful. Painting with semi-opaque brushes on a normal layer is often the fastest and simplest way to achieve this. And finally, you need to hit final colors. Hard Light is a tricky-to-use but extremely versatile layer mode that saturates color and pushes its contrast. When set to a bright color in a low-opacity brush you can slowly build up to a really strong color while still retaining your forms. If Hard Light seems a bit scary, try working on a Color layer instead.
And for the sake of this little demo I used only Photoshop’s most basic chalk brush (which you can do a surprising amount with!). So even if you don’t have any fancy textured brushes to work from, you should be able to get fine results with them. Just remember to turn down the flow and opacity to 50% or less for rendering.
Thanks for stopping by! If there is a subject or technique you’d like me to cover in a future post please let me know in the comments below.

Awesome, thanks for sharing!
‘cats falling in bathtubs’ … thanks as well for a new search criteria 😉
Great process! I find it hard to achieve believable color only with transparent layers, so usually add normal layer over top to give more variaton in colors.
Thanks for sharing this Justin, and the earlier “Applying Transparent Colors in Photoshop”. My one question is it appears that you always leave the brush set to “normal” mode and just play with opacity and flow (and any other brush settings). The layer, and it’s mode that you’ve set it to accounts for the attributes your talking about here. Am I understanding that correctly?
Thanks for sharing this Justin. Very helpful and informative.
This was very informative, thanks for sharing!
At least three new tricks for me to use, here–thanks, Justin! Delightful and droll article, as usual.
Maybe being forced to watch cats falling into bathtubs will keep them from achieving singularity? We should all do our part, just in case…
Great write-up, I am a big believer in commenting on blogs to inform the blog writers know that they’ve added something worthwhile to the world wide web!..
Very good points you wrote here..Great stuff. I think you’ve made some truly interesting points. Keep up the good work.
Thanks for taking the time to discuss this, I feel strongly that love and read more on this topic.
I am happy to find your distinguished way of writing the post. Now you make it easy for me to understand and implement the concept. Thank you for the post.
I have read a few of the articles on your website now, and I really like your style of blogging.
Thanks for taking the time to discuss this, I feel strongly about it and love learning more on this topic. If possible, as you gain expertise, would you mind updating your blog with extra information? It is extremely helpful for me.
Its a great pleasure reading your post.Its full of information I am looking for and I love to post a comment that “The content of your post is awesome” Great work.
thanks this is good blog.
I really enjoy the theme of the blog thanks>>
Wow, this is super helpful! Thank you for breaking down the layer process so clearly. I’ve always been intimidated by Hard Light, but your explanation makes me want to give it another shot! 😊
I enjoy and like your blogs.
I really like your style of blogging.
Thanks for this amazing blog.
Thanks for this amazing blog. yeah i am really amaze to see the details