 |
|
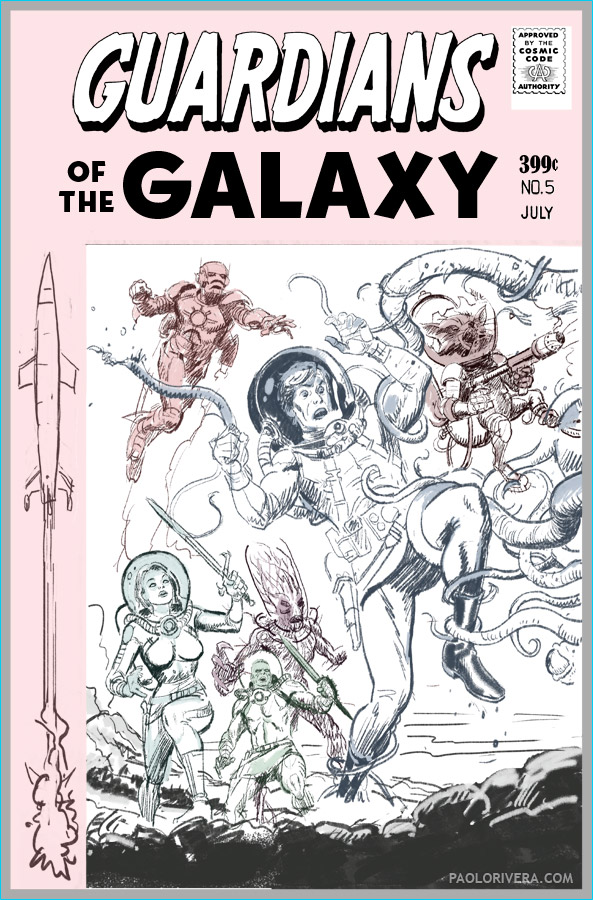
Guardians of the Galaxy #5 Variant Cover. 2013.
Digital sketch. Final Artwork
|
If you’ve ever seen the Brushes palette, then you know it can be pretty daunting. I keep it open at all times so I can always see the stroke of the brush I’m using and the criteria that govern its behavior. There’s no easy way to learn what all the parameters do, so experimentation is key. Among the many options, Dual Brush is a nice feature that provides another level of texture and richness, but I find that it sometimes slows down my computer. If and when that happens, I just turn it off — a lagging cursor defeats the purpose of drawing on screen.
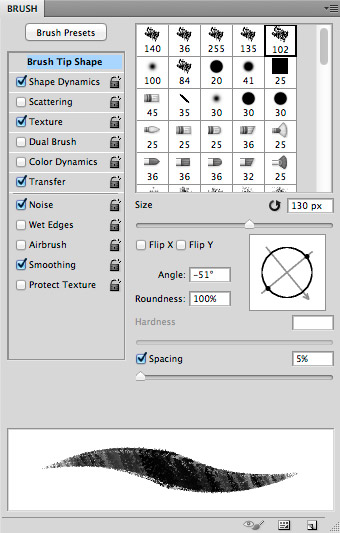 |
| The Brushes Palette |
At their heart, digital strokes are nothing more than a stamp that is repeated at a level that approaches fluid motion. One way to counteract a “stamped” or “patterned” look is to play with the Jitter sliders for each variable. I will often set the Angle Jitter to 60% so that the “stamp” will automatically rotate as I draw. You can do the same with opacity and diameter, or tie them to pen pressure for complete control. The more you use them, the sooner you’ll discover your favorites (much like real painting).
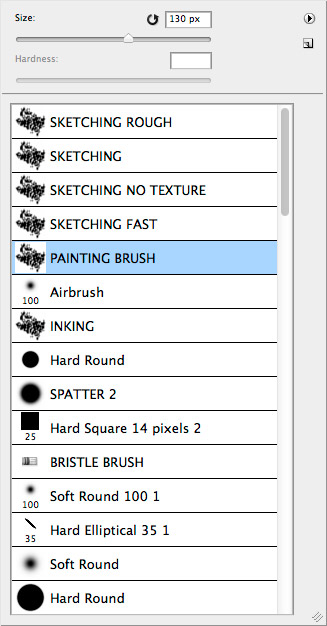 |
| Brush Presets |
When you do find something worthy, save it as a Brush Preset — they’re the key to a facile drawing and painting experience. I have all my favorite brushes at the top of the list, which is available by right-clicking (or Control clicking) while using the Brush, Pencil, or Eraser tools. I sometimes save them without the Shape Dynamics checked so I can toggle it on and off in the Options bar. This makes it easier to draw fixed-width straight lines by shift-clicking.
 |
|
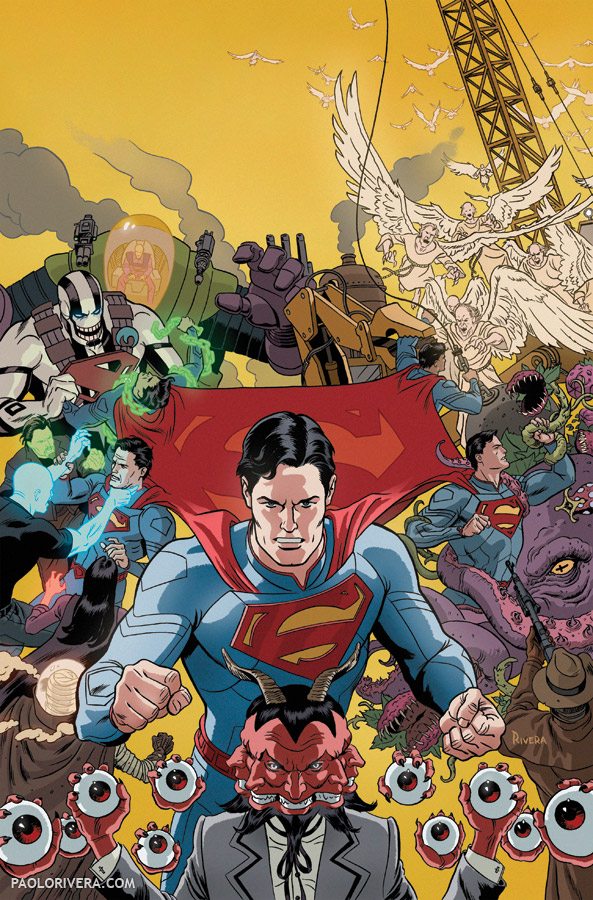
The Occultist #1 Variant Cover. 2013.
Photoshop, 7 × 10.5″ @400ppi.
|
While some of the parameters overlap, Tool Presets are different from Brush Presets. They appear in their own palette and can be saved with the current painting mode intact, which is perfect for “special effects.” Painting modes feature the same names as Layer Modes and behave in much the same way, only they do their magic as you work, as opposed to being applied universally across a layer. I have brushes saved to Darken (only affects lighter colors), Screen (great for glowing effects), Color (shifts hue and saturation without altering brightness), and Dissolve (gives the airbrush tool a speckled appearance).
 |
| The airbrushed effect is courtesy of my “Dissolve” brush. |
The easiest way to change brush size is to hold down Control and Option on the keyboard while dragging the pen left or right. Dragging up and down modifies the hardness. As you move, a brush tip preview will transform accordingly. This is probably the single most important keyboard shortcut — I simply can’t draw without it.
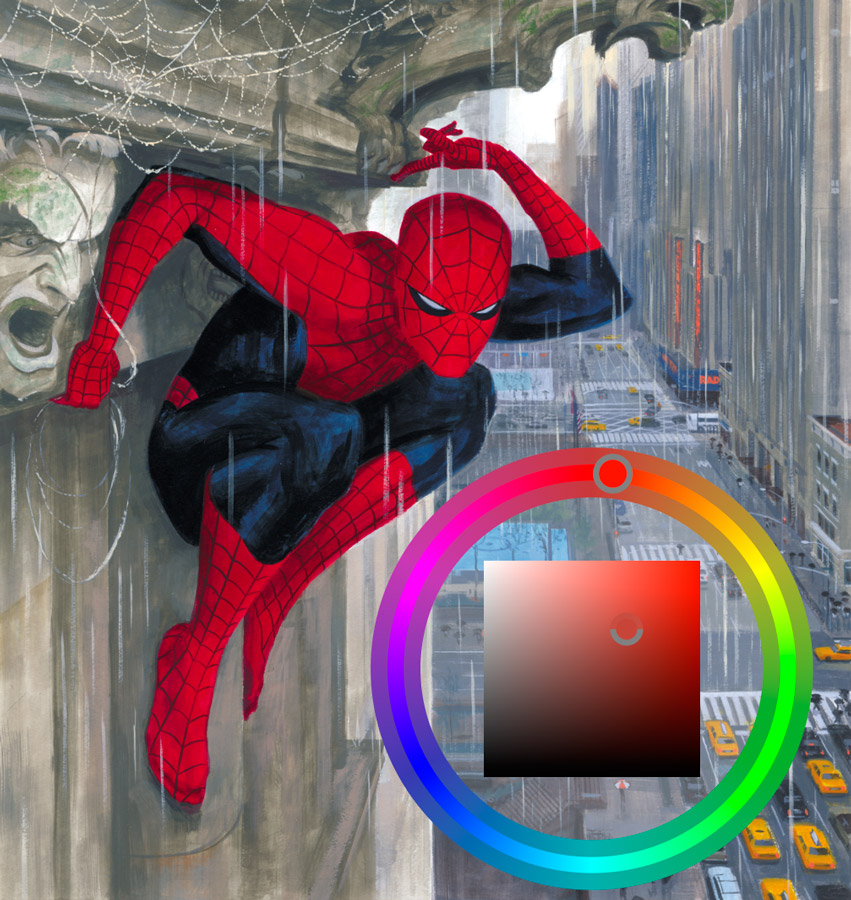 |
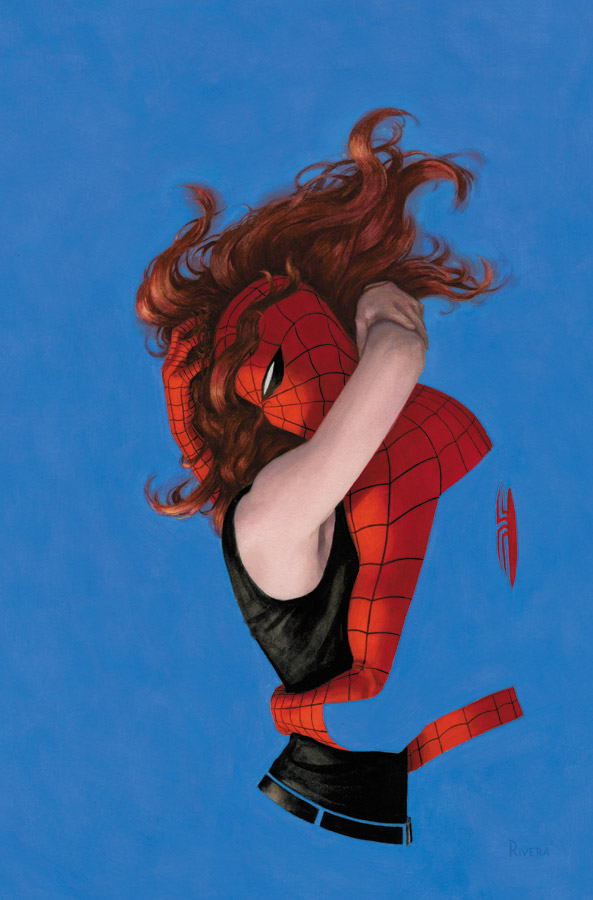
| The HUD Color Picker (and Spider-Man) |
If you hold Control, Option, and Command while clicking, the Heads-Up Display (HUD) Color Picker will appear, making color selection easier than ever. But if all that seems too complicated (or you’re left-handed), you can assign those same keys to a single Cintiq button. (You can also use the pen’s eraser as I detailed in a previous post — I never used it for its intended purpose, anyway.)
Everyone should be familiar with using the Space Bar to bring up the Hand tool — it’s essential for navigating around your artwork. Basically, my left hand never leaves that area of the keyboard: The Space Bar, Shift, Control, Option, and Command, whether alone or in concert, are constantly being used.
 |
|
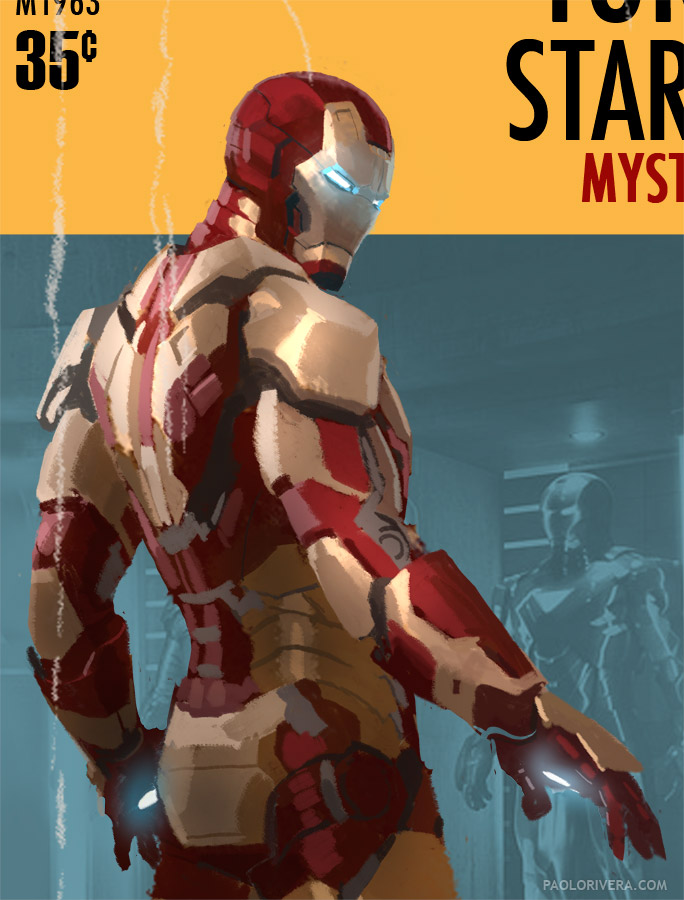
Iron Man 3. 2013. Digital Sketch.
|
Under Photoshop Preferences, you can choose what type of cursors you like. I prefer Precise ones for the painting tools (a crosshair) and Standard ones for everything else (tiny icons of the current tool). If I want to see the exact shape of the brush I’m using, I can always press Caps Lock to bring it up.
 |
| Felt Nibs from Wacom |
Finally, you should pay special attention to the act of drawing itself. Since I like a bit of resistance while I draw, I use the felt nibs that come with the pen (I can’t even use the plastic ones). I’ve tried the rubber-tipped nibs as well — they’ve got a great feel, but for as much as I draw, they wear out far too quickly.
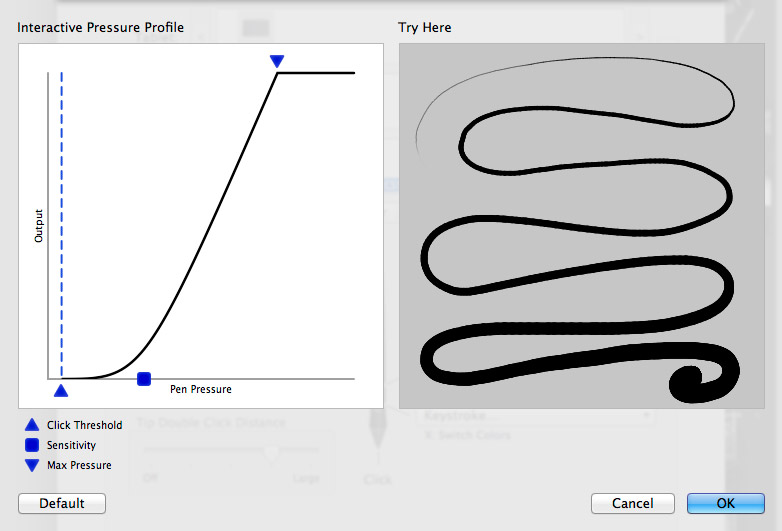 |
| The Interactive Pressure Profile |
The pen’s pressure sensitivity can be customized as well, and it’s well worth experimenting to achieve the desired response. The quickest way is to choose your preference along a scale of Soft to Firm, but if you click the Customize button, you’ll see a graph that displays the Interactive Pressure Profile. The graph that is displayed represents the ratio of pressure to output. There’s even a space at the right where you can test the results.
Because drawing against mild resistance facilitates hand control, I move the Click Threshold slightly to the right. This means that the pen won’t register a stroke until that pressure is met. On the other hand, if I were to use the full pressure that the pen is capable of, my hand would quickly fatigue. To combat this, I set the Max Pressure a quarter of the way to the left, so I never have to press that hard to get the full range of sizes from my brush.
The blue square represents Sensitivity. By dragging it around, you can alter the curve of the graph. Moving the square to the right makes it concave, the result being that low pressures yield low sensitivity while high pressures yield the opposite. If I’m pressing that hard against the pen, chances are I just want the brush to get as large (or as opaque) as possible.
 |
| SmudgeGuard |
That wraps up my in-depth look at the Cintiq 13HD. If you have any other questions — or great tips of your own — feel free to comment. But before I let you go, I wanted to mention SmudgeGuard, which is the perfect companion for any tablet or Cintiq. It keeps the screen clean and allows the hand to glide freely over the surface (I sometimes even use it in the analog world).

Paolo, this is great stuff. Very informative and useful. What a great series. It took a lot to put it together; thanks very much for putting it together.
Thanks for taking the time to write out all these tips, Paulo. I'd like to get a Cintiq some day, but my Intuos 4 has been serving me pretty well. I really dislike the plastic nibs as well. I actually tape a piece of paper onto my Intuos in order to simulate the feeling of drawing on actual paper. It works great. I recommend any Intuos user to give it a shot. Just a regular piece of thin printer paper…
Thanks a lot for writing these! I had no idea you could adjust the minimum pressure a stylus can register, that's going to save me quite a bit of headache in the future. Those felt nibs sound great too, I've just been using the plastic one on my ancient tablet. I've been able to get decent results, but a greater degree of control would really be awesome.
Thank you so much for these Cintiq tips! I bought one recently and am totally intimidated by it. This should help me tame the monster.
I use to use the same trick! I had 2 Wacom tablets before I upgraded to the Cintiq last year.
Glad to hear you all found it helpful! I didn't originally intend to do 3 posts on it, but I realized there were many little details that could be useful. Thanks for reading!
I also use that trick on the Intuos 4. I like Drafting Vellum as it somewhat minimizes Nib wear.
Great article Paolo! I also like your Wacky Reference Wednesdays on your blog. :0)
Thanks, John! Glad to hear you like WRW… I hope to have another reference-related contest when I hit week 300.
Great stuff! One problem I've encountered with my Cintiq is smudging (which I see you addressed). I looked into a Smudgeguard glove, but I was still having problems with a dirty screen from my ring and middle fingers given the way I draw.
My solution was to buy a cheap pair of cotton gloves from Wal-Mart for about $3.00, then cut the tips off the first two fingers. The cotton is very comfortable and breathable, easily replaced, and I never have smudging problems (at least until my 4-year-old comes to draw on daddy's picturemaker).
Hope that helps someone! Thanks Paolo for the tips! That stroke sensitivity setting is gonna come in handy.
That works perfectly! I was about to do that myself before I came across Smudge Guard.