I’m one who loves a challenge, but I often end up in a giant hole with several broken limbs and a half-wiped operating system(OS) that needs a serious reboot, drag myself out, and try again. But when it works, it is such a rush. 360 painting is nothing new, it has been around for years, however “I” did not know Photoshop was capable of such tasks until several months ago when I decided I needed a new challenge. I have not been posting any new art lately because I have been buried in the complex issues with working in 360, and as frustrating as they might be, it has been a worthwhile challenge to overcome. I love experiences and this is as close to “painting” reality as it gets.
I have seen some pretty good examples of this kind of painting but mostly the 360 phenomenon is building up around the 360 cameras and the experiential photos. The majority of painting examples online are very amateur, naïve, and it is easy to see that the artist had fun but was disoriented when painting in it and the edges don’t align or the verticals don’t feel so straight up and down.
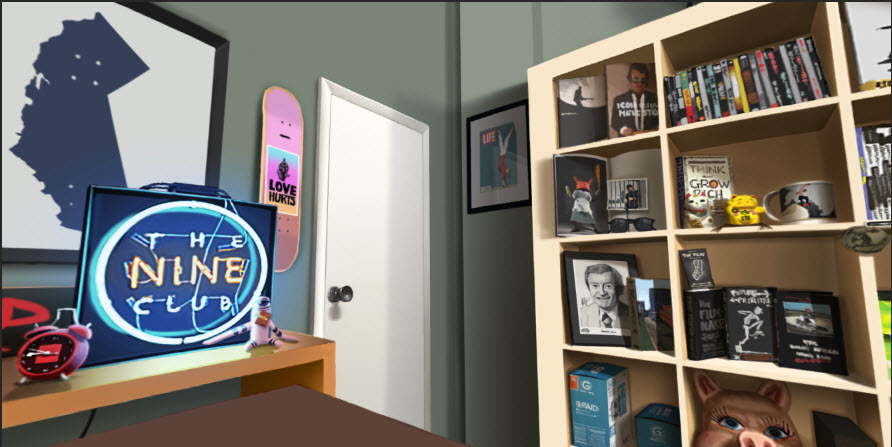
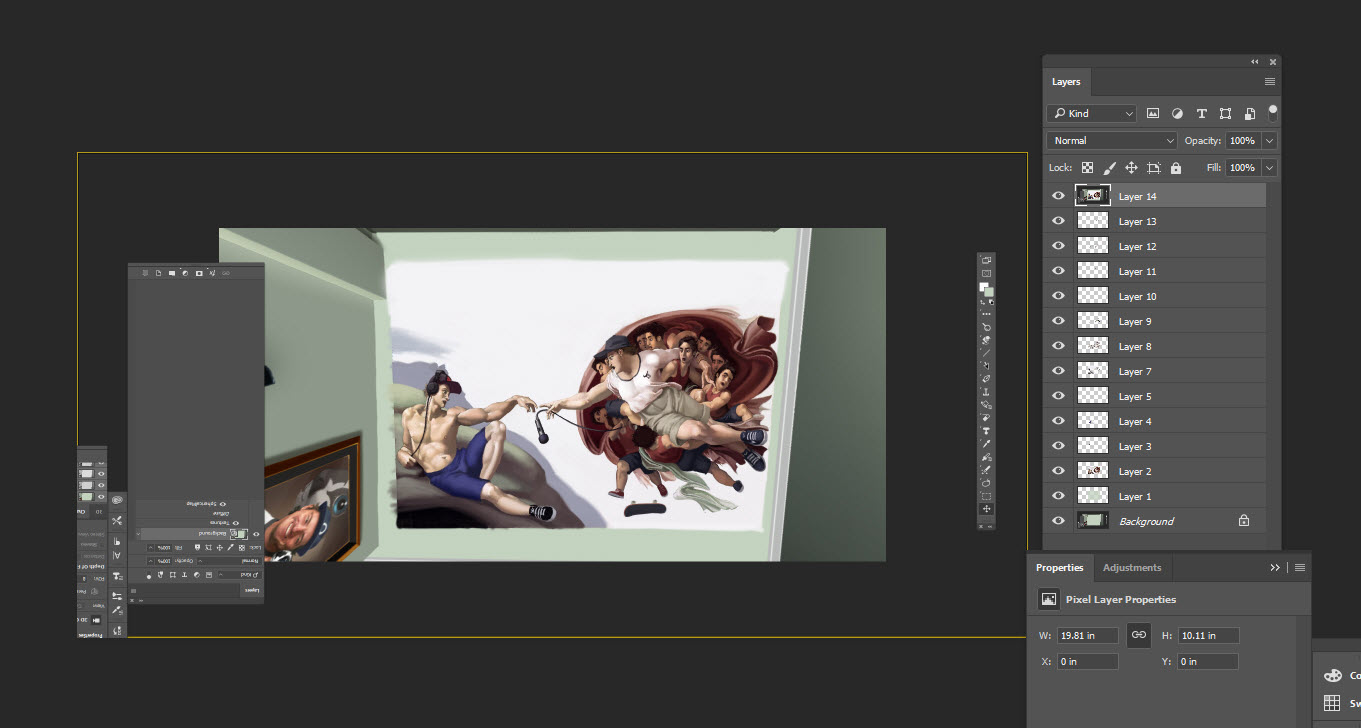
Here is an example of a painting I am almost happy with. There are several things still missing from it that I am going to paint in but overall, this was a fantastic learning experience. This is from a podcast called The Nine Club, if the sign didn’t already give that away. The two walls with all the stuff on them exist on the set, and a part of the wall with the yellow paper light is an existing portion of the set. Nothing else is ever seen.
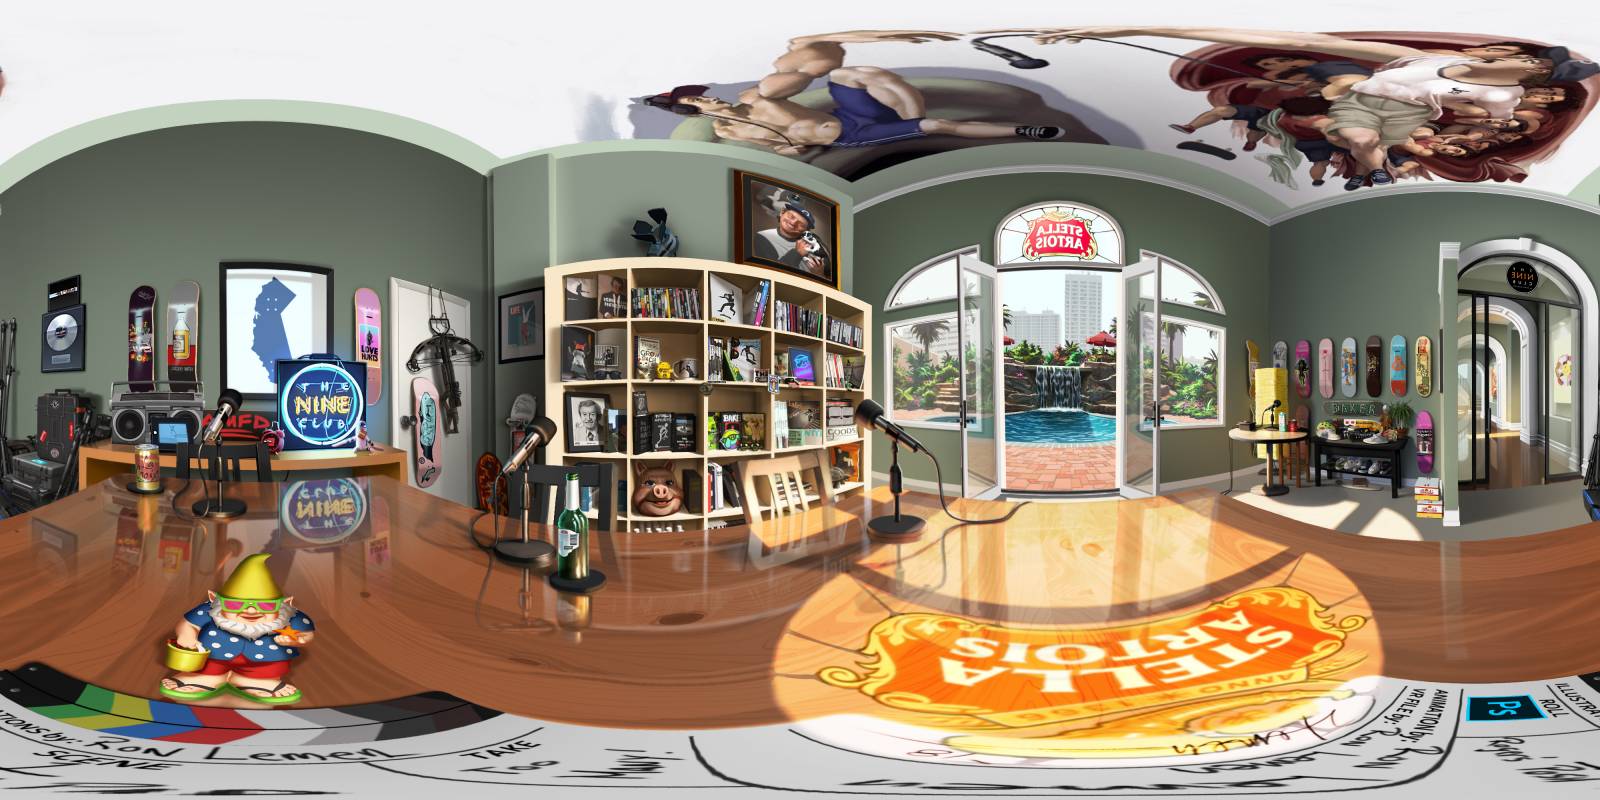
As I started painting the color pass, I figured out what I wanted with the other walls and came up with an idea of changing them out every 6 months into a different set design. This led me to the idea of building this set out as a place for their audience to come and dig around, hang out, and learn from the items and props they have along with easter eggs, etc. that I set up. Wouldn’t that be cool if it could exist like a video game space, interactive and gamified enough to feel there?
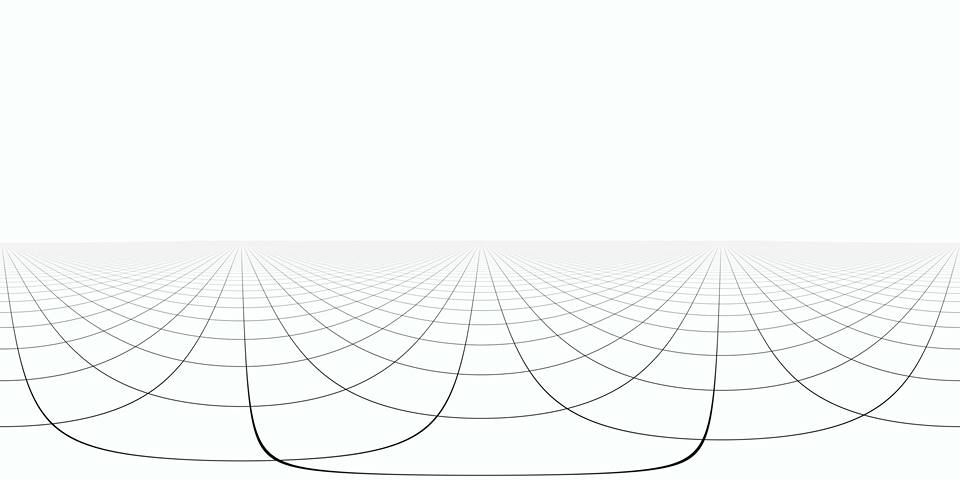
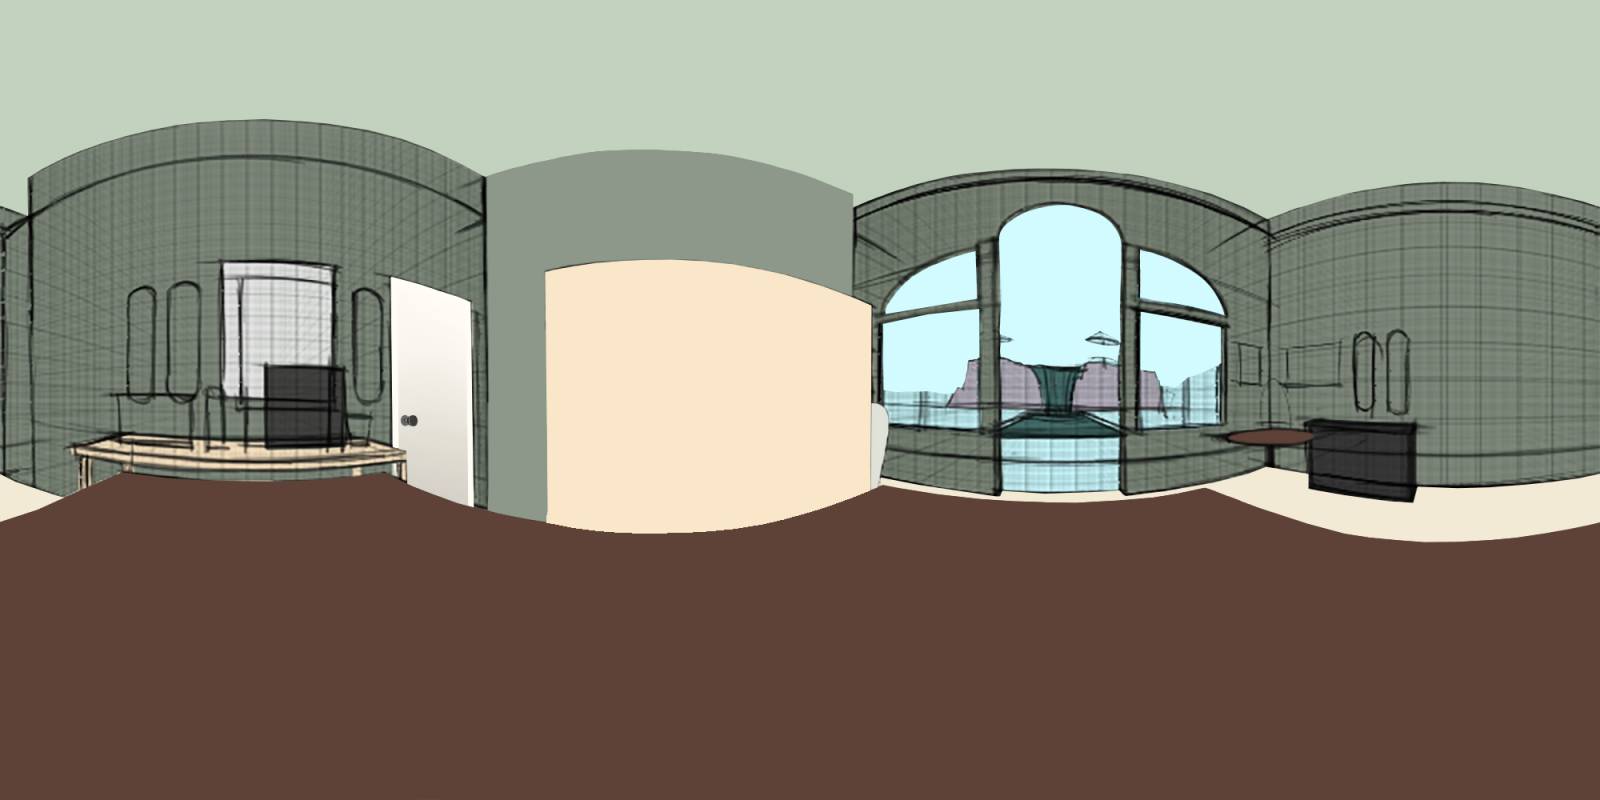
I started the painting with a grid to orient the X,Y,Z space. This makes life so much easier when developing in a painting that immediately has a faux Z space feeling. It is completely disorienting when you first start a painting and the idea of direction just gets more confusing without markers to start the process effectively.
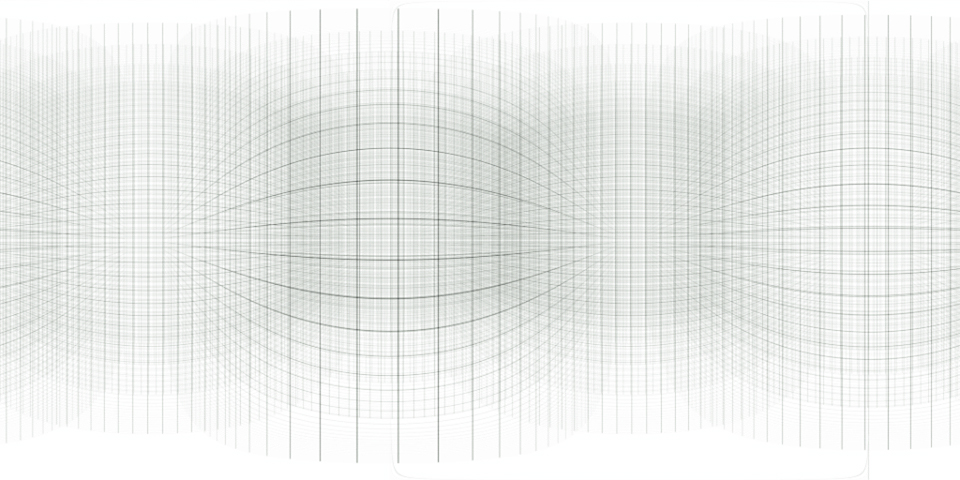
You could start with this as well but I get lost with just one axis to work with.
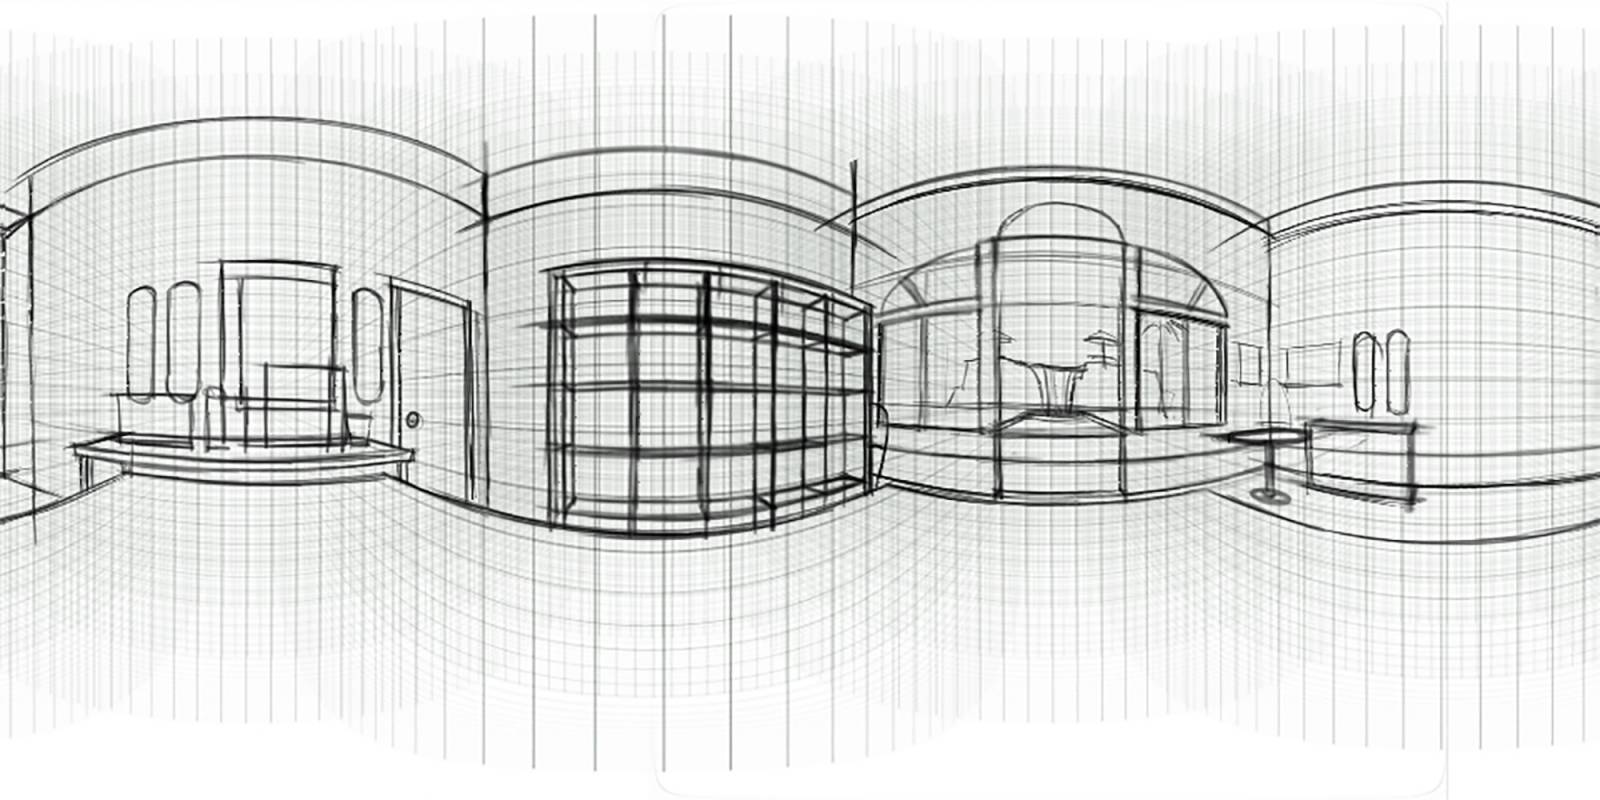
I did a basic line drawing of where I wanted things to begin, and as you can see the other walls were in the planning stages with a theme of possibly making it a posh manor with a backyard jungle pool but I was uncertain here and could have easily scrapped this idea. There are two walls that really exist from this podcast, and a portion of a third, but the rest is unknown territory. I decided that I would make it into a posh mansion in the middle of downtown Santa Monica, contrasting the real set which is a living room in an apartment in Santa Monica.
The complication with a sphere painting is the focus. You can have one focal point like in a regular canvas painting but that can lead to a lot of dead space elsewhere. I took this as I have 6 planes, and each plane should have something interesting going on in it. So for a space like this, when it is enclosed and not spread out, it is a good idea to think of the 6 cube surfaces that are surrounding the central space where the viewer is and find something compelling to build as a point of focus on each surface. Like many 360 photos, they feel immersive, but if the rest of the space was not really the destination then the rest of the photo is unlikely to be viewed.

Once the line drawing is completed I take the painting and turn it into a jpeg to do all the filling, brush stroking and texturing. This layer ends up with hundreds of additional painting layers to build it up, and all of these layers can be previewed in the node view. But once the layers exceed a certain limit Photoshop crashes after about 3 previews. So, once I know I like what I am seeing I compress the layers back into a jpeg where I can then build up from this base level of completion with a new series of layers until the painting is completed. I have a total of 20 iterations of this painting with about 150 layers in each iteration. Keep in mind that the shelves in this painting are a separate item than once is on them, and I can get rid of any item in the picture without damaging any progress of the rest of the canvas. This is something I do with these animation style paintings because I also animate them and if everything is painted as a flat layer there is so much more work to do to try and get anything to animate independently. This painting will eventually have the waterfall animated and the neon light flickering.
I will go several passes of the painting without shading it much, just a slight hint of a tone change without it becoming an aesthetic dynamic in the picture. Think of all of the objects as being seen on an overcast day, their colors are clear to read and the forms are less easy to discern in three dimensions. The approach I am using is clean and simple in case I need to animate something. I’ll be experimenting with some more impressionistic styles very soon.

The lighting is its own stage and I will first start with a large overall impression of just the shadows using a series of multiply layers then zero in and focus on each object, or portal as I build. Each shelf is considered a portal, within it contained is its own lighting scheme and dynamic range that links back to the big picture.
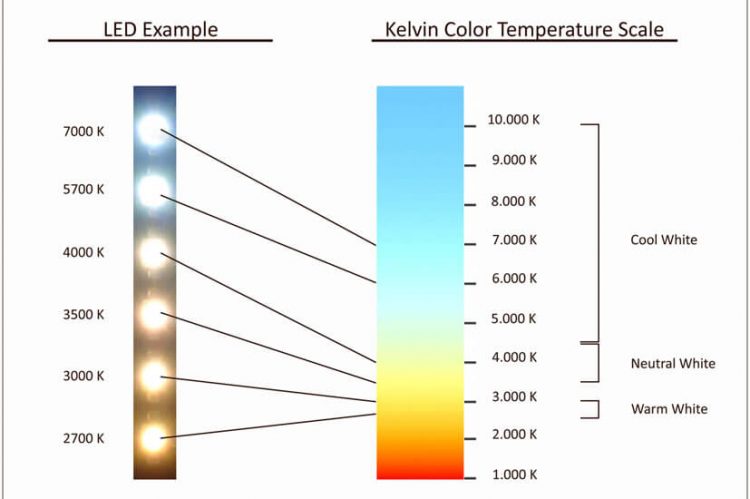
When I am satisfied with the overall shadow impression I then turn on the lights using a series of overlay/soft/hard/vivid light layers to blow out the clarity of the local colors and harmonize the light spots with the appropriate Kelvin point.
One thing I have found with digital painting is that if you want the feeling of density and dimension in the color spaces multiple layers are needed to effectively do so. Each layer adds a depth to the previous layers that does not work as effectively if all the effects are attempted in one. Light is complex and not singular in its coloration or wavelength and requires the depth of many layers to arrive at a similar illusion.
The time of day in this shot is 3ish in spring time, the sun is over in the west and still high in the sky. This means that the room is going to be lit by the bounce light on the ground plane as much as by the blue sky out the windows making the lighting a bit more difficult to tackle. I separated the tones into two passes so I could focus on one color range at a time. I did the sky passes first, since they are more chromatic and gray many of the vibrant colors. The sun pass is much easier to identify its color temperature with the color range set up in the shadows.

The seams are tricky because technically they do not paint through very well. Because the pixels are being warped they pixelate much faster, and the brush stroke often runs into the other stretched pixels drawing out the stroke far beyond what was expected. To remedy this issue, I took a screen shot of the space and then painted it as a flat jpeg, then copy pasted it back over the seam, merged the layer and nothing much really happens to the pixels in this process. There are tiny artifacts that might occur but overall it seems to do a great job of fixing the hard to paint spots. Photoshop also has a tendency to crash when painting the top of the dome, so I use the patch method here as well. I am not sure why this crash occurs, likely a computing issue with pixel placement.
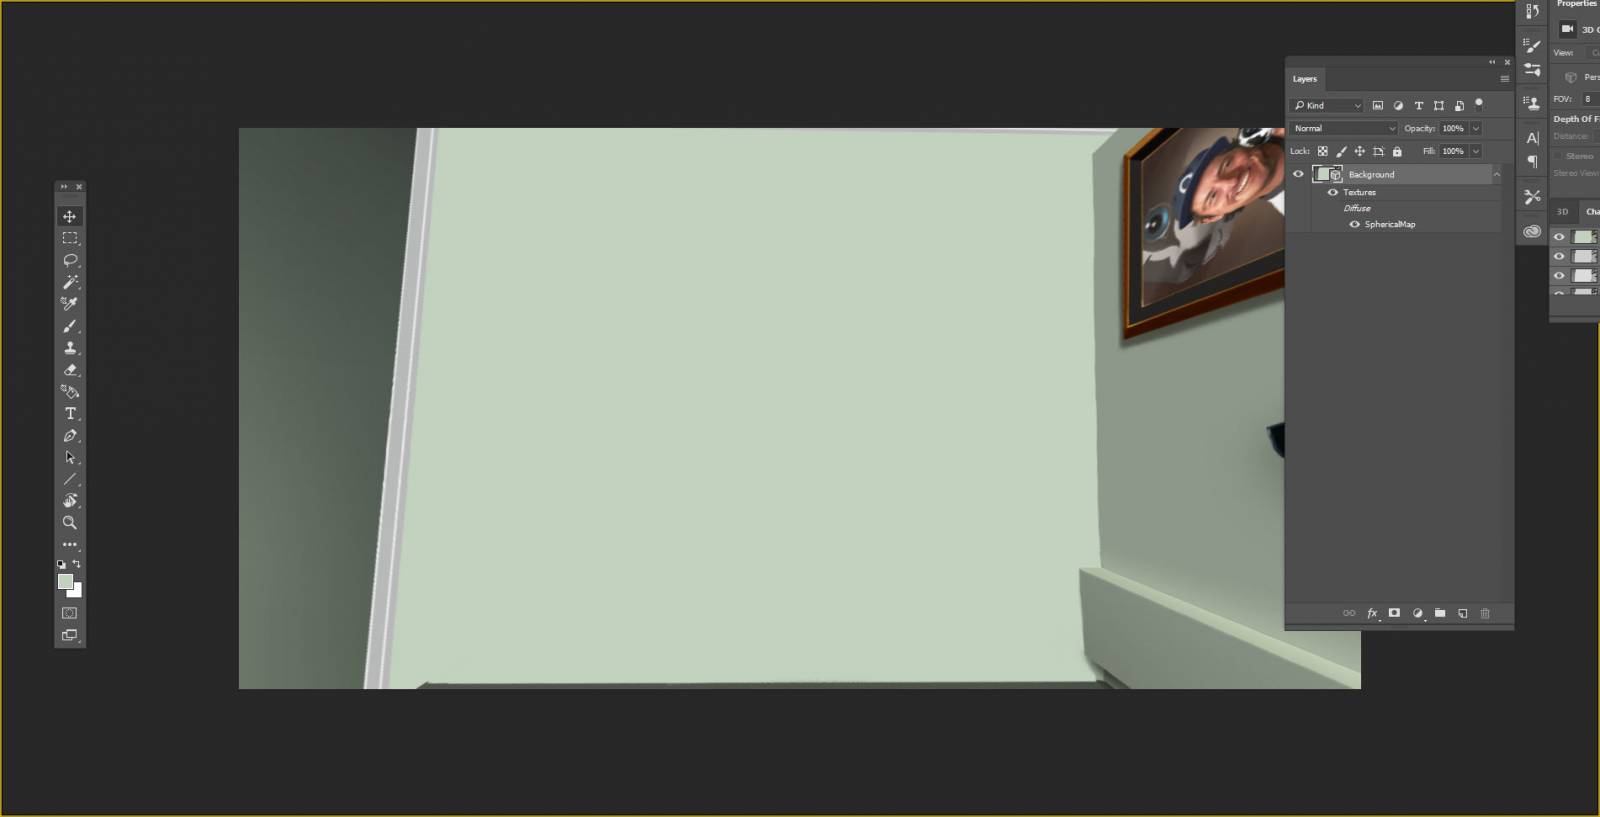
Roof patch for the top of the sphere.
I flipped the patch because it was easier for me to paint with an upward angle than the downward angle. I can then take the painting out and make it square as long as I can drop it back in at the same skew.
Here is a link to the final dome node with many of the hot spots hooked up and running. This is only partially completed. Every board on the walls will have an animated illustration of the rider, a Unity game I have made will be linked to the beer boxes on the floor near the doorway, the waterfall and light will be animated and there will be 6 more nodes to click around to down the hallway and outside in the yard. Look for this version in a month when I have the software to build it out.
LINK TO FINISHED NODE
Expand the file to full screen for the best experience. Click on all the skateboard wheels or pluses depending upon the skin that was installed at the time. The entire painting is an interactive portfolio of sorts, or in the case of the podcast, a space to dig into and learn about what the items are that make up the background of the show, the historical content, and easter eggs. If the plus symbols are the node clicks then the rooftop painting will not be there either. Check back in one month and there should be more nodes available.
I challenge myself with this task because I see a change in the way art is going to be built and utilized and I am looking forward to that interactive space and the possibilities it has to offer, and I do not want to be relying on a team of people to implement the art/idea/product. Technology is so plug and play now that if the basic skills, the foundation is there, the rest is a matter of vision, time, and the means to do the work.
I hope this inspires a few of you to try this art platform out, come up with some ideas of what to do with it and make it so. Innovation and open sourcing the concepts are going to help the platform grow quickly into a standard and with some inventive and creative minds working to evolve it I foresee a lot of art work needed in the near future building facades and store fronts, hangouts, lounges, eco environments, fantasy spaces and whatever else a creative mind can expand this into. What are your thoughts on this new creative space we are arriving at, and what applications do you see it being effectively used? I’d love to hear your thoughts and ideas.

Recent Comments