This entire post can be summed up thusly: don’t forget to exercise. Seriously.
But by “exercise,” I’m not referring to sit ups or running laps around the block. I’m talking art exercises. The stuff you do between the stuff you do.
For some reading this, exercise is a luxury. Others reading this may be exercising without even realizing it. And while the very notion of art exercises might smack of basic, student-level skill building, I see them as a means of flipping the script on a routine and forcing my brain to come at things from a different angle.
So what exactly are we talking about here?
Well, in my opinion art exercises need not be a regimented thing. They also need not be routine. And, just as different people require different types and amounts of physical exercise to keep in shape, so it is with art exercise. Your mileage may vary greatly, and like I said above, you may already be exercising already.
How so? Well, honestly every bit of art you’re making is flexing muscles and strengthening your art core. Drawing is the foundation of pretty much everything, and so doing more of that can never steer you wrong. Beyond that, maybe you’re a consummate thumbnailer or maybe you’re just doing a ton of finished work. That’s all totally valid. And honestly, if you’re happy with what you’re doing and it’s working for you, then just keep doing that.
But, if you’re like me and you need to throw a wrench into things every once in a while, here are some exercises that I utilize to pull myself out of funks and ruts. They can also aid in the discovery of something new in your work, and have the potential to be pretty fun in the process.

I decided to do a few of these exercises. My dog was kind enough to pose for me. Anyway, each of the demos was done pretty quickly (some quicker than others), but the drawings plus the photography of the materials and the cleanup was all done in less than thirty minutes, so that should give you some idea of what kind of investment we’re dealing with.
1) Opposite hand drawing.
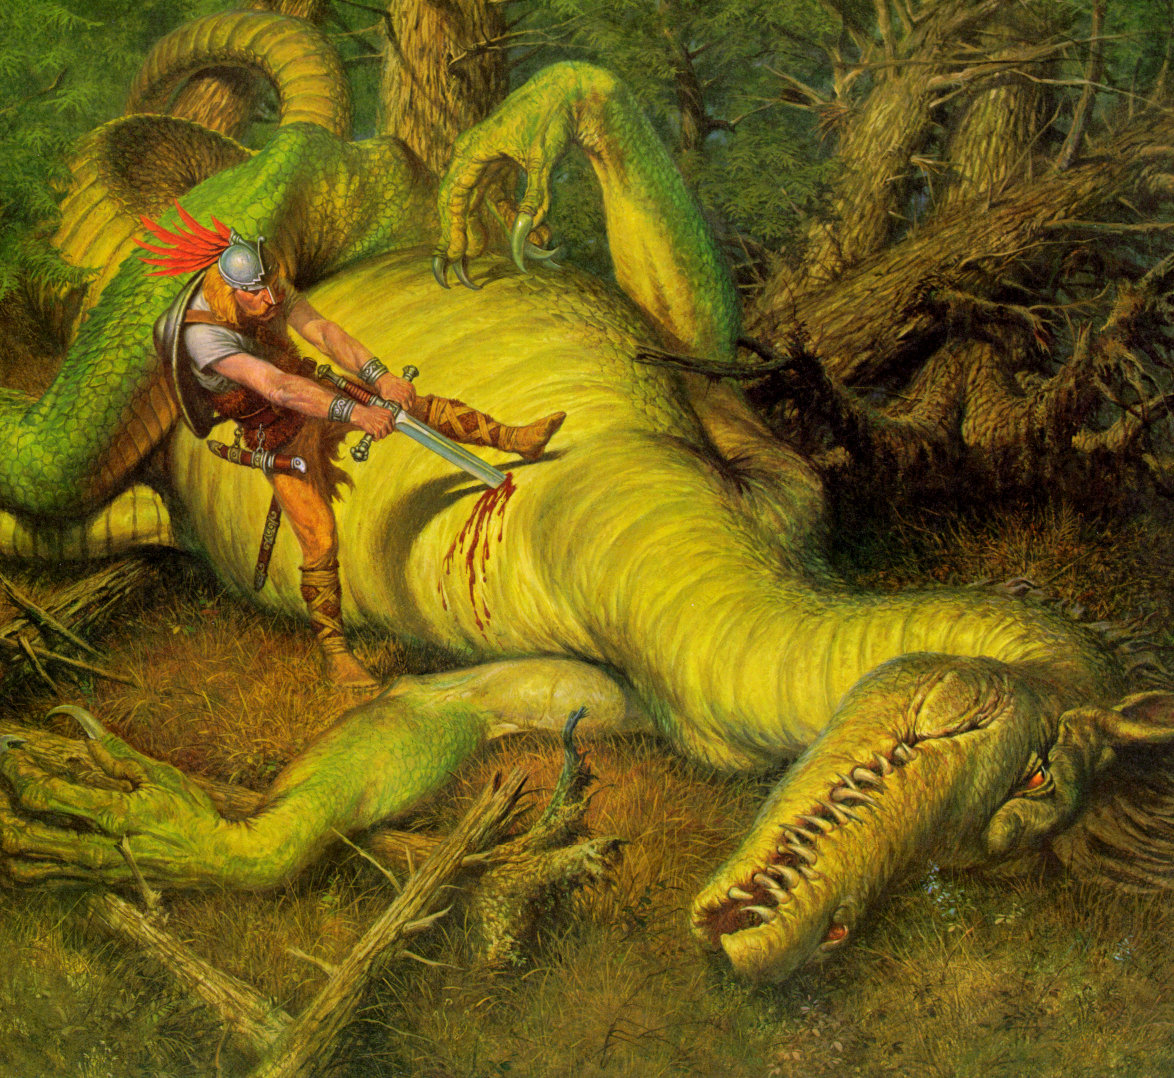
Easily among the most cheap and cheerful of the exercises and requiring the procurement of no additional art supplies, this can be a maddening and frustrating experience. One would think that they had far better control over their non-dominant hand than they actually do. But guess what? You probably don’t. I am mostly ambidextrous (though still probably classified as a lefty) and I still have a heck of a time making my right hand draw stuff. Still, I try. And, while it’s extremely unlikely that most reading this will ever need to perfect opposite hand drawin, it’s not completely unheard of. After all, Frank Frazetta had to switch hands after suffering a stroke, and he did so pretty late in life. So there’s that.
Bonus level: Don’t stop at one hand, go for two. Take not one, but two drawing implements (one per hand, please) and employ both simultaneously. It’s interesting to watch the dominant hand get dumb all of the sudden when your brain is trying to coordinate both your hands at the same time.
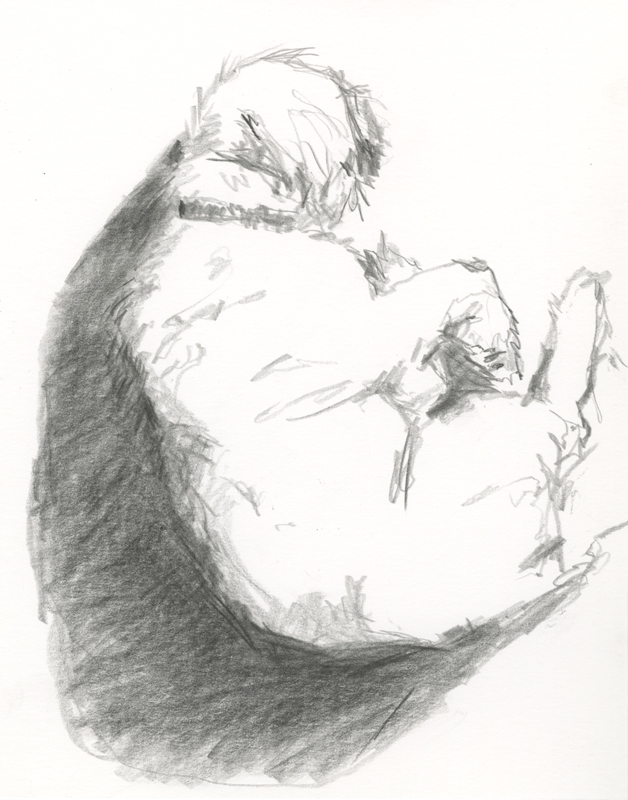
I’m a lefty and this was done using my right hand and a pencil.
2) Contour drawing.
A classic, really. And also requiring no additional purchase. Unfamiliar? Well, it’s just a drawing that is completed using a single line. The pencil or pen is never picked up (I’m a big fan of using ballpoint for this). Pretty easy, really. The beauty of it is that like all drawing, it’s versatile in that the exercise can be pushed a couple different ways. Do you want to see how much you can describe with minimal line work? Or do you want to scribble out a fully rendered study (worth a shot, but more likely to tire out your hand given the nature of the exercise).
Bonus level: For added difficulty, you can make it a blind contour drawing by covering both your hand and the drawing while keeping your eye on the subject. Just as you can learn to type without looking at the keyboard, you can learn to draw without looking at your pencil. (Okay, those two things aren’t completely analogous, but I was typing about drawing and one word led to another and, well, you know…) Or maybe not. Doesn’t matter. The point is the challenge and the building of all those connections within the brain that help you see better and make your hand do what you want it to do.
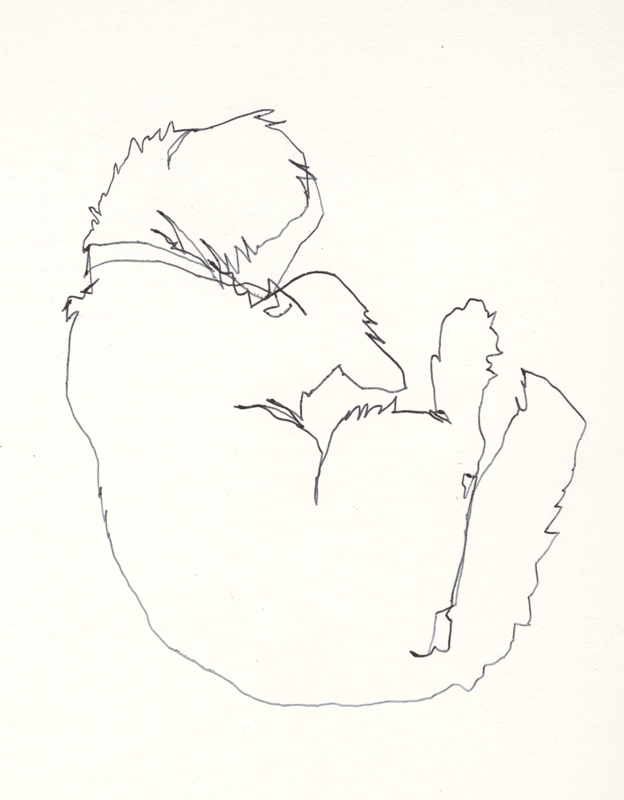
I went super quick with this one. It was the last one I did and I needed to move on to other things.
3) Head towards the light.
In short, rather than depicting line and shade with a dark medium on a light surface, it’s about depicting the light utilizing some sort of white medium on a black surface. Back in college we did this using a cheap black board called “railroad board,” a cup of bleach, and some Q-tips. There is no world that exists where that was a good idea and I’m pretty sure I’m dumber as a result of all those bleach fumes, so I’d suggest getting any cheap black board or paper you can and use whatever white medium you can get your hands on that works with your surface—maybe white acrylic paint or gouache, white ink, a white colored pencil, maybe some chalk, etc. Maybe try several different mediums. Whatever. Do you. Just do you with white medium on a black surface.
Bonus level: For added difficulty, dry depicting something that is all white or all black. It’ll really push you to see the value of things. Or, maybe throw a bunch of objects together that are a variety of values and see if you can accurately depict them.
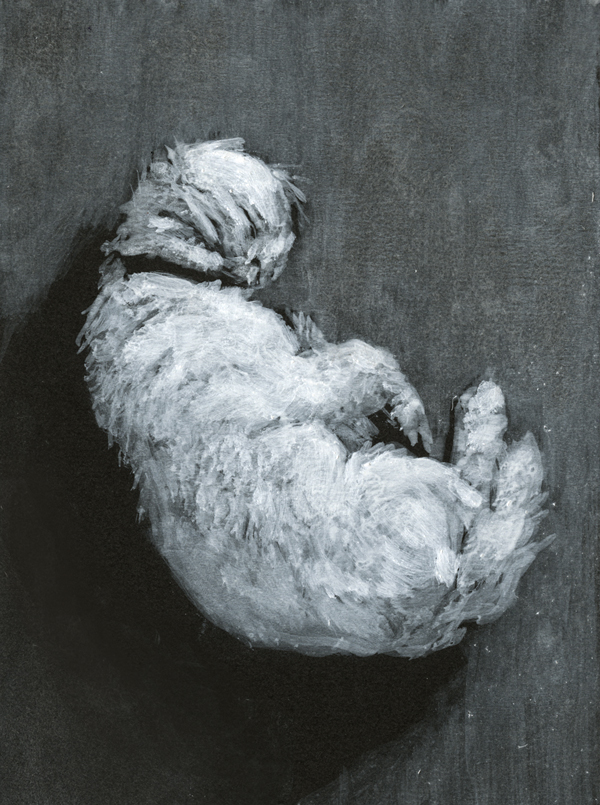
I didn’t have any black paper, but I did have some old matboard, which honestly isn’t ideal. It’s a little piece measuring five inches by seven.
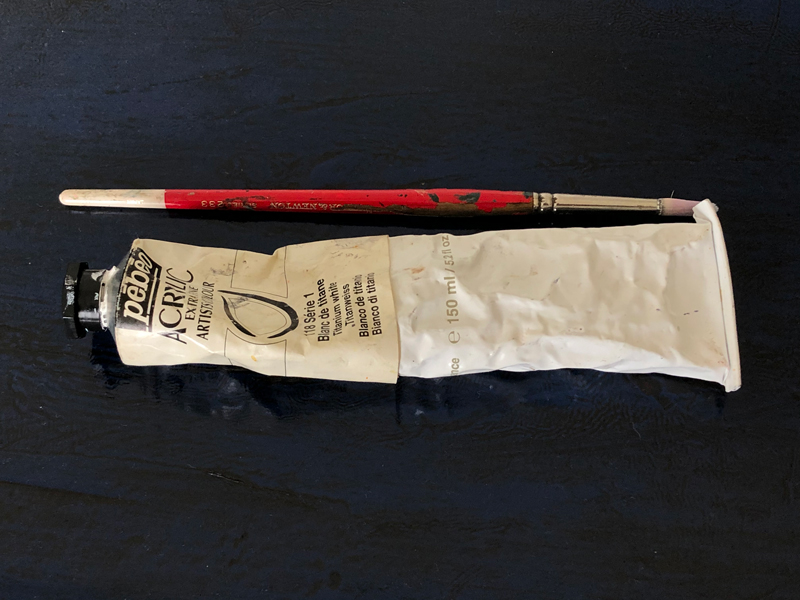
The brush I’ve had since I was in forth grade. It’s probably one of the oldest bits of art materials I actually own. The acrylic paint was bought sometime in the mid-nineties. Both have seen better days and the paint is clearly going bad as it’s starting to gain a mealy appearance with lessened flow. Did I mention that exercises like these are excellent for getting rid of old art materials you don’t want or need anymore?
4) Ink drawing. Drawing, but with ink.
Put the pencil down. Don’t bother doing a drawing before your drawing. Just grab ahold of that pen or ink brush and go to town. What kind of pen or brush is up to you— I’ve used everything from a crow quill pen, to a fountain pen, to a pen fashioned from a forsythia branch. As for brushes? Go nuts. Maybe try out a Sumi-E brush and see what you can get out of that. Point is, use a permanent medium that you can’t take back. Once it’s down, it’s down. Then learn to live with it. Maybe you’re the type of person that’ll do 100 of these drawings in relative quick succession and improve by repetition, or maybe you’re the type that’ll slow down and start to take more measured, thought-out strokes. Doesn’t matter, it’s all valid. It’s an exercise, after all.

Done with the brush pictured below. I didn’t actually use the bamboo pen, but I wanted to include it to show they exist and are great for doing this stuff.
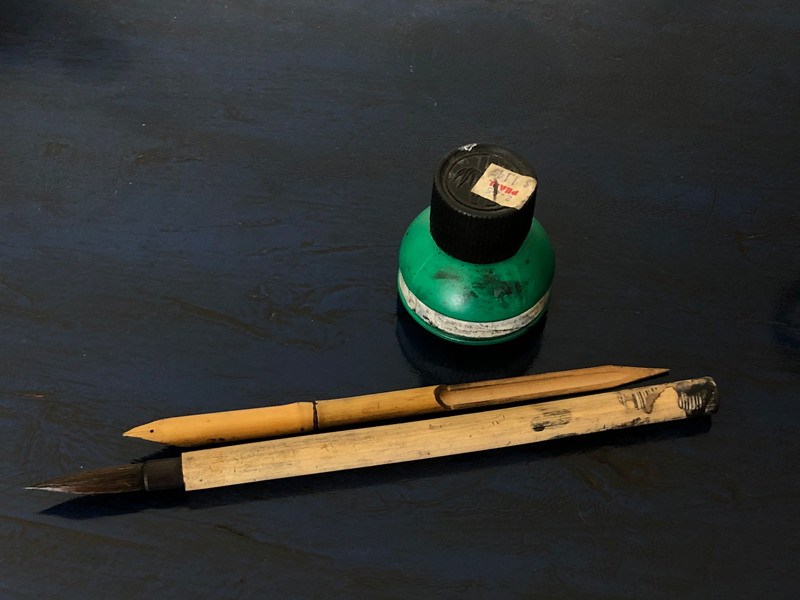
My Sumi-E ink, brush and pen. Well, I have other pens, this is just the one I use most for exercises. The bottle of ink was bought in 1994. I’ve used it up many times over and keep refilling the bottle because of its convenient size. Might have to stop, though, as there are solid chunks of dried ink floating in it now. Probably won’t stop, though, since I want to keep things from getting precious.
5) Type it up.
Of the exercises on this list, this is probably the most demanding, the oddest, and probably the most expensive. For me, it was worth it, but I totally understand if a lot of people resist it. I’m talking about learning to draw typography by hand. (I know, I get it.) In college, I learned how to draw three different typefaces. What’s more, is I learned to do it the old fashioned way, by laying out the letter forms with wide lettering pencils (that are also a lot of fun to draw non-letters with) and then using pens and brushes to finalize the letter shapes. A great book on the subject is Lettering For Reproduction by David Gates (though I believe it’s out of print so you can only get used copies). Either way, it’s an entirely different kind of drawing that I never completely mastered, but still learned a lot from. It also helped me better understand typography, proper spacing, and flow, but that’s just an added bonus. While I wouldn’t suggest you devote your life to the mastery of hand type, it might not be a bad thing to try out as it’s an entirely different discipline of drawing that is demanding and technical and exercises entirely different parts of the brain.
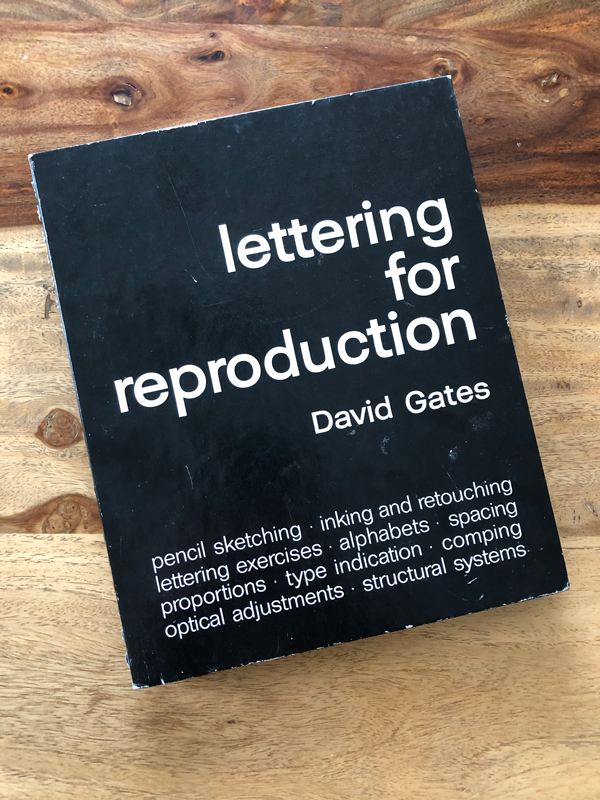
If it were legal, I’d show you a ton of stuff from inside this book. It’s pretty awesome really, and I’m sure there are other volumes that cover much of what this book covers. Still, if you can get your hands on this particular book, I’d recommend it. Even as an artifact it’s interesting and it’s an excellent summation of how things are done. Plus, like I said, it can teach you a lot about type.
6) Put some art in front of you.
Much less an exercise but still a good practice. All you need to do is just keep some inspirational artwork out while you’re working on your own artwork—both as an aspirational thing, but also as a means of absorbing a little bit of magic through osmosis. Generally speaking, I try and keep art from a book or a calendar (I have a collection of them, they tend to have really good reproductions, are printed well, and have holes for hanging) open with work that is both inspiration and relating—be it through mood, palette, or genre—in some way to what it is I’m working on. While drawing, I tend to have things like Egon Schiele or Gustav Klimt drawings in front of me, or maybe da Vinci. When painting, it’s anything from a Wyeth piece to Hokusai to Lempicka. Whatever the case, the images I keep out tend to have some trait that I’m trying to develop or strengthen in my own work—be it a more painterly surface or a better structure. Lastly, I tend not to look at contemporary artists in this fashion, but rather the people they admire and the people those people admired. But again, you do you. Figure out what you like and soak up all you can while you work.
7) Change up mediums.
Sometimes the best exercise is taking all the stuff you know (or think you do) and trying to apply it to a different medium. Maybe the jump is small and you switch from oils to gouache. Or maybe the jump is adding a third dimension and going to sculpture. Whatever the case, taking your skills and seeing if and how they apply to another medium can teach a good deal. It can also force you to learn to adapt as each medium presents different challenges and difficulties and the mere act of having to deal with any of those can broaden your perspective. Plus, you know, you might learn how to use a new medium.
8) Change scale.
Used to drawing small? Go big. Step back, stop using just your wrist and fingers, and start employing your whole arm. Used to whaling away at a large surface with everything from the shoulder down? Have a seat, get small, and get right up in there. Sometimes a change in perspective can…change…your…perspective. Huh.
Bonus exercise for all you traditional painters out there:
Mental color mixing. This one requires no physical work, but rather a fair amount of thinking. When you’re out and about, challenge yourself to mentally mix the colors for various things you see. I’m not just talking about the tube names, but also the proportions. Actually put together a formula for the color you’re seeing. A professor in college used to quiz me periodically on this and it’s something my brain contemplates constantly to this day…maybe a little compulsively. You’d think that doing it as often as I do that I’d be better with color. Weird.
This list is by no means mandatory or complete, and I encourage anyone interested in sharing any additional exercises in the comments below. If you should give any of these exercises a go, there are a few things I’d advise.
First, I recommend eschewing the computer and sticking with traditional media. Why? Real simple. The point of these things isn’t to make great art. It’s about adapting, learning, and discovery. Even as an infrequent digital painter, “undo” has become second nature to me and the ability to undo on a whim sort of defeats much of the purpose. But maybe this is where my ignorance and over-reliance on the crutch of Command+Z is showing itself. If you have the self-discipline to keep away from it and just let the mistakes happen, then good on you. A lot of the exercises listed above should adapt well to a digital environment.
Second, I’d recommend doing things as cheaply as possible. Most of my exercises are done on newsprint or even on discarded mail. For painted exercises, I upcycle corrugated cardboard by coating it in leftover house paint. The reason for the frugality is to keep from being too precious with anything. Again, the goal isn’t to make masterpieces, it’s to play and discover. Mistakes are half the point and so I keep the investment low. Personally, the moment I start working on nice paper, I start to fret about quality, and quality really shouldn’t be a factor.
Now, if you do make something that’s worth keeping, kudos. But I’d say that if in the process of doing exercises like those above you don’t make at least one thing that you’re too embarrassed to show anyone, then you’re probably doing it wrong. As hard as it can be, the goal is to let go and let things flow. You’re likely to make some genuinely bad stuff along the way, but I’d wager that the benefits will end up outweighing all that.
Anyway, whatever exercise you do—whatever form it takes—is awesome. Even if the exercise takes place in the making of assignments or appears to be mere absent-minded doodling, anything you do to strengthen your art muscles is really important. Along the way, however, it might be worth examining whether or not you’ve been concentrating too hard on one specific muscle group to the detriment of the others, and maybe I’ve taken this analogy as far as it really should go.
In the end, the exercises and the stuff that comes from them could be the very thing that starts you down a new path. Or maybe they’ll just continue to be exercises. And maybe that’s rewarding all on its own.

Thanks for these tricks. Working with some sort of constraint is very interesting and useful.