In this post, I’m sharing an experimental ink sketch with a time-lapse video (scroll to the end of the article for the video). I’ve described a few still images from the video as well as my tools I used for this sketch. I tend to use a balance of reductive and additive approaches in my sketching as well as finished paintings, even in dry media. The video shows my process of experimental mark-making and ultimately finding and developing a form or forms in the abstract marks. This is a quick monochromatic sketch, but you can get an idea for how I work, especially by watching the video.
First, the tools:

The surface I’m working on is Yupo Paper, which is made of polypropylene
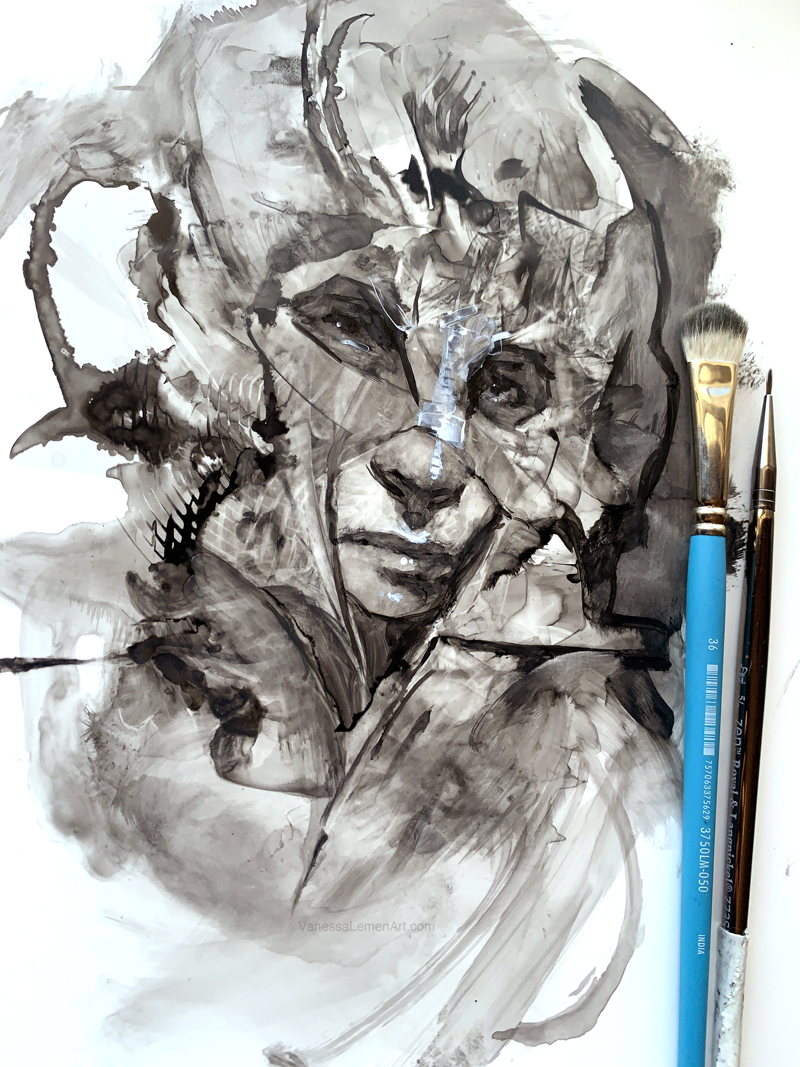
The tools you see in this image above are the tools I used for this ink sketch. They are:
Martha Stewart grain striping combs with various teeth for different effects, used mainly as a scraping and pick-out tool
Foam core scrap, used mainly as a scraping tool
Viva paper towels for cleaning/wiping out brushes as well as for making marks
Water in jar for thinning ink and making gradients, also for rinsing out brushes
Isopropyl alcohol in jar. This acts as a resist and works really well for pick-out
FW Inks in porcelain tray
Various brushes: mostly sables, some mops, flats, filberts, and small rounds for details, and a cheap bristle for varying marks/texture/effects
Silicone double-ended clay shaper/wipe-out tool, used for pick-out and small details
Silicone kitchen spatulas, used for pick-out, scraping and wiping out, and smearing
My hands! (I definitely use my hands and fingers and even my nails when I paint and draw)
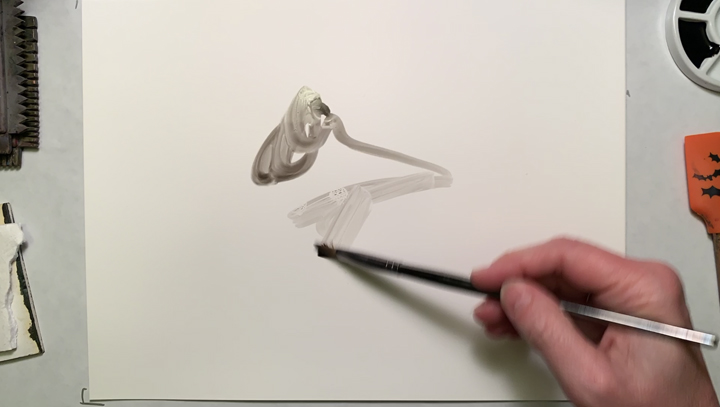
Here, I’m just putting something on the page. These marks don’t need to be anything special. They’re just a means of starting and getting going. Without the first marks, we have no forward momentum. All it takes is a simple mark. As you can see here, these are nothing fancy.

The tools are really pretty simple as well. For example, this scrap of foam core works well for scraping away and moving the ink around. You’ll see in the video how I’ve utilized this as well as the many other basic tools. The marks that are made are conducive to the amount of water, ink, and alcohol as well as pressure sensitivity, tilt control, and the surface I’m working on. This kind of sketching time for me is a means of loosening up and experimenting, and the combination of these tools and surface allow for plenty of flexibility.
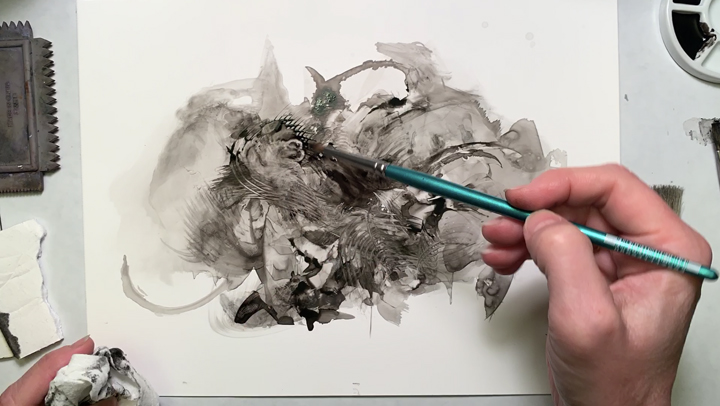
The yupo paper helps to allow the medium (in this case, ink) to float around on the surface a bit longer than other more absorbent substrates. Depending on the amounts/ratios of water or alcohol to ink, the marks will stay wet and can be wiped back or picked out for a decent amount of time, which is a much different outcome when using ink on a more absorbent surface. During the approx. 20-minute duration of this drawing, the initial marks dried enough that I could also essentially layer some marks using different tools and more ink while adding water for some transparency over the initial marks underneath.

I’m showing this image stacked like this to demonstrate that once turned vertical, I could see the hint of a nose and mouth in the abstract marks, but these features were not really very apparent when the paper was horizontal. The only difference in these two images is that the paper is turned, and sometimes that’s all it takes to discover something new or see something differently.
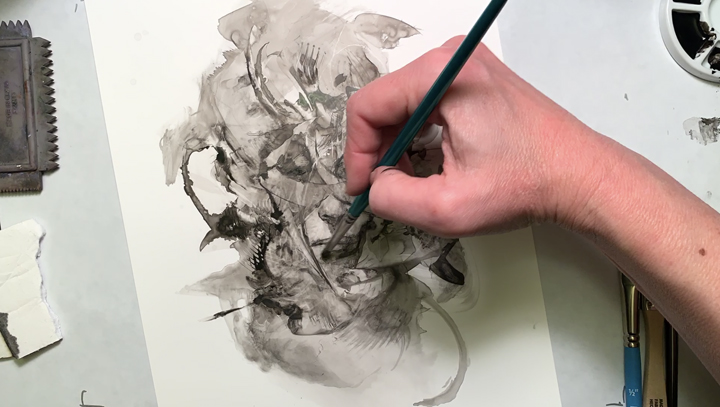
After noticing the facial features and deciding to take a stab at rendering a bit more into what I saw there in the abstract, I used some alcohol to push the ink back and pick away some areas to round out the forms and create a more realized version of the facial features I saw. You’ll notice in the video how often I’ll turn my hand in different directions to get a stroke that pushes the forms in the direction I am intending. For example, if I want to push the edge of a form to the left, I would come at it from the right and push it left. If I want to push an edge or shape down, I would come from the top and push it down, and so on.

I use mops to soften forms and background or larger areas of ink that I want to smooth out or feather. Some mops I used in this sketch were smaller in order to be used to soften in smaller areas (such as the small mop I’m shown using in the last image to soften an area of tone on the chin), and this one is a bit larger to soften the background on the right. It takes a pretty light/sensitive touch while the ink is still wet to soften but not wipe away. Also, it’s important that the brush is dry and does not have any water or alcohol in it, or it’ll pick out or leave striations or plumes.

A lot of times, when I find myself noodling in an area too much and not quite getting the placement or look or feel that I think is working, I’ll wipe it out or neutralize the area with some value again, and rebuild or just make different marks altogether and find new things. In this case, in the area of the eyes, I stuck with the original intention, and just greyed out the eye sockets in order to rebuild them again, and reshape the overall socket shape.
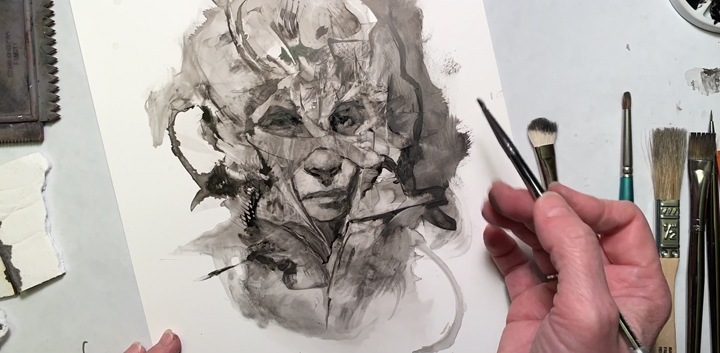
After filling those areas with a grey mid value, I added dark accents and picked out some lighter value as well to indicate some lighter small areas on the forms within the sockets. I also pushed the form of the nose over slightly to the right by moving the edge on the right, and I softened edges and rebuilt dark accents on the nose as well. I moved these slightly because once I had changed the shapes of the eye sockets, the placement of the nose needed to be slightly adjusted to be better aligned with the rest of the features.

I decided to add some accents of white at the end of this sketch, and was thinking about adding more elsewhere, but my battery on my camera died at that time, and so I thought, well, this was a good time to stop anyway. 😀 This clay shaper tool shown in the photo is great to pick out and wipe away small details as well as using the tip for placing tiny accents for highlights with a very light touch. I use it like this because it holds the ink on the very tip of the silicone point, and I want just the ink to touch the surface, but not the tool. This can be done with a brush too, but because ink is thinner than oil, the ink can sink back into the brush a bit, as opposed to oil paint as it is thicker and can stay on the very tip of the brush.
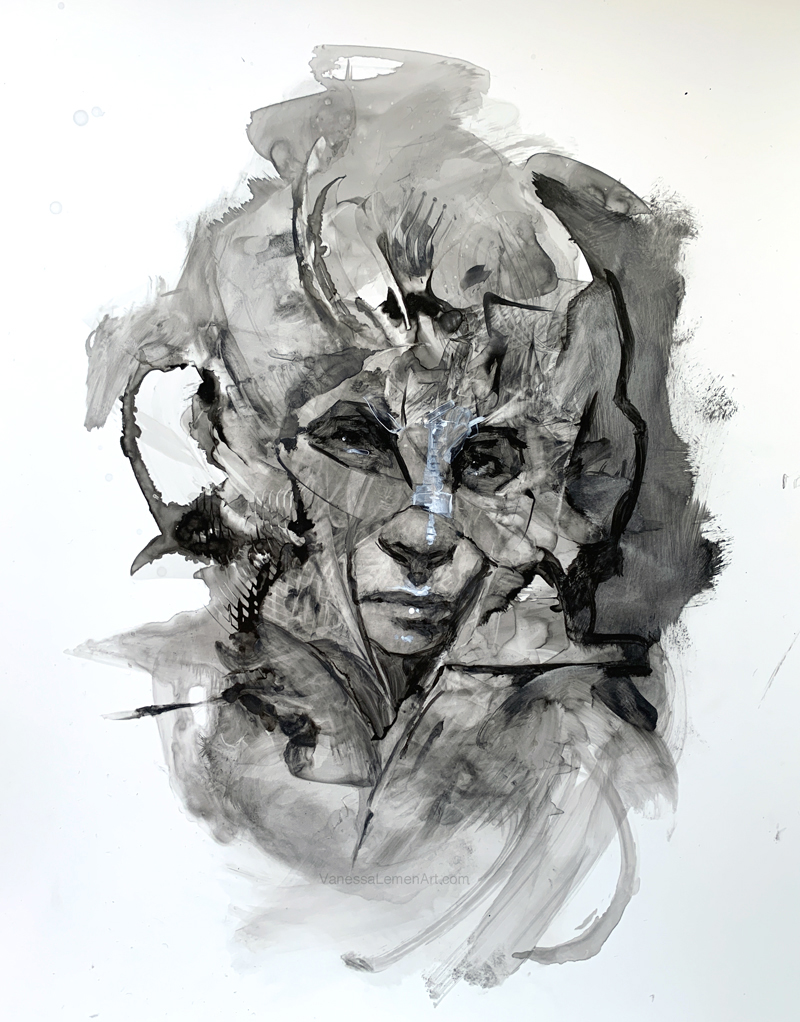
This last image is of the finished sketch after approximately 20 minutes. As I mentioned earlier, this is a sketch with the intention of loosening up and experimenting most of all. Sometimes, if my schedule allows, I might do several abstracts/experiments or a few more like this one in a day, especially in between projects or during a time I need to shift gears between one project and another. I hope to post more videos in the future in which I might aim to show some other methods of working I tend to use, as well as taking a drawing or painting to a different sort of finish that shows a bit more rendering or modeling of the forms within the abstract marks, layering and building up the paint as well as using a reductive approach all within one image. I hope you enjoy watching the video and seeing a glimpse of how I work.
Here is the video:
or click here to watch Ink Sketch “Adira” on YouTube


Recent Comments