-By Howard Lyon
A friend of mine, Stephen Haws, showed me his sketchbook that he took to Italy and it was full of beautiful dark brown ink drawings. I asked him where he purchased the ink and he said he made it! (he made the sketchbook too, maybe that can be a future post)
I asked him if he would teach me how to make the ink. He did and gave me some of his ink as well. The great thing about making this ink is that if you are going to make a little, you might as well make a lot! It makes a wonderful gift for artist friends.
The ink is very easy to make.
Ingredients
- Whole black walnuts in the husk
- Water
- Salt or rubbing alcohol or white vinegar
Hardware
- Gas burner or camp stove
- Stainless steel or enameled pot
- Glass bottles
- Cheese cloth or a fine sieve or old nylon stockings
- Rubber gloves
- Large cloth for squeezing out pigment
Directions
1. Collect 40-50 black walnuts that are still green or juicy black in the husk.
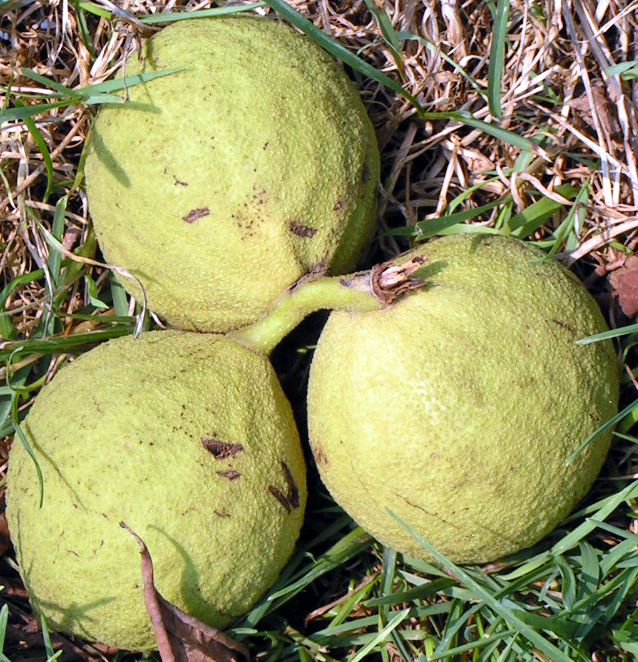 |
| image from http://www.nemahaweb.com/ |
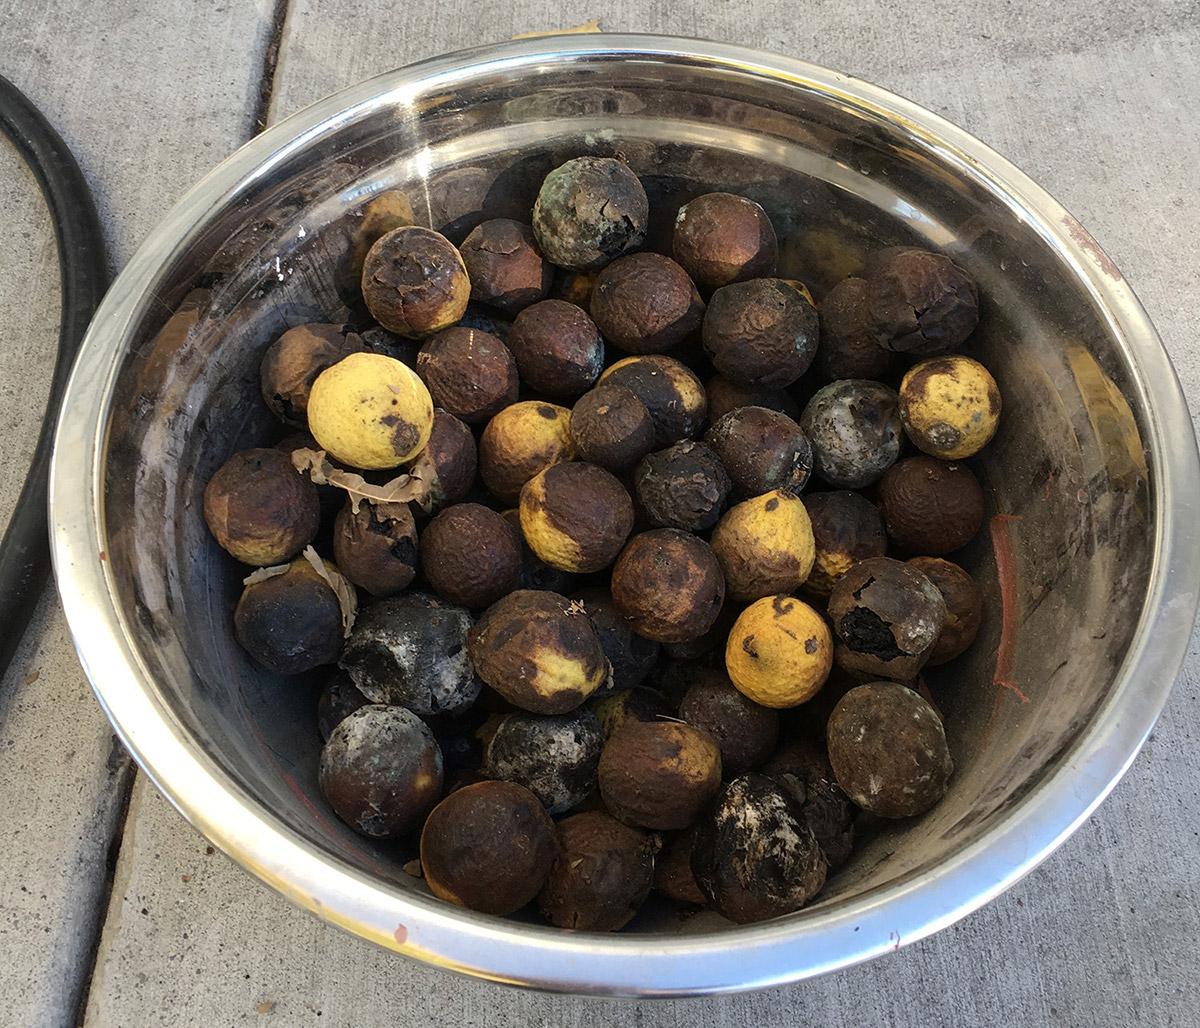
2. Let the walnuts sit in the pot until they all turn black.
3. Cover the walnuts with water.

4. Boil for 6-8 hours. Add more water as needed to make sure it doesn’t all steam off.
5. Once cool, remove the husks from the nuts (use rubber gloves).
6. Boil again for a few hours and let sit overnight. The more you reduce it down, the darker your ink will be.
7. Place the large cloth over a clean container and pour the ink through it to strain out the solids. Once you have all the solids in the cloth, you can close up the ends and twist the cloth to force out as much pigment and liquid from the husks. You can now throw out the solids. I read they contain a bit of poison that inhibits plant growth, so don’t mulch them into your garden or flower bed.
8. Now you can pour the liquid through the cheese cloth or fine sieve to remove and remaining solids.
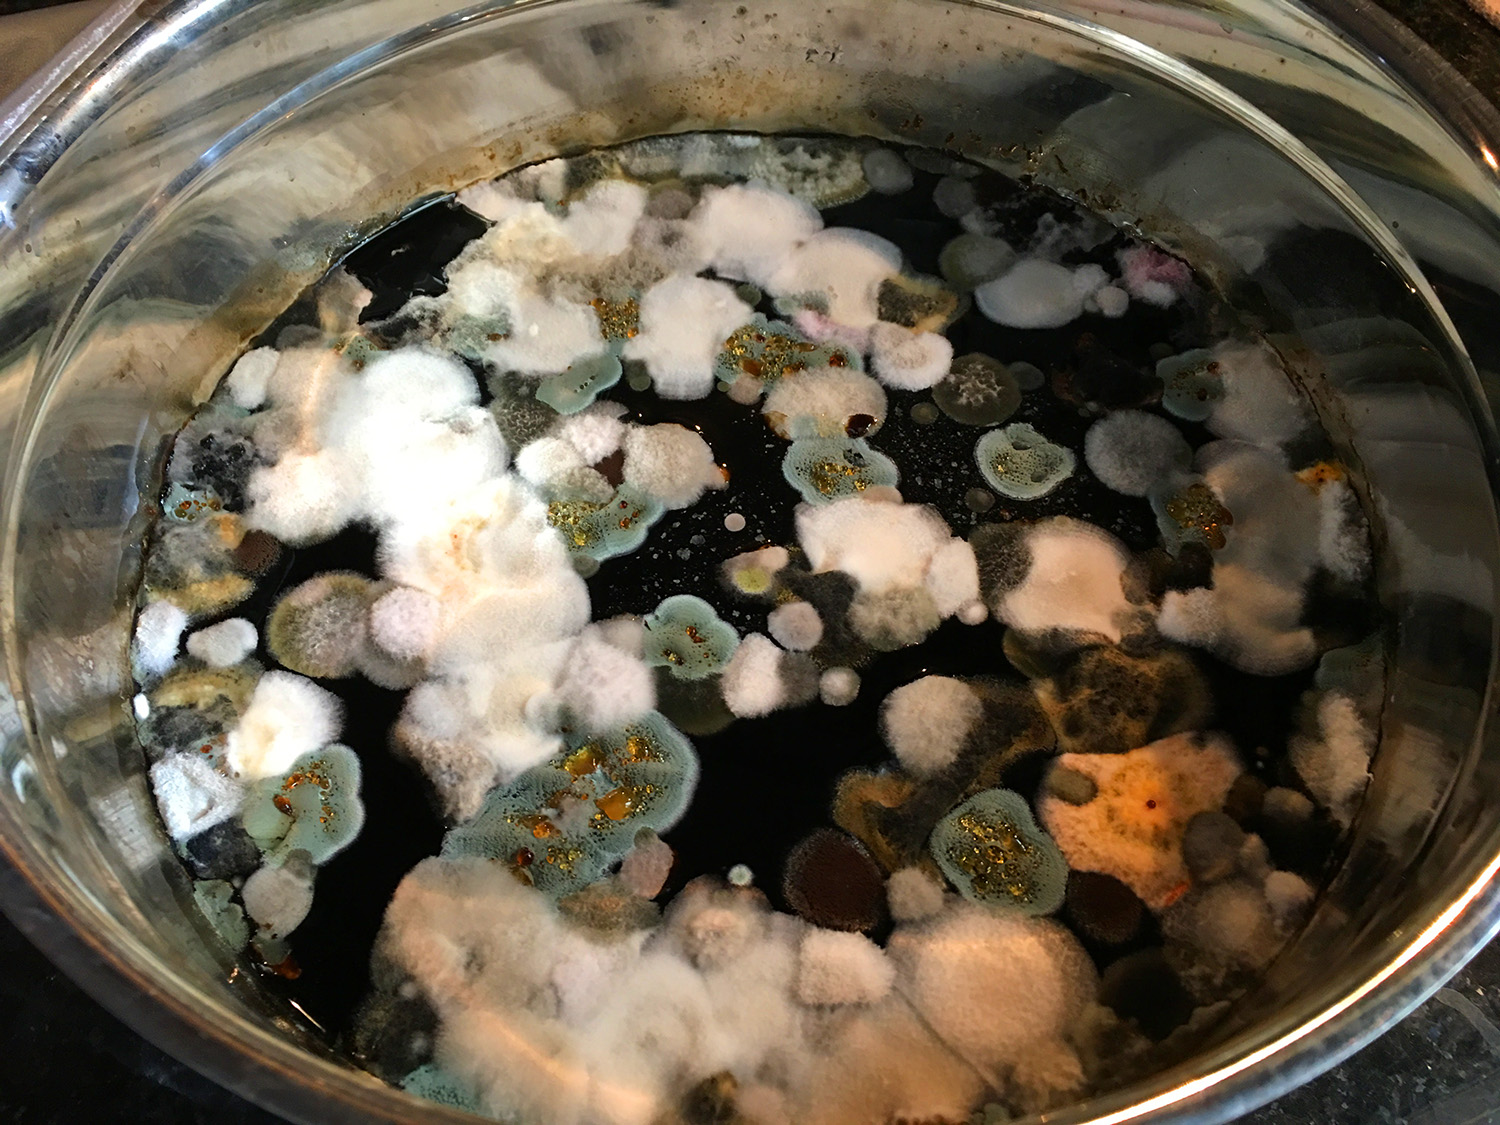
At this point if you let the ink sit it will develop a gnarly looking mold. Click on this image to enlarge and look at all the amazing color and texture in this mold!
I have read a couple tips to prevent mold. Once site recommended adding some rubbing alcohol and another said they added white vinegar and salt into the mix as a preservative. I went the rubbing alcohol route with this batch. I have also heard of adding cloves or spices to give it a nice smell.
If you should get mold on your ink, it comes off easily. It forms a satusfying pudding skin type surface and you just scoop it out with a spoon. In the photo above, that whole layer of mold came off in one piece.
9. Bottle the ink. I ended up with 96 oz. or three quarts!
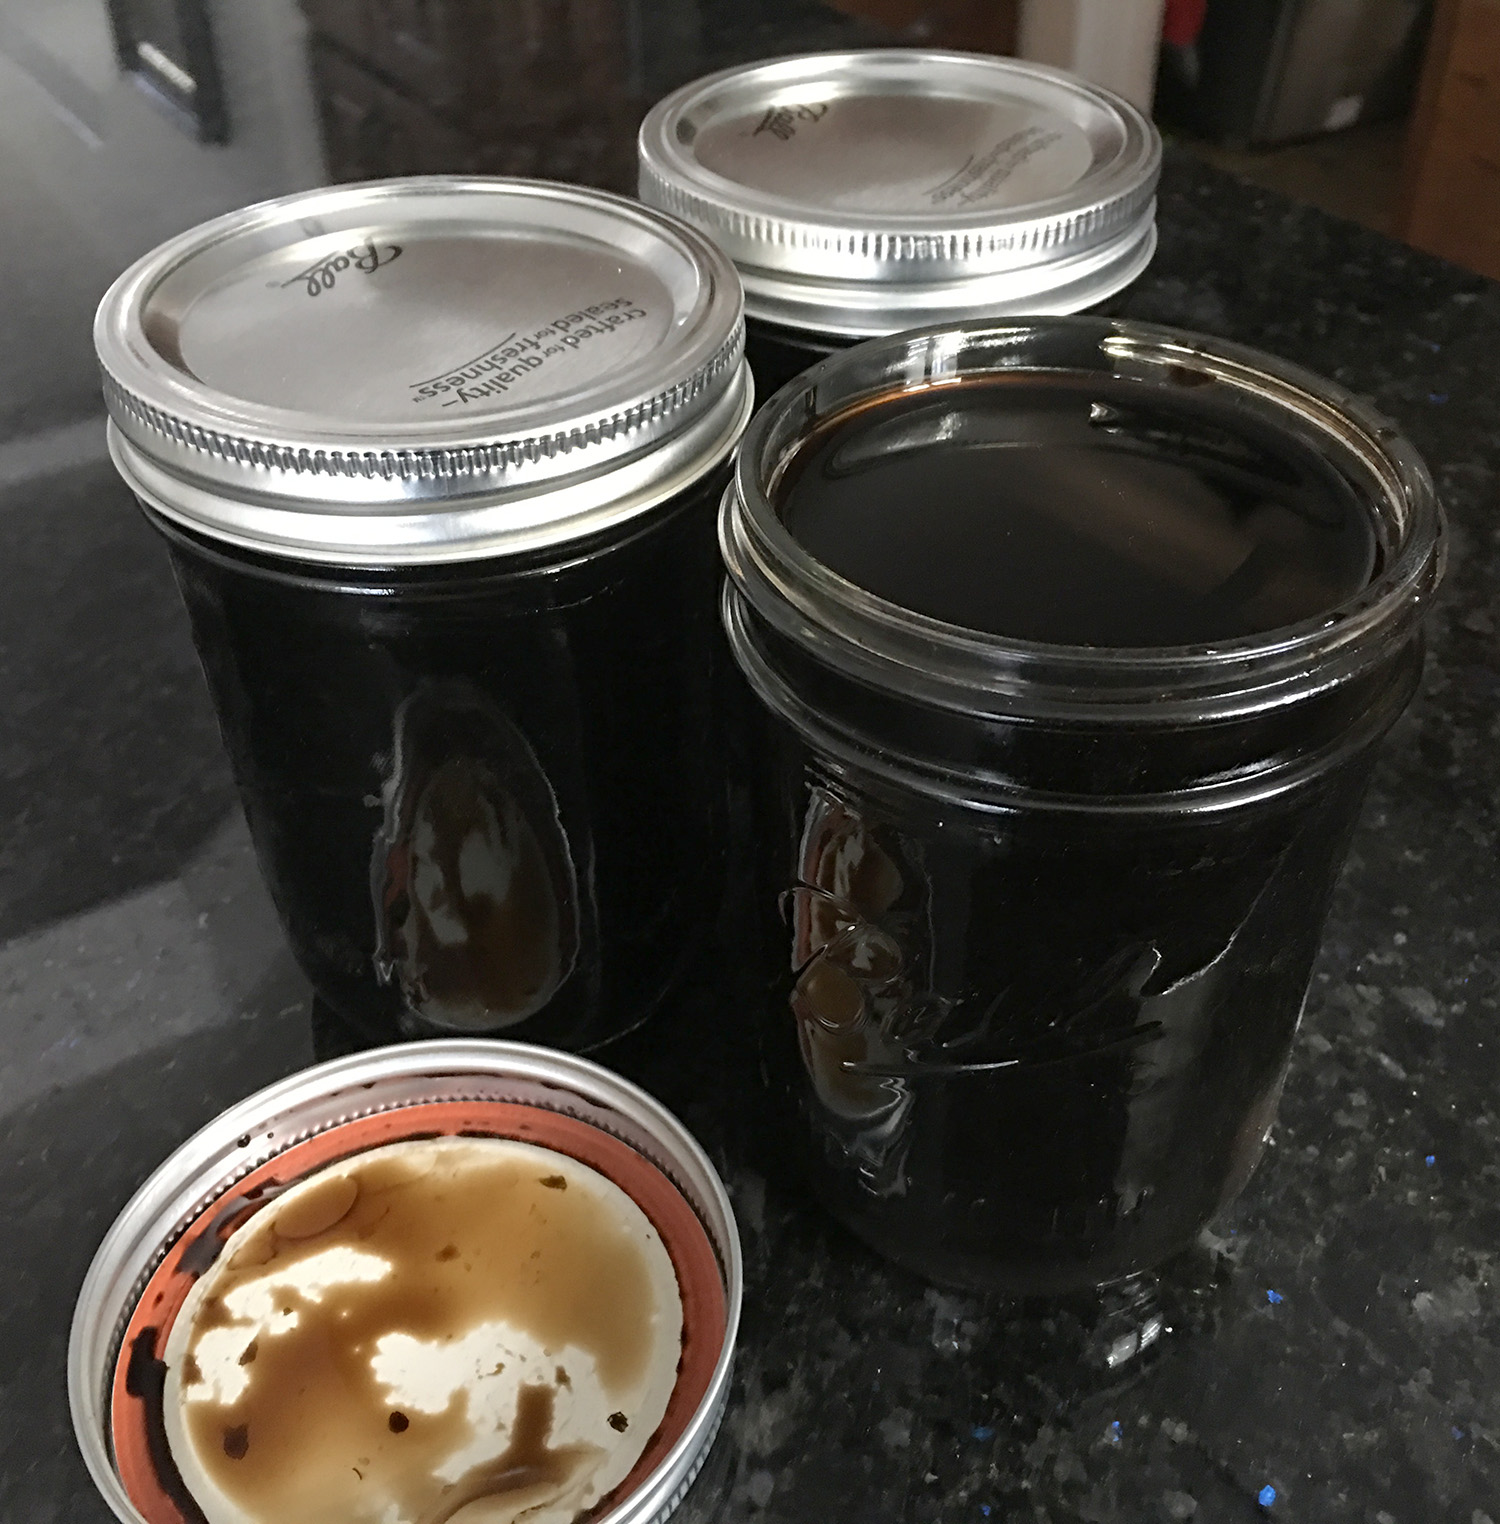
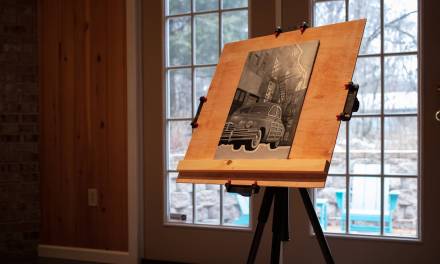
10. Draw with a dip pen or brush (don’t use a fountain pen).
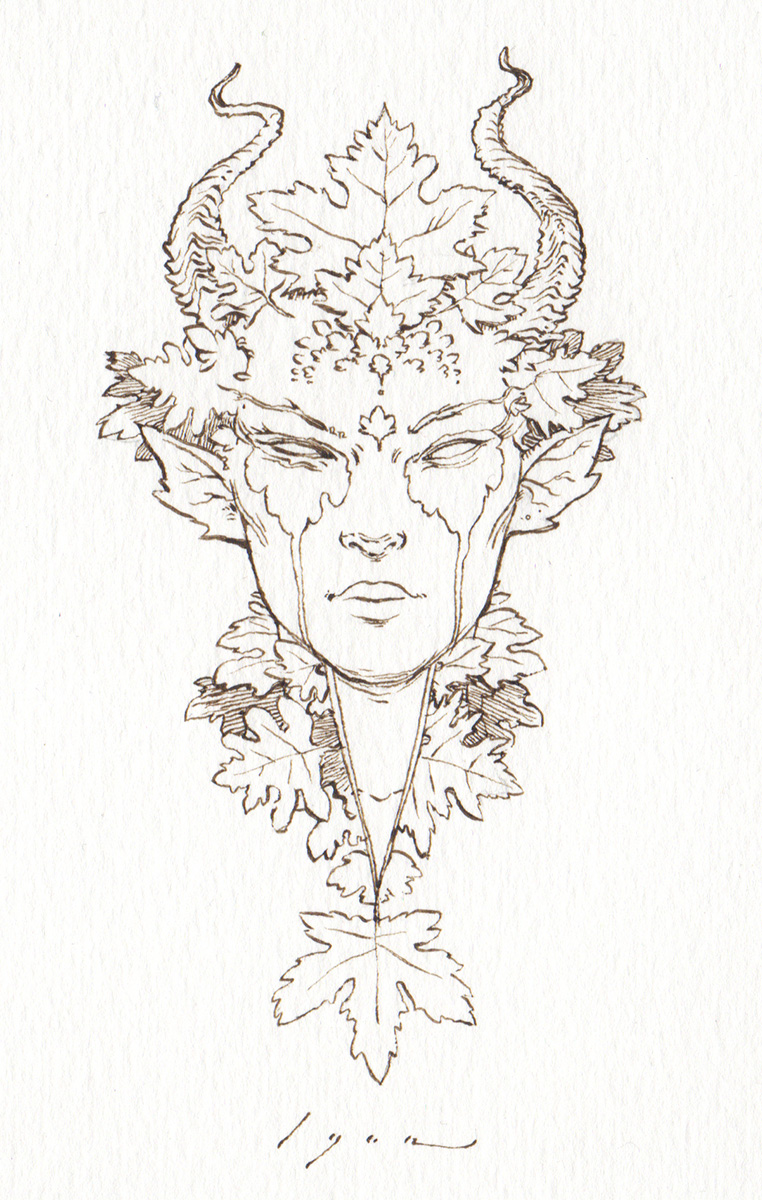 |
| Drawn with a Tachikawa mapping nib on cold pressed watercolor paper |
11. Make a nifty label for your ink.

12. Draw some more!
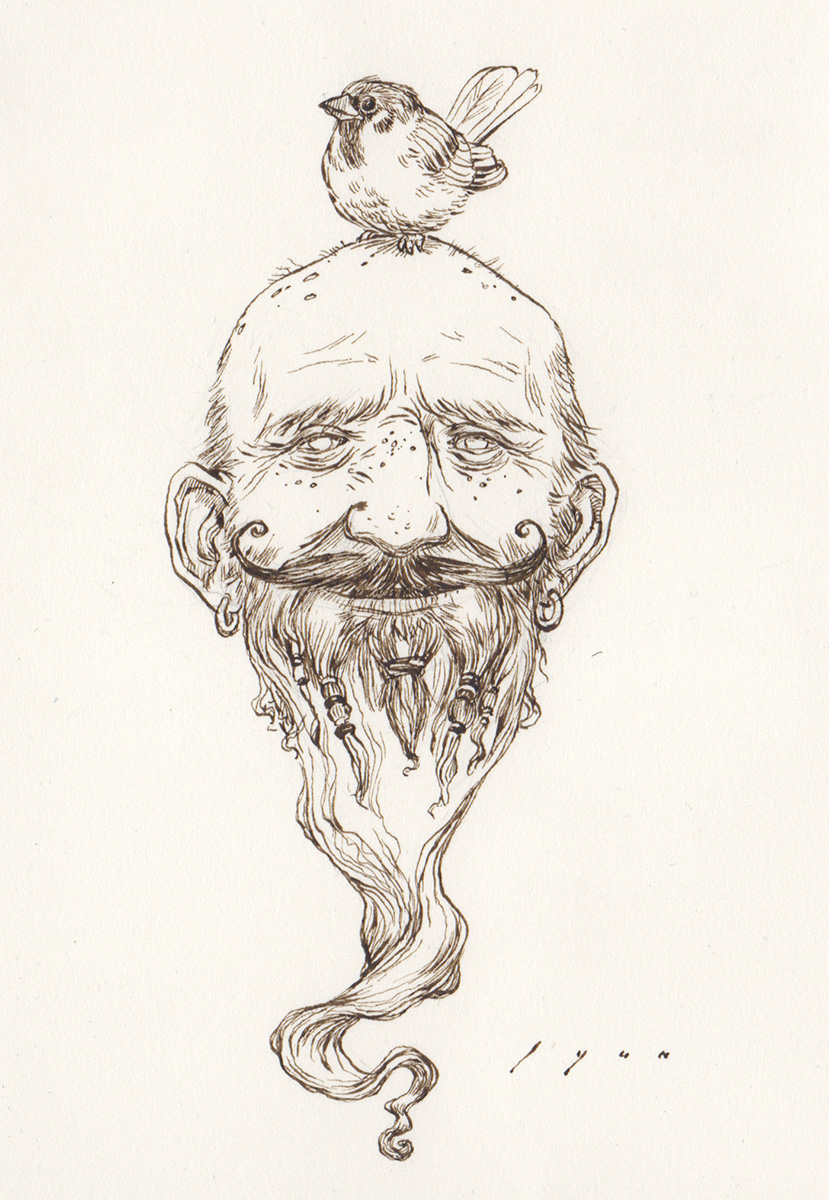 |
| Drawn with a Tachikawa G-nib on hot pressed watercolor paper |
Thanks for giving this a read. Let me know if you make some ink of your own!
Howard Lyon


Gorgeous rich, dark color- much better than the store bought I have been using. Thanks for the recipe!
Great post. Very interesting. Thinking of trying this. How is it with tonal washes? Does a dry layer lift, or is it pretty permanent? Also,any idea of how it holds up over time?
Thanks!
Since you are using canning jars, could you canning methods to stop the molding?
You bet, thank you!
Howard, you are amazing! Talk about a variety of posts on Muddy Colors – this is a fantastic resource and getting better.
The tonals washes it makes are beautiful. Capable of some very subtle transitions. The dry layer doesn't lift and everything I have read says it is very permanent, but I have just started using it so I can't confirm. The one thing I have noticed is that if you put it on really thick, it can crack off. It still leaves a dark stain underneath, but you wouldn't want to puddle it with a brush on flexible paper. That is true of most inks I have used though.
Curious how these have stood the test of time, now that some time has passed. Thinking of making a batch of my own this fall.
Thank you Douglas! This was a lot of fun to do. 🙂
Wow, very good post! Always nice seeing some crafting happening and ink is such an incredible medium.
Awesome post, thank you.
Is there a specific reason for the “don't use a fountain pen” recommendation ?
I believe it would clog up the fountain pen. It has a sediment that deposits at the bottom of your ink bottle that wouldn't play nice with fountain pens. I have read that if you don't use heat to process the husks that you can still get a nice brown ink, not as dark, that is sediment free that works with some fountain pens. I haven't tried it though.
Thanks! I am hoping to add some more tutorials on book binding soon.
Is there anyway I could buy some of this from you? I live in Utah (friends with Mike Anderson, who took your class and you posted his picture on here a while ago).
I think my Sis-in-law has a bunch of walnuts I could give too.
I just don't have time to process some of this, but would love to try it.
-Eric Himle
This is relevant to all my ink drawing interestsssss. Thanks for the post!
I'd be happy to give you some. Do you have a baby food jar or old ink bottle? If not, I might have one. Message me on FB or email me at howardlyon via gmail and we can work out meeting up. My studio is in American Fork.
Thanks Tawny! If you end up making some, let me know how it turns out and if you have any feedback or tips once you do.
Also, I will take any walnuts you have. I want to do another batch. I bet there might still be some viable fruit on the tree, but not for much longer. 🙂
Thank you for sharing this! It's very cool.
Thanks Thomas, I am glad you liked it!
There is a guy locally http://www.tomnortonwalnutink.com (as there are a lot of Walnut trees in New England 😉 ) who makes and sells walnut ink since the 90s… and it is quite lovely (and lively) to work with.
*Full disclosure, I do not know Tom, but I have been using his ink for years.
FYI If you read toms website he reveals hins ink ís nót made with walnuts but with pigments to mimic old walnut ink master drawings.
This is exactly the tutorial I've been looking for, but a month too late! The squirrels have gotten all the walnuts around here already. I'll have to try this next year. I love making my own stuff. c:
What a gorgeous color! I know someone who has a ton of black walnuts…
Great post, Howard. How much rubbing alcohol would you add to the batch you made?
I added about 10% by volume
I am an encaustic painter and saw the reference to walnut ink in a video which lead me here.when I googled it Thank you so much for your post. I want to give it a try. I have made salve with chickweed and beeswax and they used vitamin e oil from a capsule to preserve it. I am wondering if that would also be an option for the ink to eliminate the formation of mould? Thoughts?
The oil and water won’t combine (for obvious reasons). You could possibly add a vitamin e chewable tablet? Honestly, high-proof alcohol-like that used for tinctures-rubbing alcohol, or vinegar is your best bet for preserving a liquid.
Awesome! Thank you so much! Making a big batch this fall as the walnuts drop.
Awesome post, thanks for sharing. By the way, does anyone know how I can turn the walnut ink into walnut crystals? So that I can just dilute the crystals with water whenever I need more ink? Many thanks.
I’ve heard it works to dry and powder the hulls, and just shake up with water when you want some dye.
What ratio of alcohol to walnut liquid did you use?