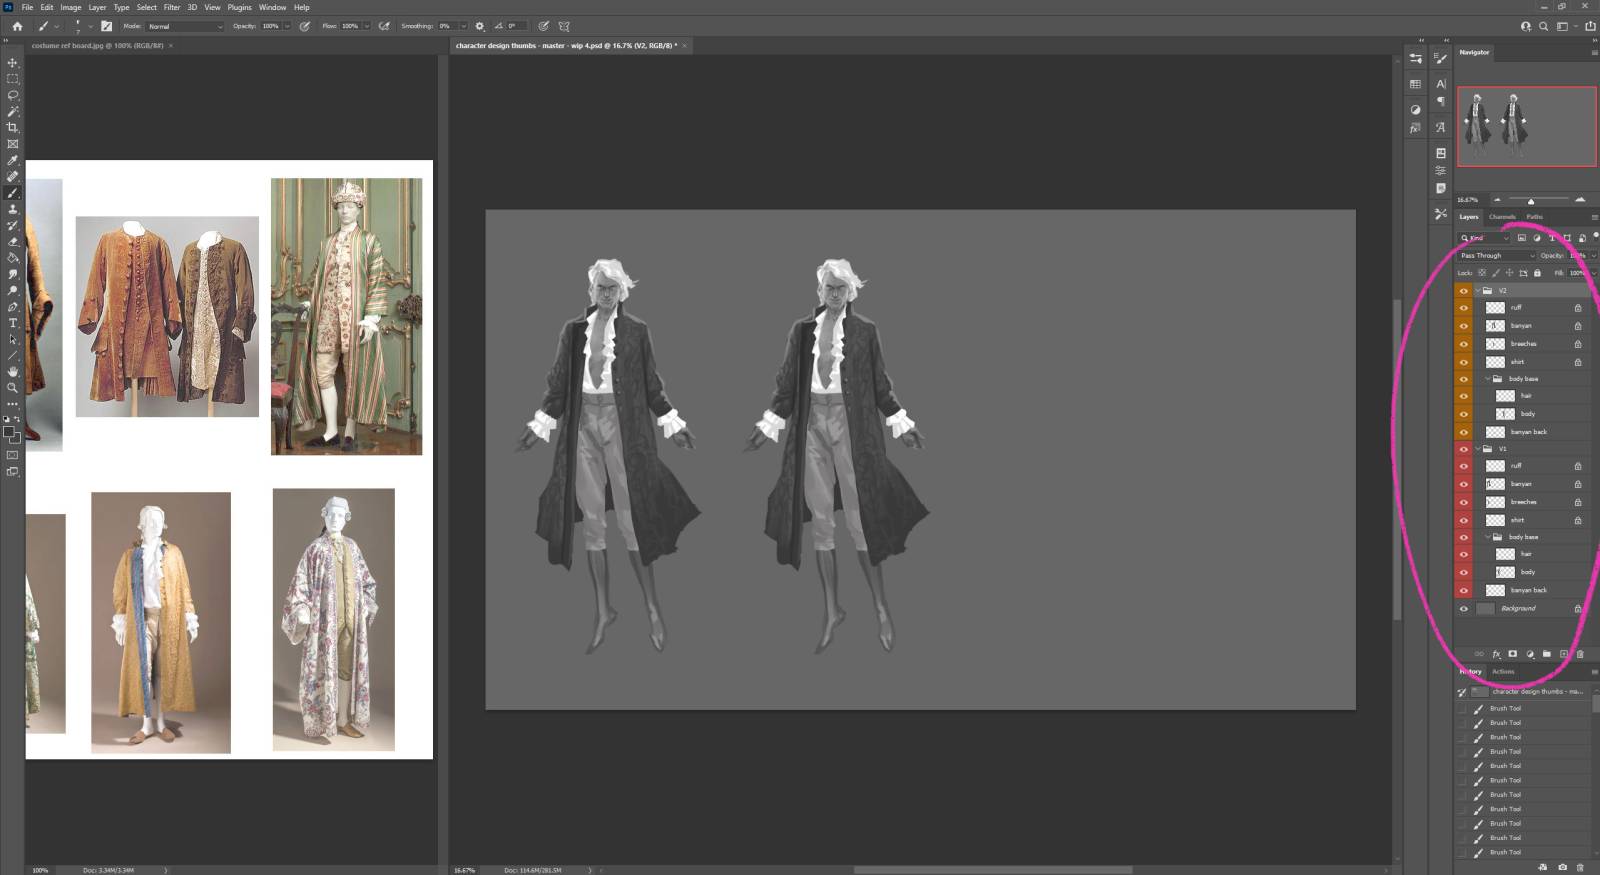
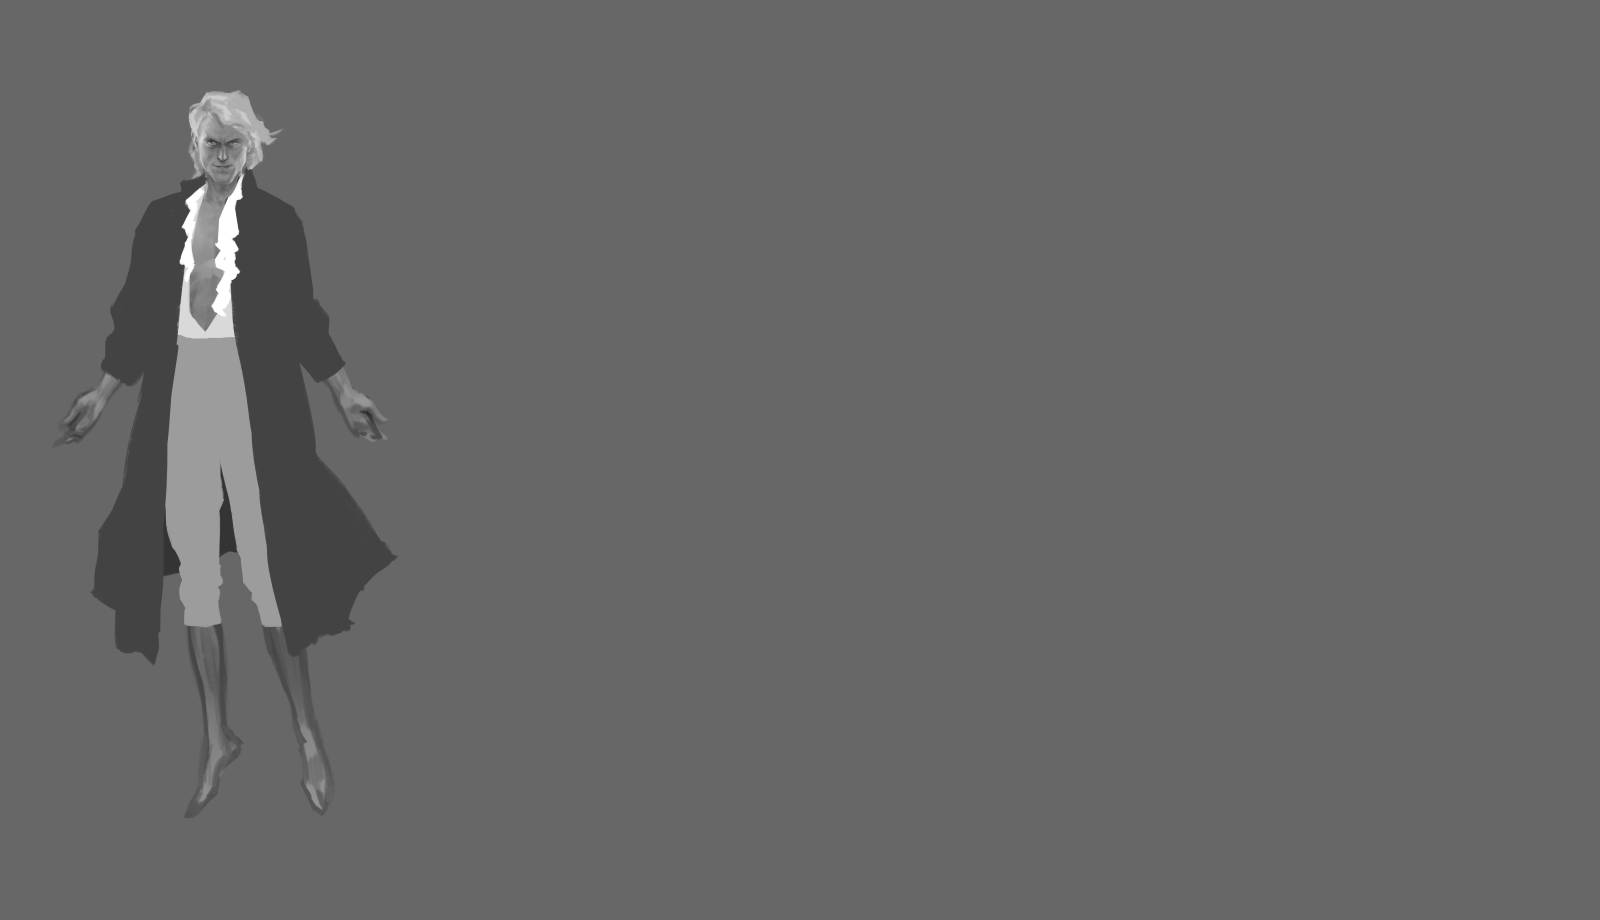
In the last session, I created a paper doll body base, to provide a frame on which to work on costume variations. The next step is to create the costume layers, and try some variations on the theme.
I start by painting the silhouettes of each costume element as a flat shape on its own layer.
I’ve created a layer for the front of the robe (banyan), the ruffly collar that sits atop it, and underneath those two are the banyan itself, the breeches, then the shirt. Last, behind the body layers, I made a layer for the back of the banyan.
I gave the shape of the banyan a bit of wind action, to give it a more interesting shape that suits the character’s magical float.
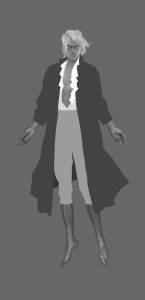
Then, I turned on transparency lock for each of the layers and did some very rough shading. On the banyan layer, I locked the transparency and scribbled with a slightly-darker color to give a quick impression of a floral pattern. I also gave him some ruffles on his shirt cuffs, on the shirt layer.
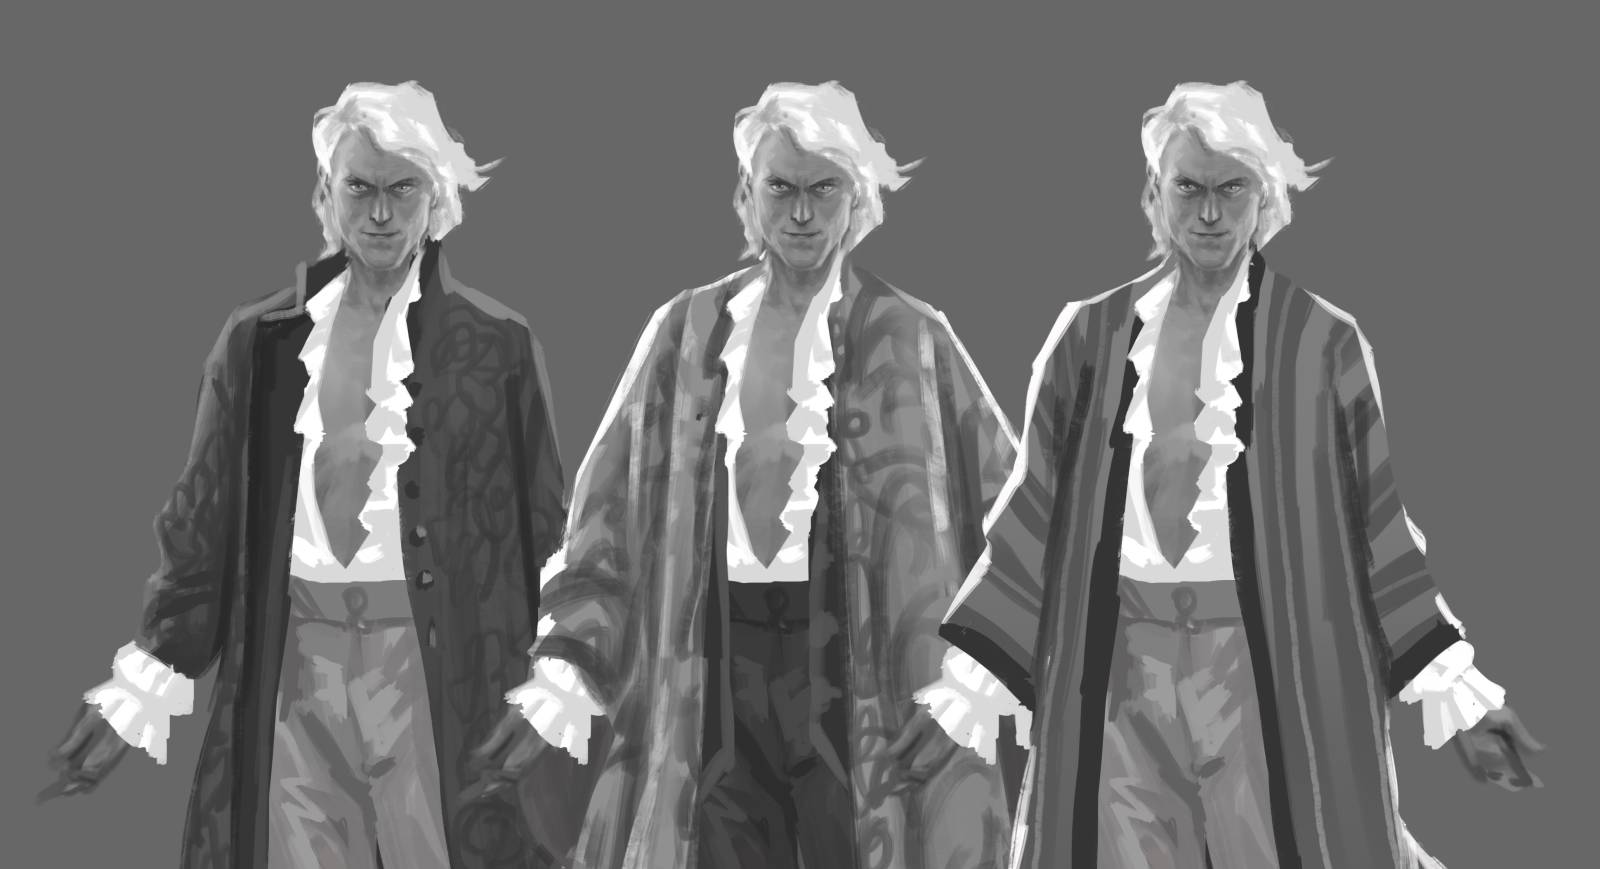
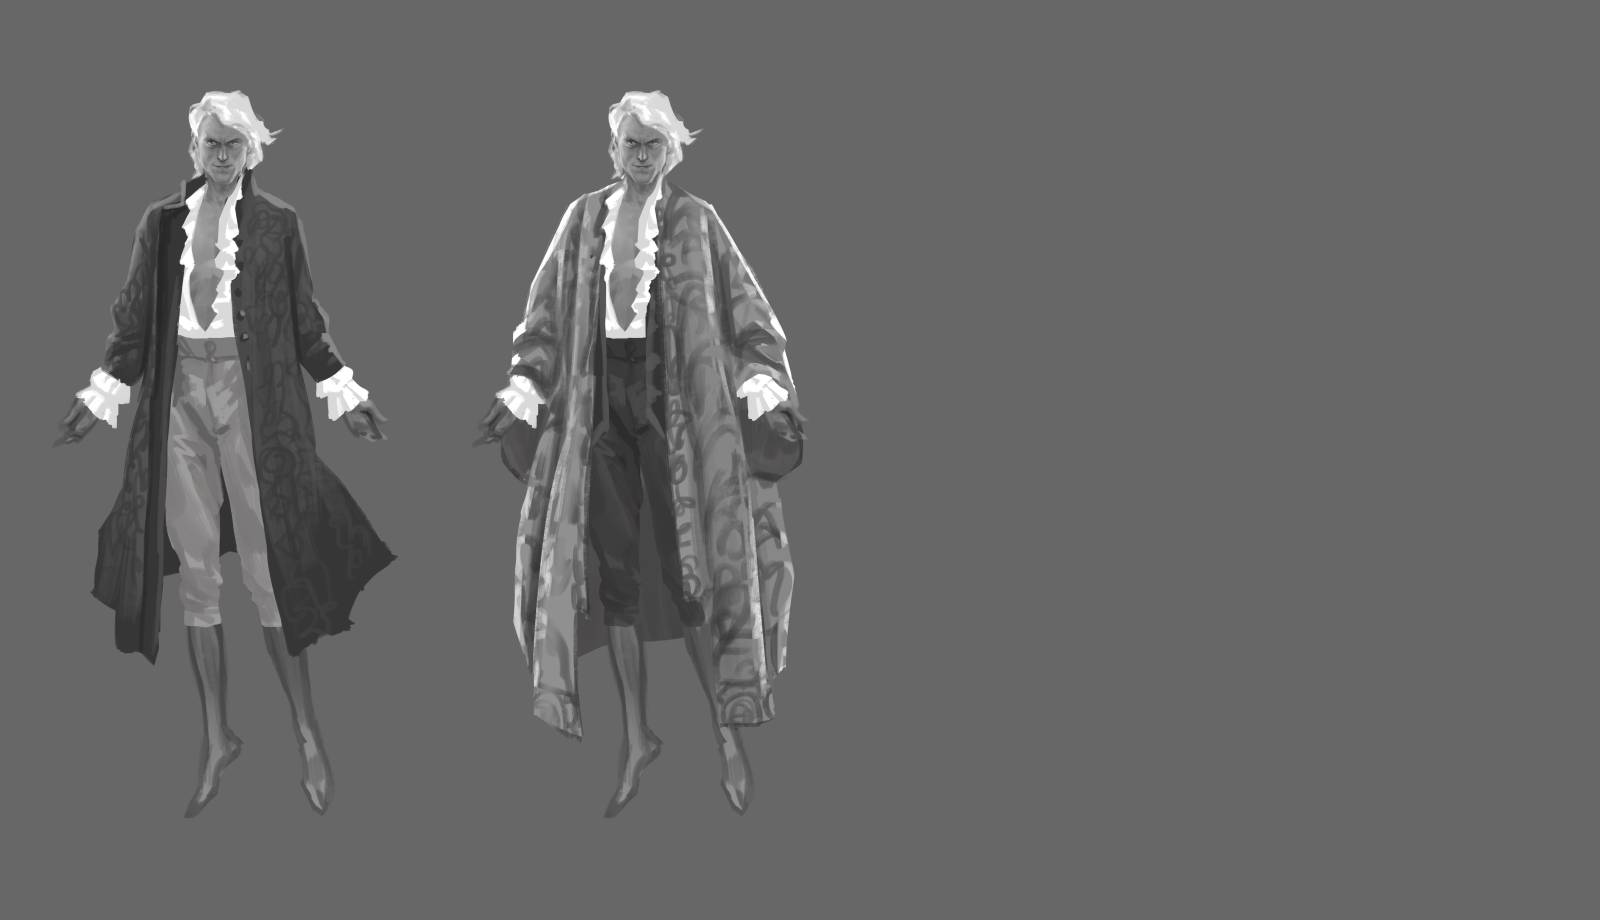
 All right! That’s one variation done! I put all the layers in a folder and then duplicate the folder to start a second variation. You can see here I’ve color coded them so that I can tell which group of layers I’m working on.
For the next variation, I simply delete the banyan layer and make a new one, taking shape inspiration from one of the other references I collected. I wanted a fuller look, so I used the layer I created for the back of the banyan to add another fold of fabric behind the first, as well as the back side of a fuller bell sleeve.
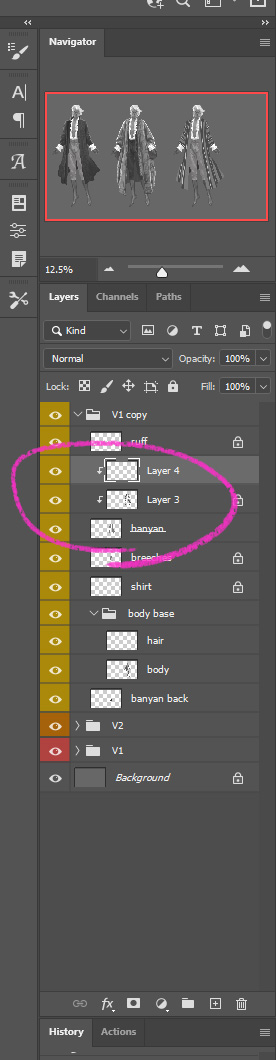
Next, I’m going to show an alternative, fast way to experiment with patterns on fabric: A clipped layer, with transparency locked. I make a new layer on top of the “banyan” layer and then hold Alt + Left Click on the edge between the two layers in the layer menu, which when positioned correctly will make the cursor turn into an arrow indicating the layer below. Once activated this will make the active layer have the same transparency as the layer it is clipped to. When a layer is clipped to another, it’s indicated with an arrow pointing to the layer underneath (circled in the screencap below). On this new, clipped layer, I will scribble another fabric pattern, inspired by the shapes on another of my references images.
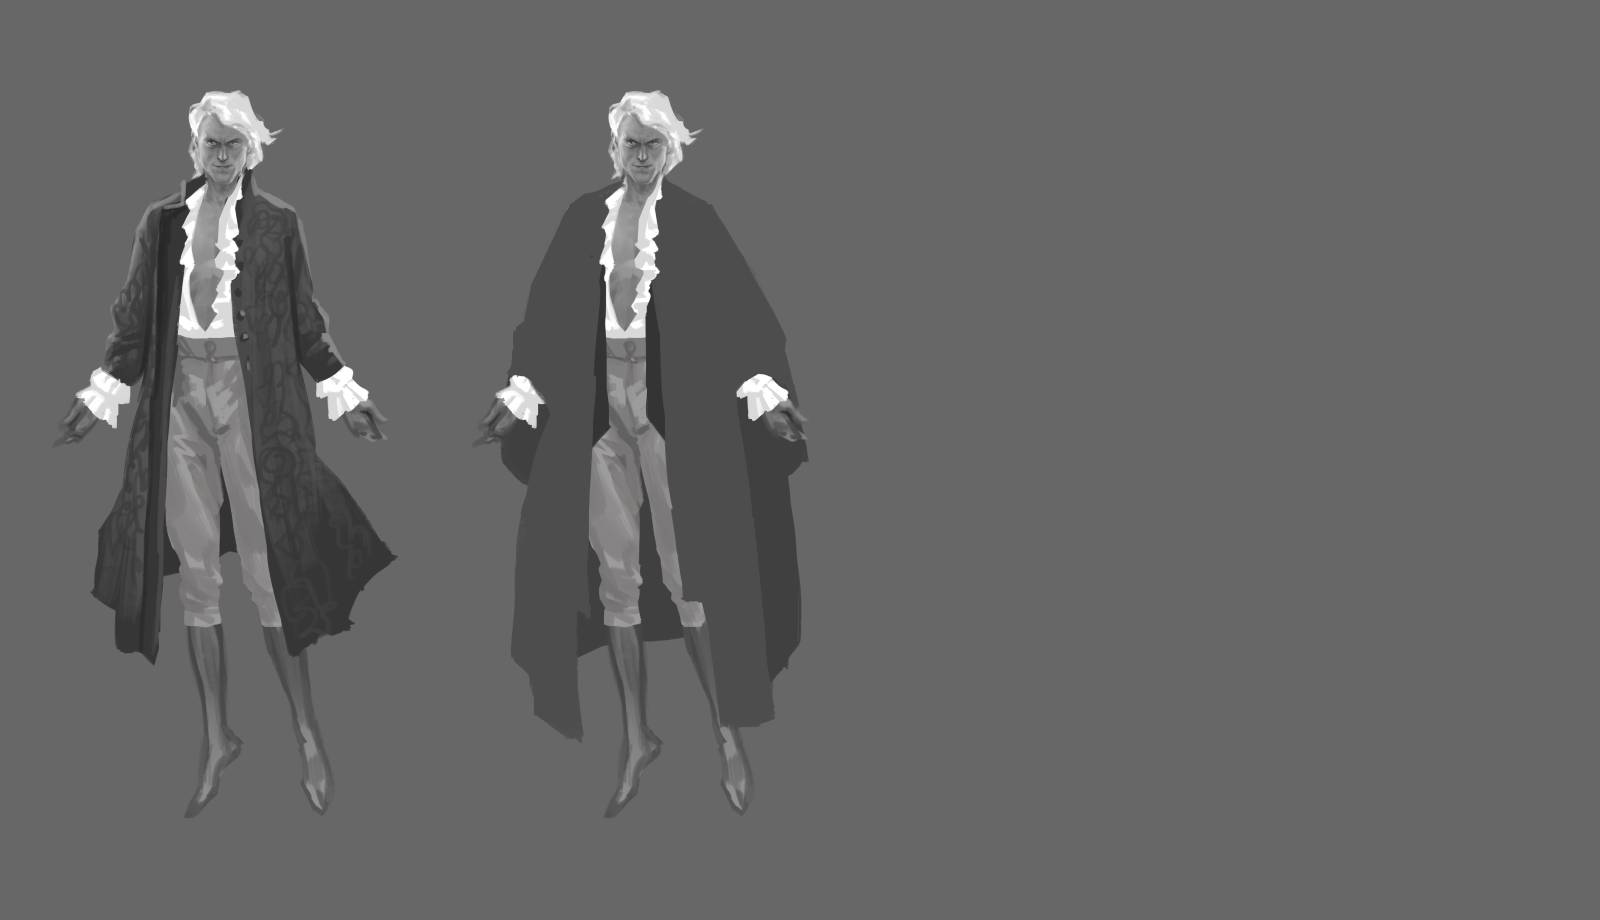
 The result looks like this:

Now I want to make the pattern have a different amount of reflectivity than the “banyan” layer. So, I lock the transparency, and then paint a highlighted edge on the locked layer. They key to keeping the folds of the fabric visible even in the rough sketch with this technique is to keep the values simple and clearly different from the “banyan” layer. It lets you quickly create the look of a brocade fabric.
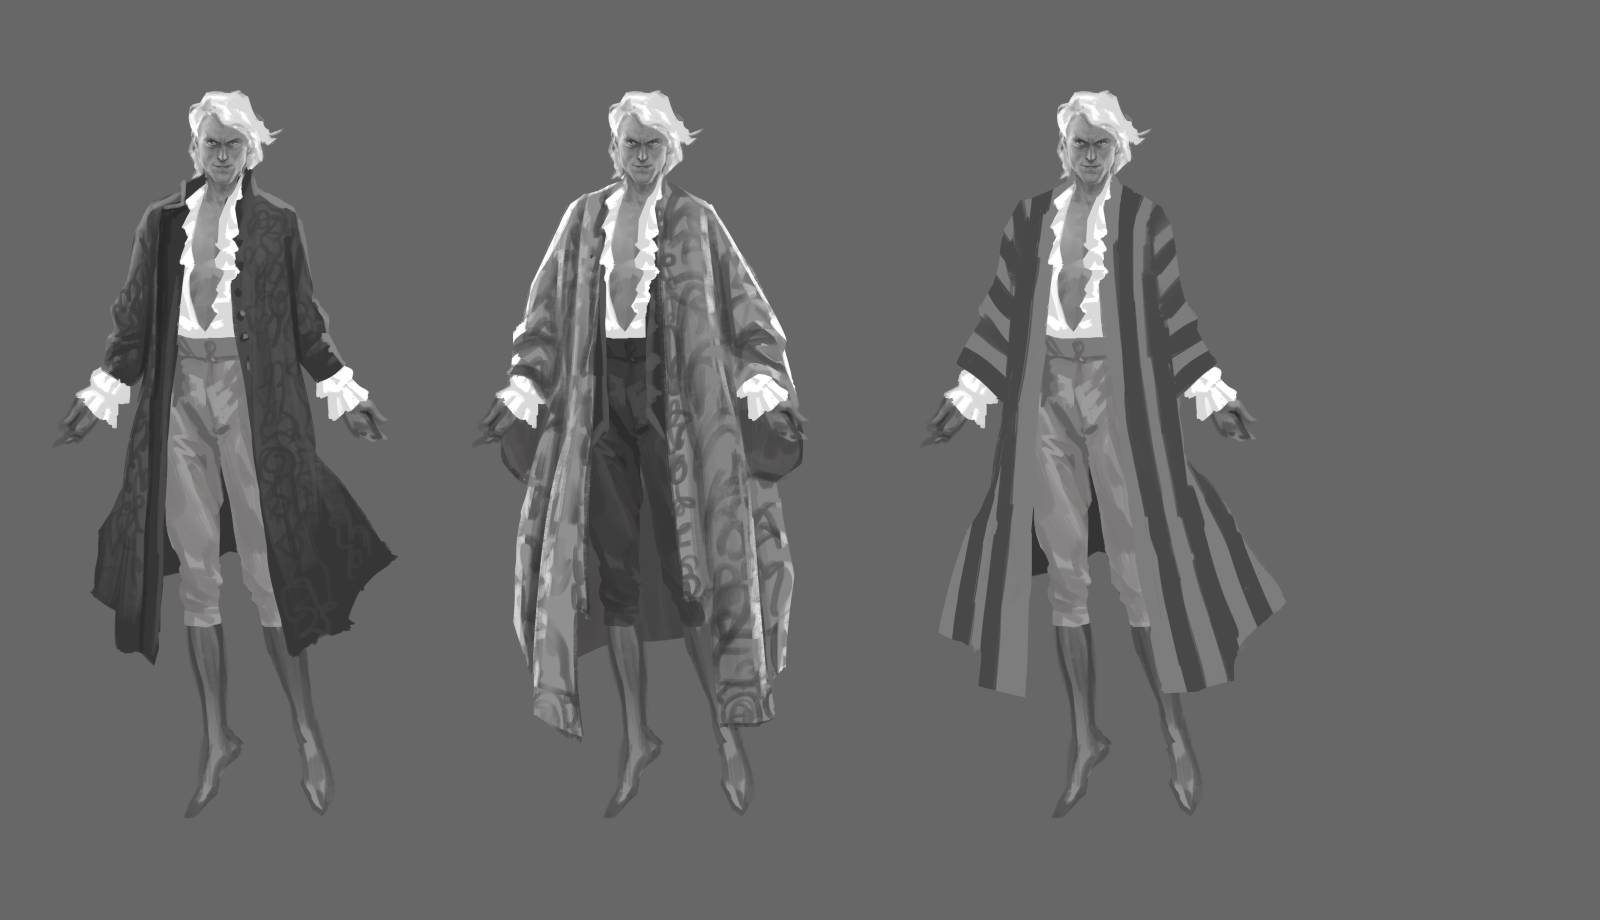
To create a third variation, I repeat the process of copying the group of layers (I always copy the original set, the leftmost version in this case, since it tends to be the simplest arrangement of layers), deleting and creating a new “banyan” layer and then creating a new, clipped layer for the fabric pattern. On this layer I paint some darker stripes.
Then I make another layer and clip it to the layer below. Since the target layer is already clipped to another layer, the active layer will clip to the same source.
Then, I turn on each of the 3 layers’ transparency lock, and using a big soft brush, I give each one a different top-to-bottom gradient.

We can add another layer on top of that, clip it to the one below (which is already clipped, so it will clip to the source layer) and do a trim, and another layer clipped to that one to do a rim light.

All layers will be clipped to the source. If you change the transparency of the source layer, say by painting or erasing, you’ll see that all the clipped layers will change as well.
Next time I’m going to try to explain a couple of complicated techniques I use a lot… Fade and History.


Recent Comments