I have been on a quest to find as cheap of a solution for a flash setup as possible. I think I might have found something really useful! It is all built around two little flashes that plug into a standard light socket. I will show what I would consider the base kit for taking photos of people or things and then some additional gear to make capturing photos of your drawings or paintings fairly simple.
This is what the base flashes look like. No bells or whistles. You can’t control the power. They are either off or full power when on. You can, however, plug in a flash trigger via a cord, which is important. More on that later. I am going to list out the components of this kit with a link to where I found them. Also, this kit requires you to have a camera that has a “hot shoe“. That’s the slot on the top of the camera where you can add an external flash, or flash trigger. Most non-compact cameras have this and some compacts do too. There is a way to use this kit without using a flash trigger and hot shoe, but it’s a little problematic and introduces some complications, so we’ll focus on the easier path.
2 Optical Slaves – $54 ($26.85 each) 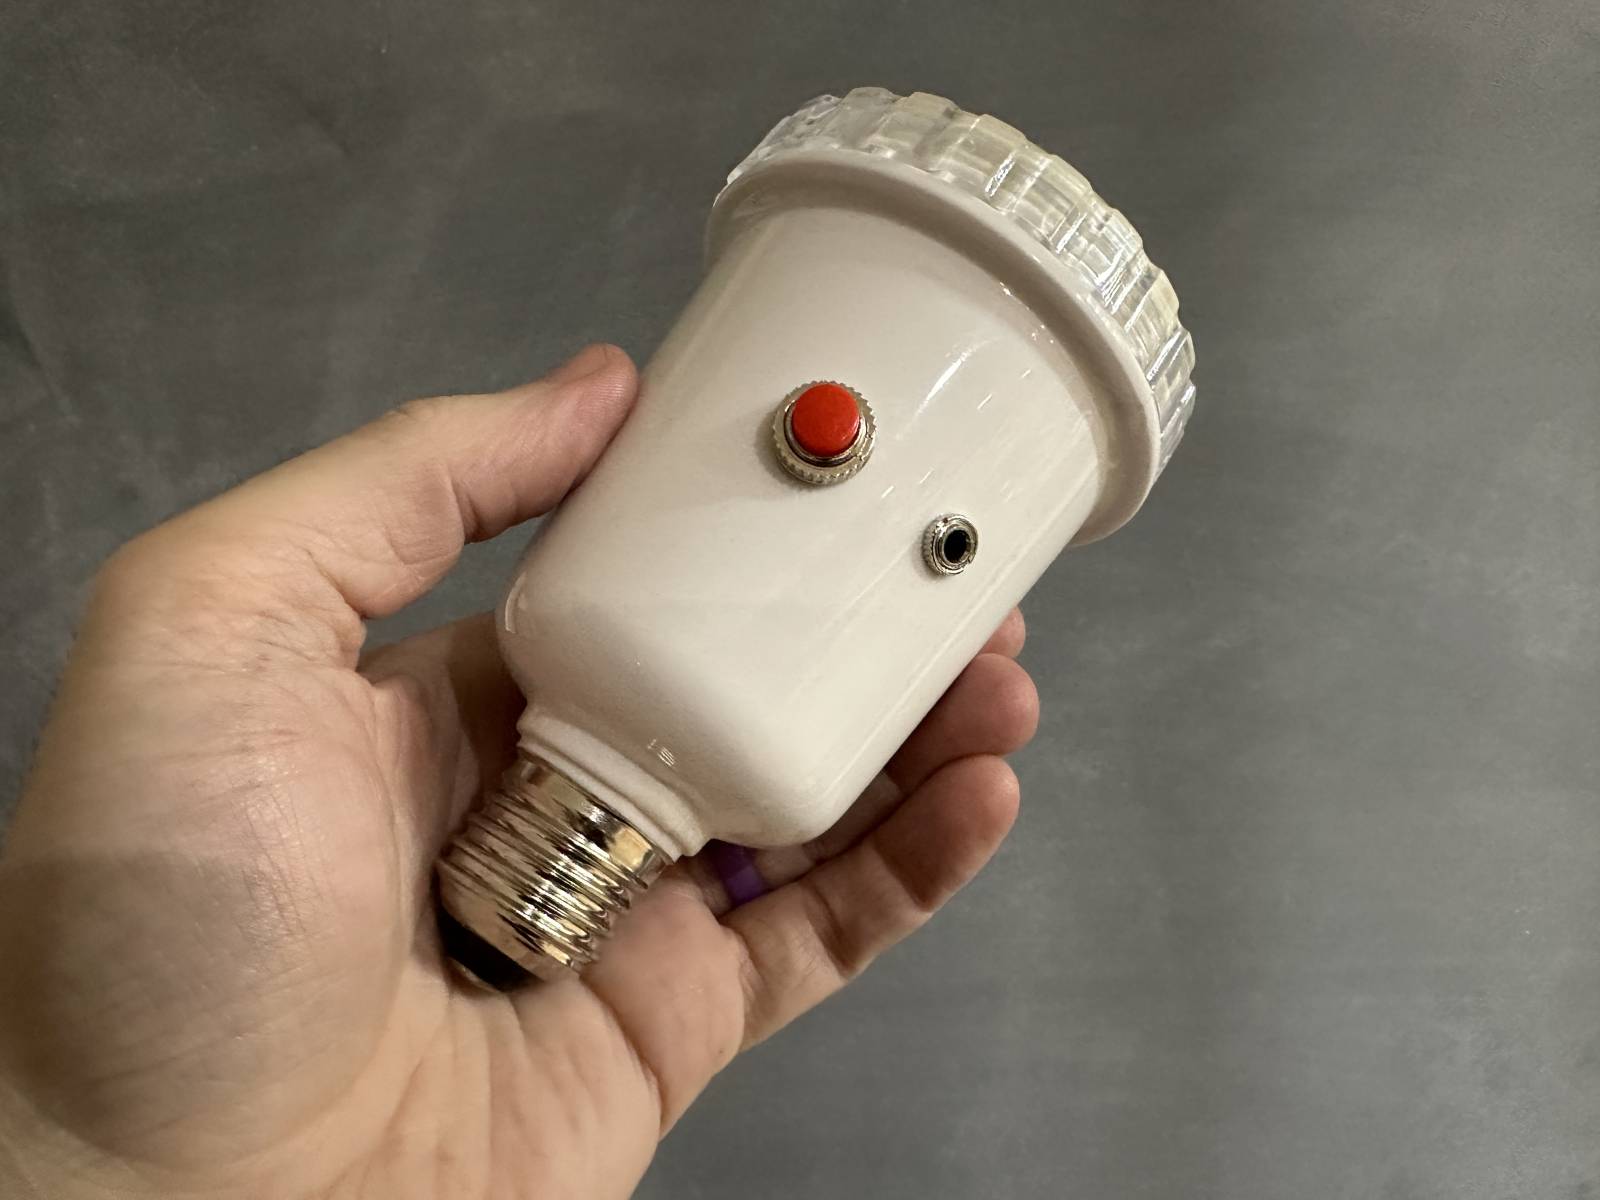 You can see the flash cord input as well as the red “test” button for checking to see if the flash is working when plugged in.

2 AC Sockets with umbrella bracket – $14.76
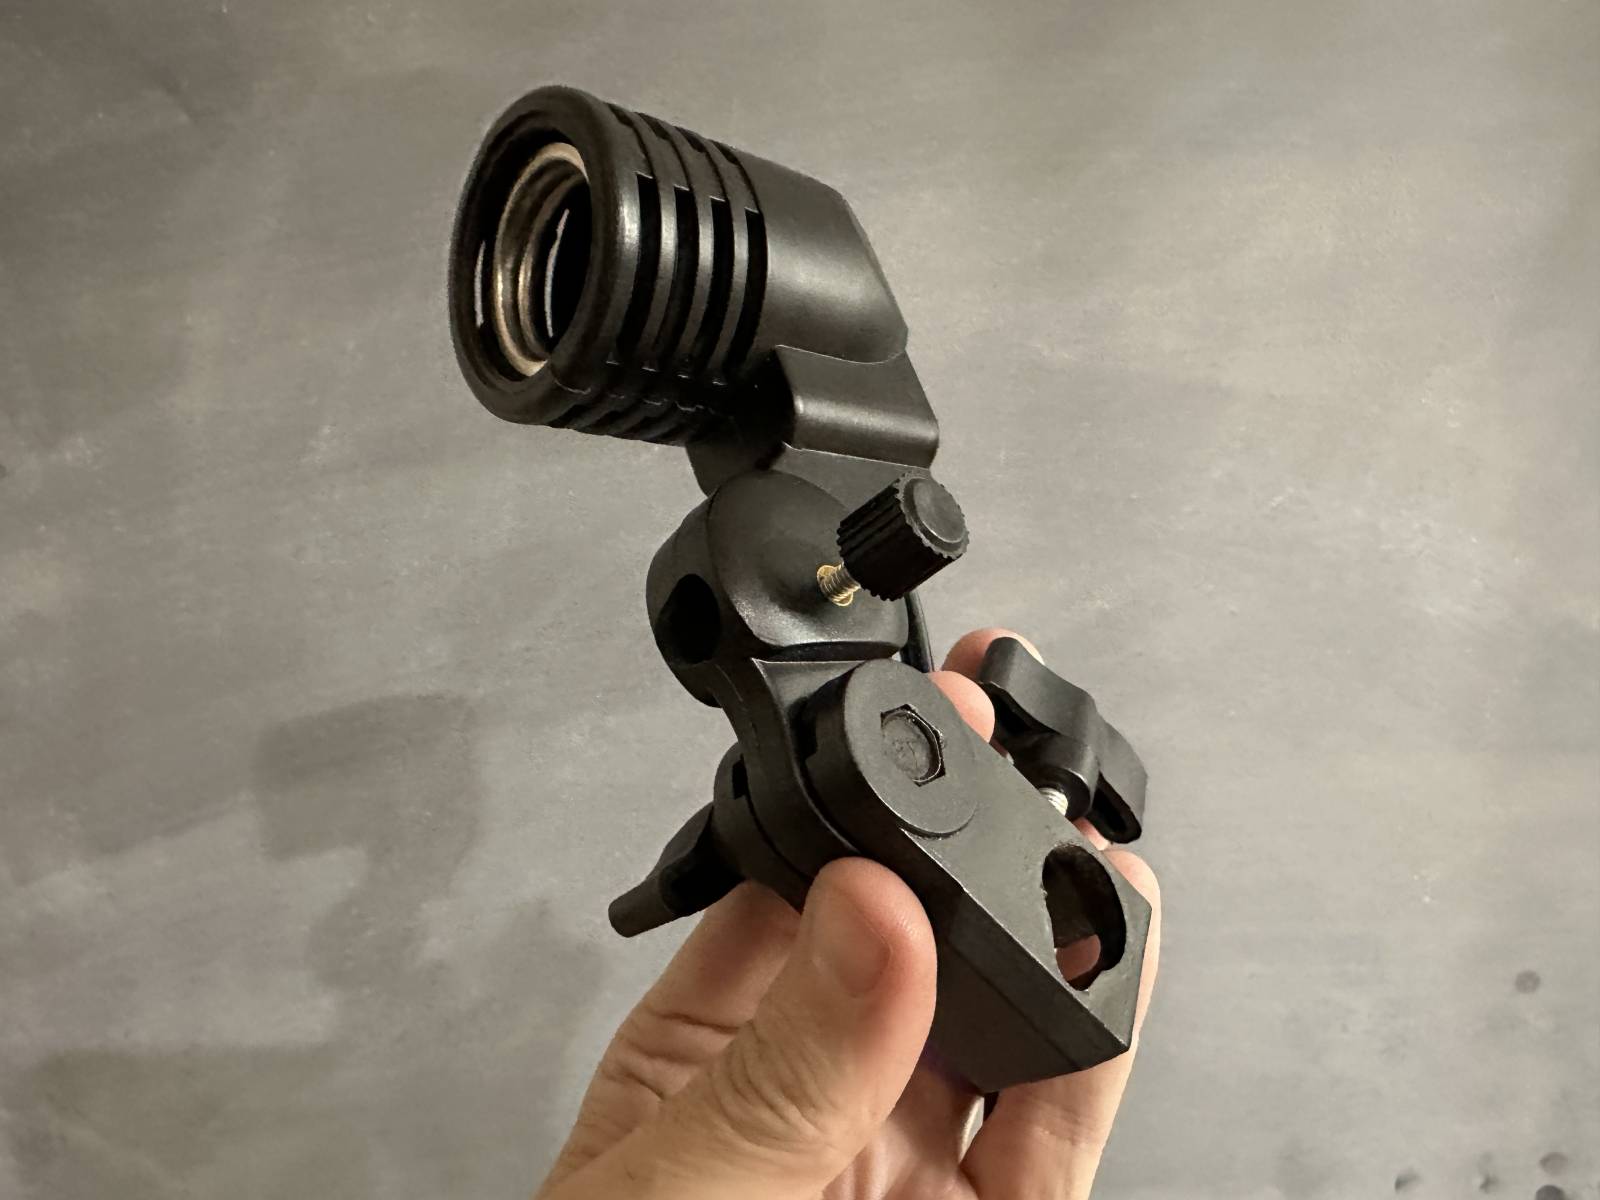 This is what the simple light socket looks like. The light plugs in at the top. There is a spot to slide an umbrella in the middle and the whole thing can tilt front and back, and it mounts on a standard photo peg that most light stands come with. There are lots of options for this, but this is a pretty cheap one that has worked for me quite well.
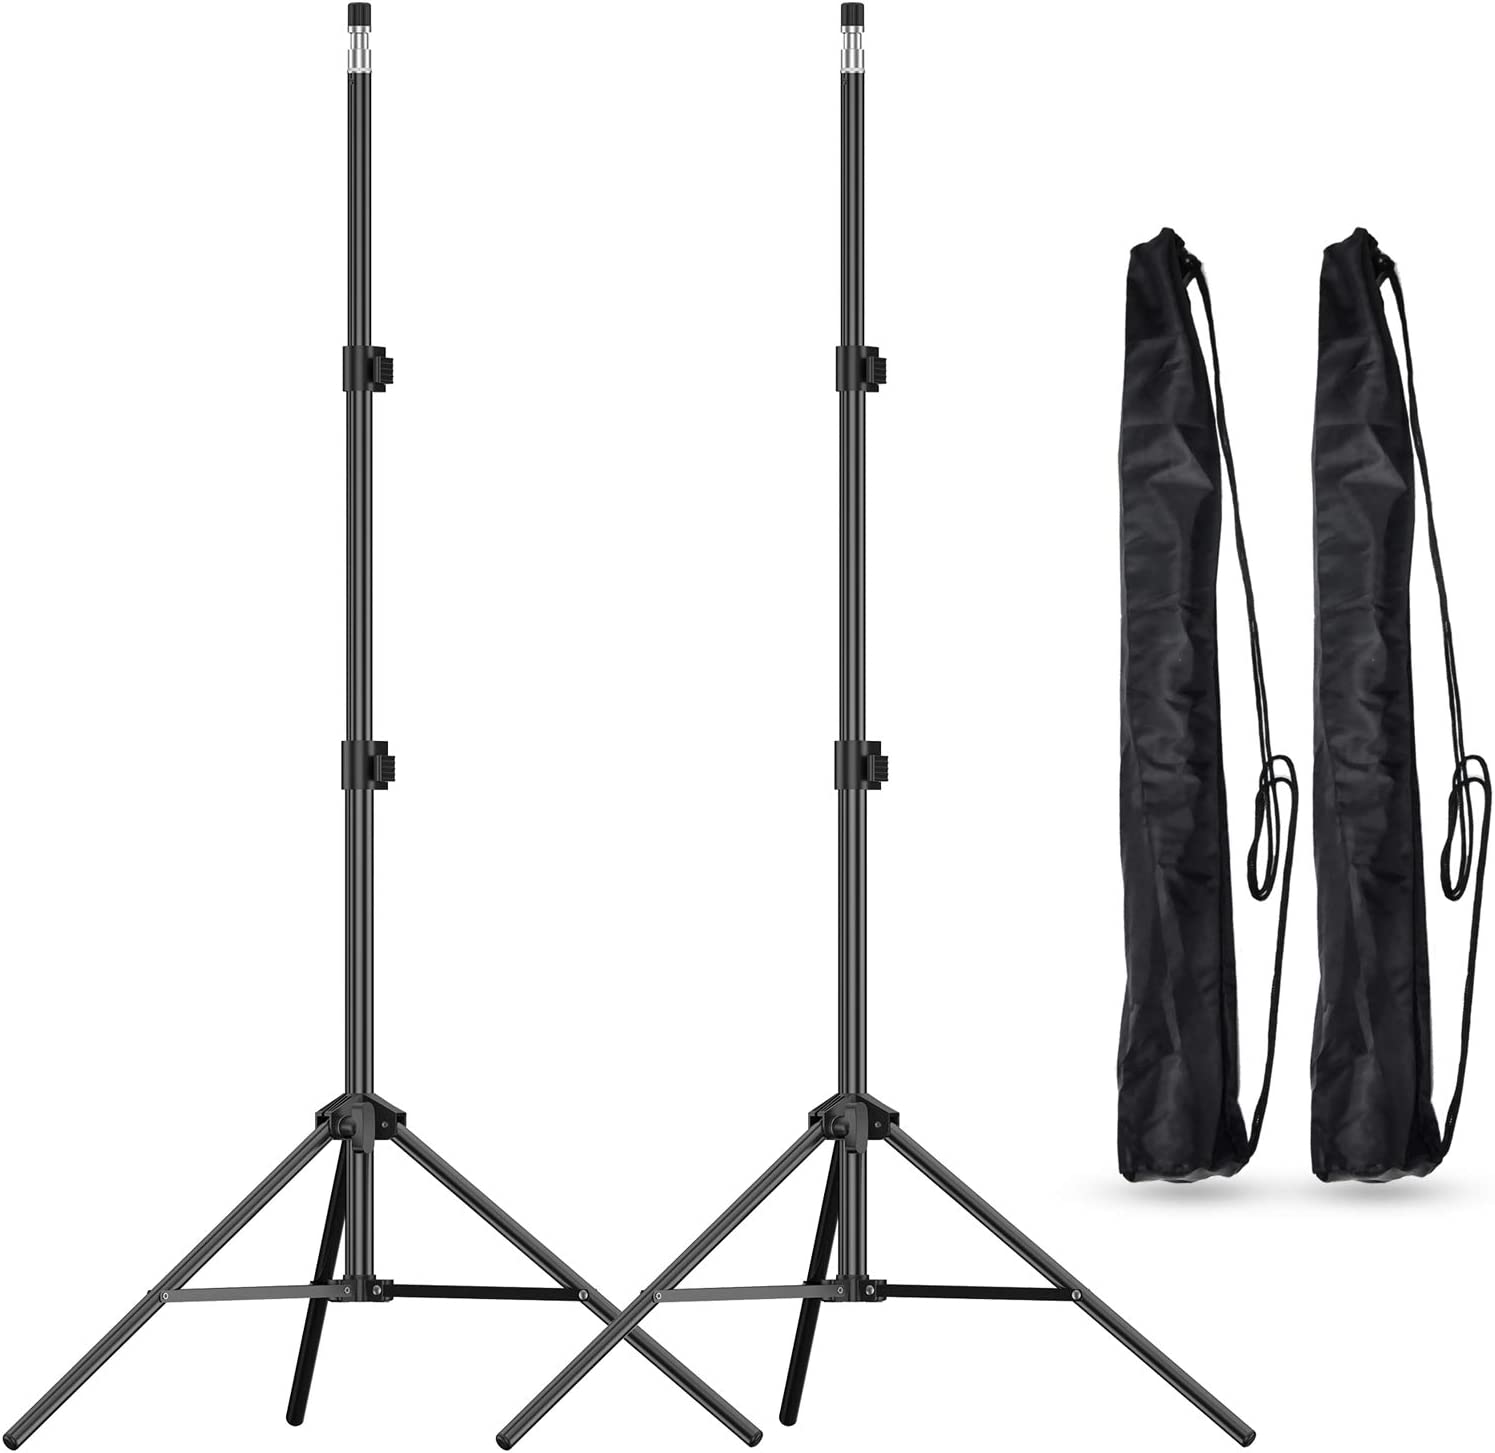
2 Light Stands – $39.99 – If you already have sockets that you’ll put your light in, these stands are a cheap way to get started.
or
Light stands with sockets – $54.90 – with this kit you get the sockets and the light stands together for the same price as getting them separate. I am listing it both ways in case you already have light sockets/stands, or want to get better stands shopping on your own. But this kit is a simple way to get both.

My old Wireless Flash Trigger – $37.99 – keptI used this version for a few years until it broke. I am including it because it worked great until it didn’t and it’s about the cheapest option there is, of only by a little. Then I switched to a very expensive trigger and it kept missing about 10% of the hot shoe signals (not firing when it should), even after getting replacements. So, went looking for another version and found one just slightly more expensive
My current Wireless Flash Trigger – $42.99 – Not much more and it’s been working great for a year after thousands of shots. It’s just a few more dollars and I recommend getting this one after personal use.
With this setup you are ready to take some images! Your total comes to about $150! That’s about as cheap of a kit as I have been able to find, but I bet if you poke around you might cut a few dollars, or find some of it used.
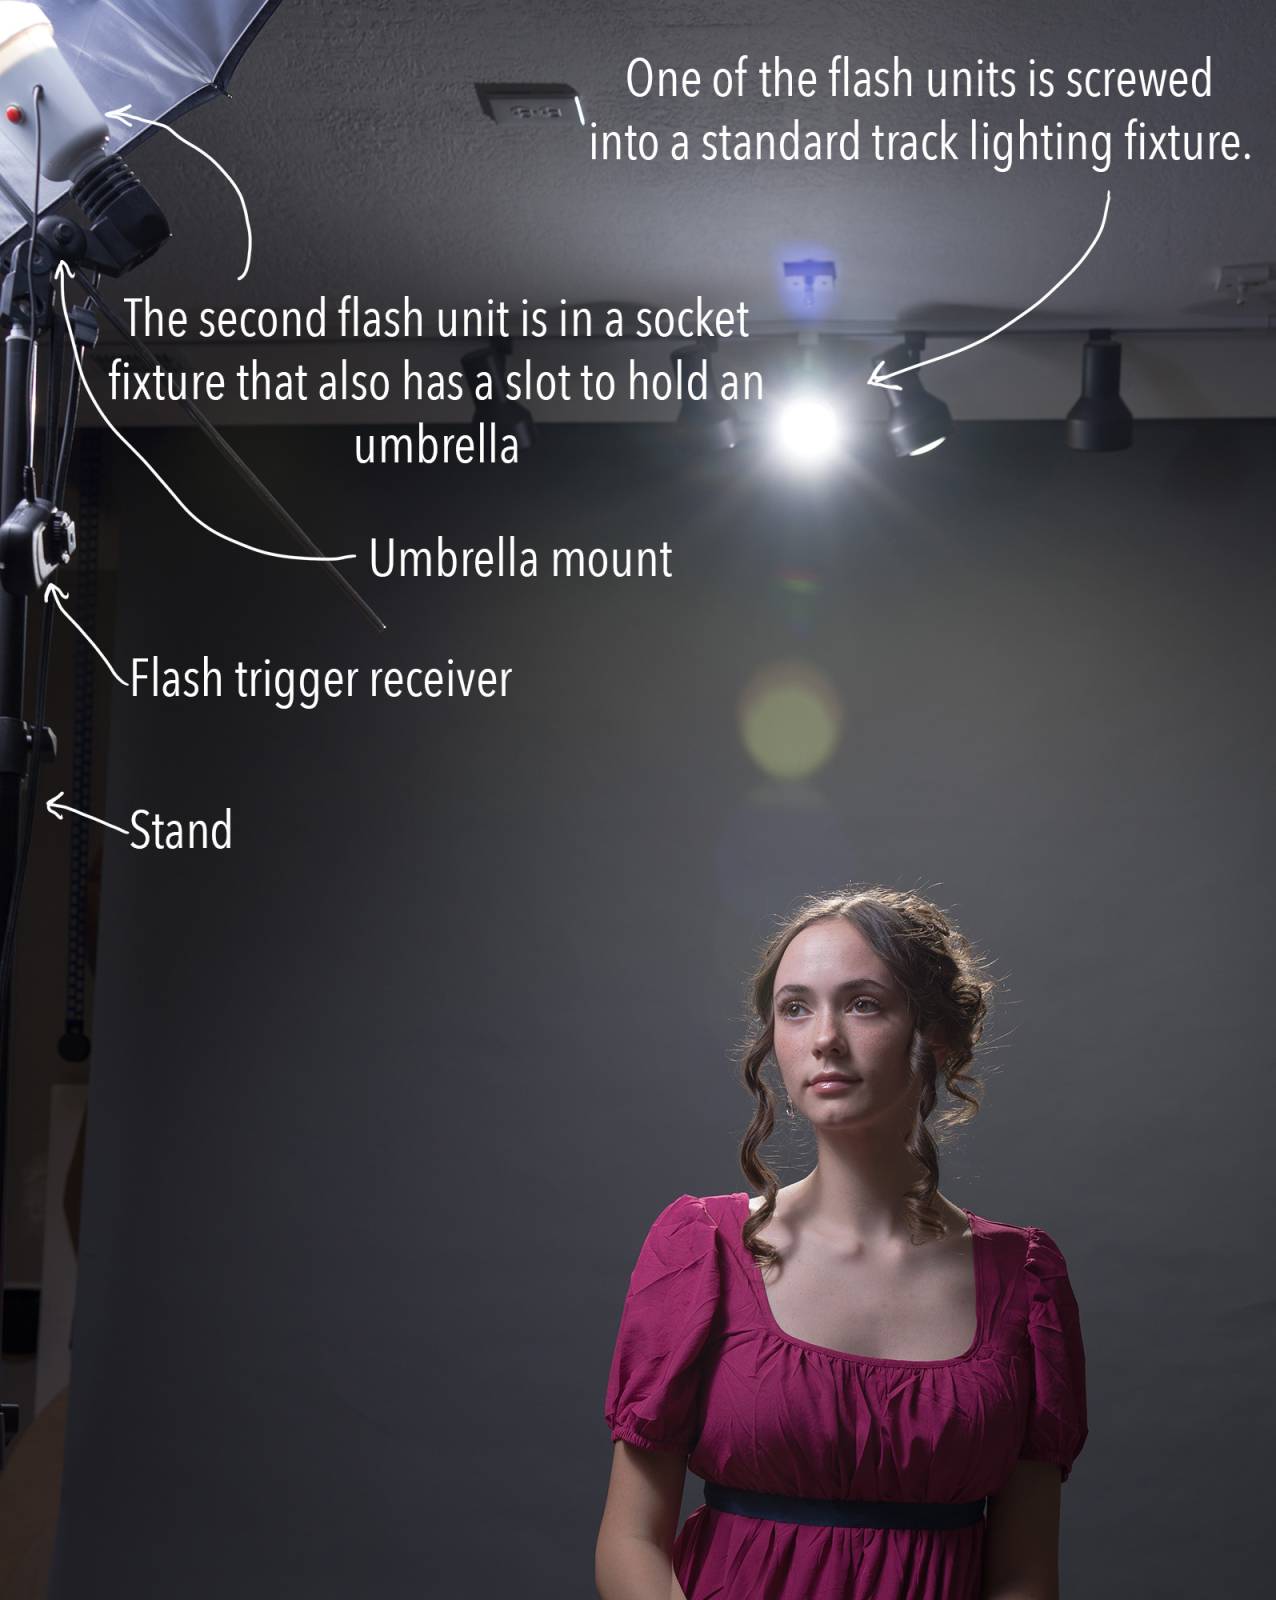
Here is a shot of how I tested them. Rather than put both in the sockets, I put one overhead in my track lighting. You could also put one in a standard overhead light fixture if you had one on your ceiling in the middle of the room. No cord, no battery. It’s pretty handy! The only downside is you can’t control the power. It’s always at it’s max setting. Which, isn’t super powerful, but it is enough to work with.
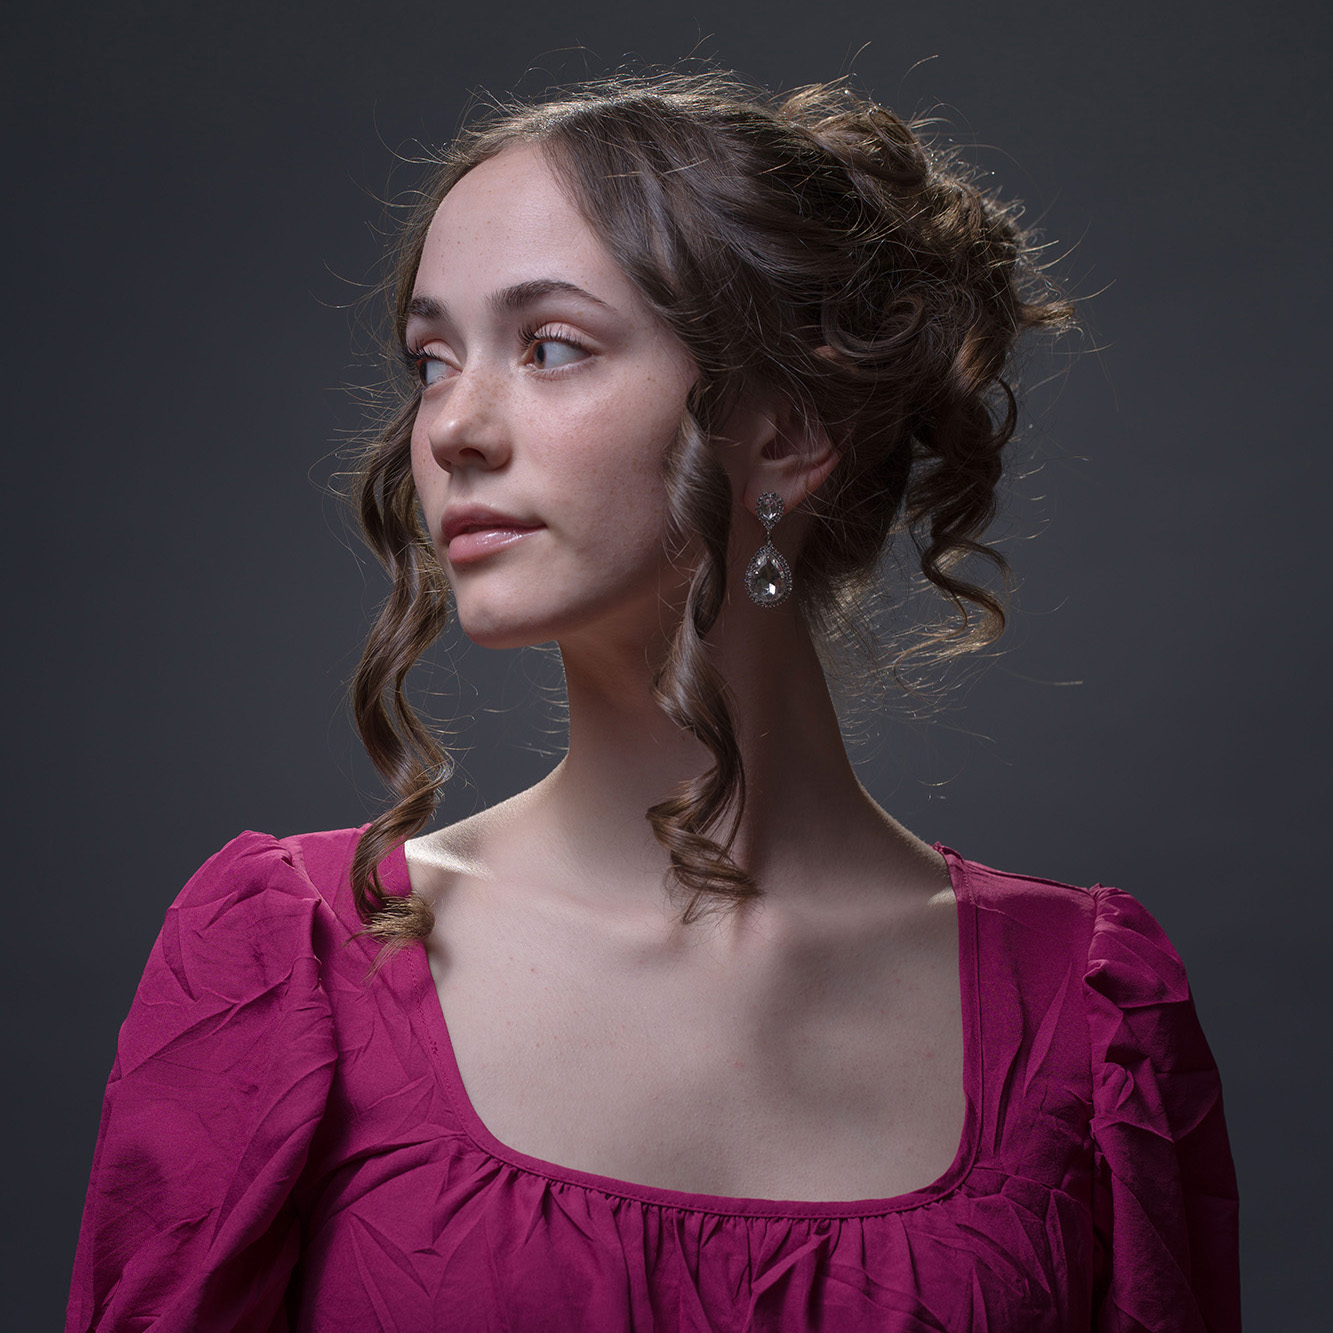
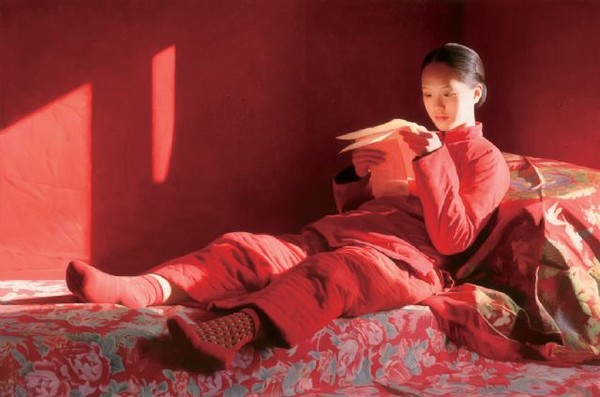
Here are some photos that I took with the setup to test it out.


Take the kit a little further for not much more money:
Photo umbrellas – $19.56 – If you want to make the lighting really soft, you can add in umbrellas and either reflect the light, or shoot through them for a softbox effect. I will say, treat this with a soft touch. I broke a couple of them a few years ago because I was a little rough folding them up. They are cheap and cheaply made, but handled well you’ll get your money’s worth out of them.
You could also do something like put up a white sheet and shoot through it. I have done this! Make sure it’s a thin sheet to not block out too much light, but this will work. I do recommend getting the umbrellas though, but I am all about experimenting and if you can get a cool effect and save until you can get better gear, that’s not a bad plan.
If you want to use the setup for capturing artwork there are a few more recommendations:
Utility Light with reflector – $18.99 – The reason I am adding these for capturing is because the reflector dish will make it easier to mount polarizing film in front of your lights. You can make a holder for the film out of cardstock, or purchase gel holders like these: Paul Buff Gel Holders –
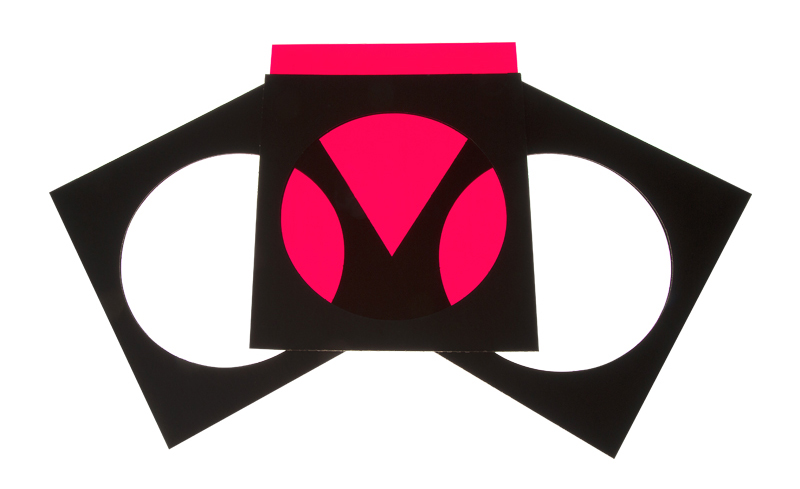
But you really can make your own if you want to save a few dollars. I put velcro on mine and then velcro around the lip of the lighting reflector and just stick them on when needed. I also have a set of colored gels that I use often. You can get them on Amazon or other photo supply stores.
Polarizing Film – $30 – This film will go over your lights. It will polarize the light and work in concert with the circular polarizer on your lens to remove all reflection/glare from your image.
Circular Polarizer – Price varies on this depending on what size filter your lens takes. Make sure you check before you order. Close won’t work. You should be able to Google the filter size for your lens.
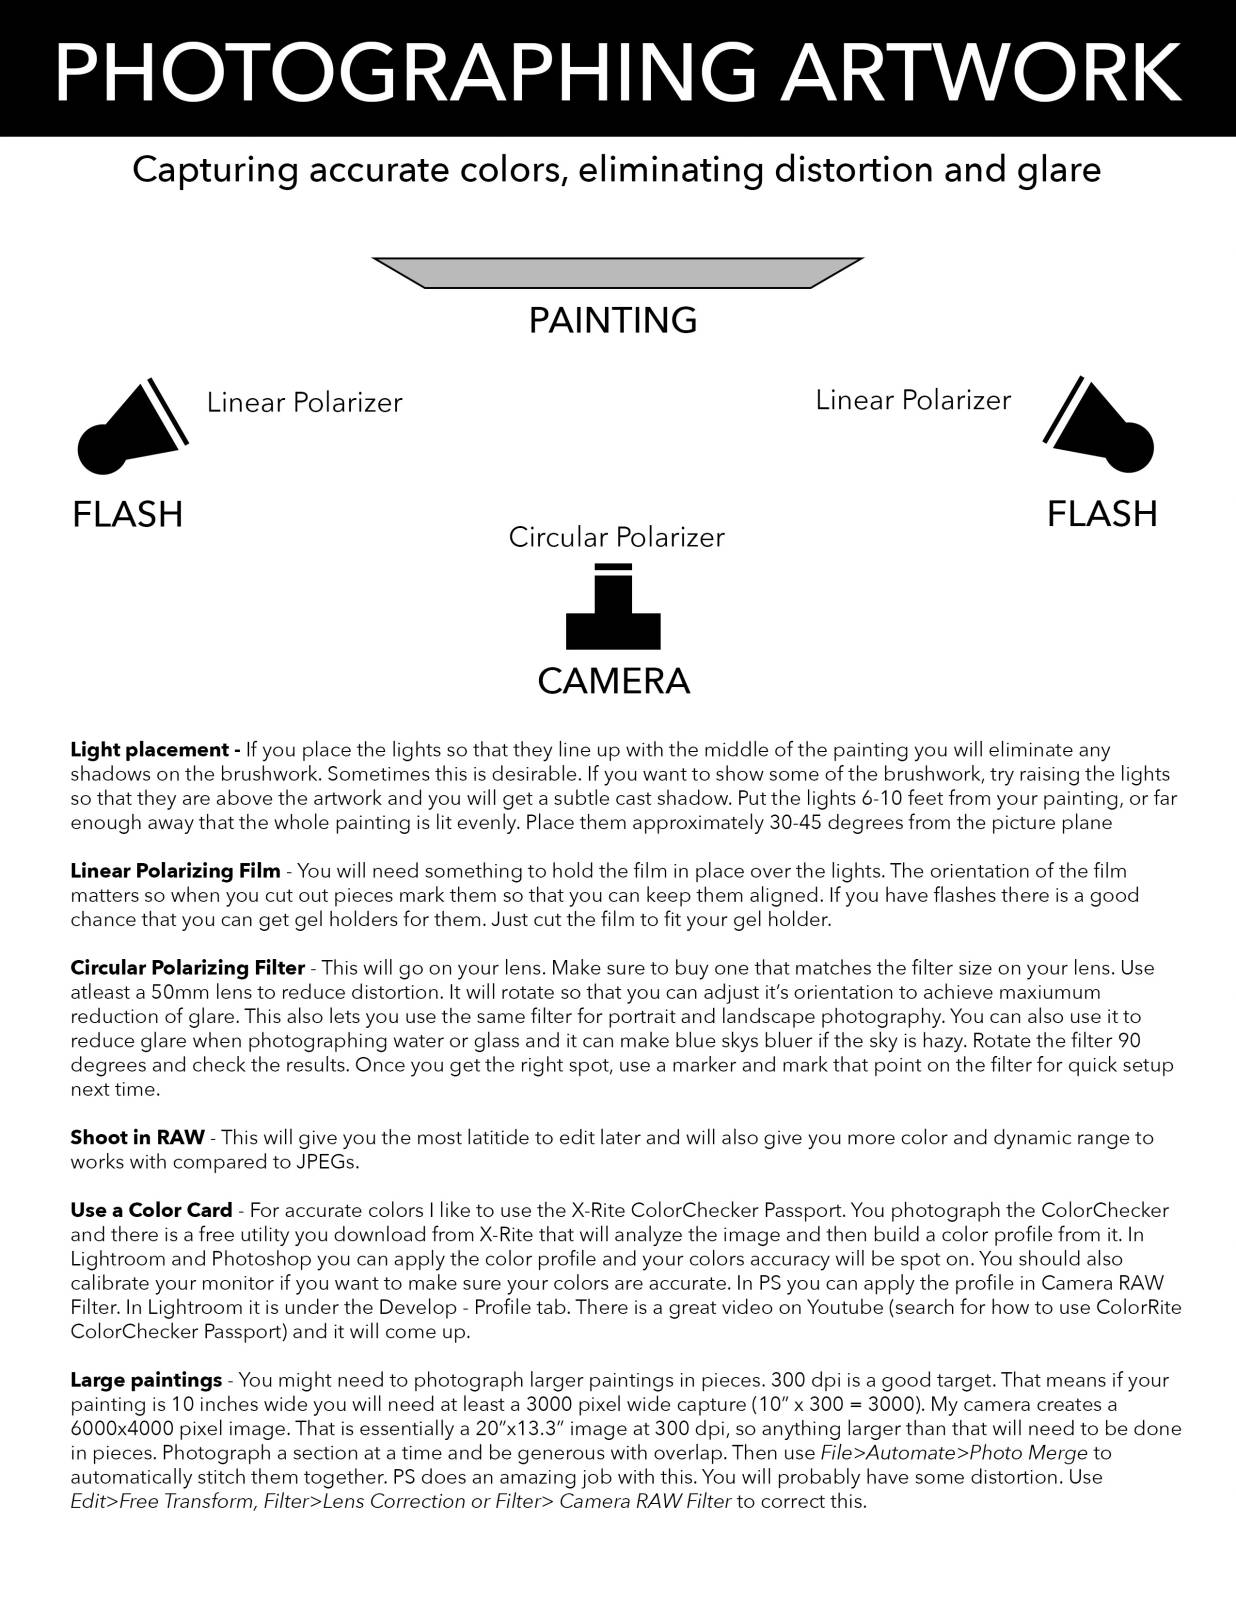
Here is a diagram I made showing my setup.
![]()
I have larger, more expensive (and more versatile) flashes that I use for my photography, but these are really useful. I do use them as fill lights with my larger flashes. But, if I didn’t have the budget for my other flashes, this kit would absolutely tide me over until I could save for the additional gear. The great thing is, is even if you upgrade everything I bet you’ll still find a use for all the gear here. There are many times where I need a sneaky little flash that I can place and hide behind a model, or even have them holding it for an effect. And this size and ease of use makes that doable.
Feel free to ask questions in the comments and I’ll do my best to answer!
Thank you!
Howard


I know this is an older article, but wow, what a resource!
I’m getting into painting traditionally and was looking for a way to both light my painting space (those sockets look perfect for the reptile daylight LEDs I want to use) *and* have a way to take photos of finished paintings. Those stands are dope!
Even knowing that those big polarizers exist is fantastic — I remember taking slide film of my portfolio in the mid-00’s and it was such a pain to get rid of glare. Thank you!