Problem solving often plays a significant role in sculpting, especially when working with water-based clay (which generally spends its life wanting nothing more than to collapse into one big cow patty). We have to constantly pit our wits against the will of gravity itself. On top of this, sometimes an even bigger challenge is presented by the material not being particularly well-suited to a specific part of the project. On that note, today we’ll take a look at the process of bringing “The Cricket’s Tale” into being.
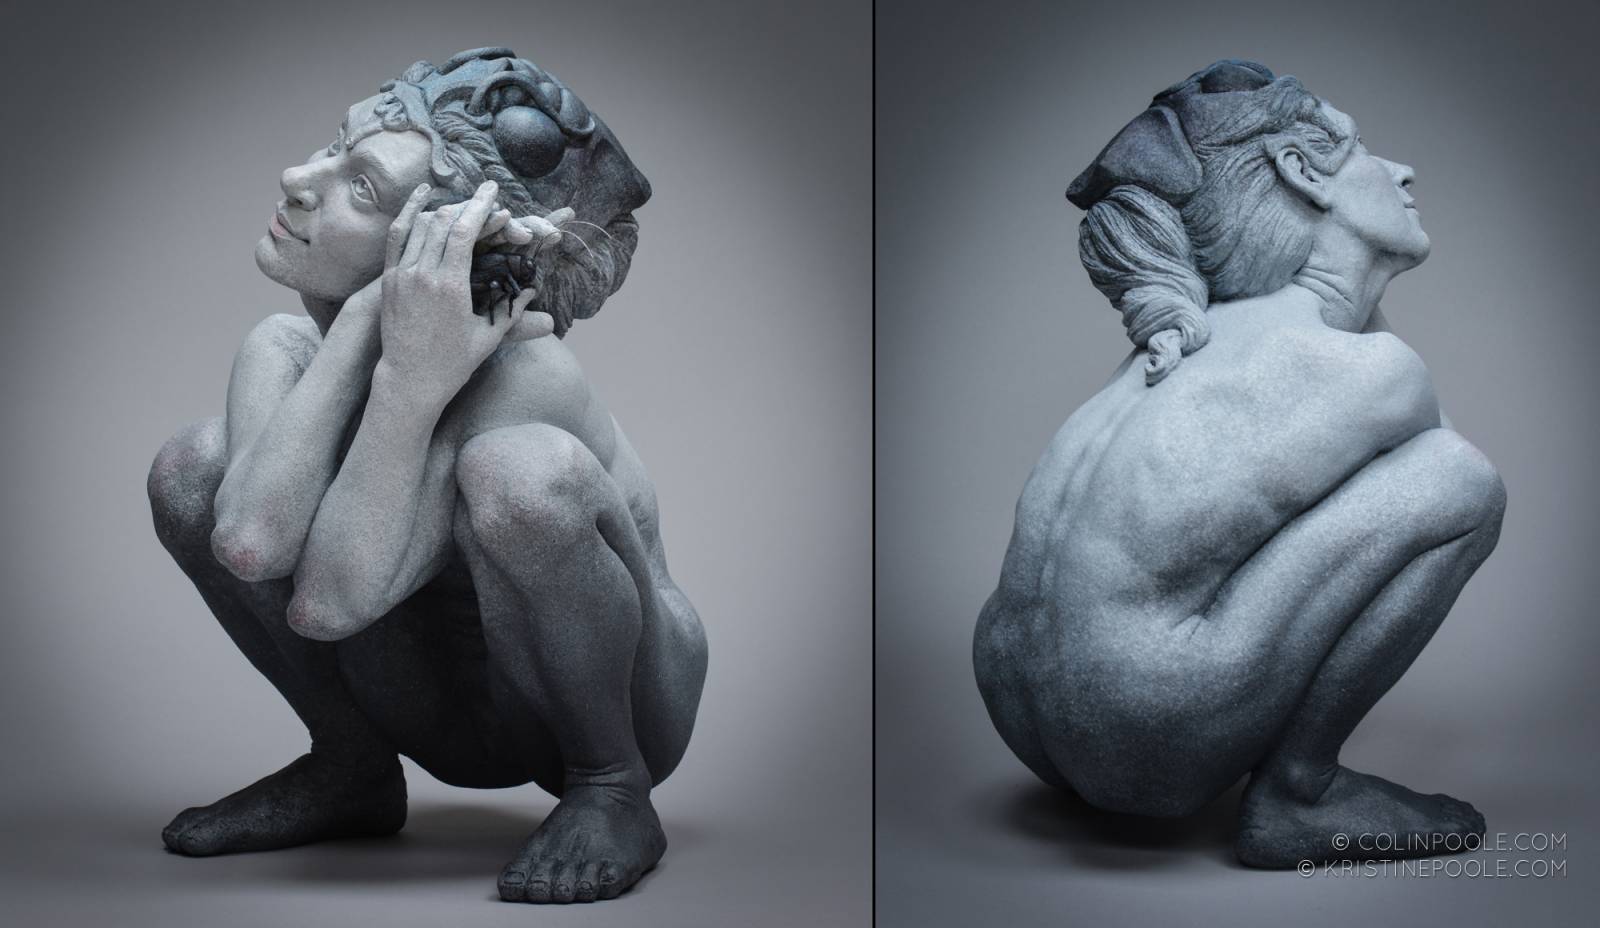
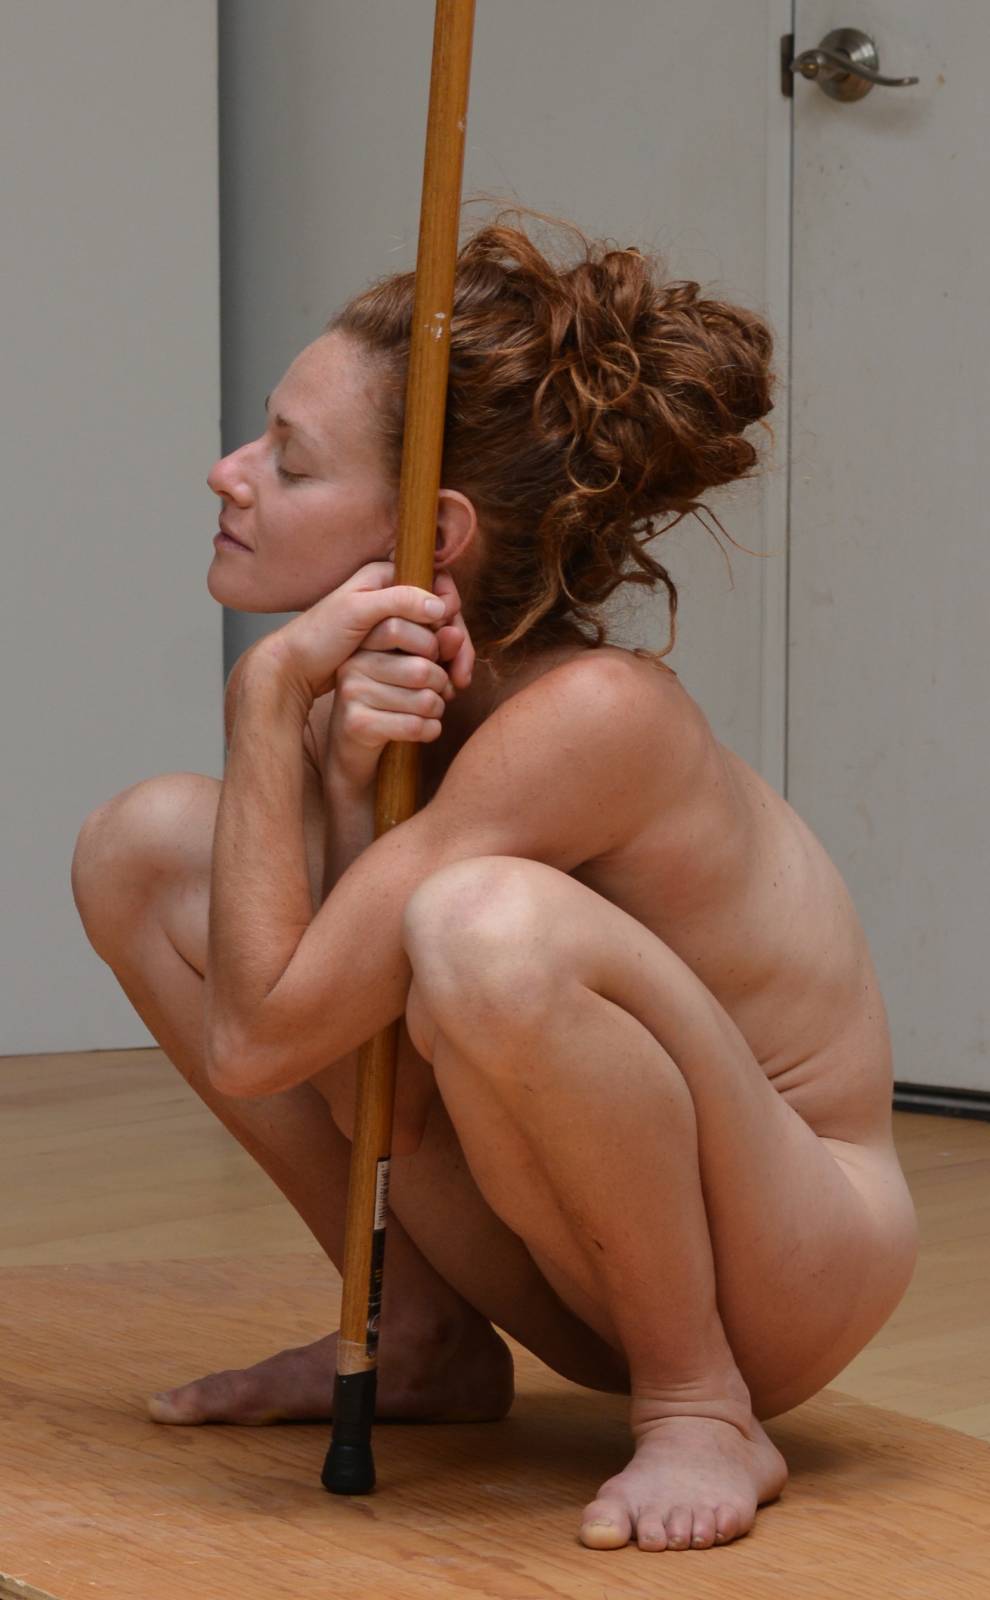
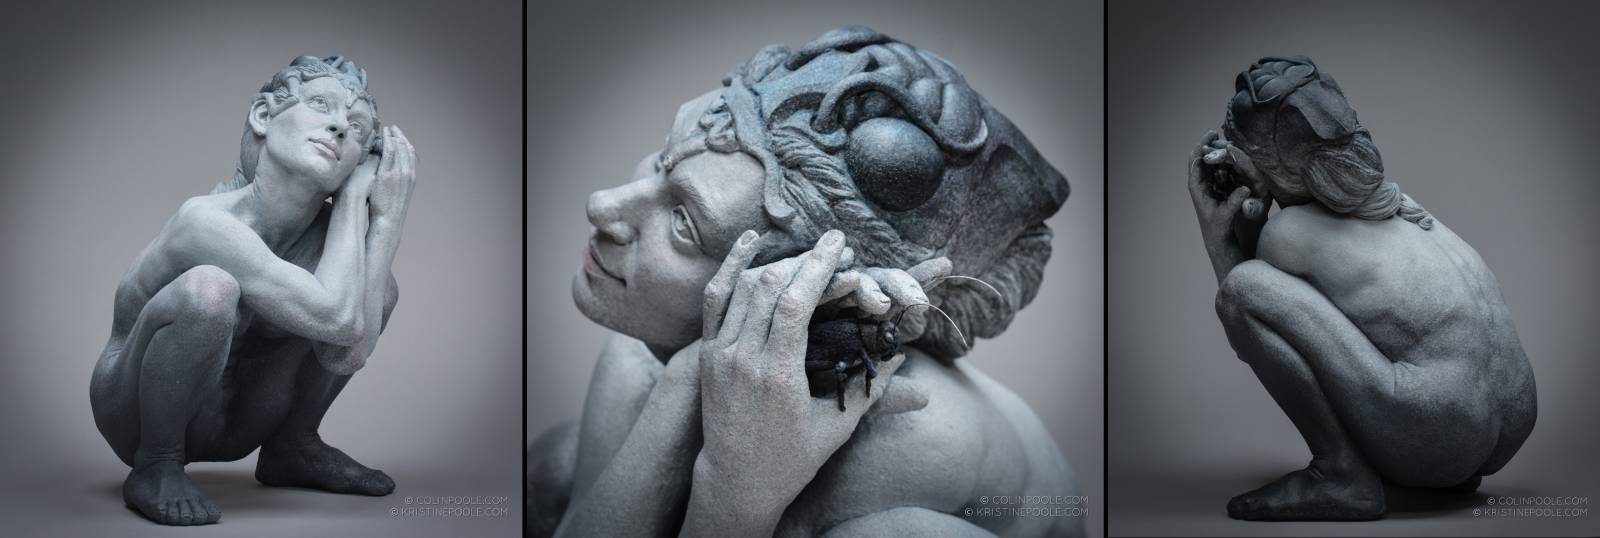
The angle of her head seemed to imply that she was listening intently to something, so we started to consider what that might be. Balmy summer nights from long ago came to mind, when the cricket songs were so intense we were filled with wonder.
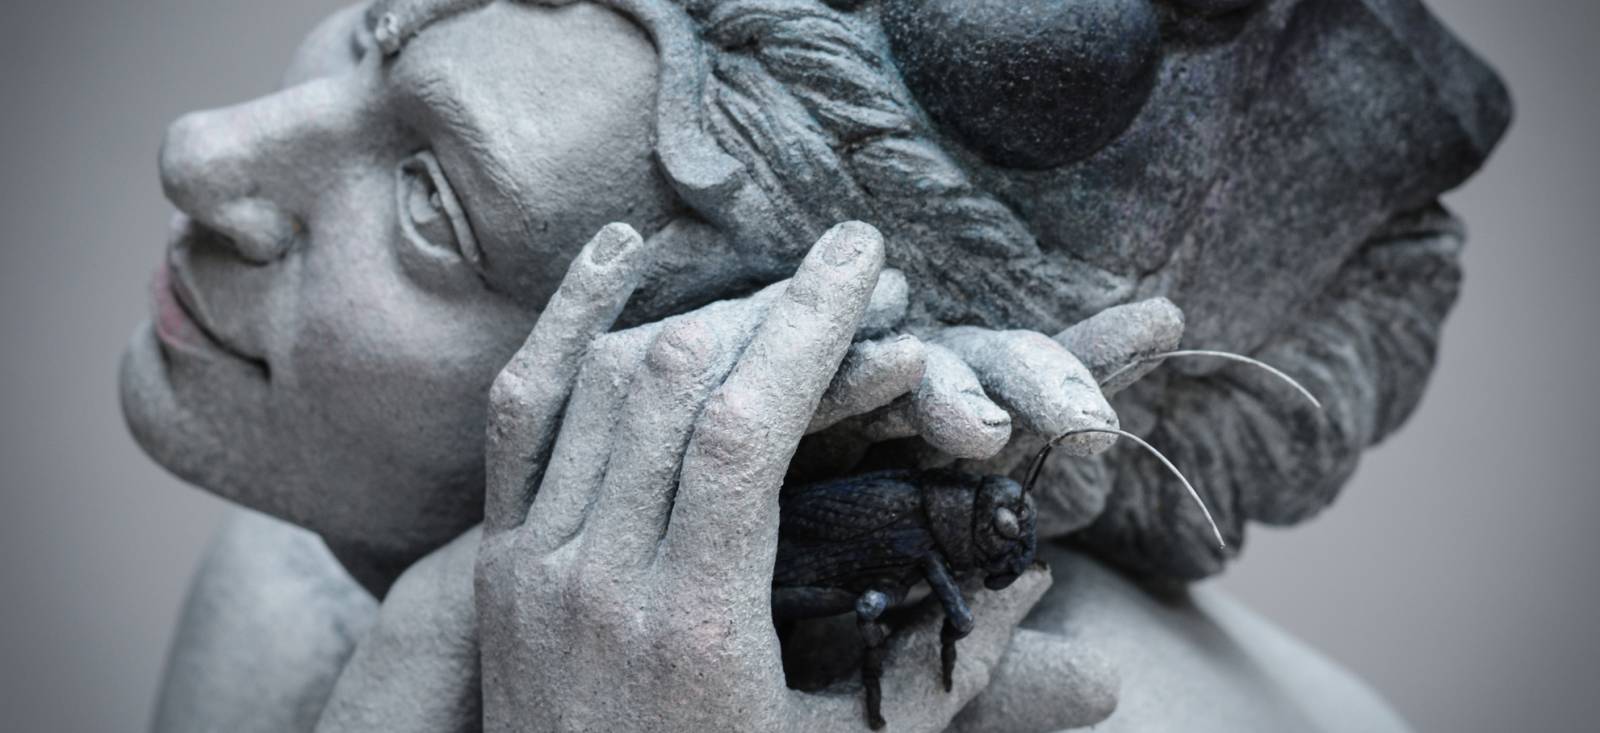
One of Colin’s favorite books is Chaucer’s “The Canterbury Tales” and we enjoyed imagining what sort of tale a cricket might tell. With that, our adapted pose was born. I changed the position of her arms and hands to be cradled near her ear, knowing full well we’d have to sort out how to make the cricket down the road.
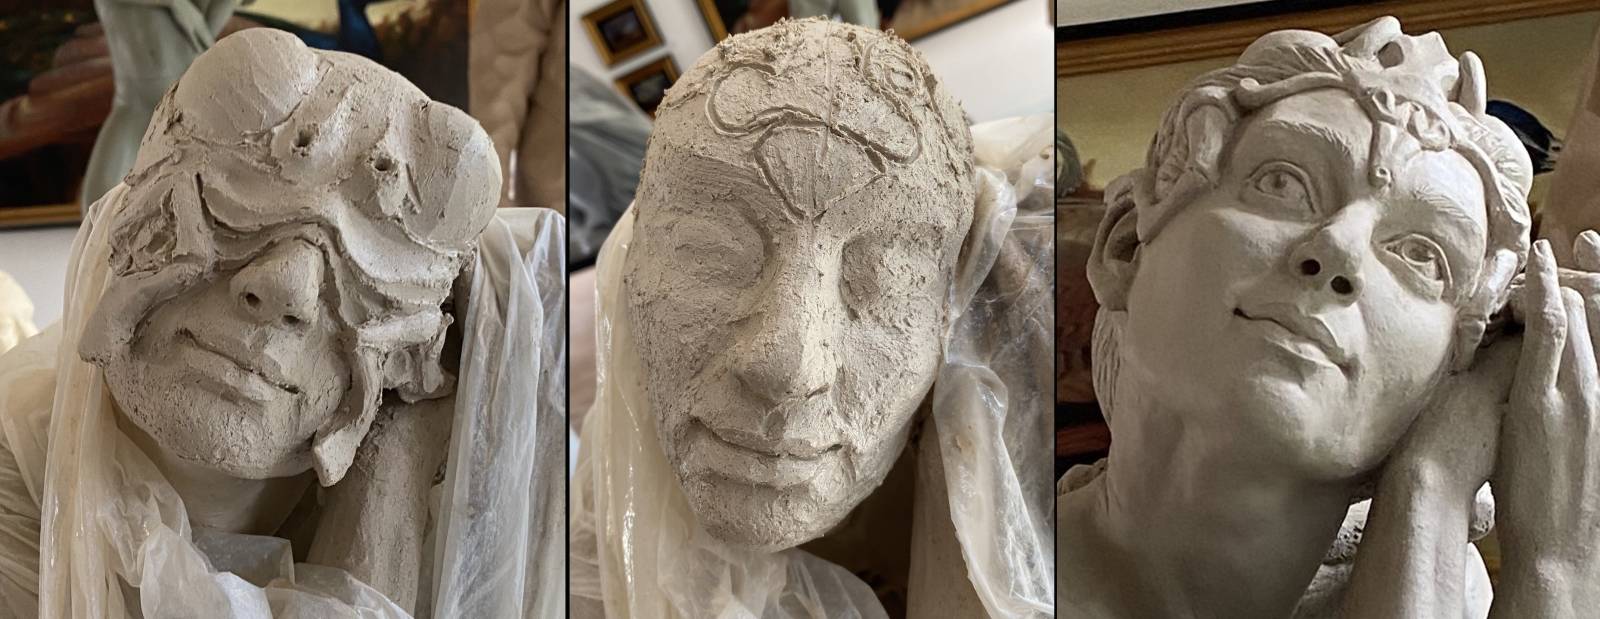
We wanted to add an element to the girl that reflected something magical about her imagination and connection to the cricket. We chose to create distinctive elements from the insect’s anatomy into a helm. At first, we tried covering the entire top part of her head and discovered that she looked like she was either an Orthopteran superhero or being consumed by a cricket… not what we were going for. So we took the elements that were working from the first version and reinvented them into a design element that framed her face, resembling a headdress.
After pondering a bit, I turned to epoxy. Epoxy is our go-to for many parts of our process. We use PC-7, PC-11 and JB Weld 5-minute epoxy for repairs and attaching parts, so we were at least familiar with its working properties. And… we conveniently had a tube of “Green Stuff” around (Kneadatite Blue/Yellow Professional Sculptor’s Detail Epoxy Putty). How hard could it be?

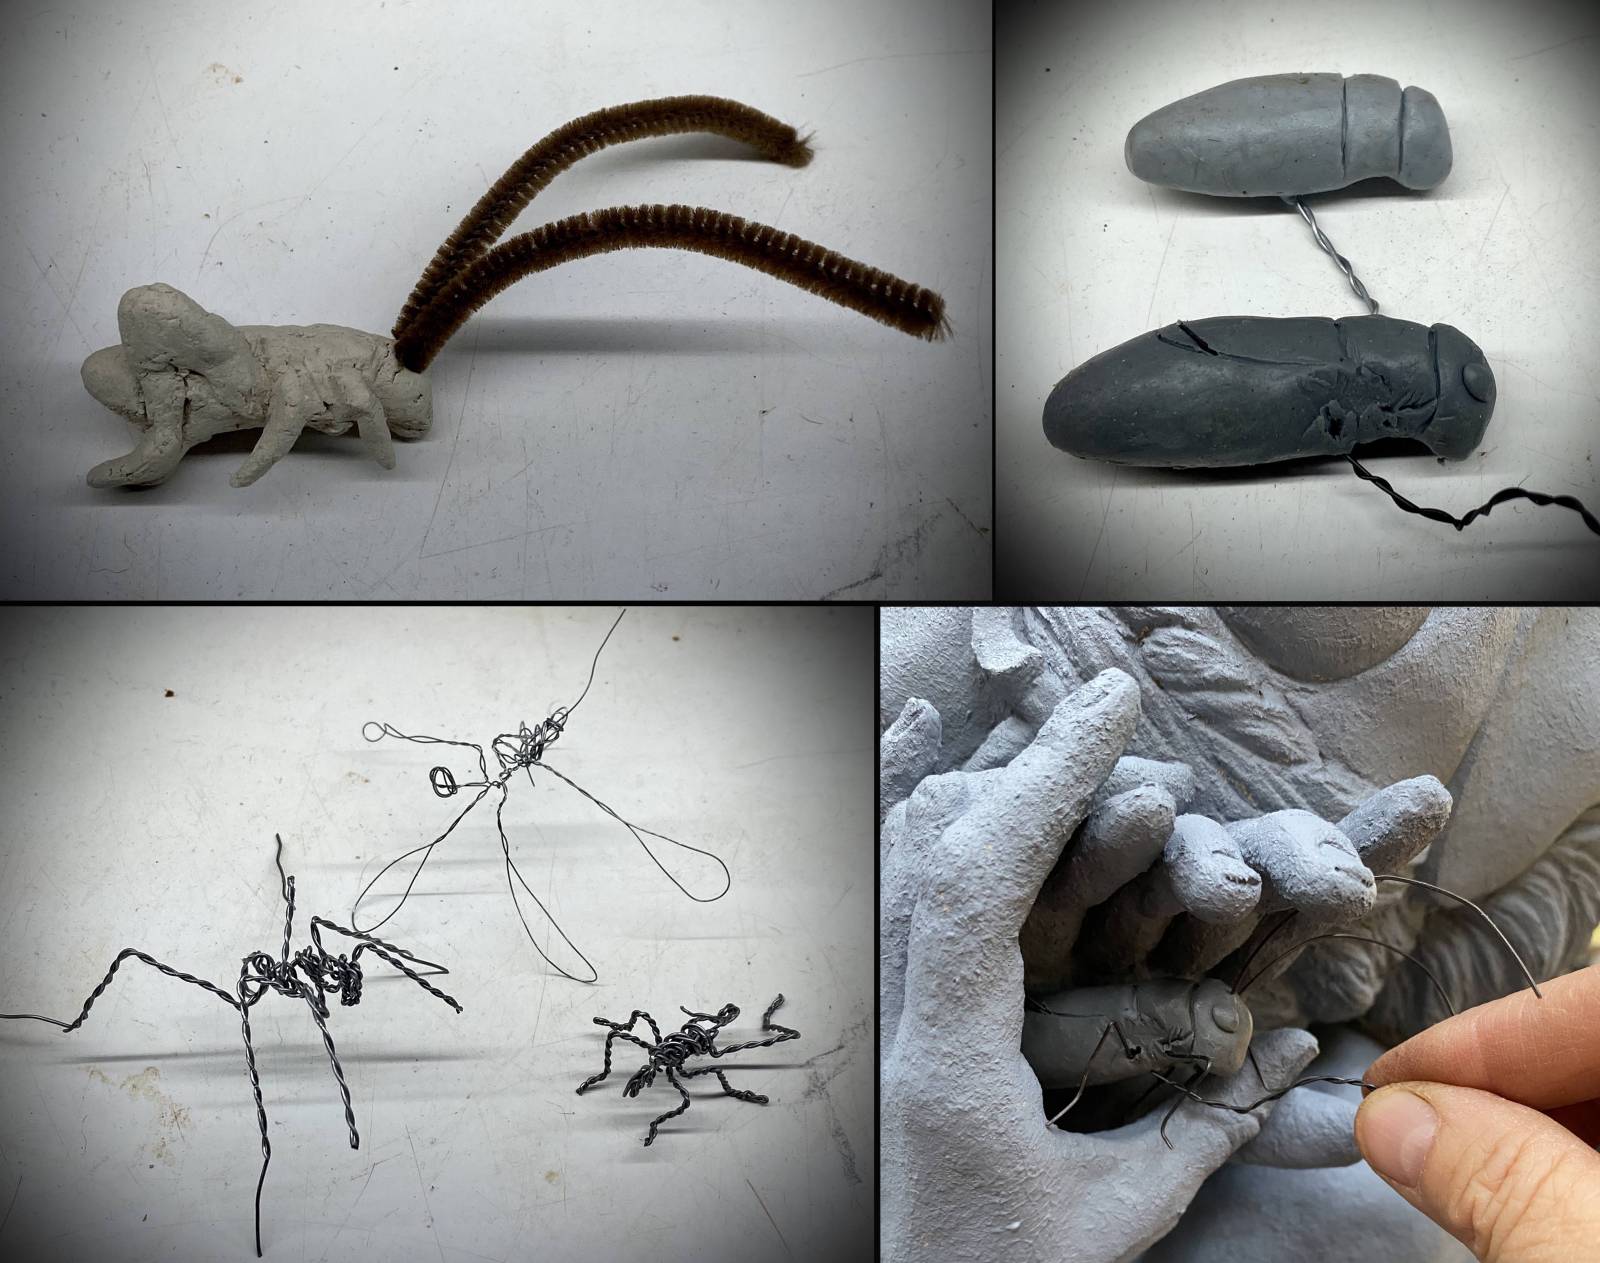
Upper left: I’d been working with a **very** rough FPO clay cricket as I was sorting out the girl’s hand positions. Lower left: I tried making wire armatures of various sizes and configurations, but found them cumbersome to fit within the space of her hands and not adaptable enough. Upper right: I made the rough form and size of the cricket body to test the shape and proportion relative to the girl. The top one is Sculpey, which I find too rubbery. The bottom one is Alien Clay, which was easy to rough in and change the size and shape. It also held its form well. Bottom right: Trying the Alien Clay mock up for size and fit
Now on to the Green! In my first attempts with Green Stuff, I just put a glob of it on a wire and tried to form it, which was a total fail. It was too soft and when it started to firm up, I’d run out of time to add any detail. I generally had about 90 minutes before it began to be difficult to deal with.
I found it worked to create a general cricket body shape on a wire, let that firm up and then build on top of it. Again, on my first go (tending to optimism, obviously), I covered the whole thing with a thin layer of Green Stuff and found I ran out of time to sculpt the entire cricket before it began to set.
What did work was mixing enough to cover one section (the head, for instance), sculpt the details and then continue to refine and smooth that part as the epoxy began to firm up. Then mix up a fresh batch for the next section. I found that steel tools (like we use for forming wax) worked best for me. A bit of water helped with the smoothing and in the earlier stages, to keep it from sticking as much to my tools.
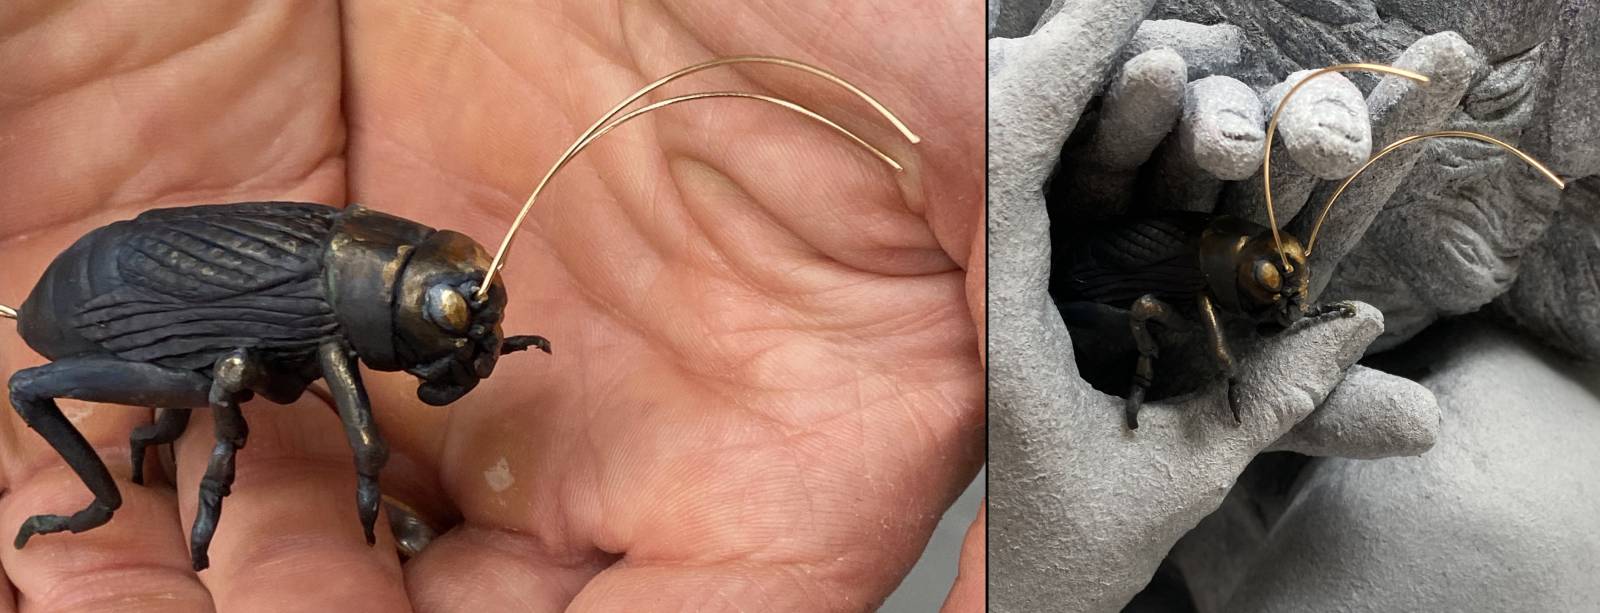
After it set up, I could use an Exacto knife to carve and refine shapes. It responded pretty well to sanding. It was easy to drill holes for the legs and antennae and to add additional sections to already hardened ones. What was challenging (as you can see on his wings and abdomen in the photos) was that if you missed the timing, it became very difficult to create crisp lines and smooth surfaces, but that could be dealt with by carving or sanding.
We used acrylic paint for the finish, first priming him with black. We did a quick try with gold antennae and highlights to see if it worked as a contrast with the girl’s cool tones.




Recent Comments