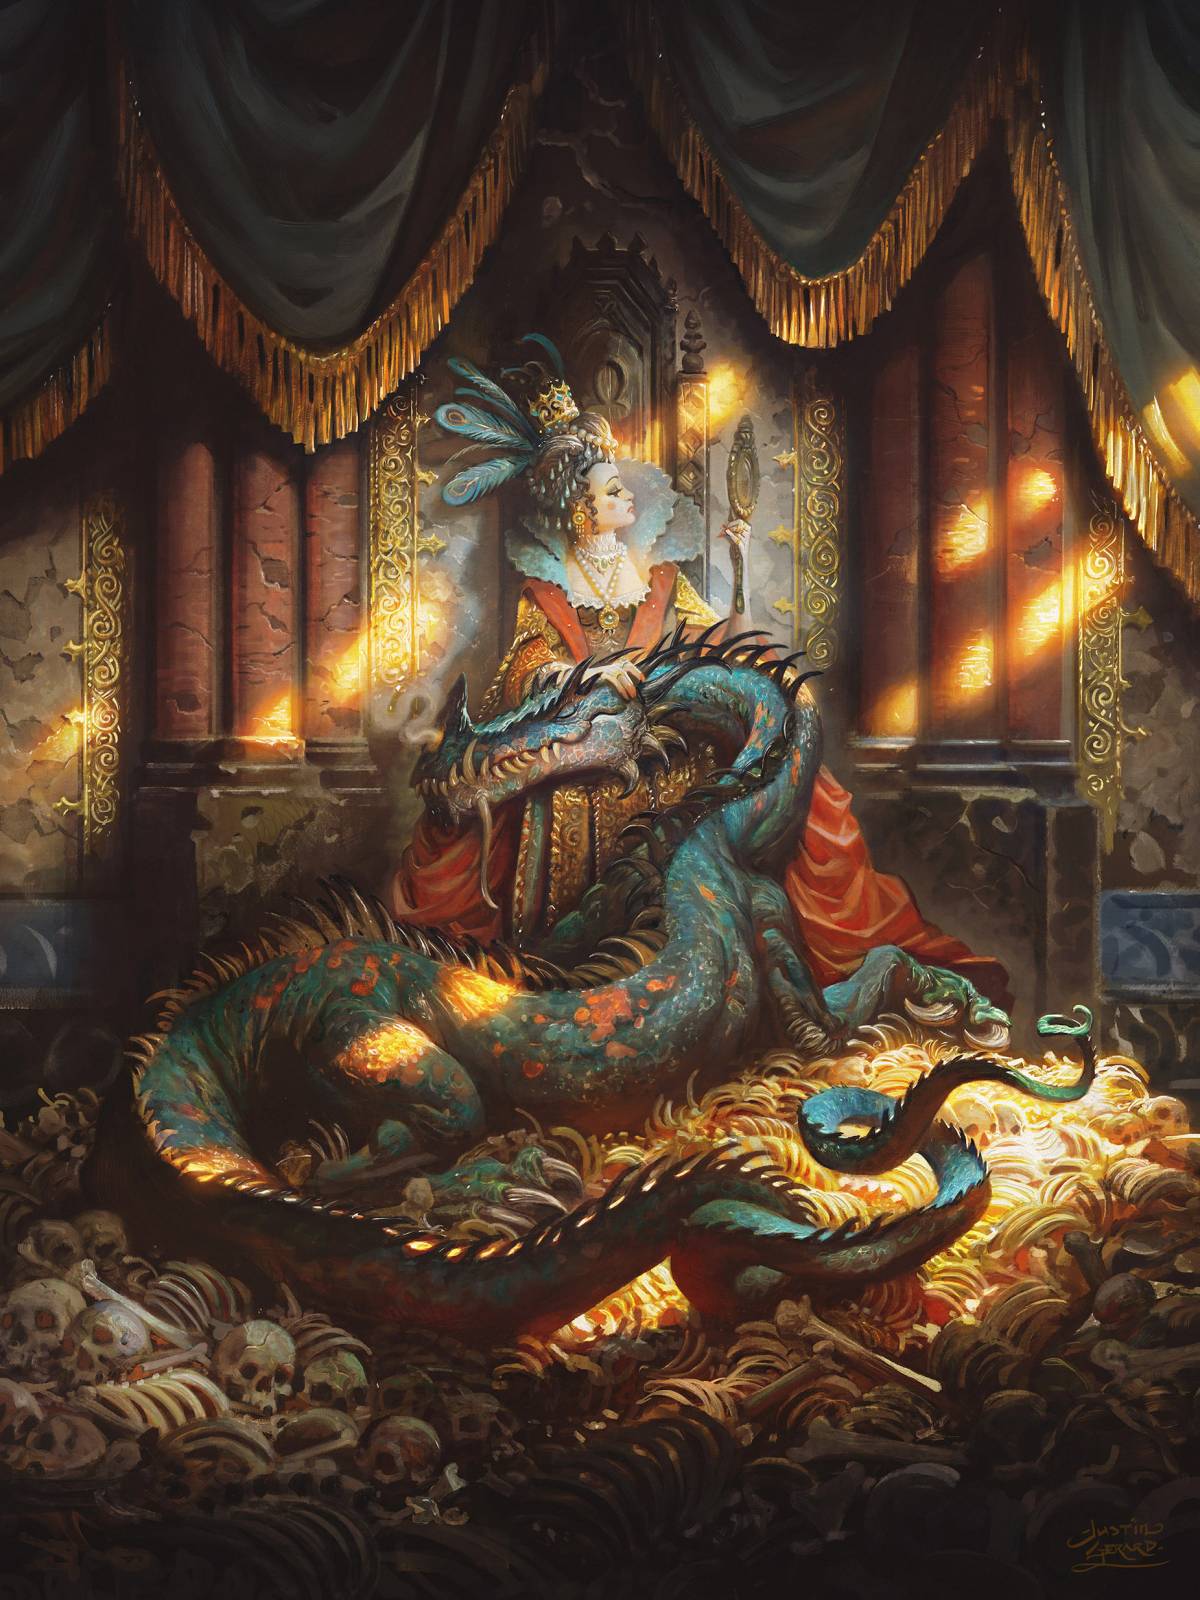
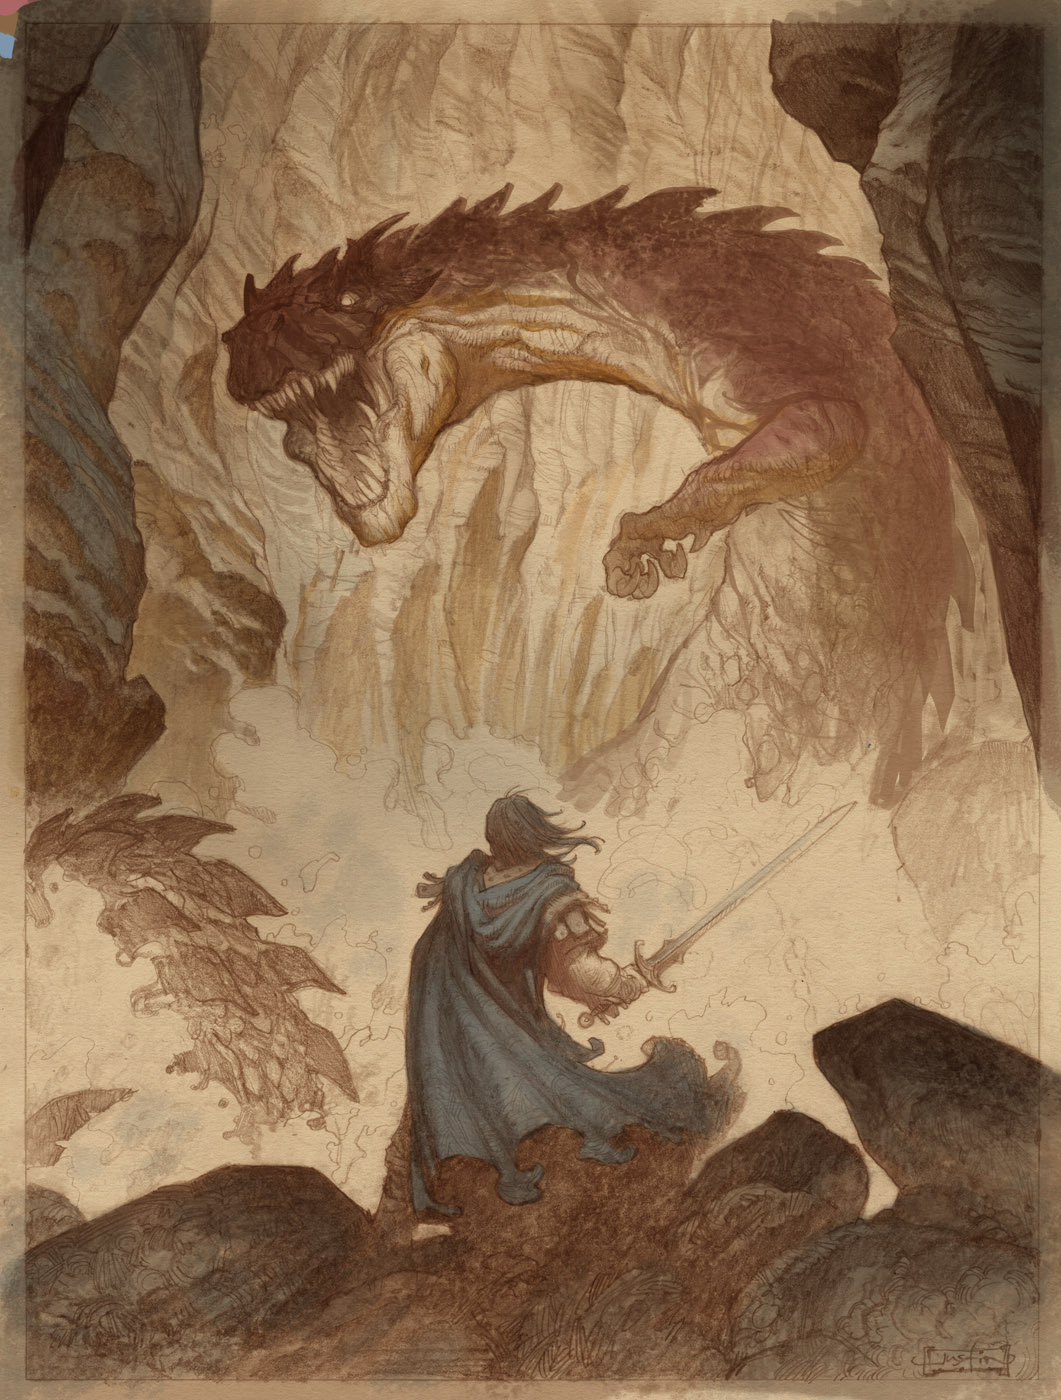
“Queen Lucifera in the House of Pride” from Edmund Spenser’s The Faerie Queene
Today I am happy to share a new illustration I did for a book version of The Faerie Queene. It was first drawn on Strathmore Bristol and then colorized in Photoshop. In this post I will talk about some of the development that went into it.
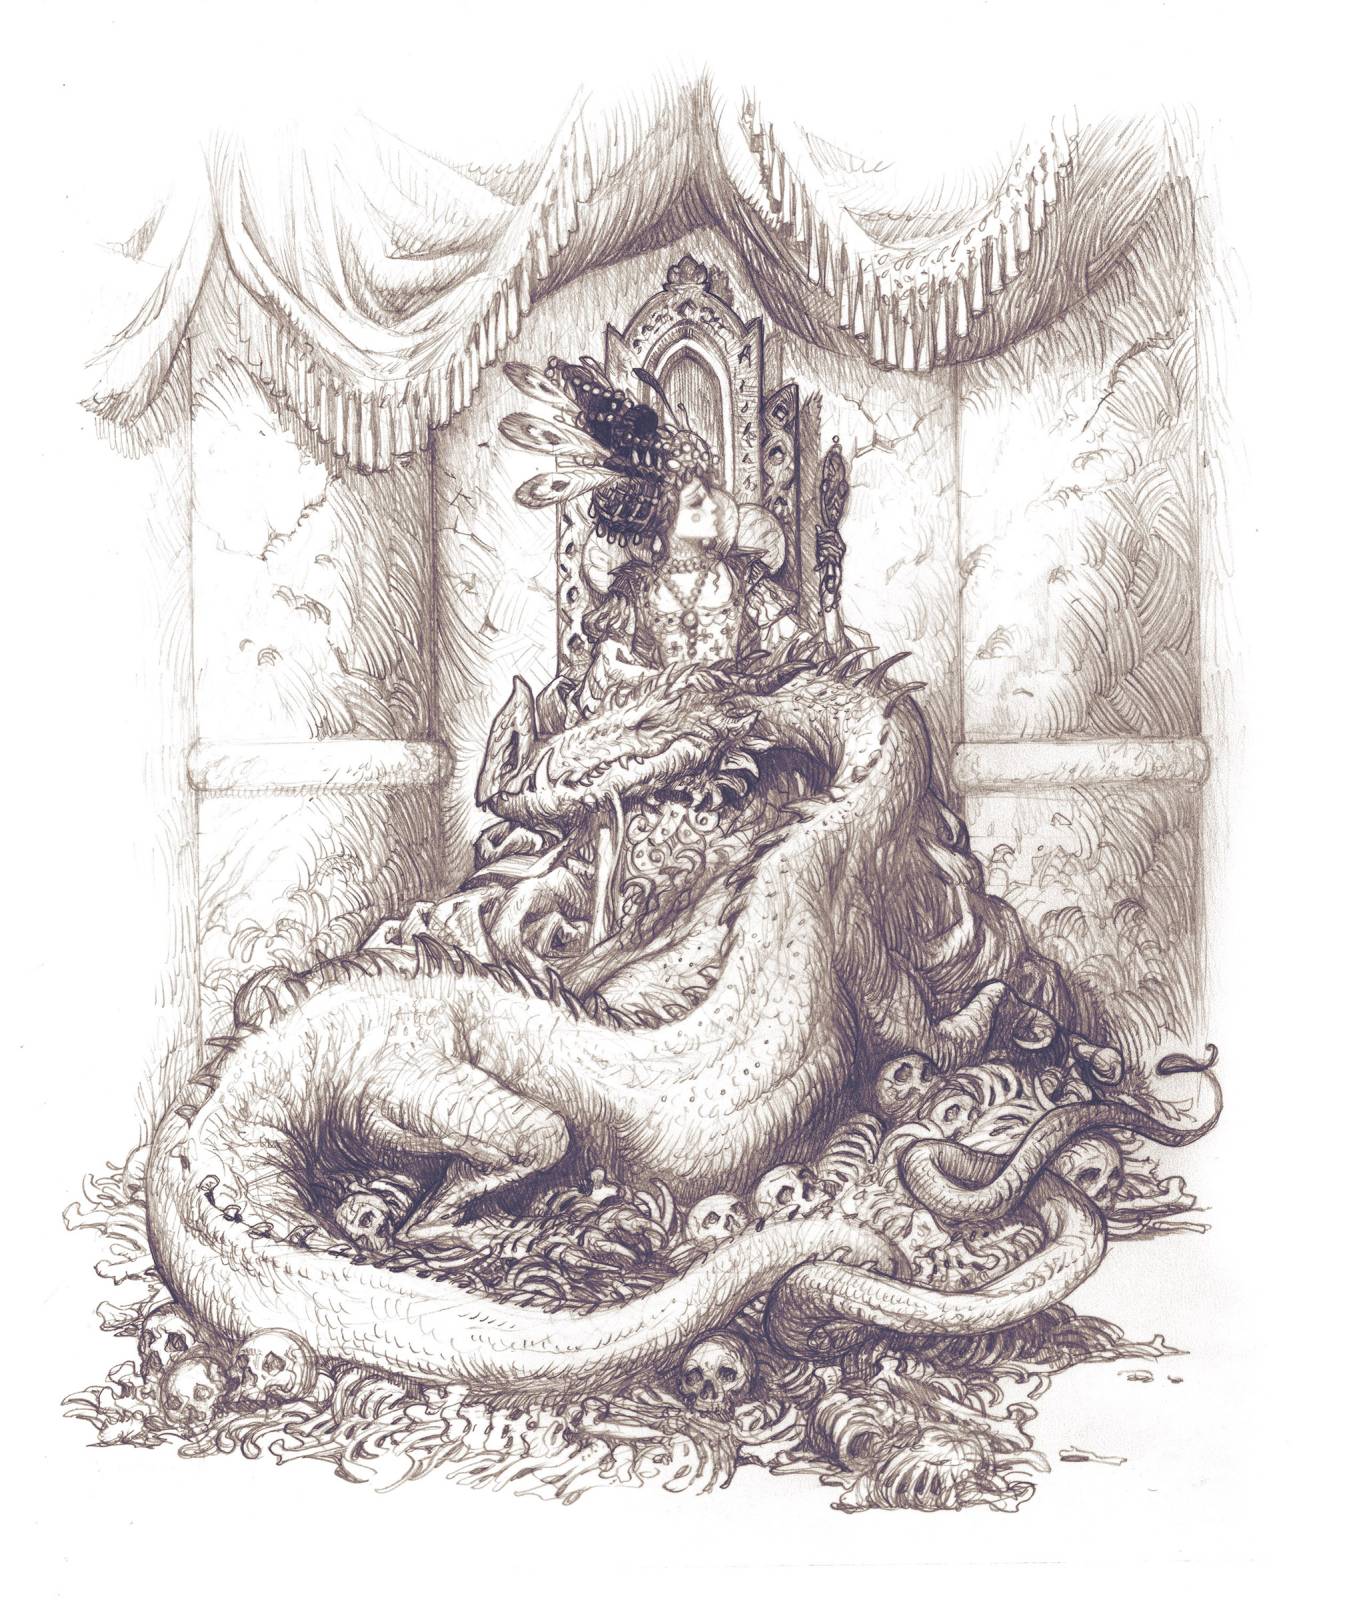 Drawing (Traditional Pencil on Smooth Bristol Paper)
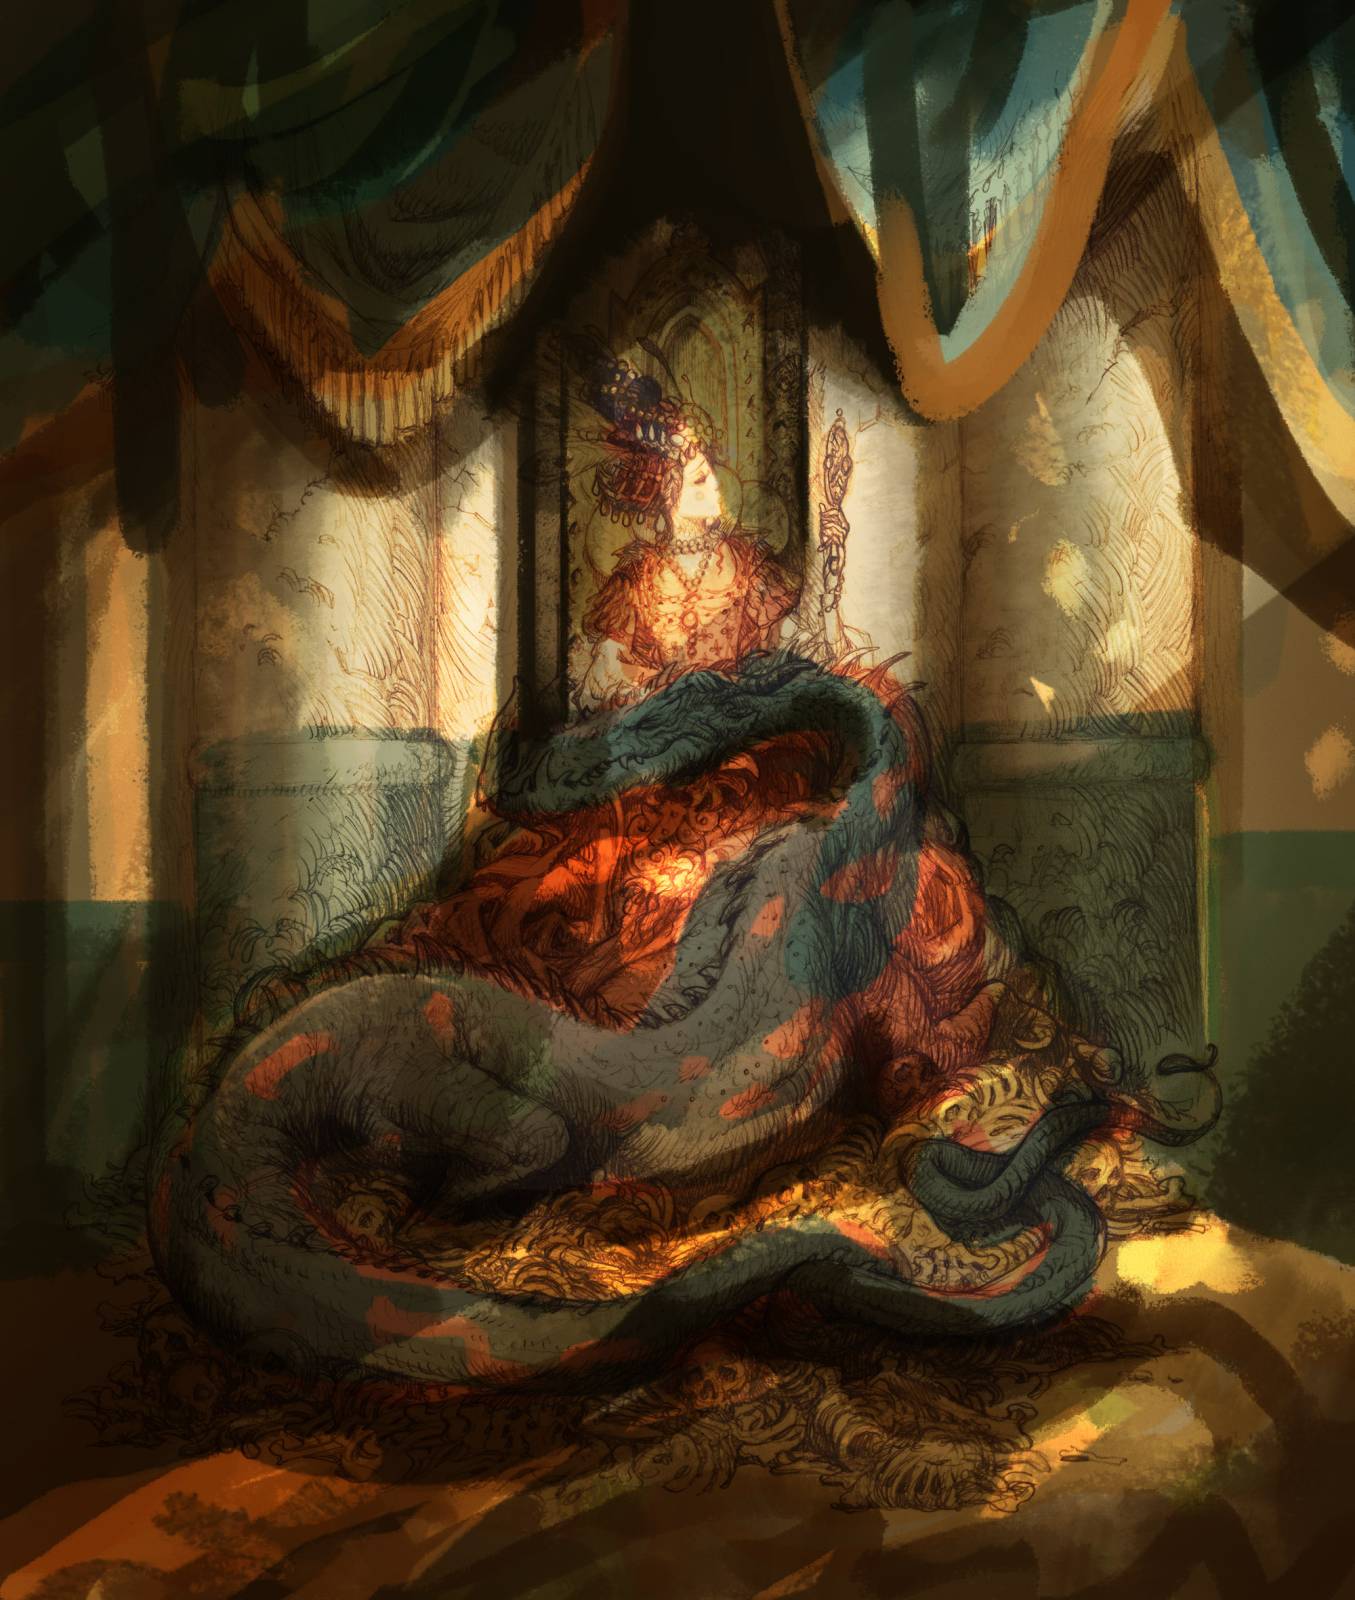
Digital Color comp (Photoshop)
I did not have a tremendous amount of reference for this scene. The original drawing was made purely from imagination. The client had never picked it out as a scene that needed a color version, so I did not bother with models or photo-shoots or exhaustive reference gathering. Later on, this image was chosen by Patrons in a poll to be one that we took to final color and so I found myself in need of a guide.
In situations like this, where I need to color and render a scene for which I have no reference, I tend to do fairly detailed color comps. The reason for this is that I do need a roadmap for what I will be painting and a color comp is a great solution (particularly when you don’t think you will be able to find a lady in a ruined building with a dragon on her lap that is sitting atop an enormous pile of bones). A color comp is a place where you can be free to make mistakes without suffering any enormous consequences of costly reworks and corrections. So I made the above study to help make some of these bigger decisions. Red dress and green walls, or green dress and red walls?
In situations where I have really good photo-reference, this isn’t nearly so important, but here, I knew it would be vital.
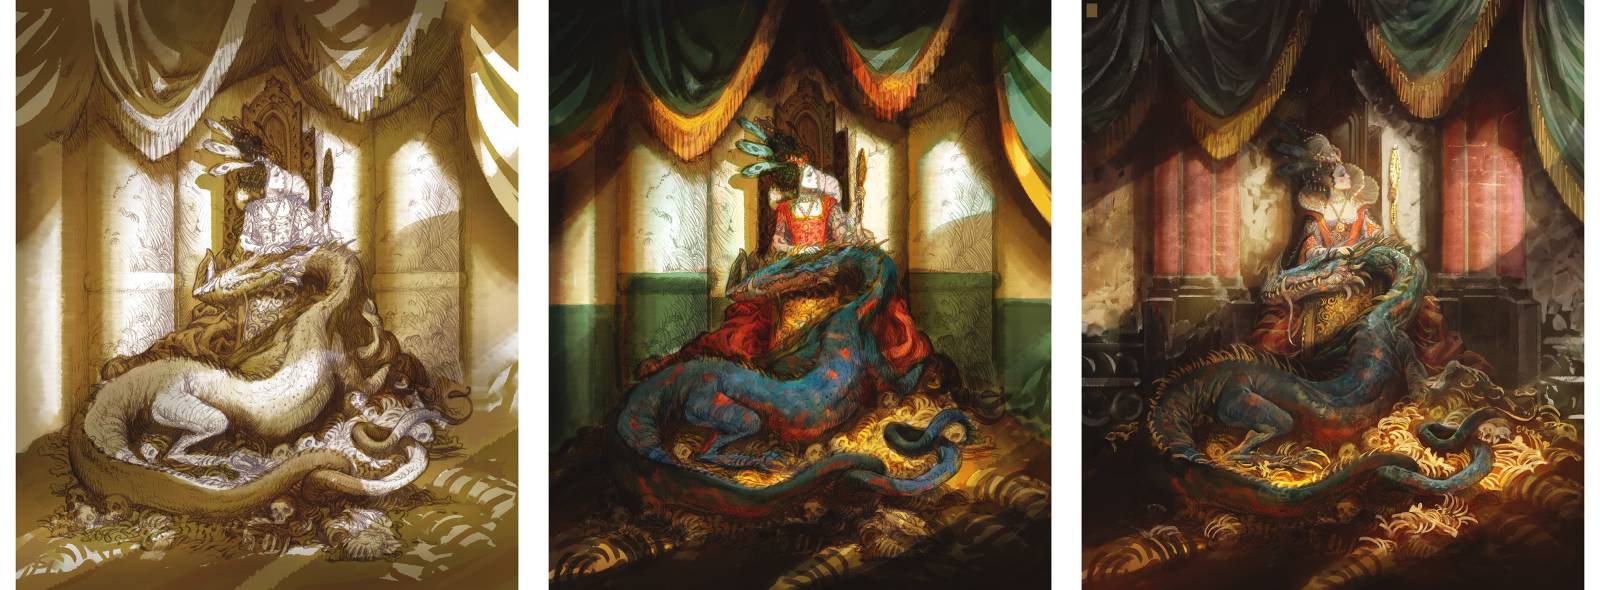
Painting Process (Photoshop)
- Set up monochrome light and shadow values.
- Add transparent colors over values.
- Blend values and colors together and render the painting.
This basic approach to setting up all of my paintings. It is one that I have kept through my entire career no matter the medium. All of the people who have been the most influential on my working method (Petar Meseldzija, Peter De Seve, Scott Gustafson, Thomas Fluharty, among many, many others) all have demonstrated some version of this indirect method, and it has been one that I have found to be extremely consistent and powerful. It compartmentalizes each aspect of the painting process, reducing the overall complexity and allowing me to more easily devote all my (admittedly limited) mental energy to each in sequence.
Detail work
If I try to reduce the detailing phase to its most basic essential, it comes down to “just keep using smaller and smaller brushes.” Start with the broad strokes and do as much as you can with that, before spiraling in on focal point areas closer and closer with smaller brushes.
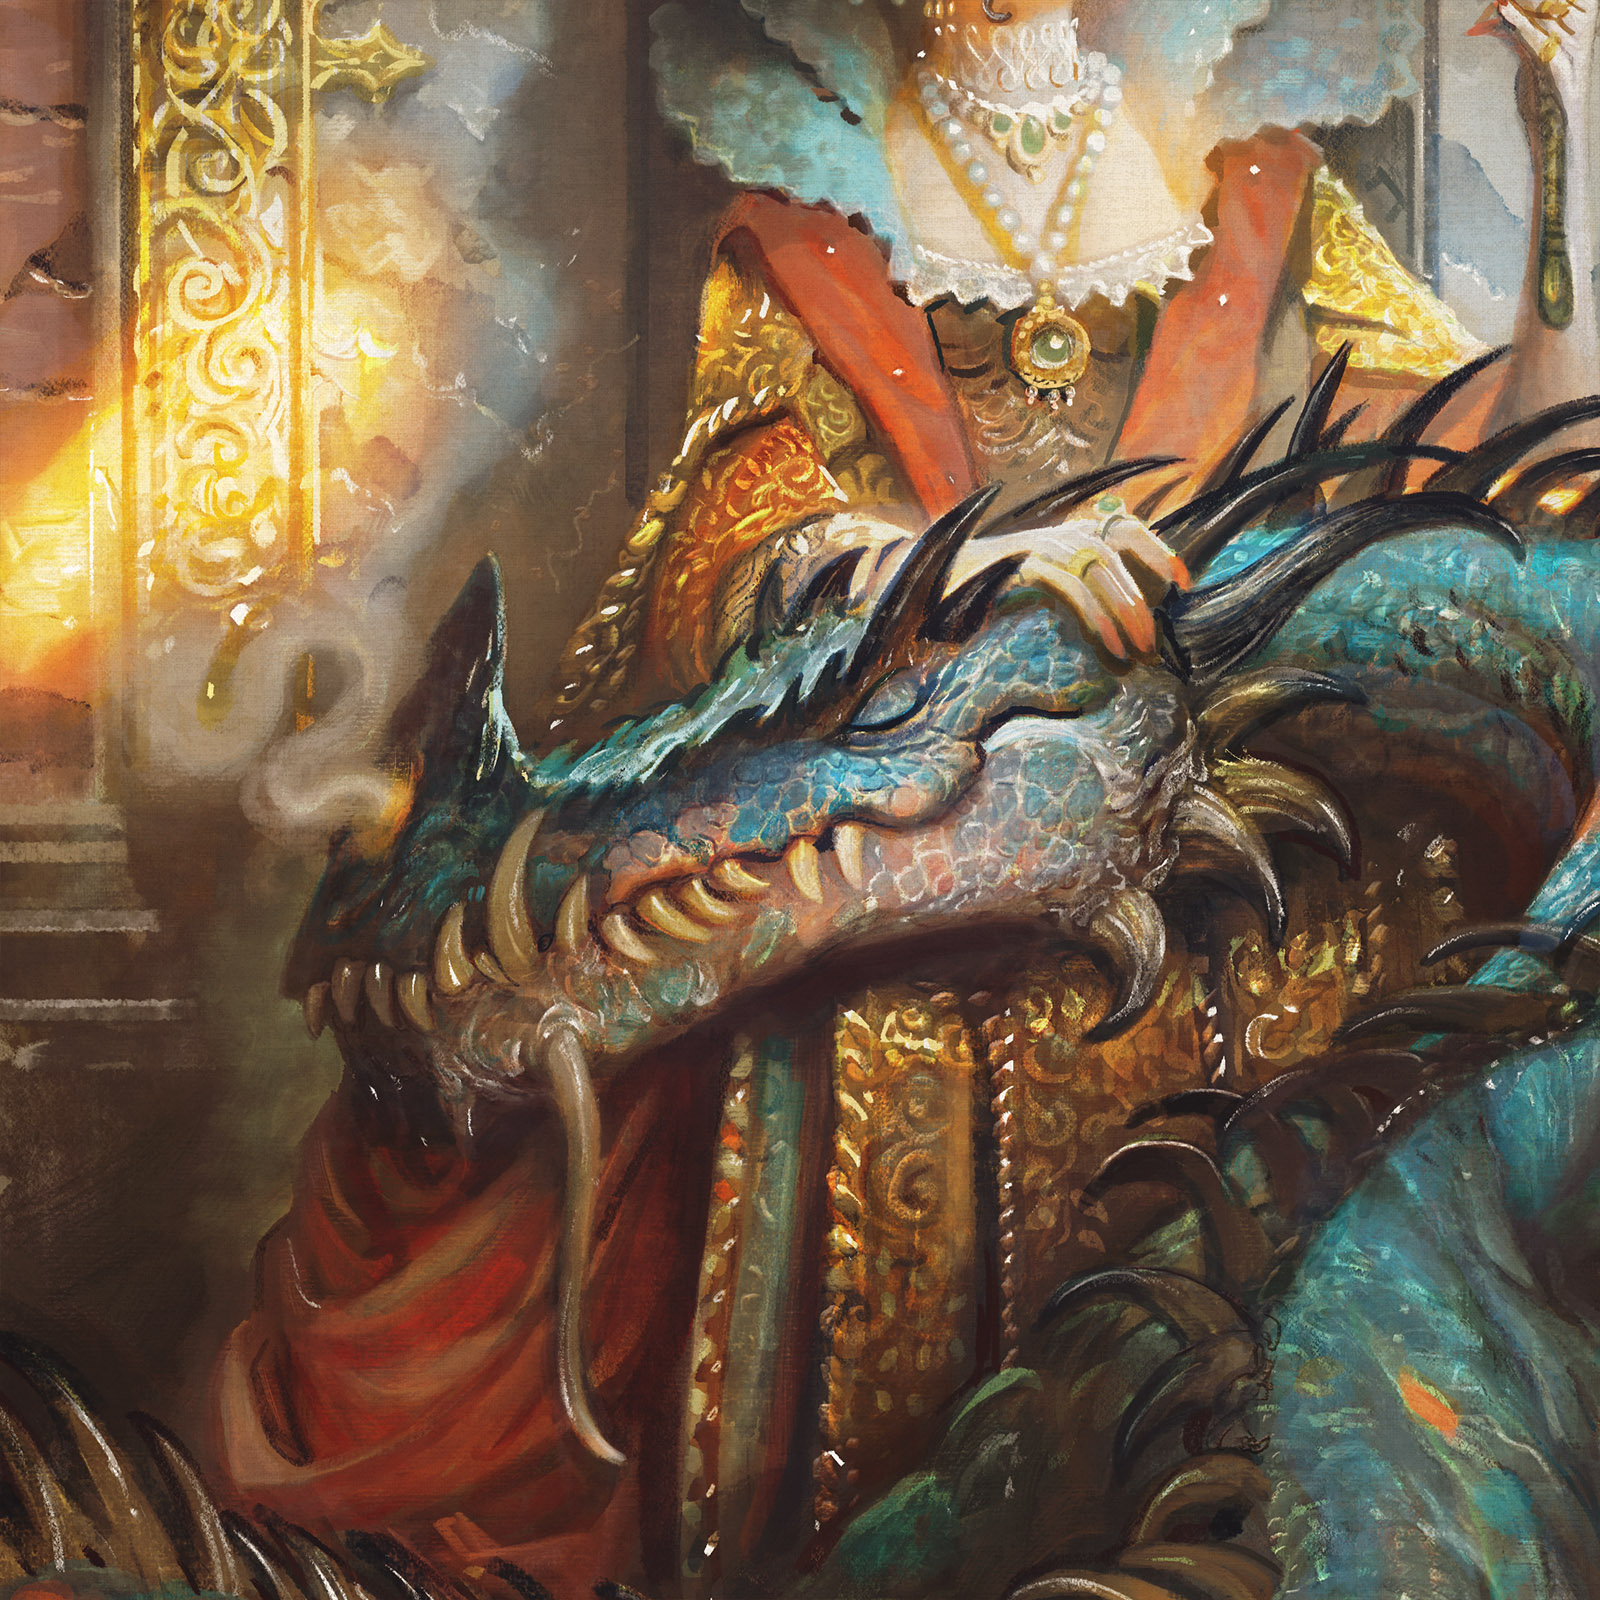
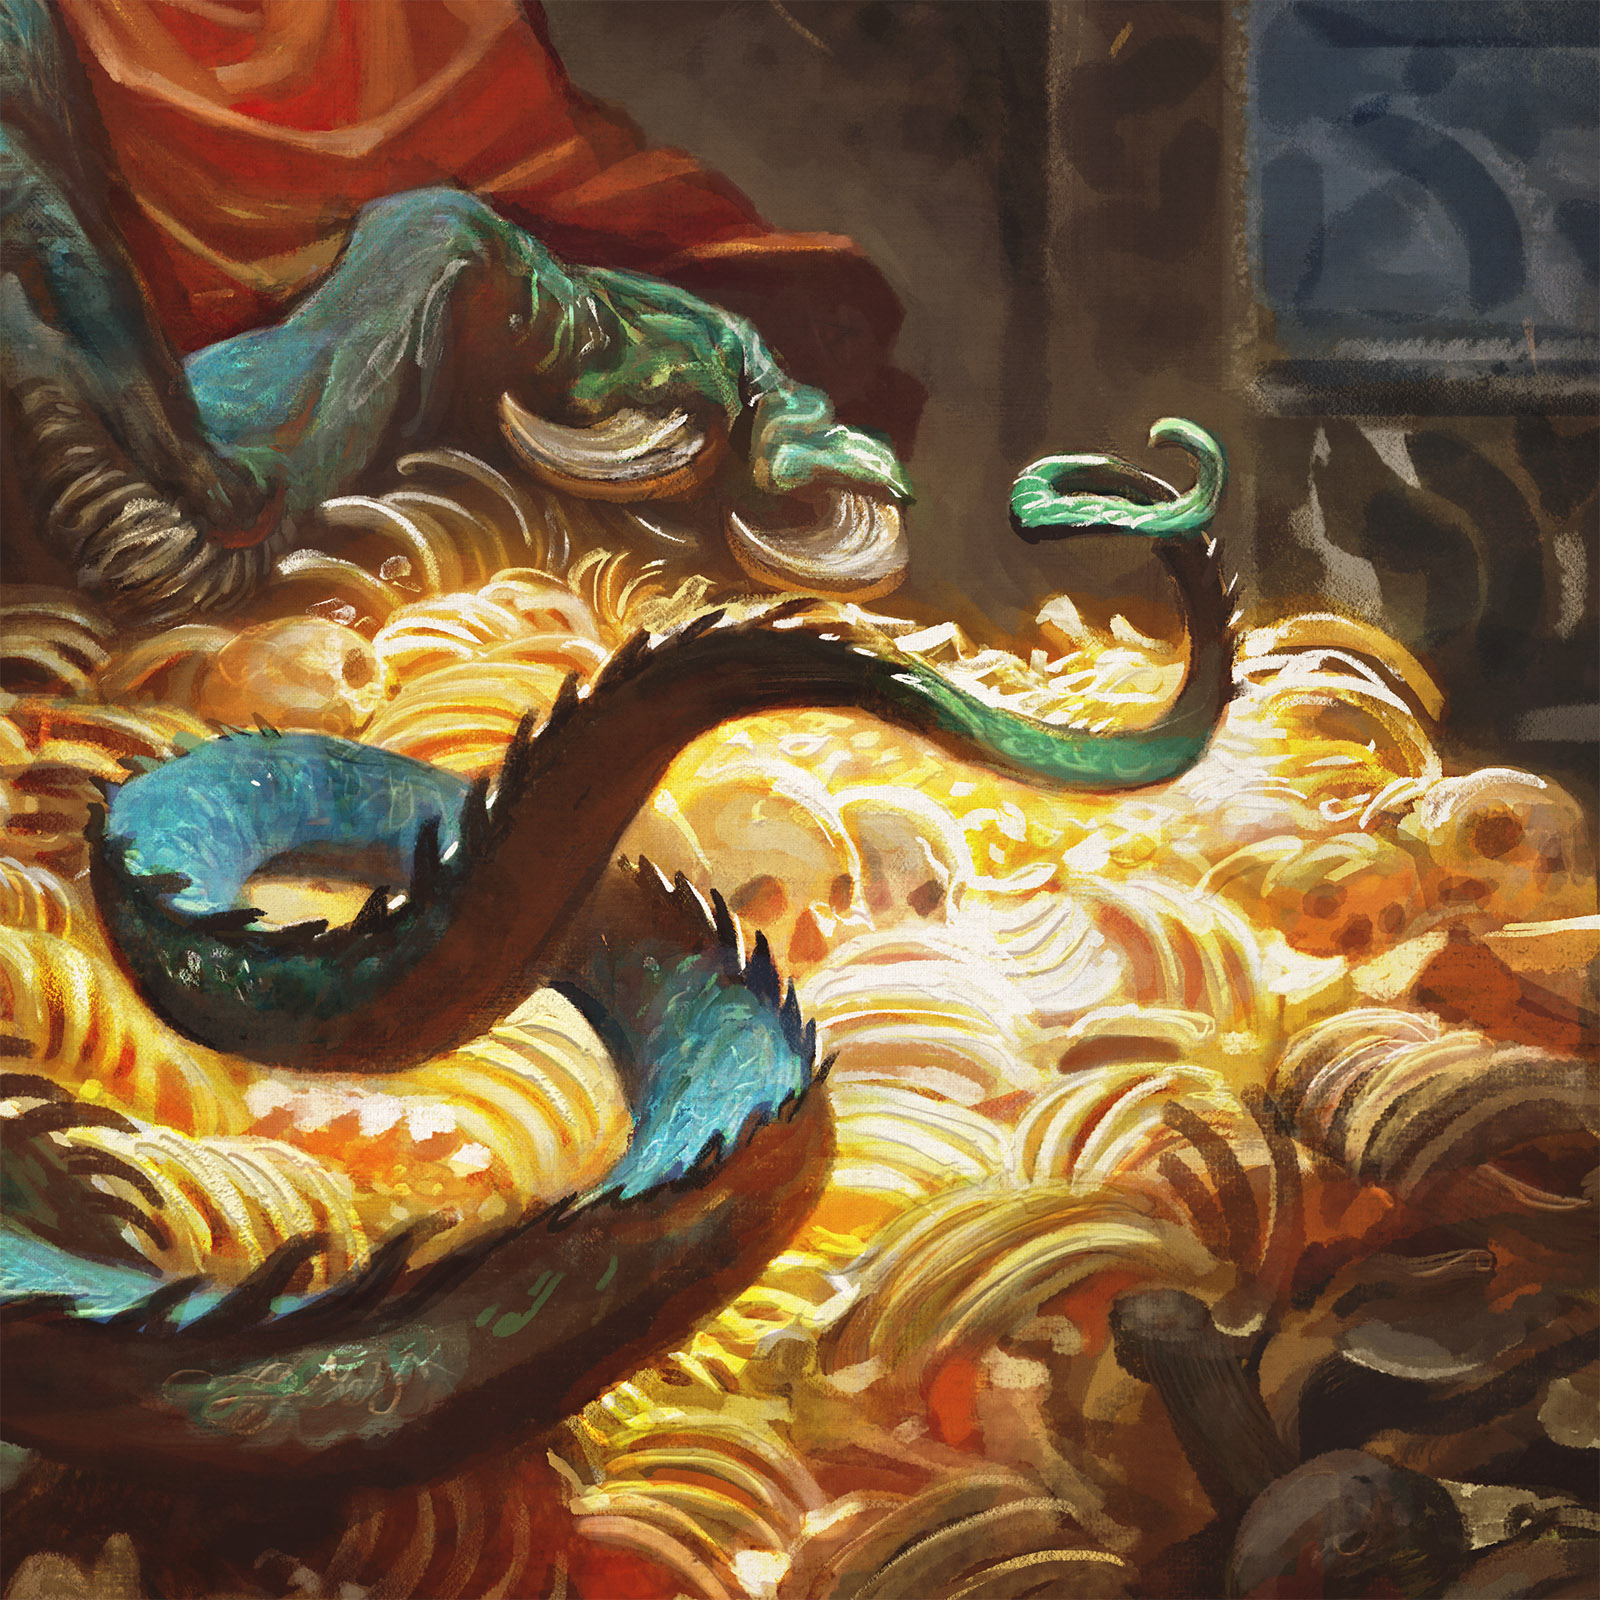
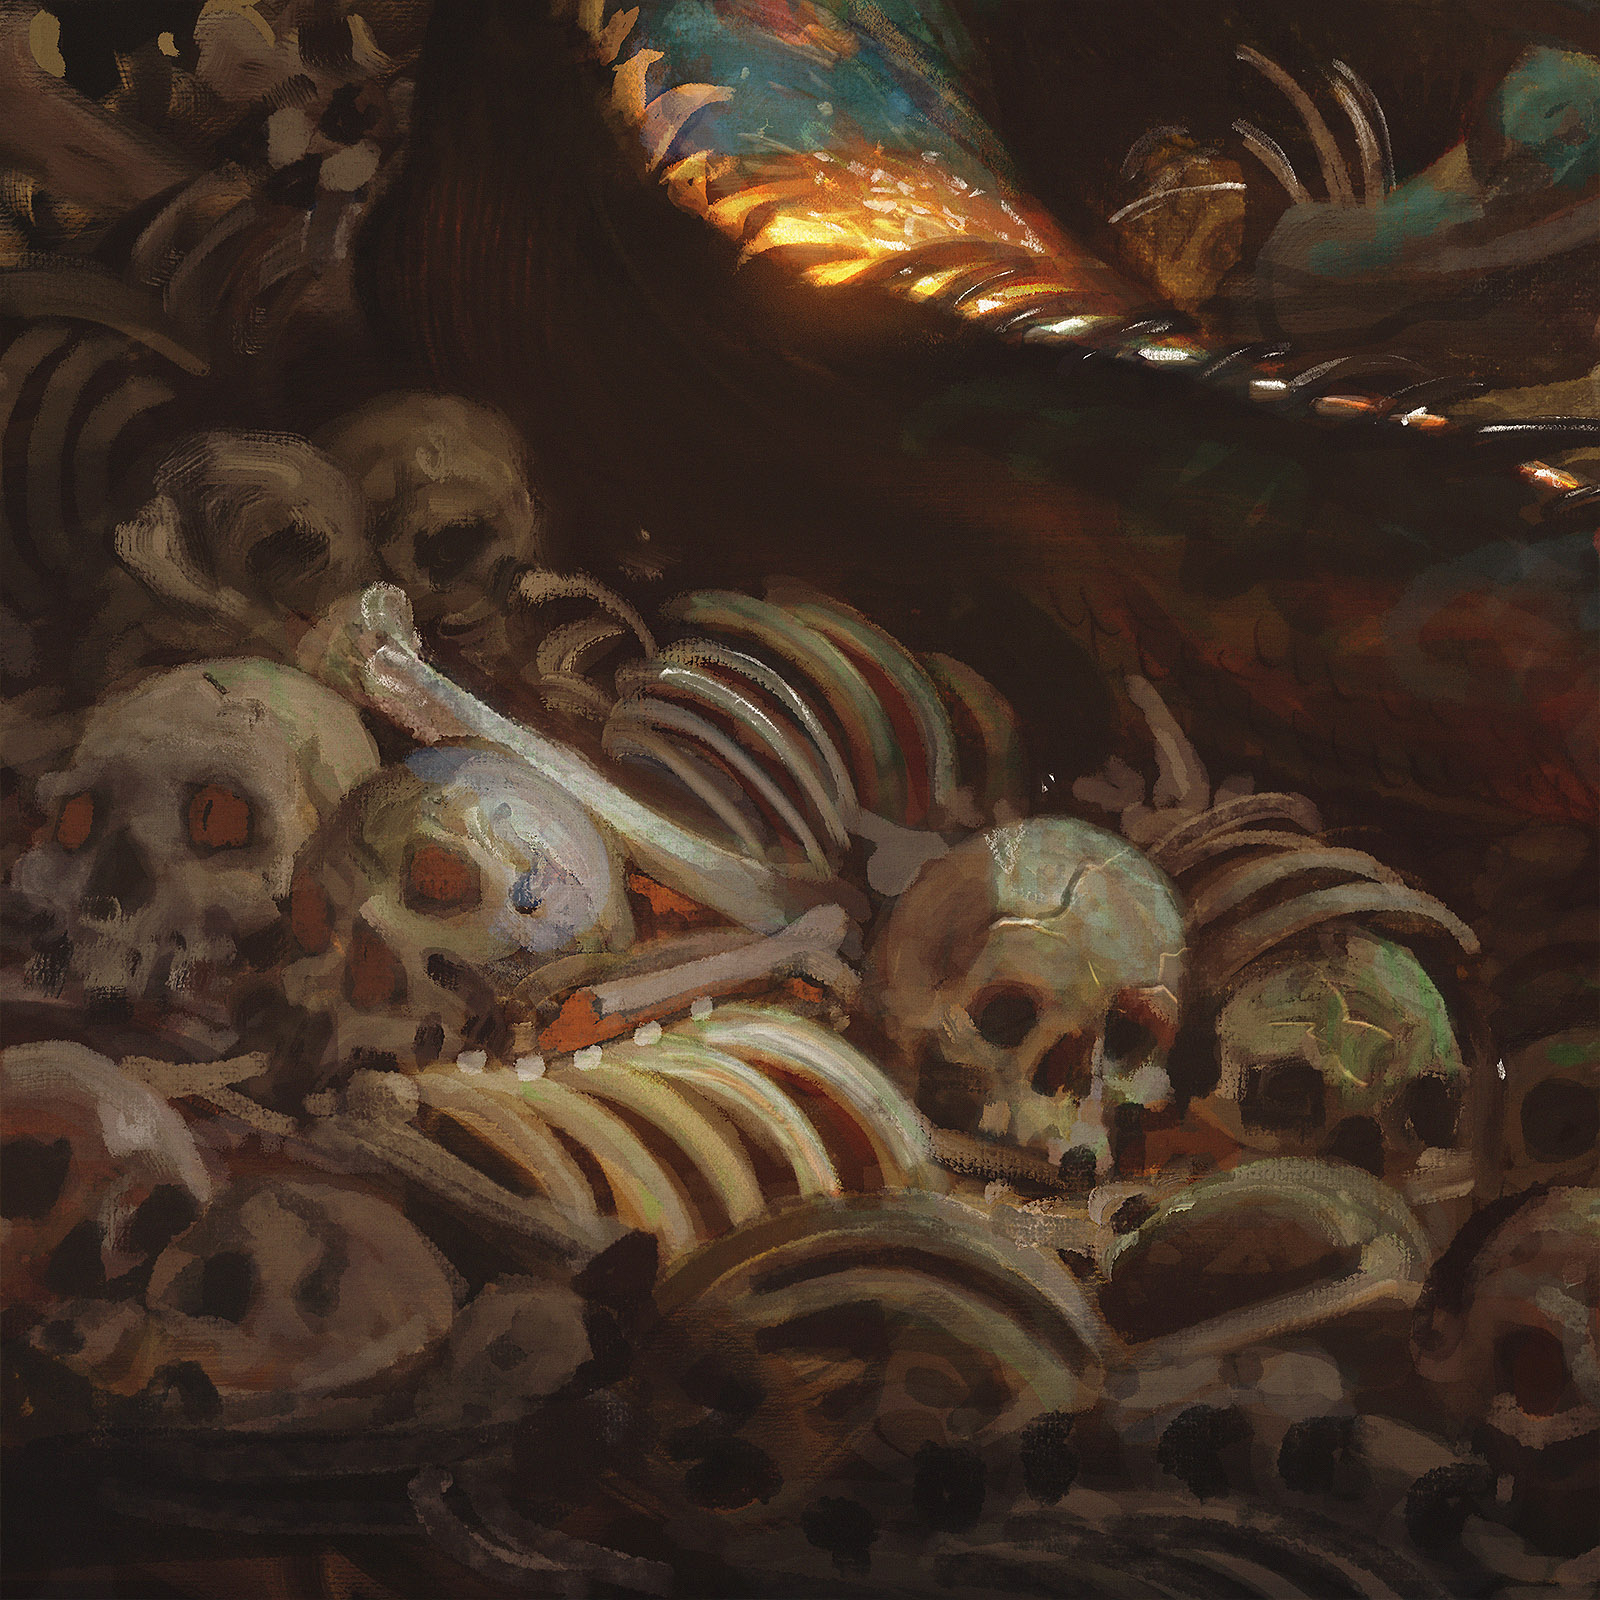
I loved working on this scene because it offered so many interesting challenges! Gold lace, horns, teeth, scales, velvet, marble and bone, there was just so much texture to play with!

I hope you’ve enjoyed this one! I have one more painting left from the Faerie Queene before we bid the 73 illustration project farewell. And I hope to share that one with you next time.
Sidenote: I am painting a new halloween battle scene all this month over on Twitch. I’m very excited about it and plan to do as much as I can of it live. I usually stream on Wednesdays (and sometimes Fridays) at 10AM EST if you feel like dropping in and asking any questions or joining the chat in harassing me about not flipping the painting enough!
www.twitch.tv/justingerardillustration
-jg

Amazing stuff – as usual Justin.
Love your paintings, thanks for sharing!