Over the years, I’ve had to carry a LOT of wet paintings around.
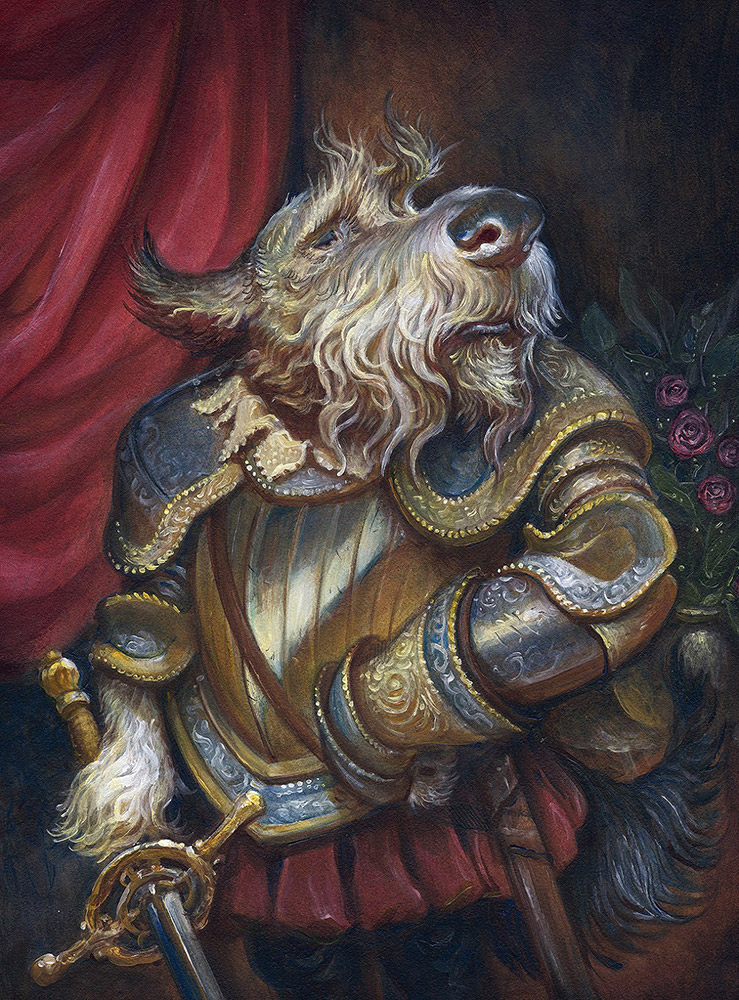
Lots of times I do demos at workshops, and I have to get the painting back home. Or a book cover job is due, and I have to deliver a wet painting to a client. Either way, I need a way of transporting that wet image safely.
In my experience, you’re usually better off with a painting holder tailor-made for the specific painting you want to carry.
I feel the wet painting holders that hold ANY size painting, usually aren’t worth bothering with. They are heavy, expensive, and not always stable. You also can’t leave them behind at an Art Directors office without worrying about it’s return.
For me, a transport box has to be 4 things, (in order of importance):
1. Strong
2. Lightweight
3. Inexpensive
4. Good Looking
If I am shipping a really nice original to a collector, I usually don’t use this method. This is more for the commercial work, and in-progress stuff. Stuff that is being carried around. This box will NOT survive actual MAILING.
So, here is what I think is the FASTEST, CHEAPEST way to make a carrier…
Buy several lengths of square hardwood dowels at the Home Depot. For this box, I used several feet of the 1″ square dowels. These cost $1 a foot.
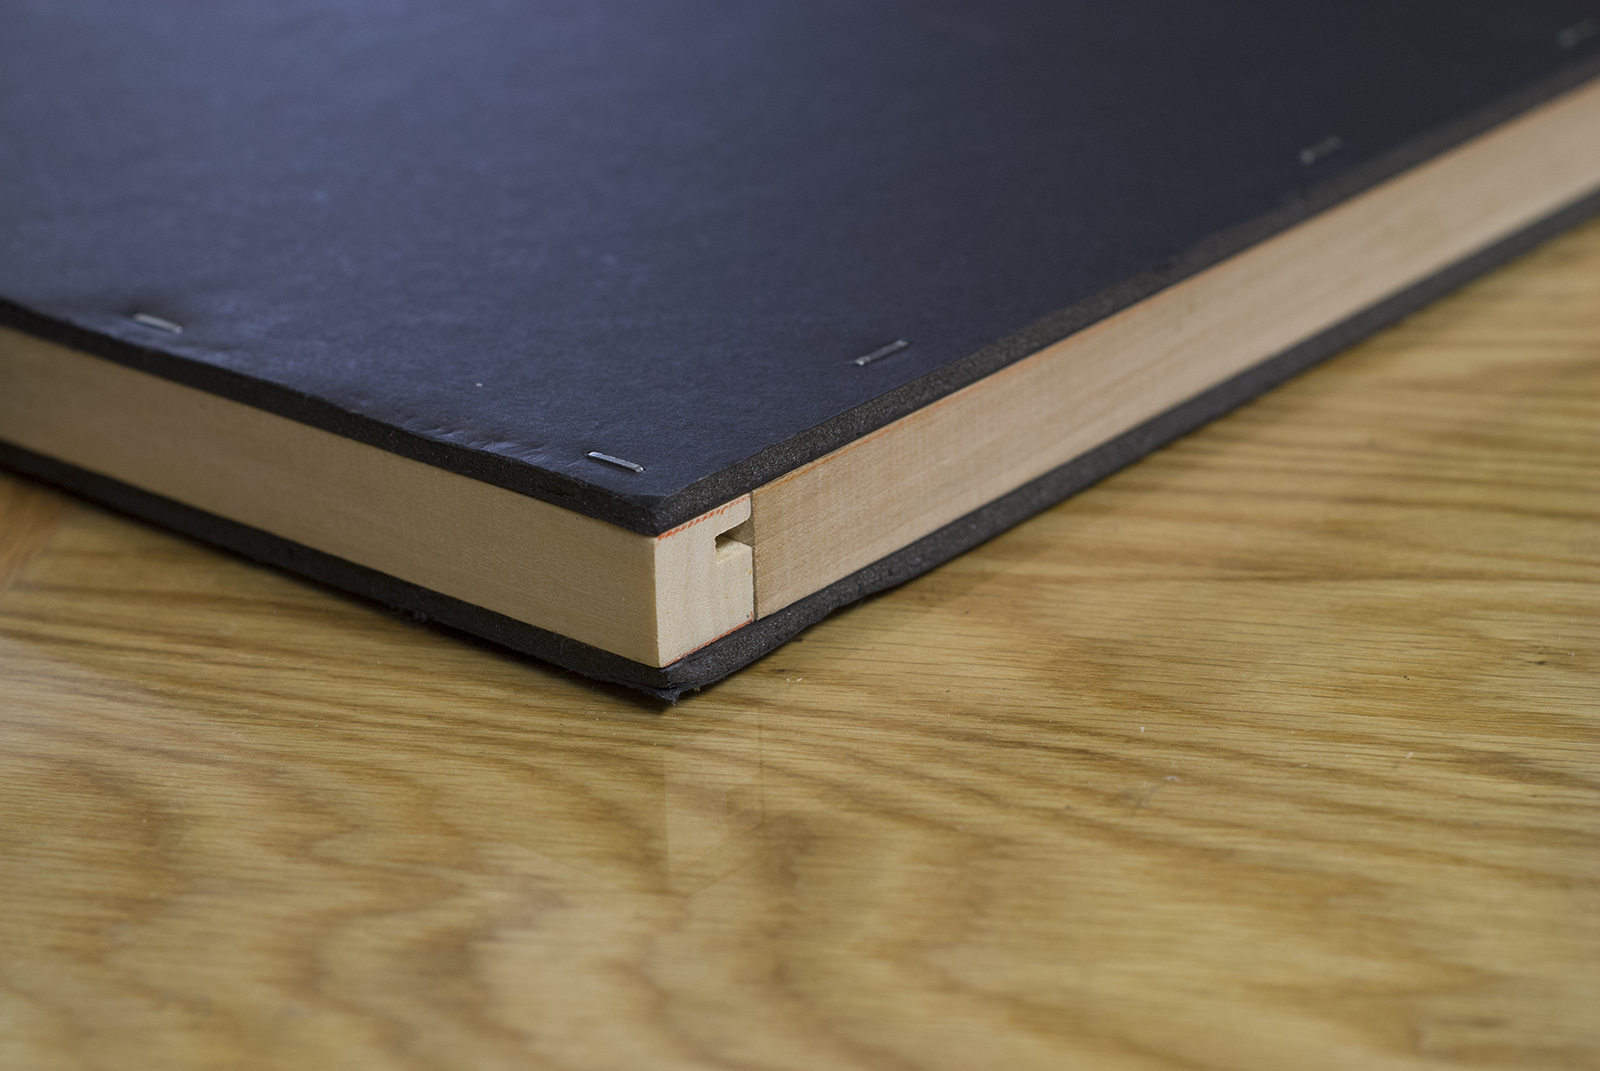
Using a table saw, lower the blade until it’s just a 1/4 inch or so above the table’s surface. Set the cut guide to 1/2 inch or so, and carefully run the length of wood through. Repeat this for all lengths.
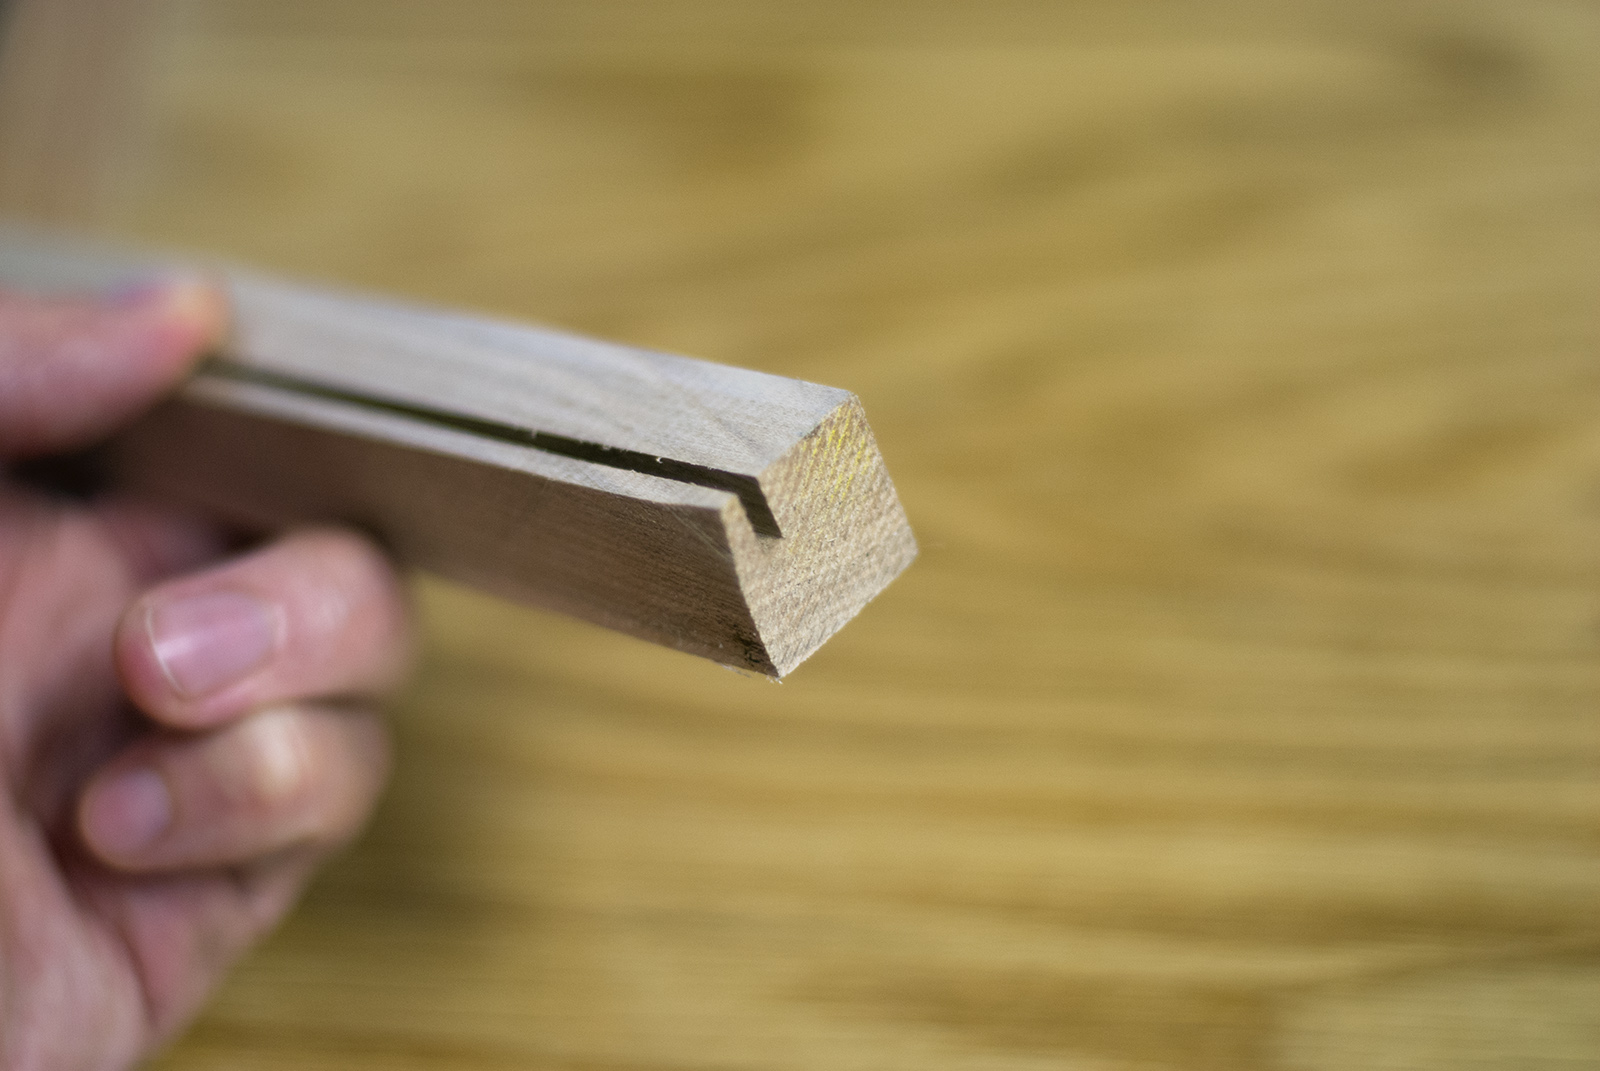
The result is narrow groove on one side of the dowel.
This groove happens to be the perfect width for the illustration board I paint on. If you paint on a thick surface (Like wood panels or canvas), just nudge the saw guide a bit, and run the wood through multiple times for a slightly wider groove each time.
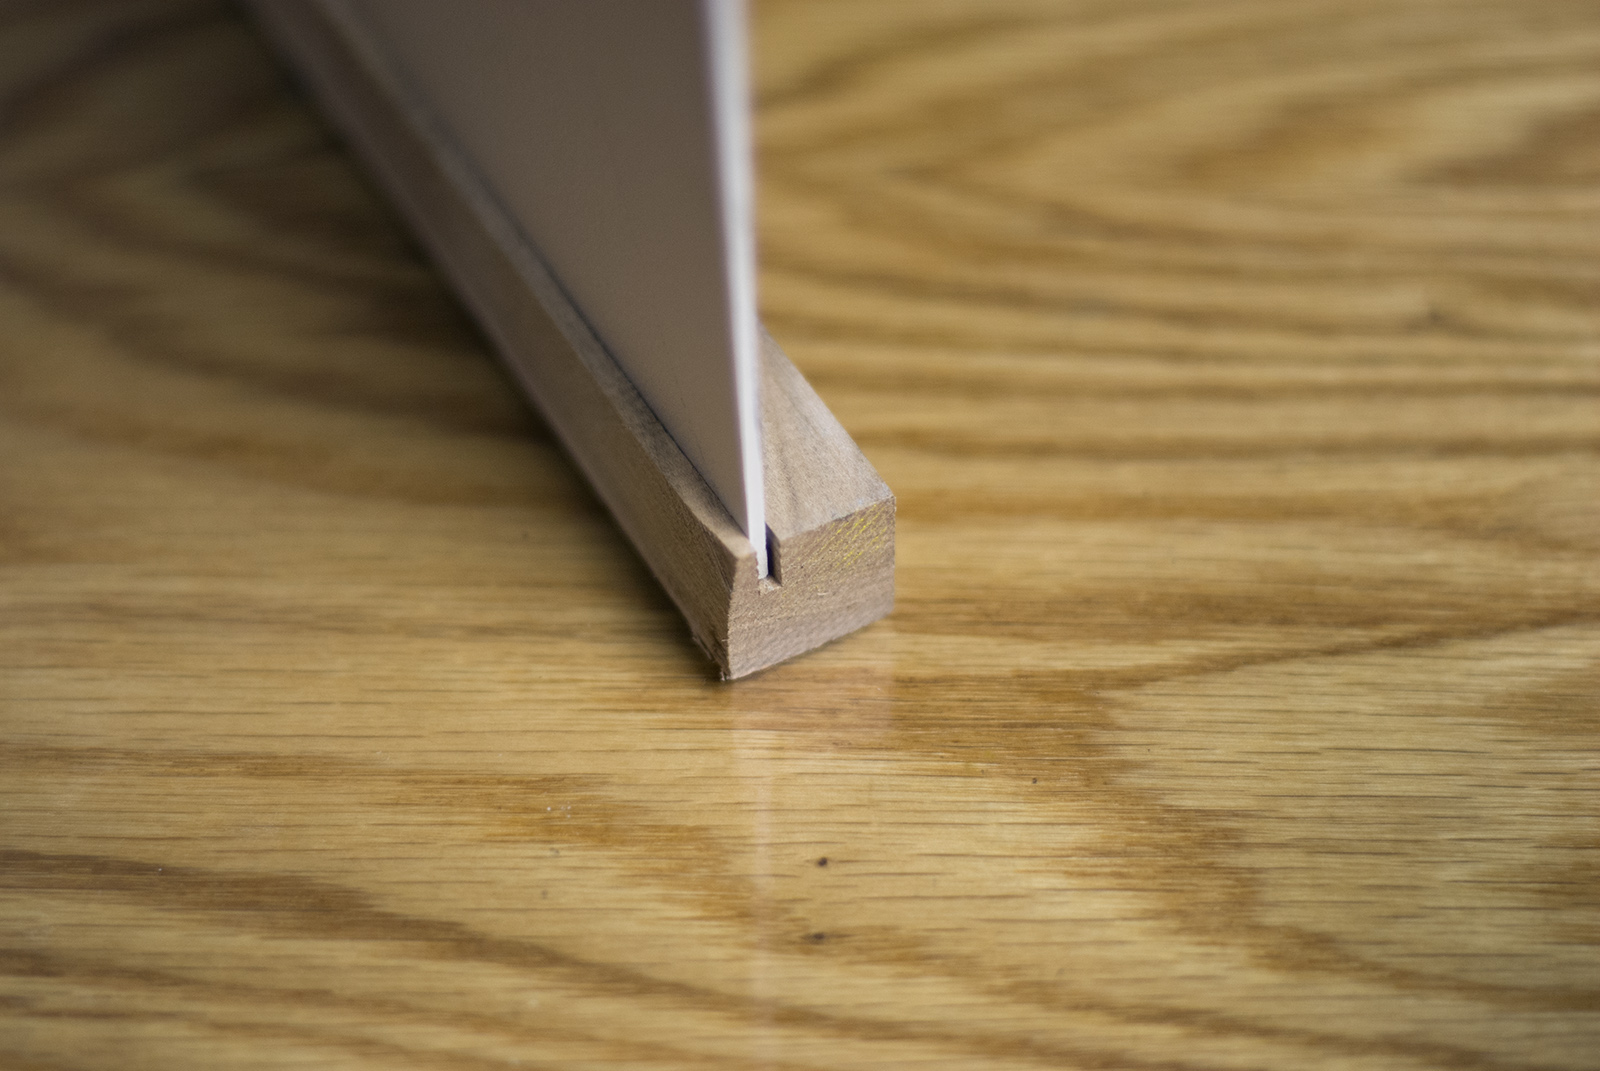
You can also run two separate grooves if you want to hold multiple pieces!
Now, running wood through a table saw literally takes just a few minutes if you know what you’re doing. But mitering and screwing together accurate corners takes a deceptive amount of time and skill. So for something like this… I don’t bother!

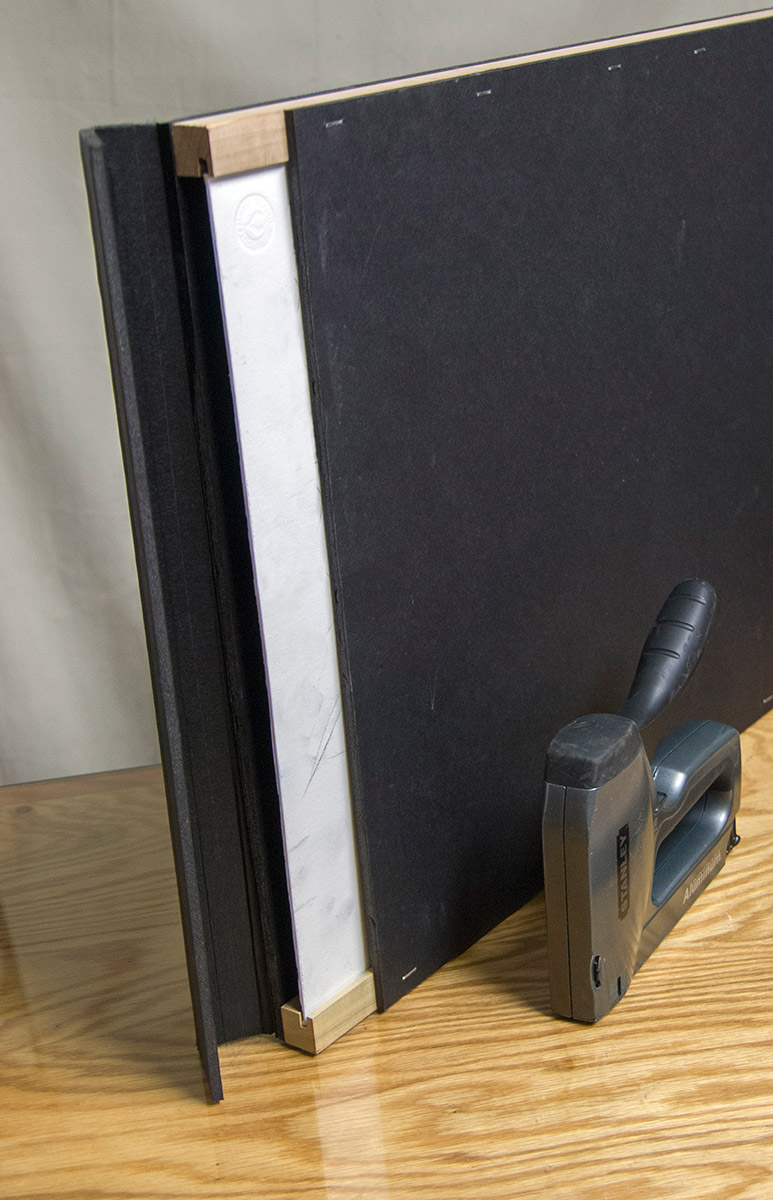
Cut 3 pieces of your dowel to the desired lengths (This will take some math). Then cut a sheet of foamcore to the size you want the box. Layout your ‘rails’ out on a table, and place the sheet of foam core on top.
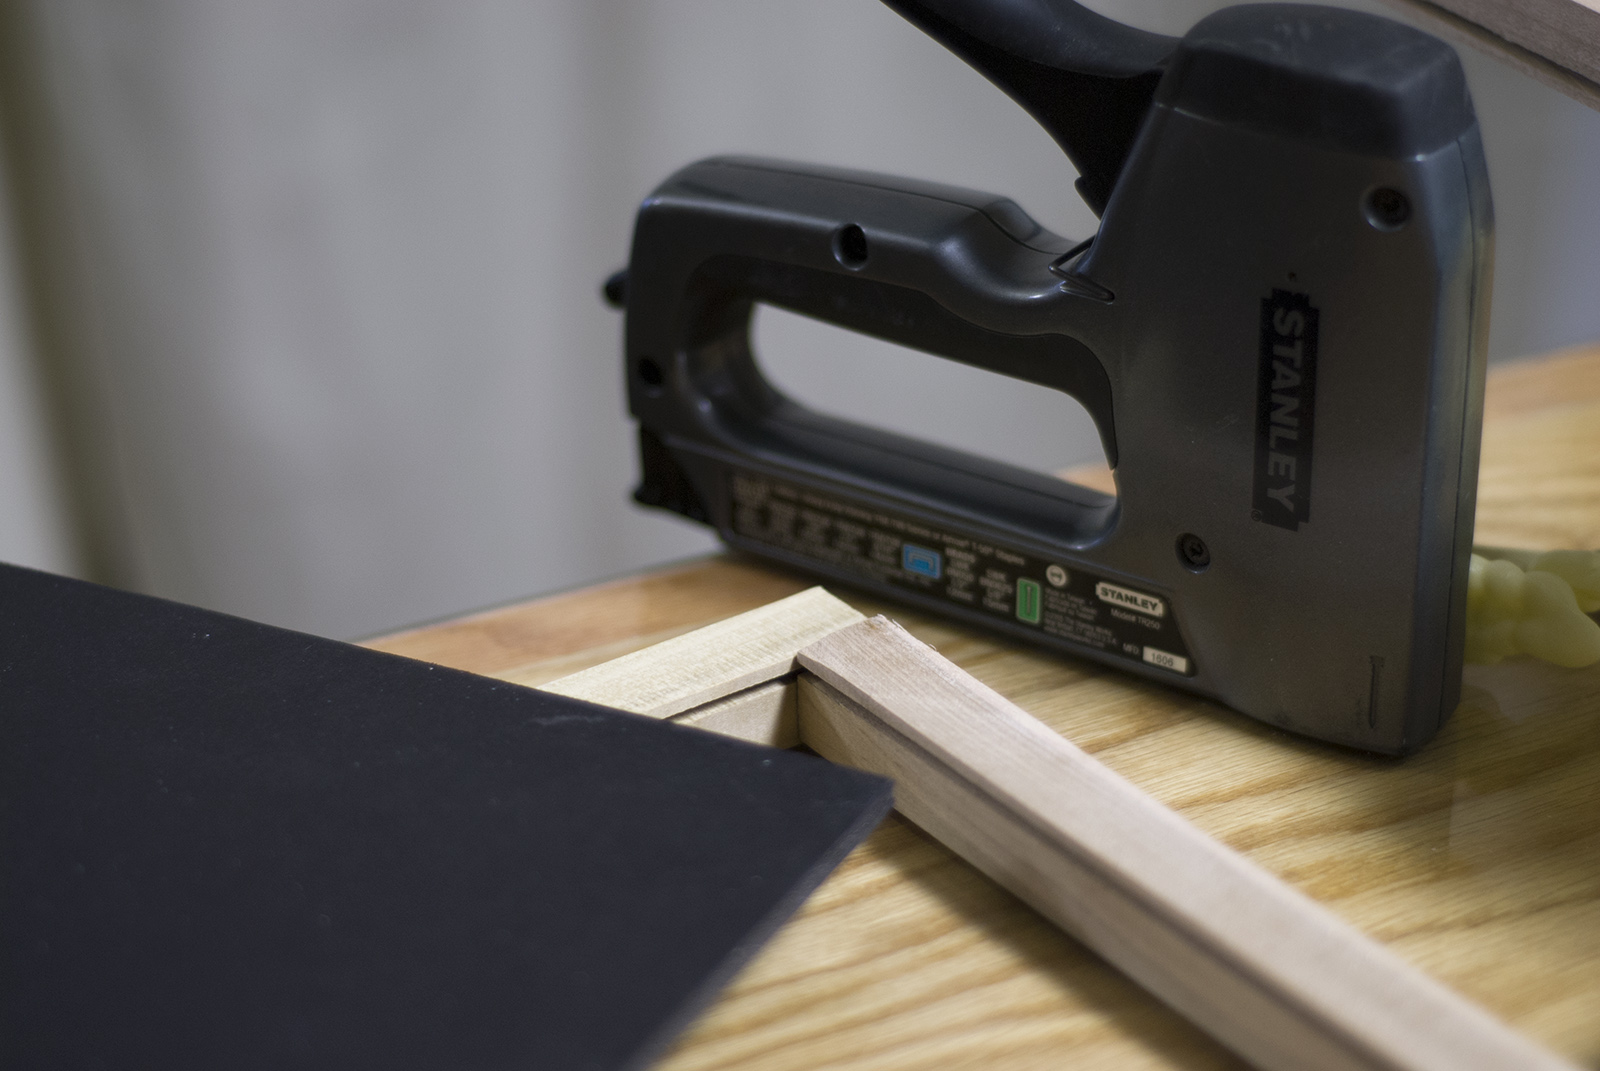
With a good staple gun, just staple the foamcore down. There is no need to screw the wood together, the foamcore will hold it snug. Flip it over and do the same thing.
For a lid, you can just tape a strip of foamcore across the top. Or, you can get all sorts of fancy with it like me (‘Fancy’ means 2 strips of foamcore and black tape).

Voila! Just slide your wet painting in, and nothing will harm it’s surface! It’s cheap, it’s strong, and can stand up to fairly rigorous handling, including the TSA!
If you already have the materials and equipment, you can put this together in 20 minutes. Because I tend to work on either 15×20, or 20×30 boards all the time, I can actually reuse the same box quite a bit.
If you need something stronger, just substitute the foamcore and staples for plywood and screws.
Or, if you don’t have a table saw, you can actual make the entire box out of strips of foamcore and spray glue.


You continue to be brilliant Dan.
THANKS Dan!
Elegant solution!
“using a table saw …” I can't wait to own a house.
cool!
Nice! I had no ideas how to transport illustration board. I use pizza boxes for my canvases & put Velcro on the box & the canvas if it's going to be rough travel – but that wouldn't work with illustration board.
Or paint with acrylics. You are a true craftsman Dan.
I love this!!!!