When you gather reference for your concepts, your ideas, your finishes, what do you gather up? If it was a “Warrior Swinging a Sword”, what would you gather? I know this is rather vague an idea, however, as an artist with intent, you would have an idea of where to begin the search as you define the story of who this warrior is in your imagination. But what reference would you gather up?
If your collection of images include artists who you like who have warriors swinging swords, ren-faire images, some GOT frame grabs and a few images from your LOTR concept art folder, etc. you get the idea, then you are in the early stages of understanding your goal.
Items of importance to gather up if possible:
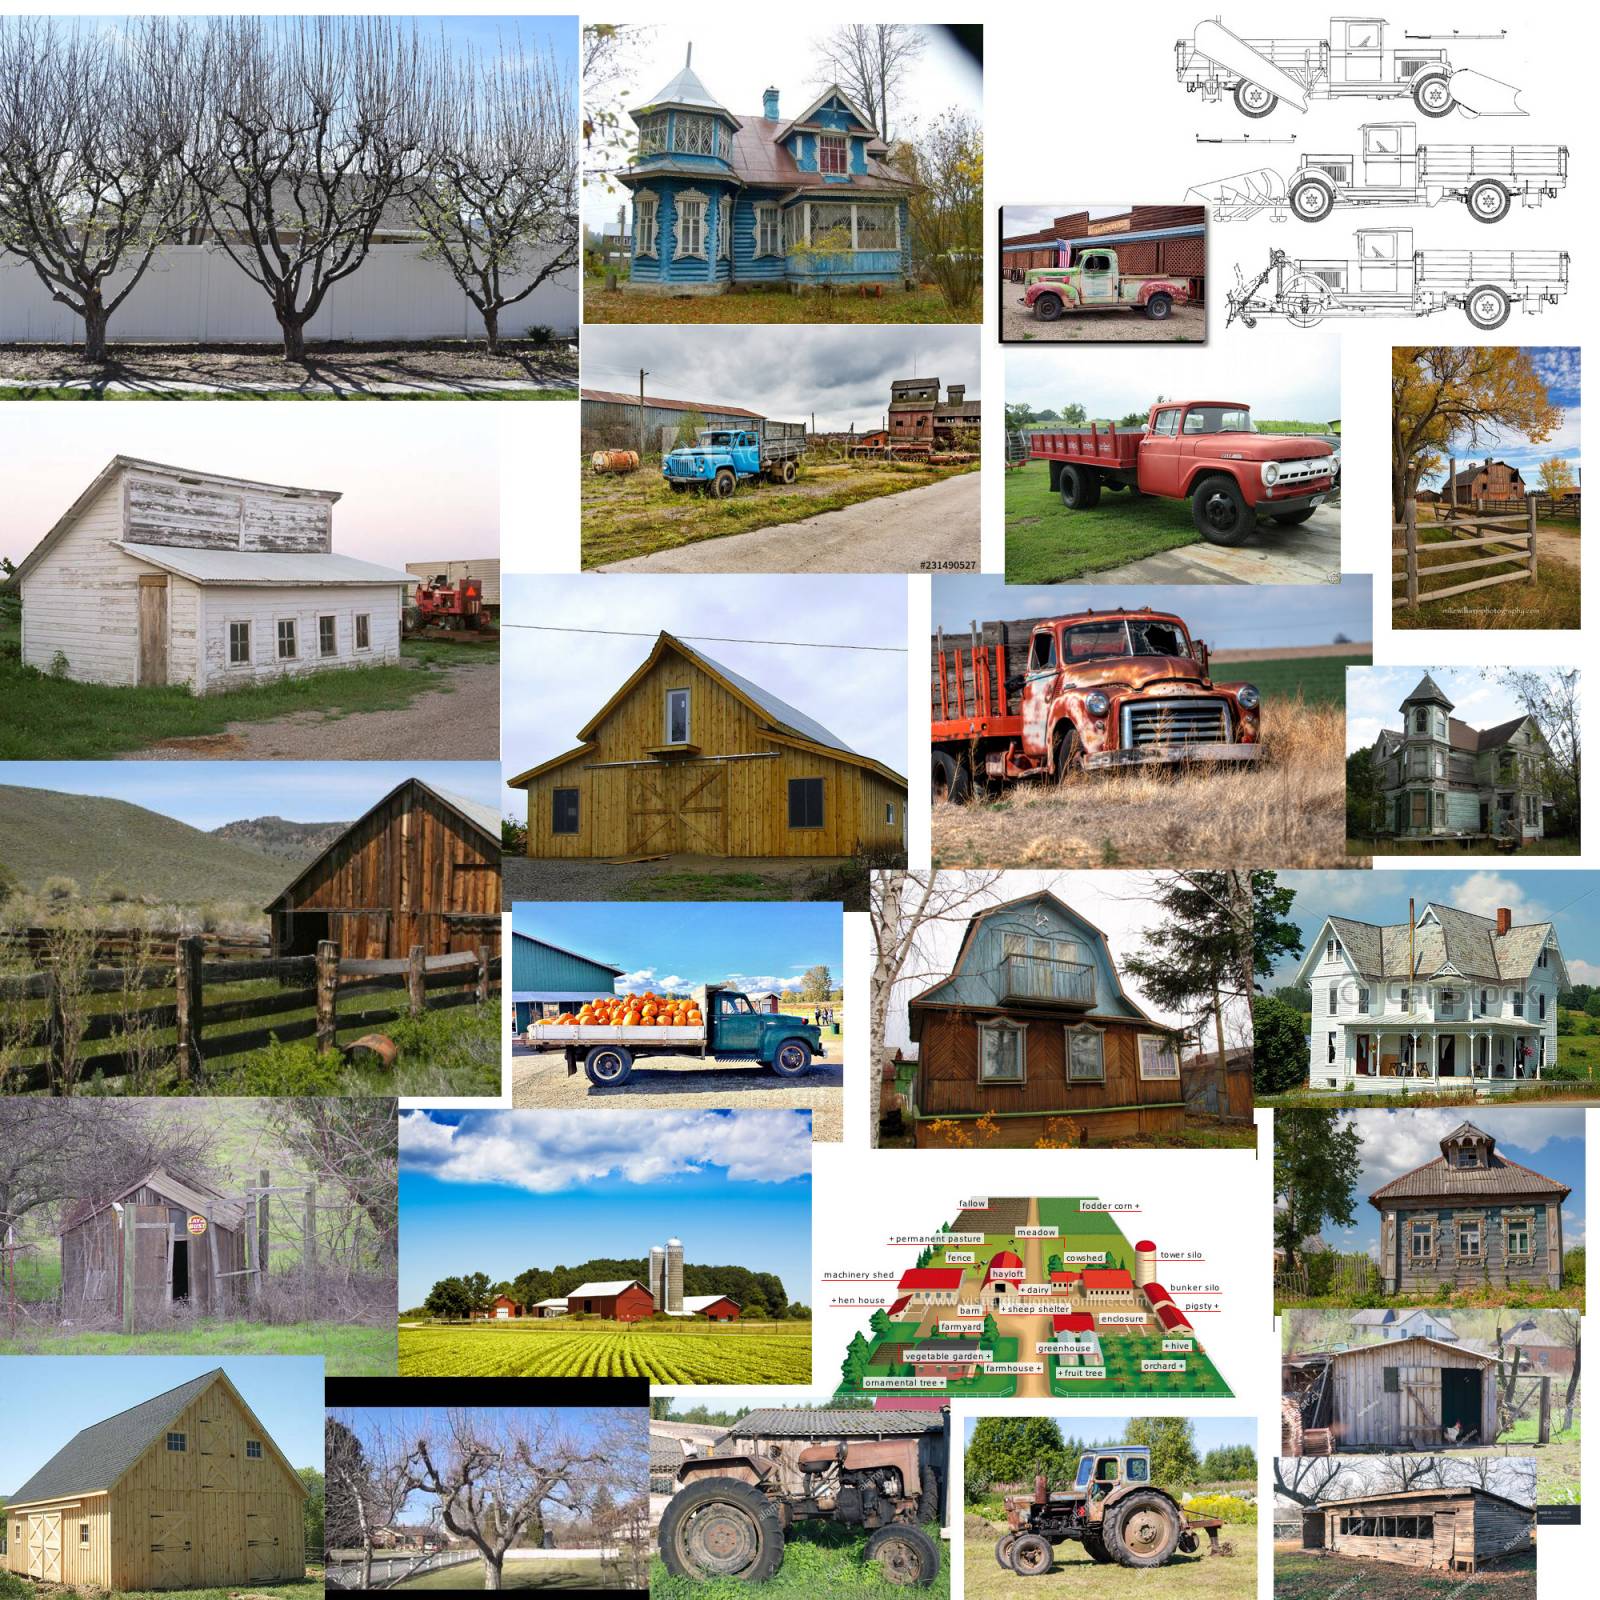
-blueprints of armor and weapons, 3 views preferably
-close up shots of detailed parts and parts usually covered or hard to see
-HD head to toe shots of someone wearing said uniform and holding sword
-video footage of someone swinging a sword similar to what you are thinking, along with other footage from picking it up to putting it back down, to get an idea of the weight, balance, awkwardness, balance, etc. as if you were there watching it first hand.
-multiple angles of item
-items under various lighting conditions and wear and tear imagery
NOT A WARRIOR SWINGING A SWORD REFERENCE! These are part of a project I mention below.
First hand experience with said items, or history with items, or the ability to go watch someone use said items in person is extremely valuable.
Once reference is gathered, memories are clear, then it is imperative not to just look at it, but to draw all pertinent drawings that will help you memorize the items, movements, motions, angles, etc. to give you TOTAL control over your subject matter, whether you are posing it for a final output, or you are conceptualizing an entirely new “whatever it is”.
A very good exercise to do to help you with whatever you are currently working on would be to download a video and picture of a subject related to a project or job you are working on. Watch the video, examine the photo, then draw the photo, and draw from pertinent frame grabs the subject you are working from. Not just any kind of drawing but construction drawings, draw through, with centerlines, and/or contour grid lines to help you “internalize the picture in your mind”.
After a half hour of studies, draw the referenced item from your imagination, and try to recall as much as you can from the studies. Don’t worry if you can’t recall too much on the first few tries, anything new takes some warming up to before it starts to work.
The more you know about your subject, not just seeing, but doing and experiencing, the easier it is for you to react to the subject on paper. The reflexes you are developing as an artist are problem solving reflexes for your imagery, as keen as the best movie directors out there.
Start your studies with a blue print of whatever it is you have never drawn before. I know, boring…not really though, it is the best starting point for you to work with, as it gives you all the views you need to understand the total volume, connections, details, etc. that you can now practice in natural views using the proportions and shapes you found in your drawings.
Next, draw the detail views, including contour lines to continue developing a sense of “around the form”. This will help you remember the secondary and tertiary levels of detail and complexity with your subject.
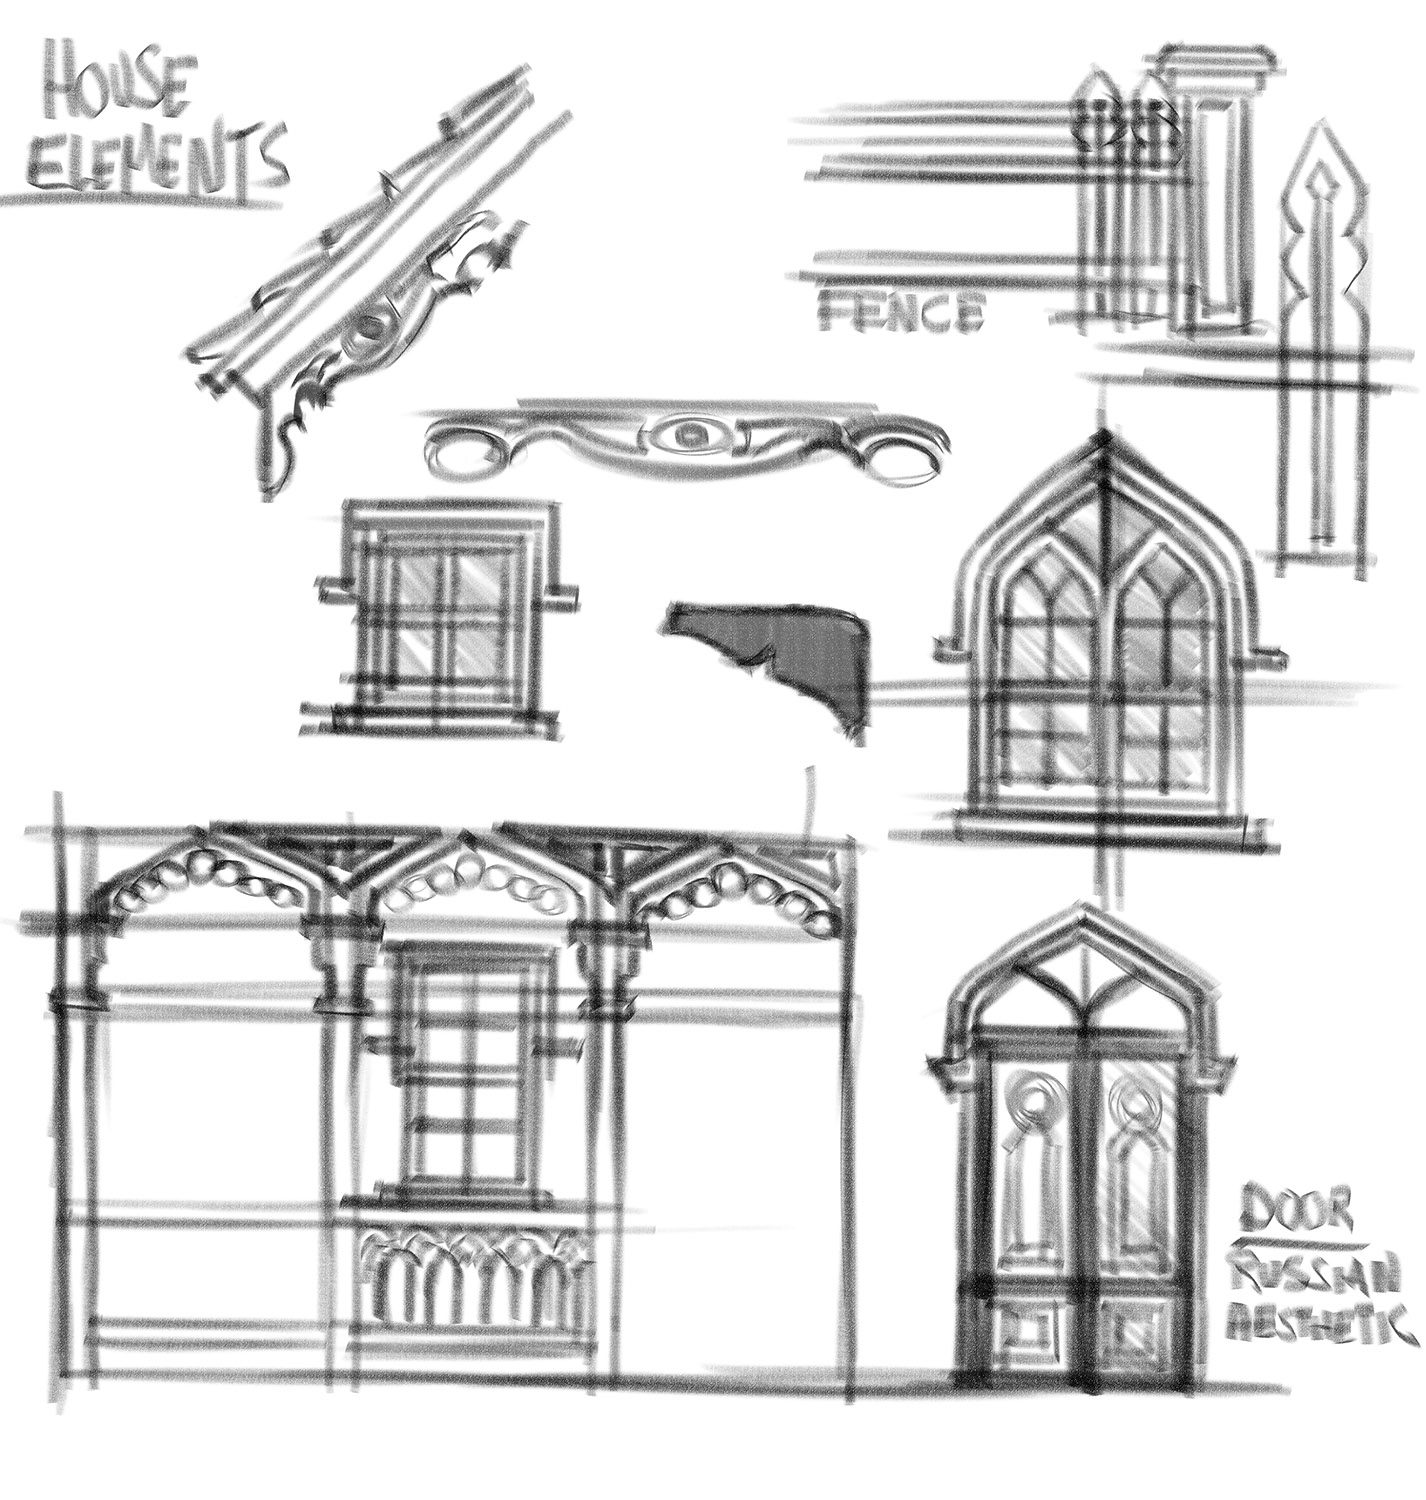
After these studies, do a few copies of someone using said item, make sure to draw the figure in construction form to continue evolving your inner understanding of the item in 3D space. The more you draw it in various angles through construction means, the more solidified it becomes in your memory.
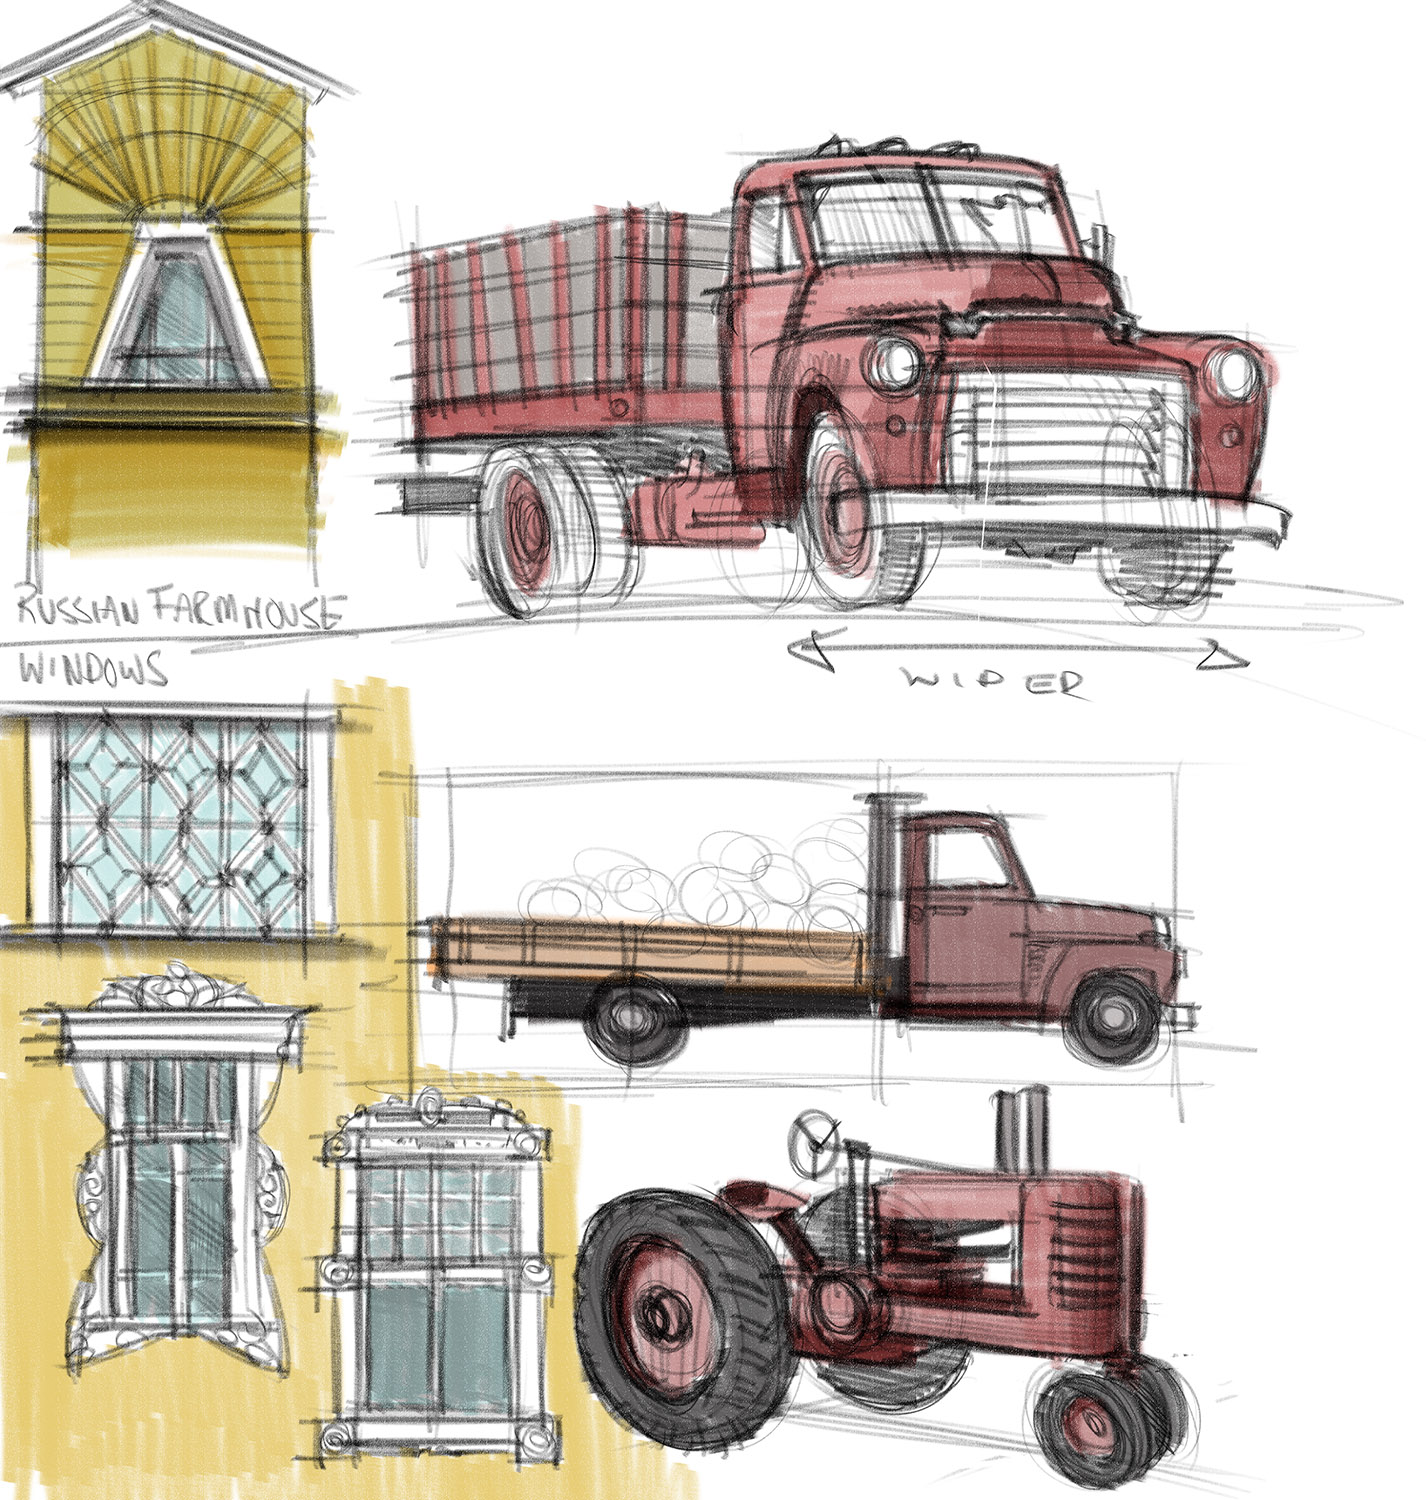
Do some color and texture studies using the tools you will mostly illustrate with, familiarizing yourself with the order of layers and colors you will use for your subject most of the time. I say this because if it is multiple images with different lighting conditions these hues will change.

The texture studies help you render until you can “imply” without effort. This means you have practiced enough to know exactly how to make the textures work regardless of their size or shape in your art.
Sit on these for a few days and do other things.
Now, get back to your art and start doing what you need to do as a first round, thumbnailing out iterations of the thing you have been studying and see what comes of it.
The more you do this, the easier it will be for you to find “Inventive” ways to be creative with your subject matter, whether it is some kind of advanced design in your design motifs, or a new placement for your camera to frame your action. The more you absolutely and objectively know about your subject, the easier time you will have with your work.
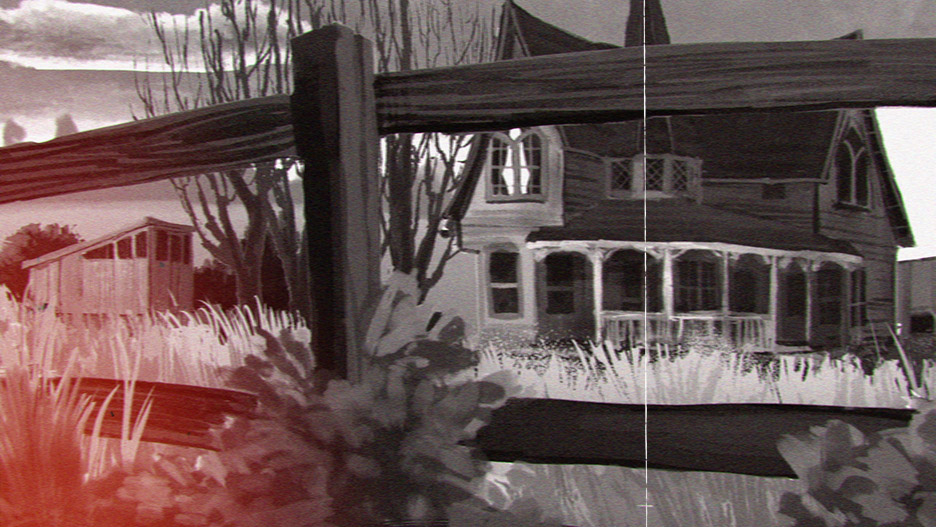
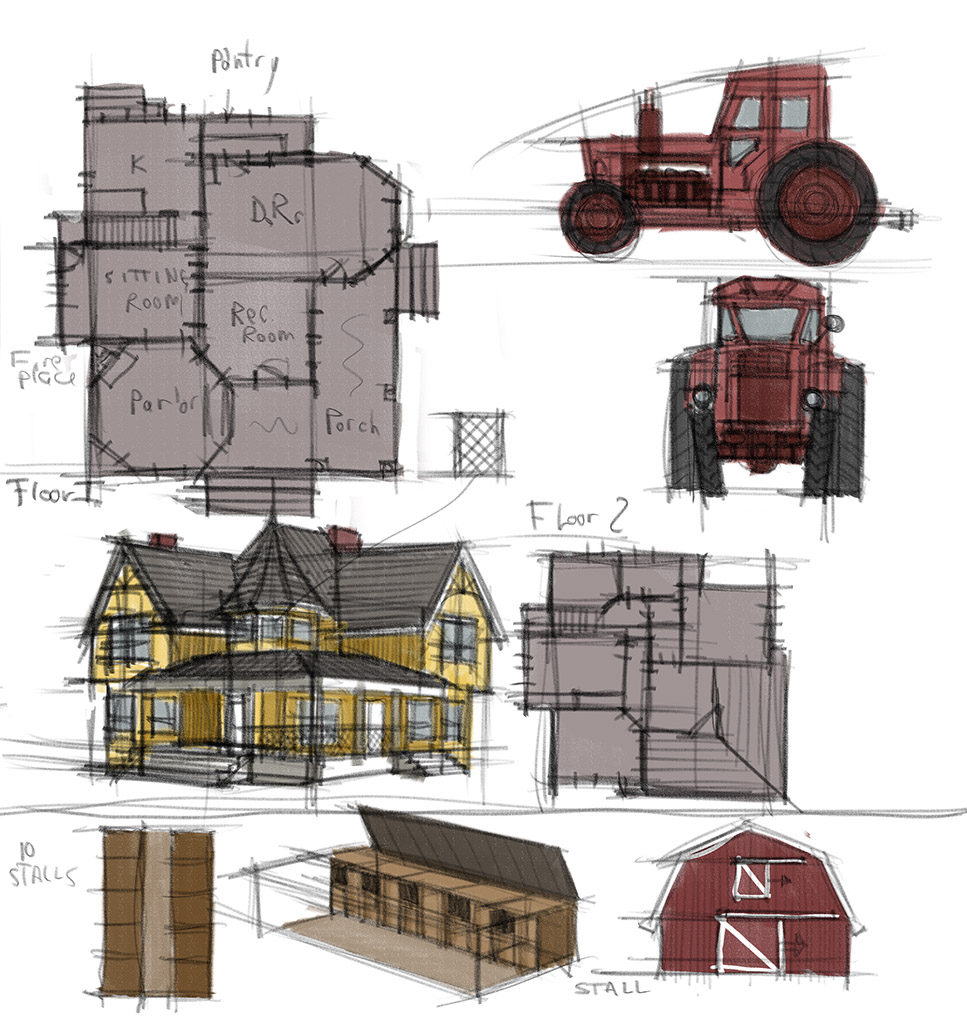
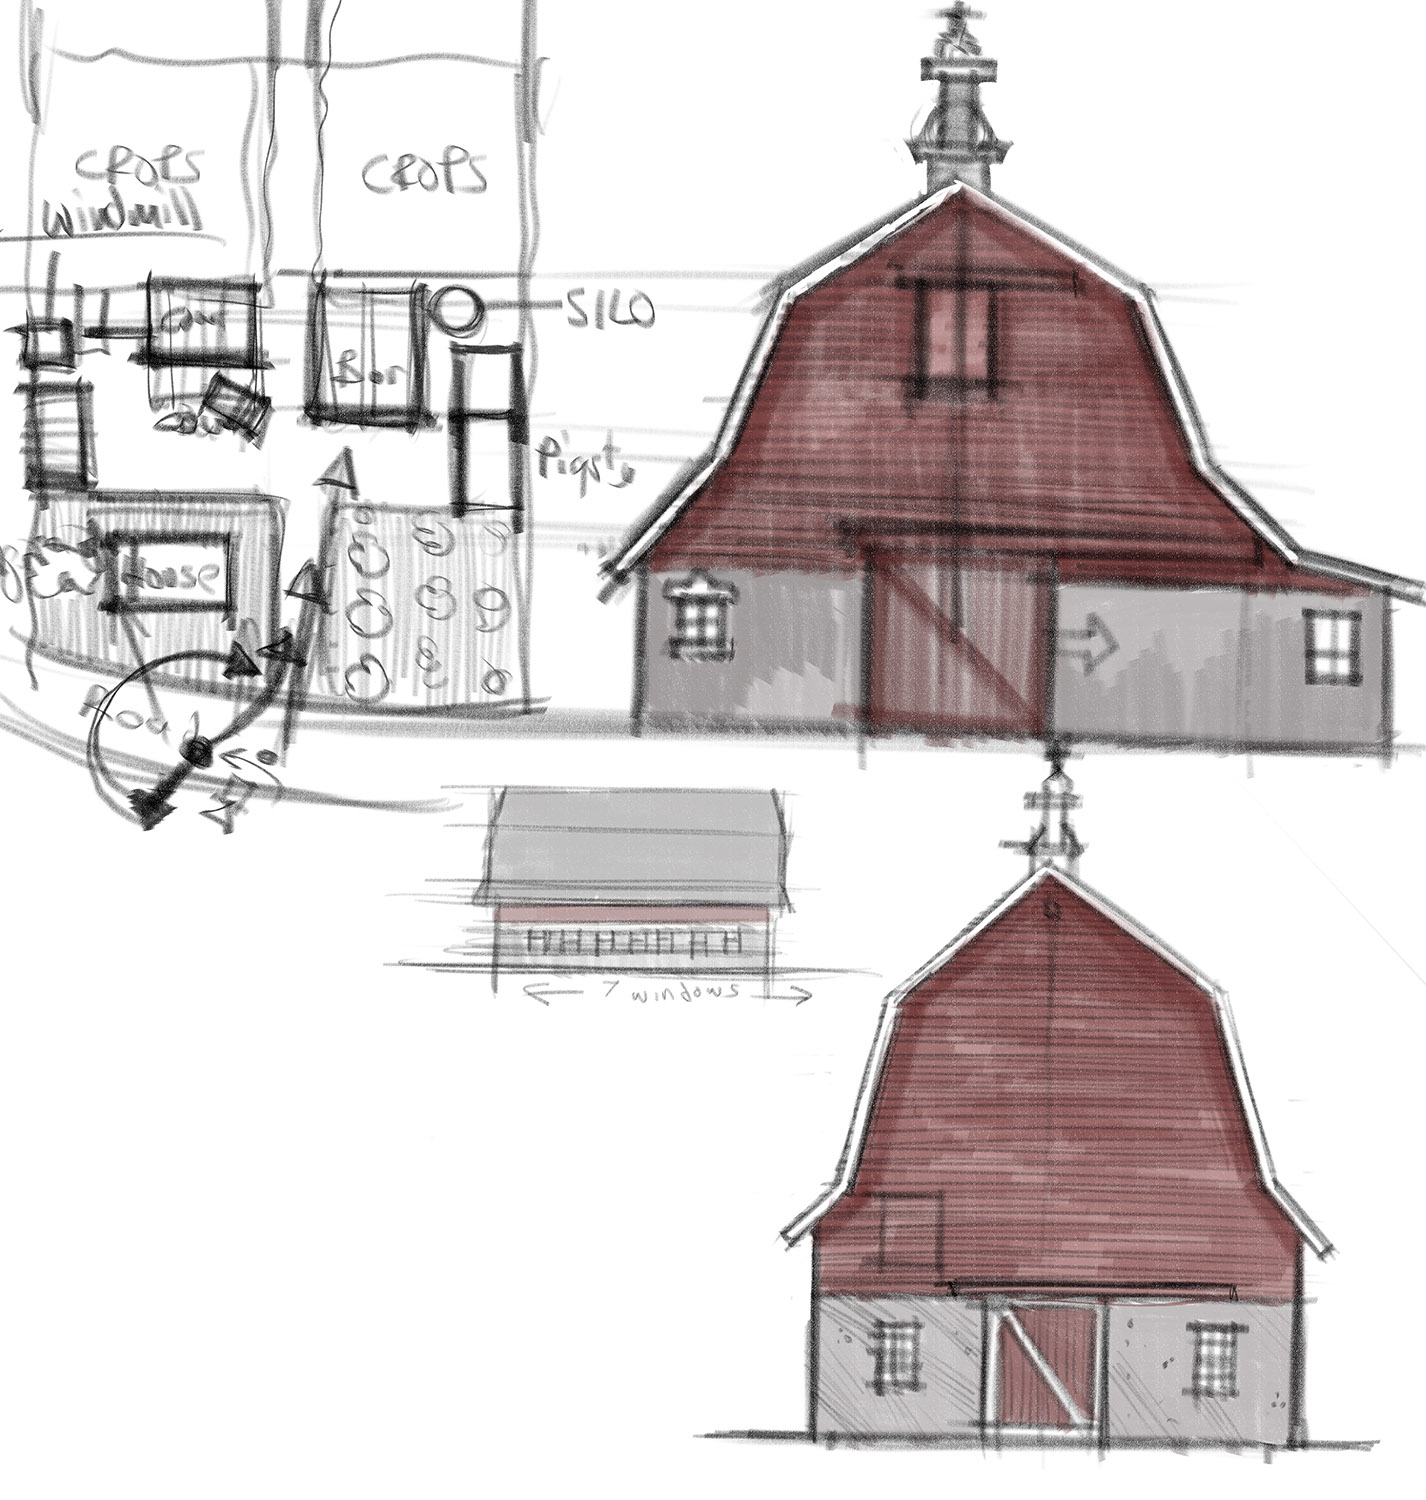
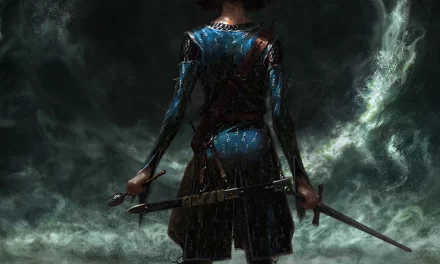
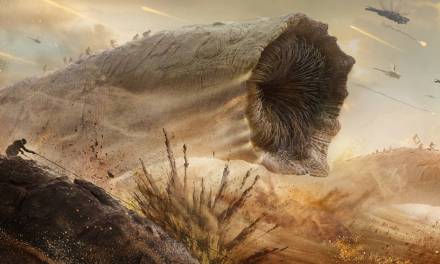
The examples you see are my example demonstrations for a student to help with designing a production shot for an entertainment portfolio. The film this student chose was Animal Farm. The shot we have been developing is the opening shot for the “Film”.
I am big on generating an animatic of the production shots intended for the book to get an idea of how it will make an impact or help symbolically reveal the details or foreshadow places to come to understand the impact of the shots you draw for another media. In addition, it teaches you to become an “interactive” artist with your images learning to make them into a dynamic media for the digital experience; a two in one way of learning.
This animatic was started this afternoon and finished two hours before this article goes live to help my student also understand the importance of “just get it done” for the sake of a deadline. I am going to fall over now, and probably have horrible farm dreams.

This is a quick comp of the entire shot to get an idea of framing and pacing, and was done in roughly 15-20 minutes.
Make this year a great year to up those skills and step into a new head space with how you approach your work, totally objective and well-trained between the lines.

Awesome stuff sir.. particularly Animation was great…
thank you Jeeva.
This is some very handy information
Very helpful information, I always neglect the use of video when referencing, that will open up some new avenues going forward, thanks for sharing Ron!