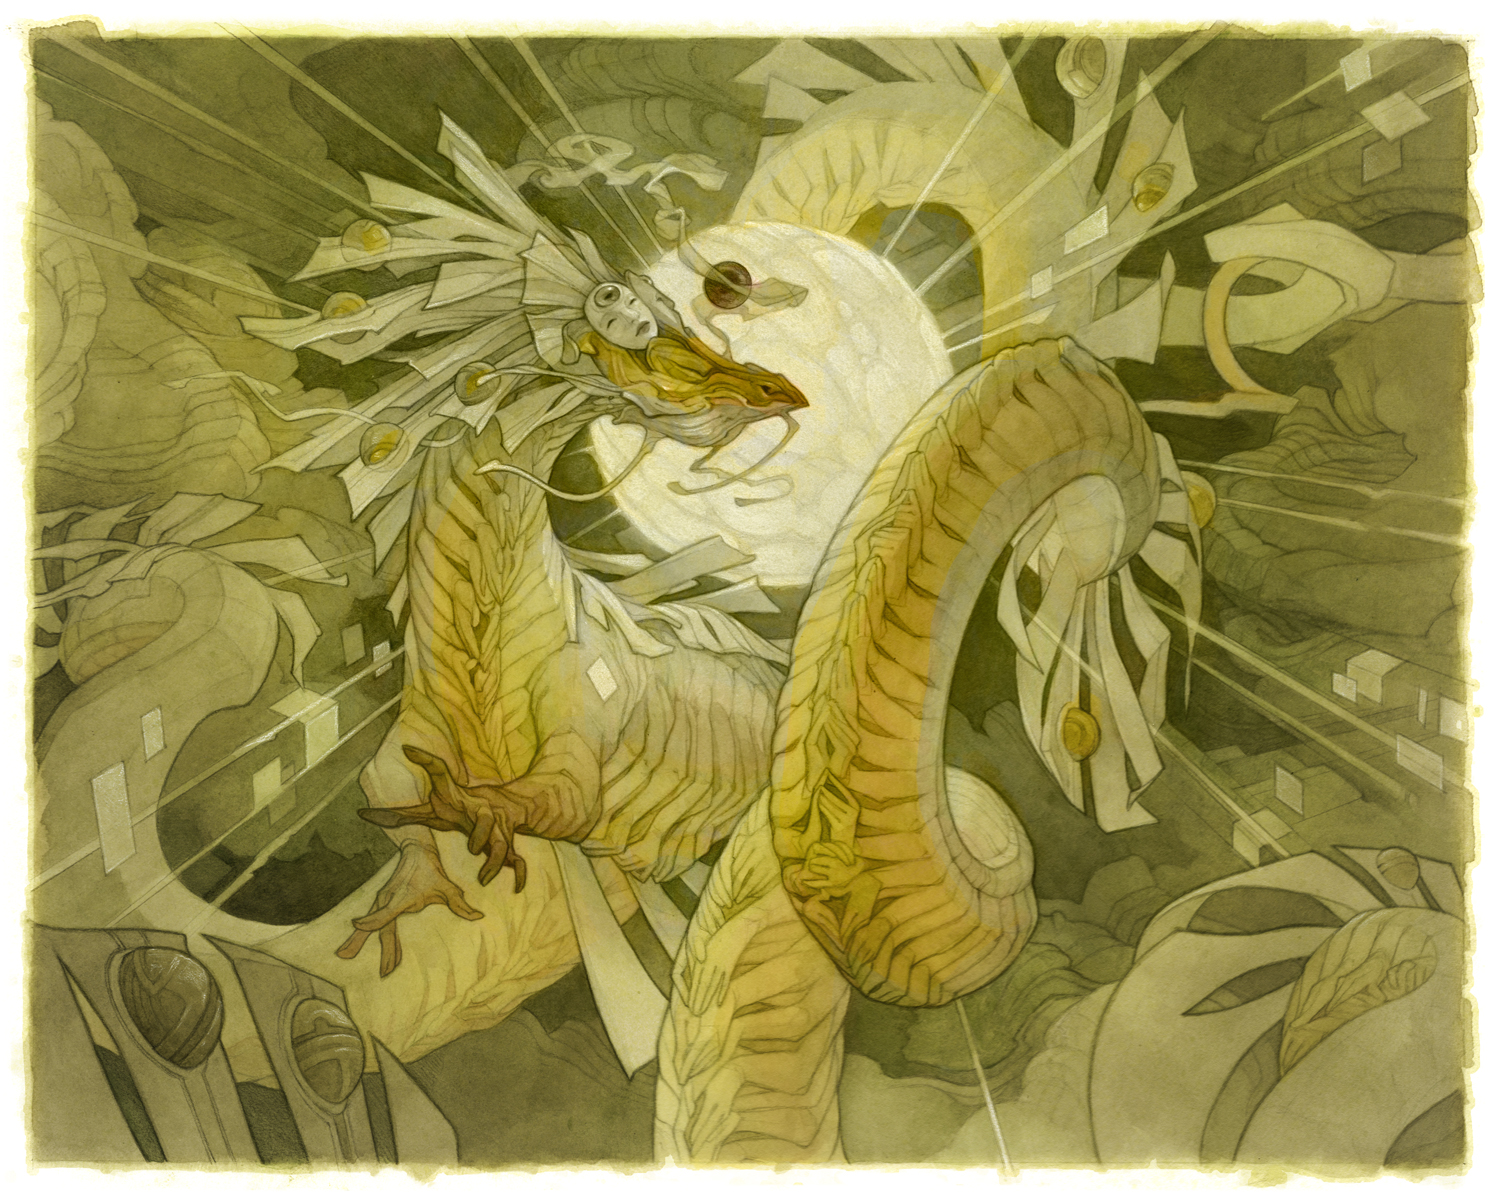
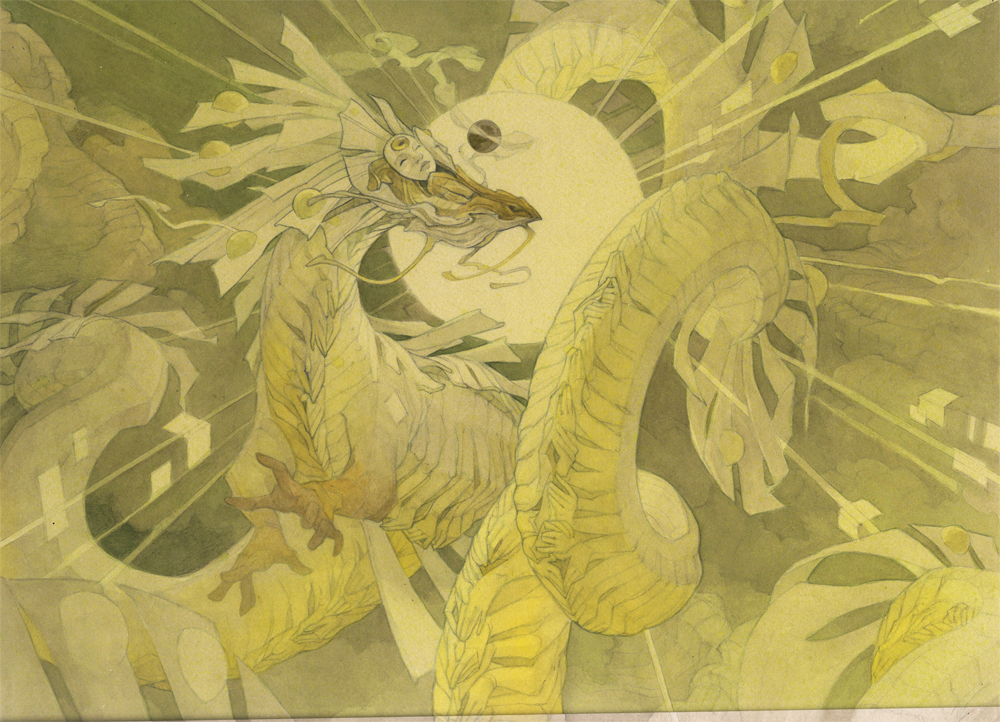
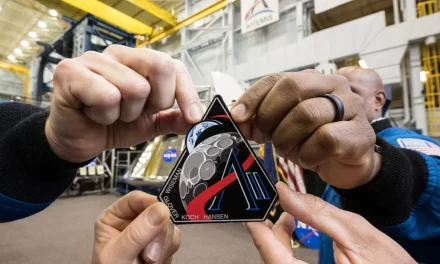
Brilliant Restoration, for MTG’s Kamigawa: Neon Dynasty.
If you’ve been following my art for any length of time, you’ve probably noticed that I’m fairly religious about recording my process as I go. I take snapshots, I jot down notes and, most importantly, I scan my images at various points throughout the painting process. I originally did this exclusively to furnish content for my art tutorials on Patreon, but I very quickly realized the hidden value of this obsessive documentation: a spyglass I could use to scry into my own artistic past, with the crisp and critical focus of hindsight.
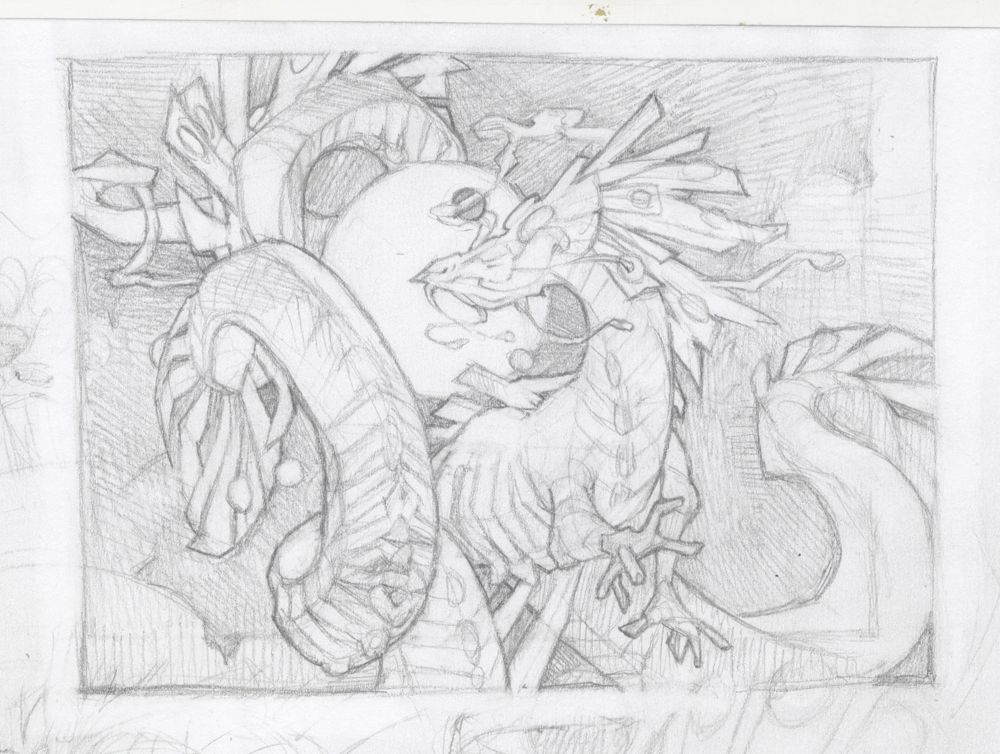
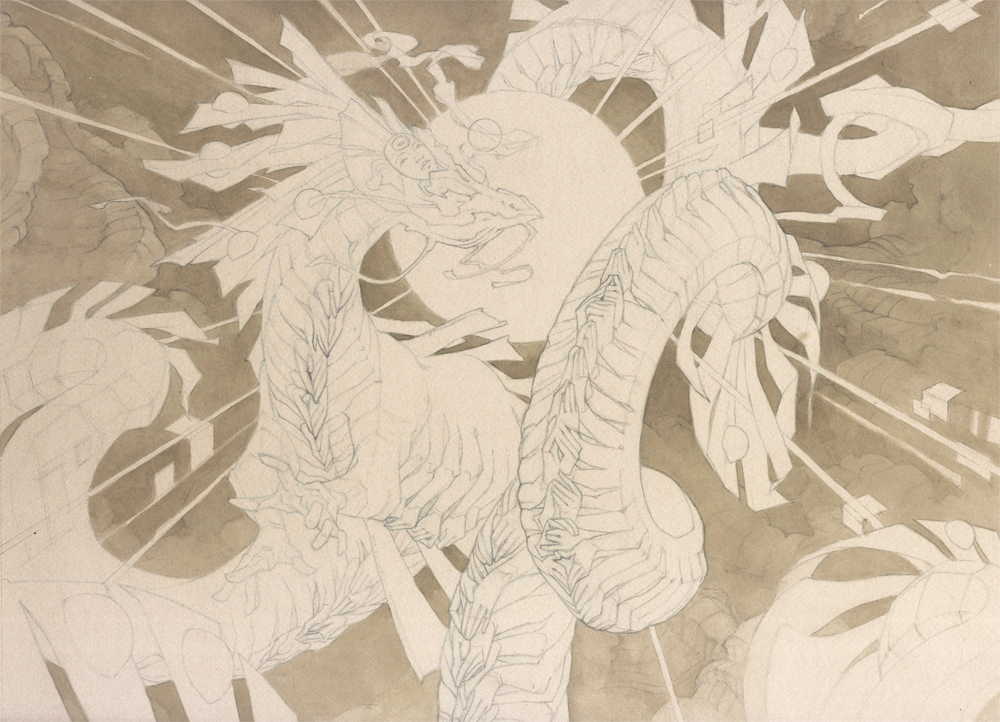
By scanning my traditional paintings at multiple points throughout the painting process, then dropping those scans into a Photoshop document as separate layers, I’m able to go back, weeks or months after a piece is finished, and flip between the stages, reminding myself exactly how I managed some effect that I liked in the final (or, just as likely, how I managed to turn an initially promising painting into a disappointing heap of garbage.)

…but of course, as with many clever tools, this one will be of no use if you leave it in your toolbox.
Starting a new painting is always fresh and exciting; in my rush to get underway, I tend to get complacent (“I’m pretty sure I know how to paint my own paintings.”) or arrogant (“I’m a way better artist than I was three months ago – this painting is guaranteed to wipe the floor with all of Past Me’s crappy art!”) and I neglect to go back and reflect on my process for earlier pieces.
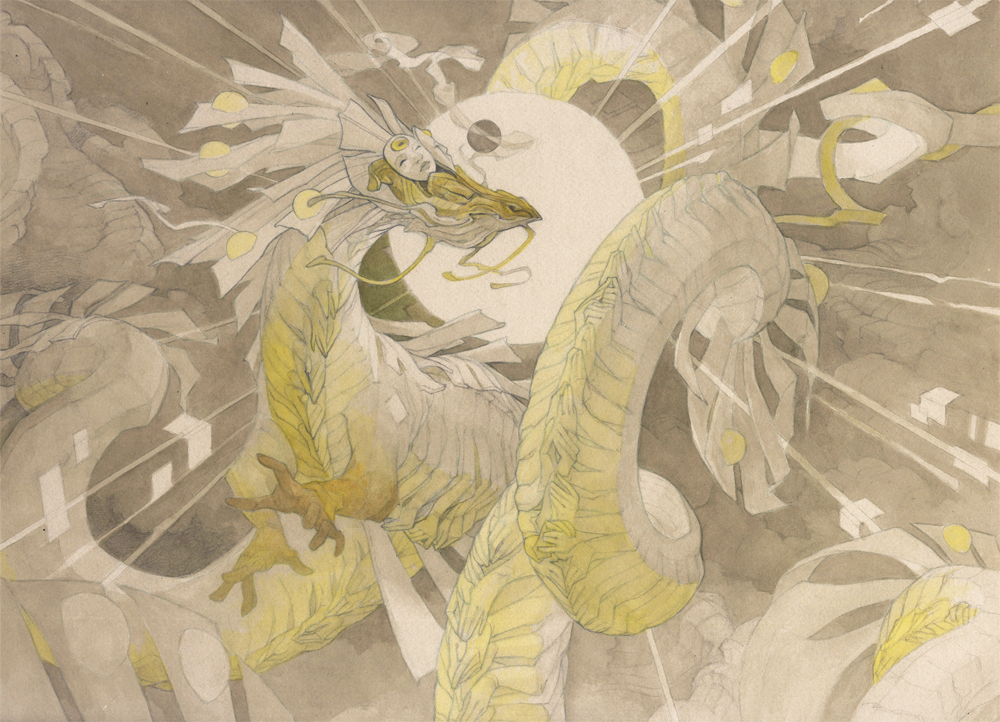
Even looking back on the process scans from the painting featured here (which were languishing forgotten on a hard drive until I dug them out for this article), I’m noticing small adaptations I made to my process throughout this piece piece that would have helped me immensely on a painting I just wrapped up this week (a painting which, fittingly, I had to start over on halfway through because I fumbled the order of operations).
While literally ANY process documentation (the aforementioned snapshots and notes are not without merit) beats the extremely faint ink of memory, layered PSDs assembled from scans are always my favorite format. Being able to toggle each layer on and off gives you a quick A/B comparison that highlights what’s changed between each stage of the painting, rather than forcing you to play “spot the difference” between two very similar images side-by-side.

If you’d like to see a few of my process PSDs in action, you can find one for my pencil & ink painting Brilliant Restoration (the image featured in this article) here:

Layered process PSD: Brilliant Restoration.
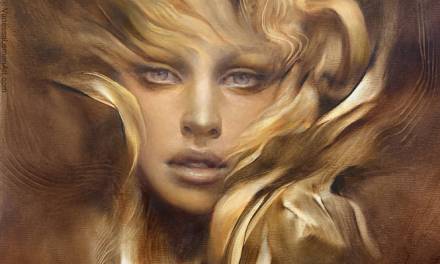
…and another one for Prairie Spinner, one of my more experimental gouache paintings, below.

Layered process PSD: Prairie Spinner.
Hopefully you’ll get some use out of seeing a few of my paintings unfold (I know I always learn a lot from looking at other artists’ process images!) but really, the most eye-opening revelations are to be had when you start looking back on your own work. Good luck, and keep your eyes open!
Cool article and one awesome piece! Thanks for sharing.
The art looks great on the card, too!