Here are three (3) things:
1. A Follow Up to How I Scan and Assemble My Work
In the article linked above, I discussed… my process of scanning and assembling multiples scans of my work (which, again, are usually oil paintings). Something I mentioned was that when assembling larger work using multiple scans, I often have to deal with distortion due to the fact that there are raised elements on the scanner which prevent work from laying perfectly flat across the entirety of the scanner bed. One solution I offered to counteract this issue was to put a piece of glass on top of the scanner bed so as to keep the painting above those raised elements, which would eliminate any curve to the surface, and thus any distortion. But if I’m honest, I wasn’t entirely sure that would work.
Someone in the comments of that article was kind enough to report on their own success doing just that, but I didn’t want to report on my own experiences until I had experiences to report upon. So, on a cold, rainy day over the winter, I took a trip to my local hardware store to have a piece of glass cut.
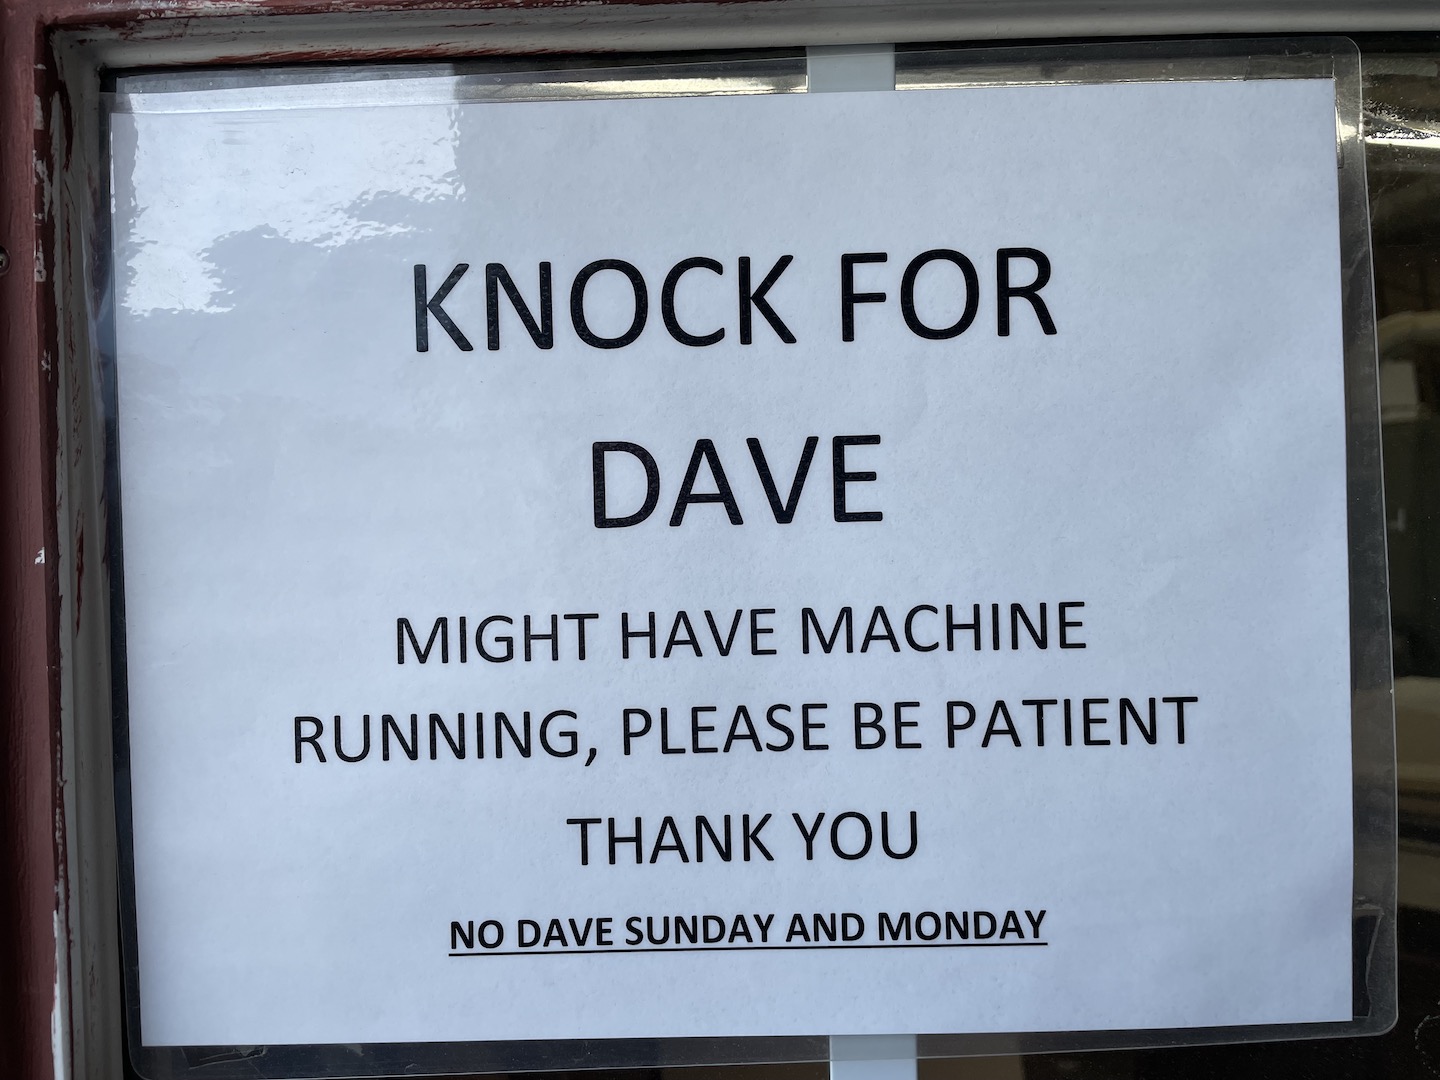
Dave cut my glass. Fortunately for me, it was a Wednesday.
With glass in hand, I did a thorough cleaning of my scanner and the new piece of glass and put it to the test. I am happy to report that the distortion was brought to a minimum and that there is no visible softness to the scan itself, despite the fact that the painting isn’t making direct contact with the scanner bed itself. The only downside to adding this plate of glass is that the scan is slightly darker—but only just. This wasn’t entirely unexpected, and it’s something that can be dealt with using an adjustment layer later on when color correcting the image. Also, now I have more glass to keep clean.
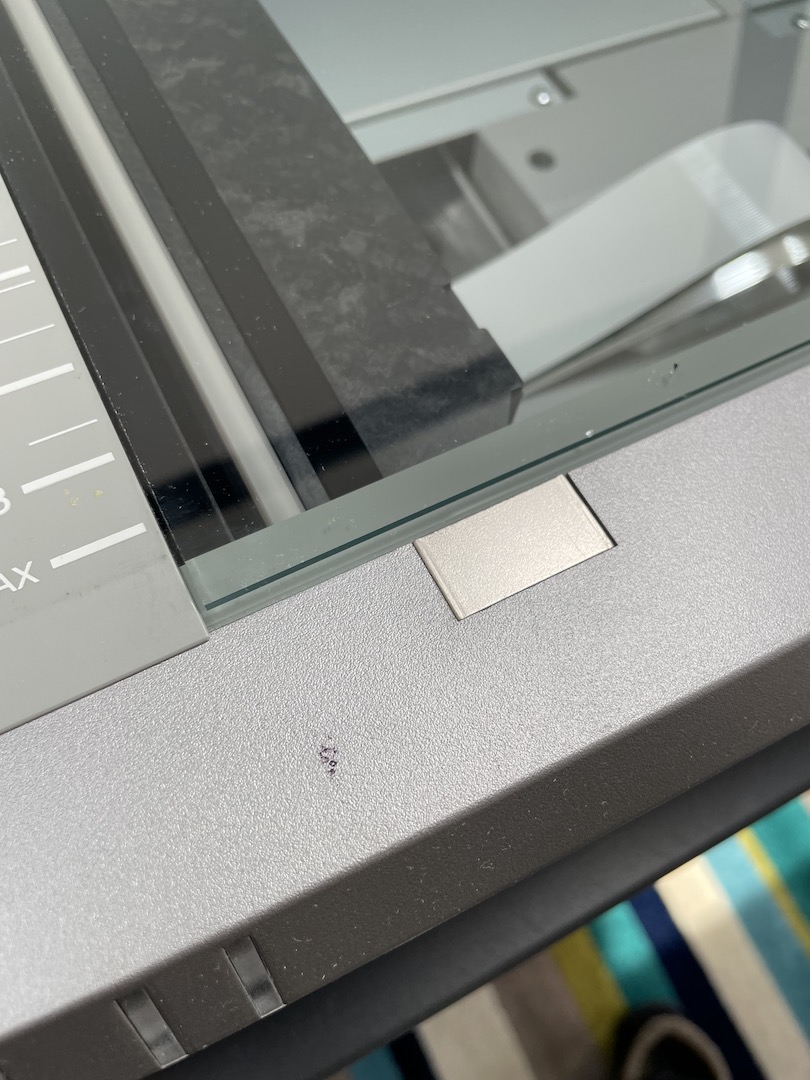
You can just barely make out the piece of plate glass sitting on my scanner bed. You can also just make out some of the dirt already coating it.
All in all, personally, I paid a couple bucks for the glass and the cutting, so it was a low-cost investment that will save quite a bit of time and frustration in the long run. Totally worth it.
2. A Quick Way To Add Bleed To A Piece
This seems like an obvious thing, but since enough of my fellow professionals have been surprised by how I go about doing this, I figure it’s worth sharing.
An issue I’ve had to deal with multiple times over the years is having a client request that I extend a piece in one or more direction in order to add bleed after I’d already painted it to their previous specifications. I don’t love dealing with this, and it’s been my experience that clients don’t enjoy springing that stuff on artists, either. Regardless, I’ve had to figure out a way to make it work.
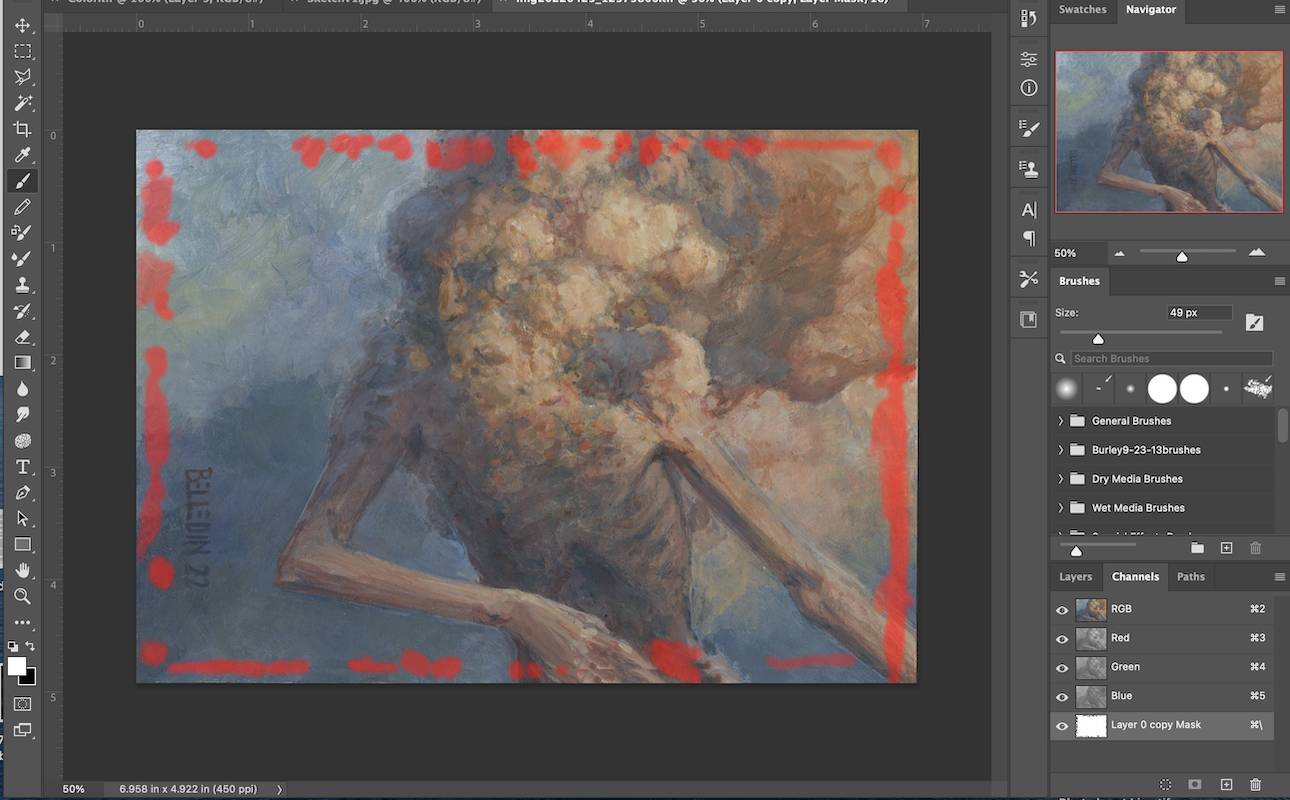
Since I work traditionally on on pre-cut panels, my ability to add to the piece physically is…limited. If it’s a huge change, I’ll cut a bit of board, paint the necessary additions and then photobash it all together in Photoshop. If it’s a smaller change, here’s what I do using this 5×7 inch painting I recently did as an example:
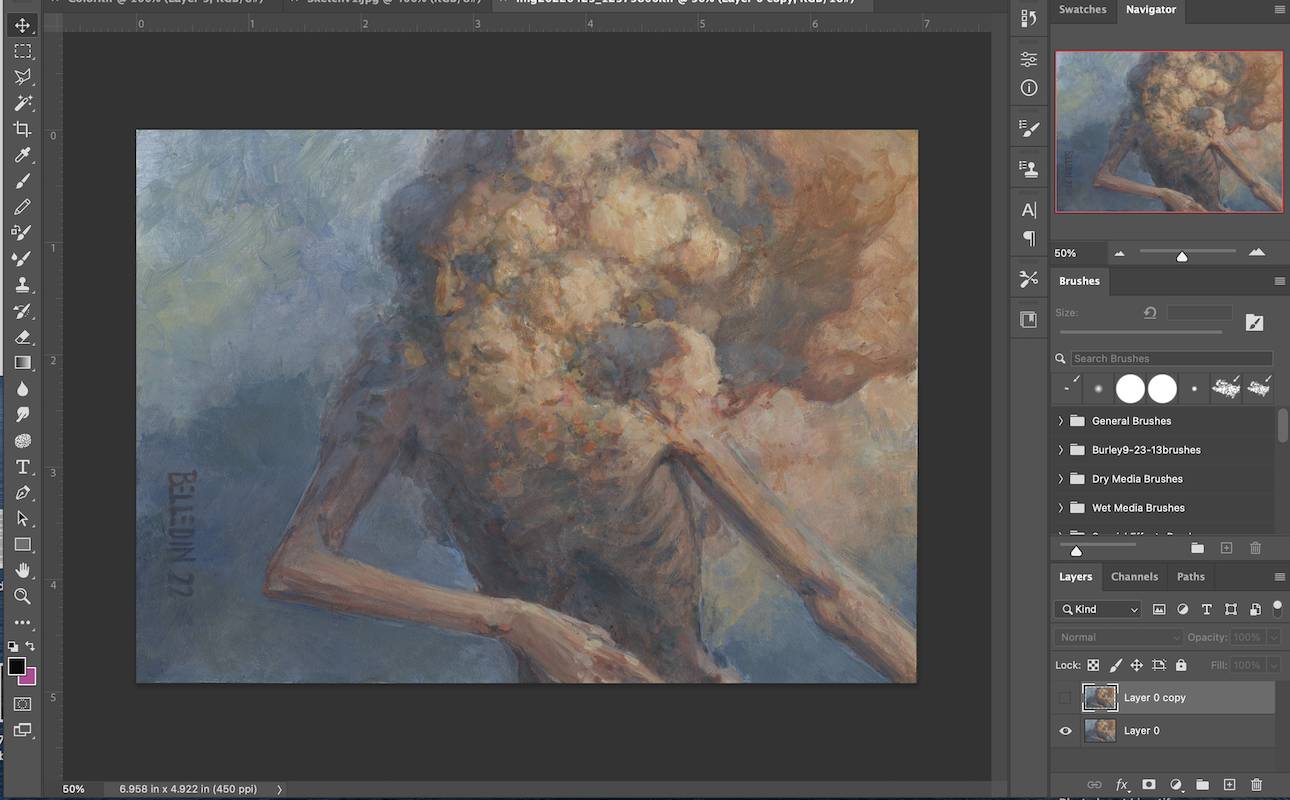
I take the finished image in Photoshop and duplicate it as a second layer.
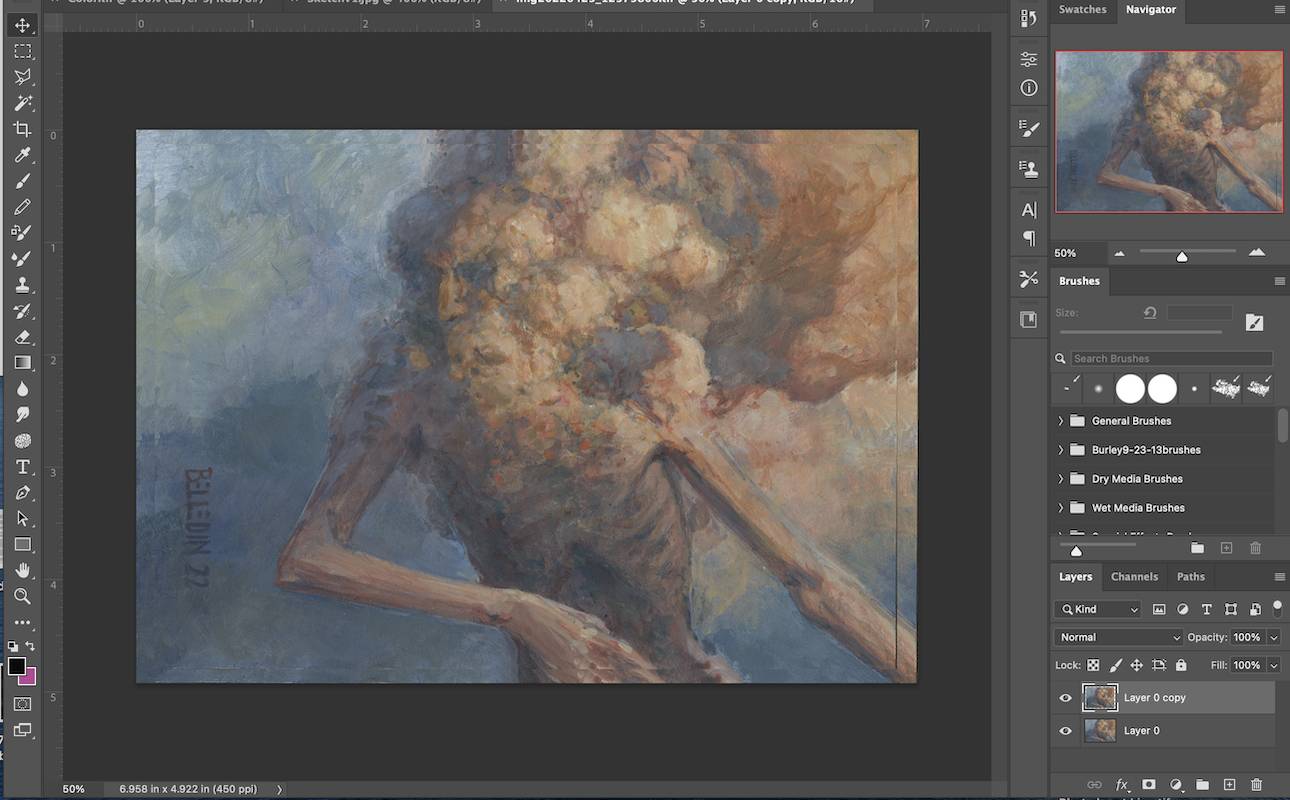
I then take the version of the image that’s on top and shrink it down until I have sufficient bleed.
While details and features of the piece may not completely line up, the colors and the textures of those areas are there for the taking and all I have to do is blend the areas through whatever means make the most sense. For me, the tools I use are typically the clone stamp, layer masks, and sometimes some digital painting here and there (though I do this sparingly in order to keep the surface texture consistent).
Here is the layer mask on the top version of the piece. The goal is to begin to limit and disguise redundant marks between the versions. Changing up the shapes and transparency of the mask areas can really help with that.
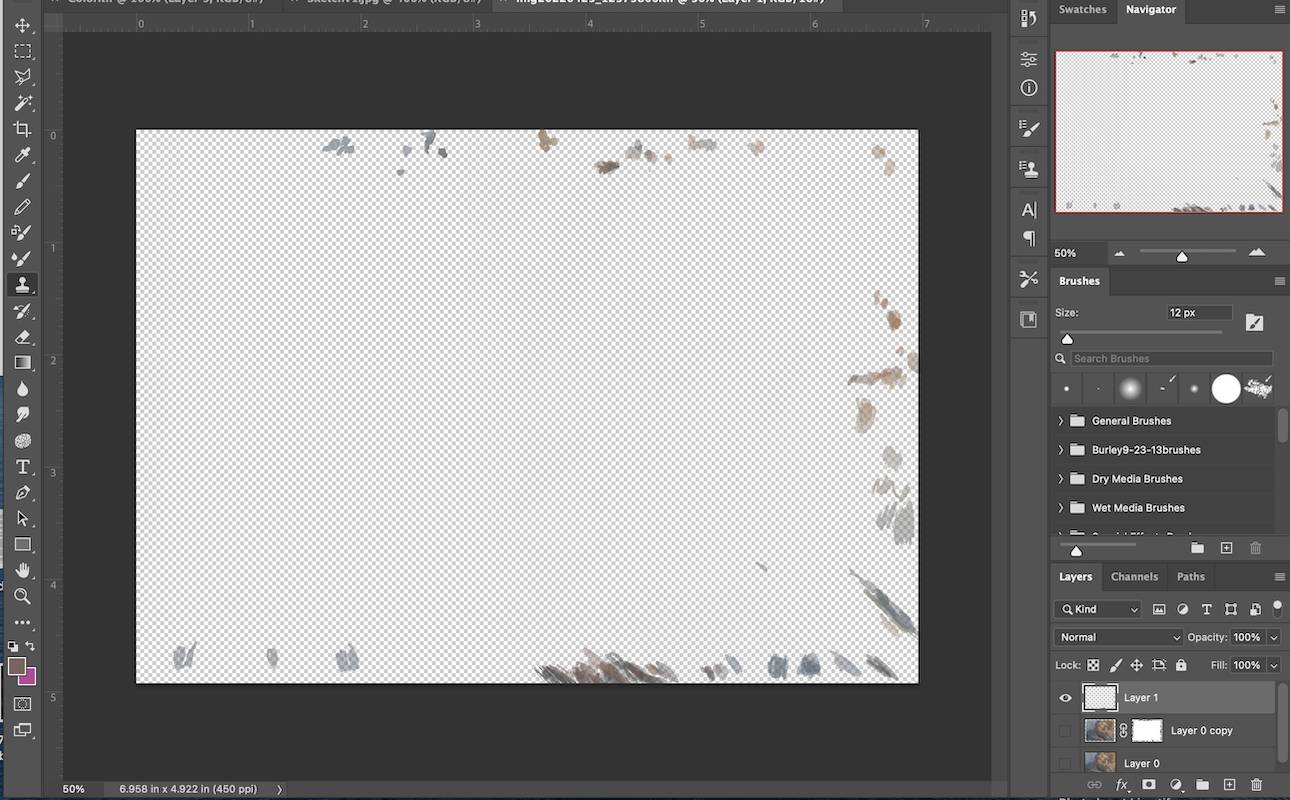
Here’s my clone stamp layer. Again, I’m just looking to disguise the areas that are repeated. Sometimes it’s easier to disguise things in the background border layer, other times it’s easier to do it in the foreground, main image layer.
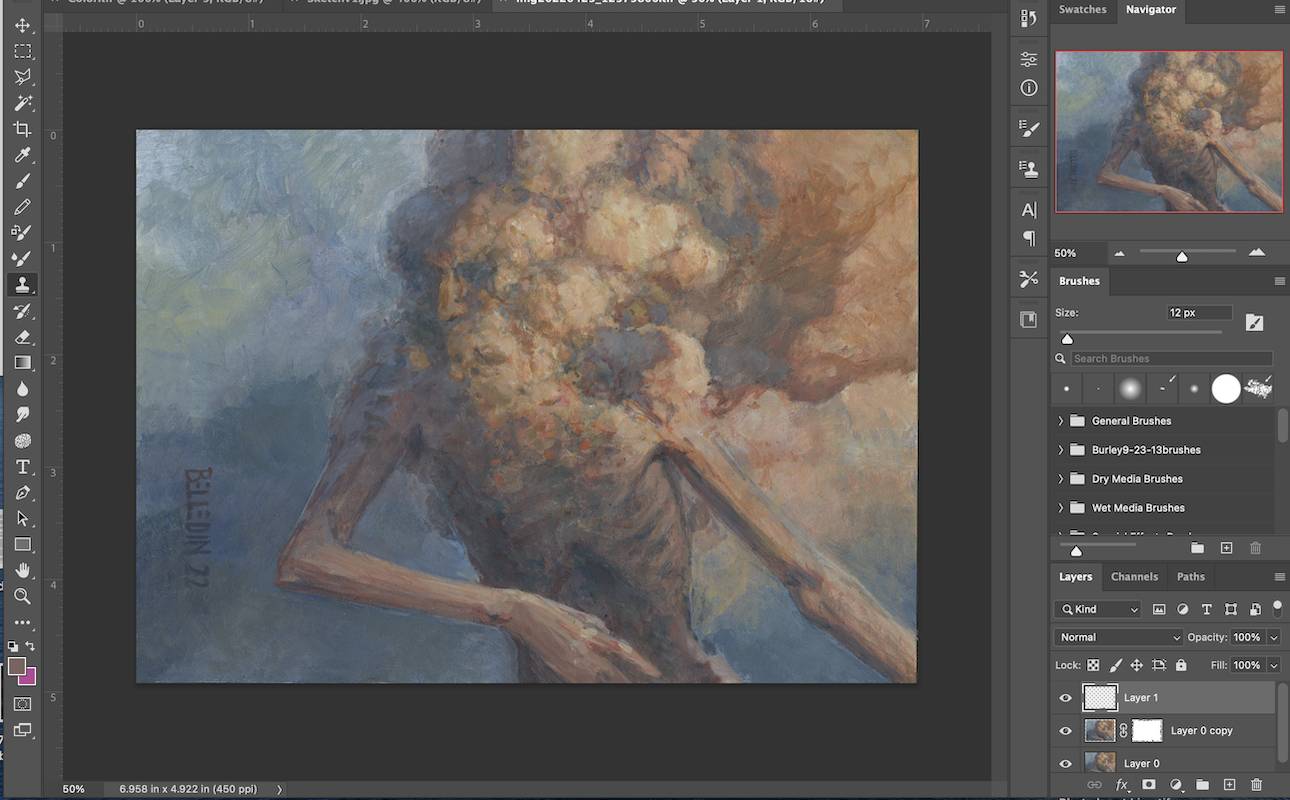
And here it is blended. Sort of. This was quick and dirty (sorry, I have a deadline I’m battling), but getting it this far took all of 10 minutes.
Even if the landmarks of the piece are misaligned, this process still saves me a lot of time because I’m not building everything from scratch and I have a more natural extension of the original image to draw from. Also, it’s inherently scalable, so I can do this trick multiple times as necessary to extend an area even further (though, like I said, I’ve found that beyond a certain point it’s just easier to paint the extension either traditionally or digitally and merge it as best as I can).
3. The Feels Don’t Quit
A thing I struggled with earlier in my career was feeling like a complete hack because I was never confident in my process or felt like I had my act together. It was a good 5-6 years into my career before I heard other professionals expressing the kind of self-doubt and frustration that I sometimes felt. Consequently, I decided when I began to write about art is that I would be honest and up front about my own feelings.
Recently, I’ve been banging my head against a piece that I’ve been working on. There’s a face that I’ve now repainted ten times. Part of the problem is that I may have made the piece too small, but part of the problem is that I might be getting a bit burnt out at this point—not only on this specific piece, but also on the types of images I’ve been called upon to paint by my clients. I’ve been trying to make images for myself that scratch the self-expressive itch, and fortunately those images are deeply satisfying and seem to flow out of me. But the client work feels like it’s pulling teeth sometimes, and I don’t feel the kind of attachment to it that I once did.
I can’t and won’t complain. And I’m not going to stop doing the client work, of course—I have to eat, and keep the lights on. I just need to find new ways to get jazzed about that work and find better ways of making it more mine than I currently do. Seems simple, but it’s a journey. It’ll take time.
Regardless, I wanted to voice this stuff not only to get it off my chest, but also to just let you know that this kind of stuff is normal—be it five years into a career or twenty-five (or even fifty). I suppose it’s also normal not to feel any of it. But, if there happens to be anyone out there beating themselves up for feeling this kind of stuff, just know that you’re not alone. We’re only human, after all.
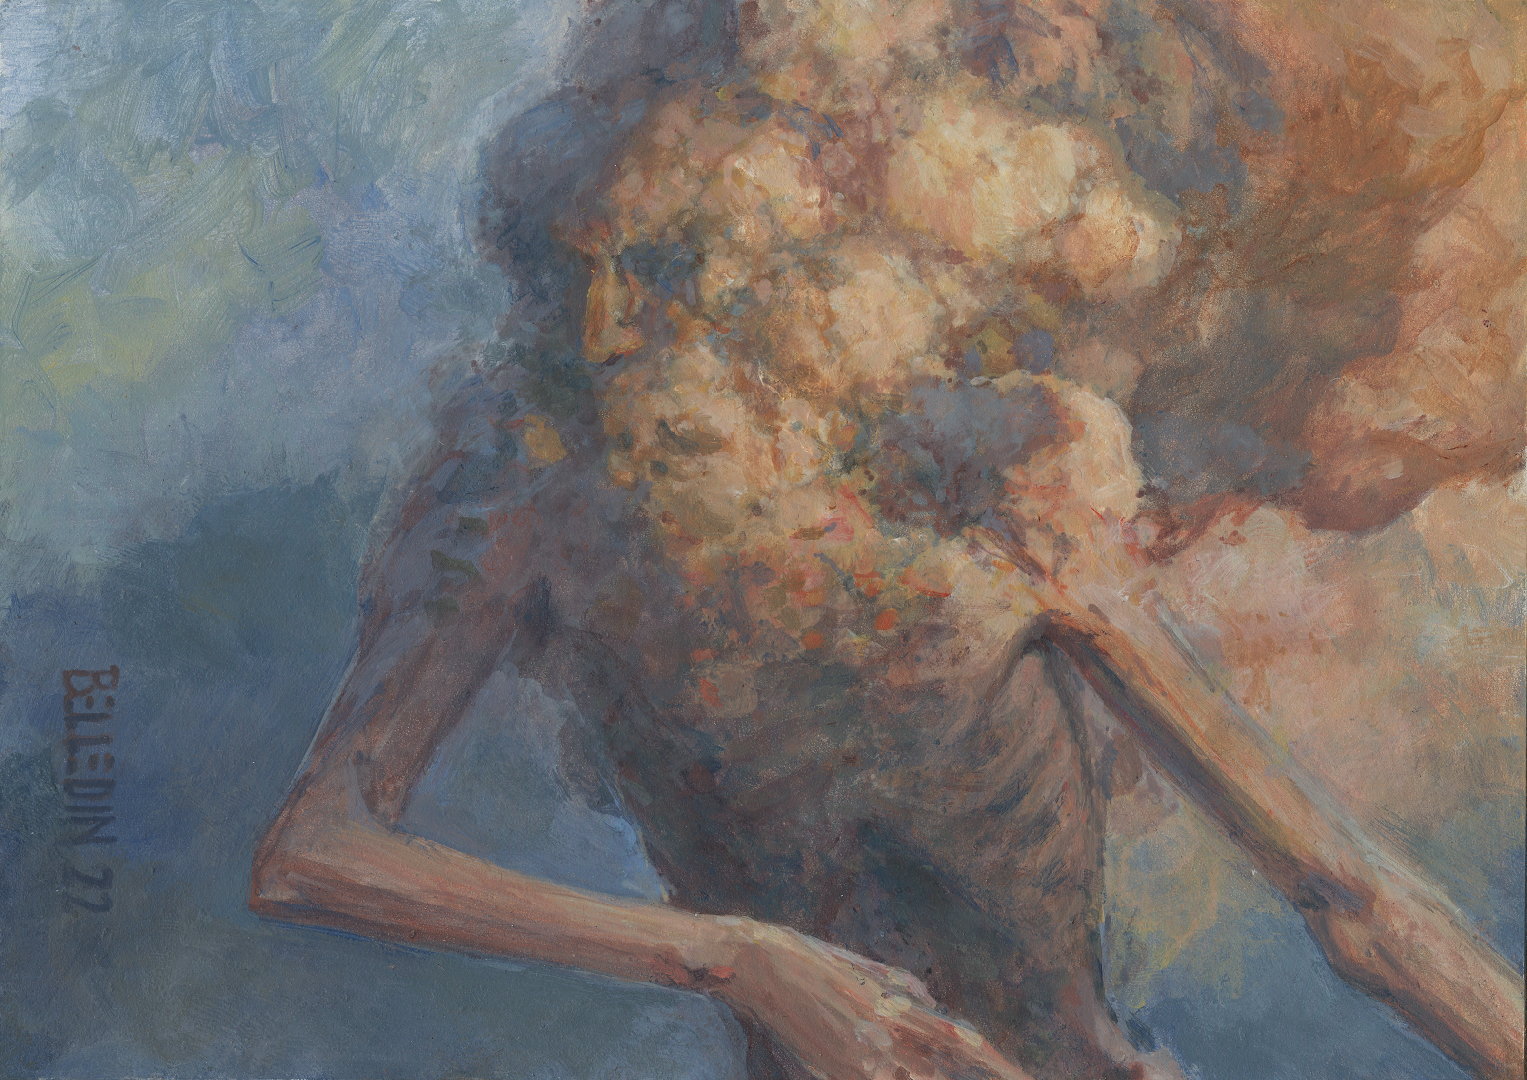
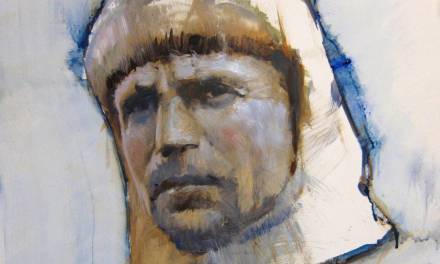
The Smoking Man. Seven inches wide by five inches tall, acrylic on hardboard

For adding bleed to an existing piece, you might want to look into Photoshop’s Content Aware Fill feature. I think it would give similar results to your method in less time. And you can still paint over it if needed, of course. (I do graphic design and photo editing work and use it constantly).
This is a good tip. Personally, I’m not a fan of that feature. I like to be making all the decisions (or as many of them as I can manage—after all algorithms are everywhere). On the rare occasion I’ve used it, I ended up doing extensive painting on it anyway, so it didn’t save me any time. However, it’s absolutely another way to go for other folks and, of course, its effectiveness will vary from piece to piece and area to area within a piece. Thanks for adding this!
I always love your articles – great to hear your thoughts on frustration and doubt. Also a very useful tip for adding bleed. Wish I could do it with physical paintings 🙂
P.S. I love this little painting!