For this Studio Basics post, I will be discussing gesso priming of several unique surfaces. The brand of acrylic gesso that I use in this demonstration is Liquitex, as shown below. In addition to the white gesso, I also use their gray and black gessos. I choose the Liquitex brand because of the tooth and absorbancy that it provides. In addition, I use the white gesso as my white when painting in acrylics. Having the surface white being the same as the white I paint with has its advantages. 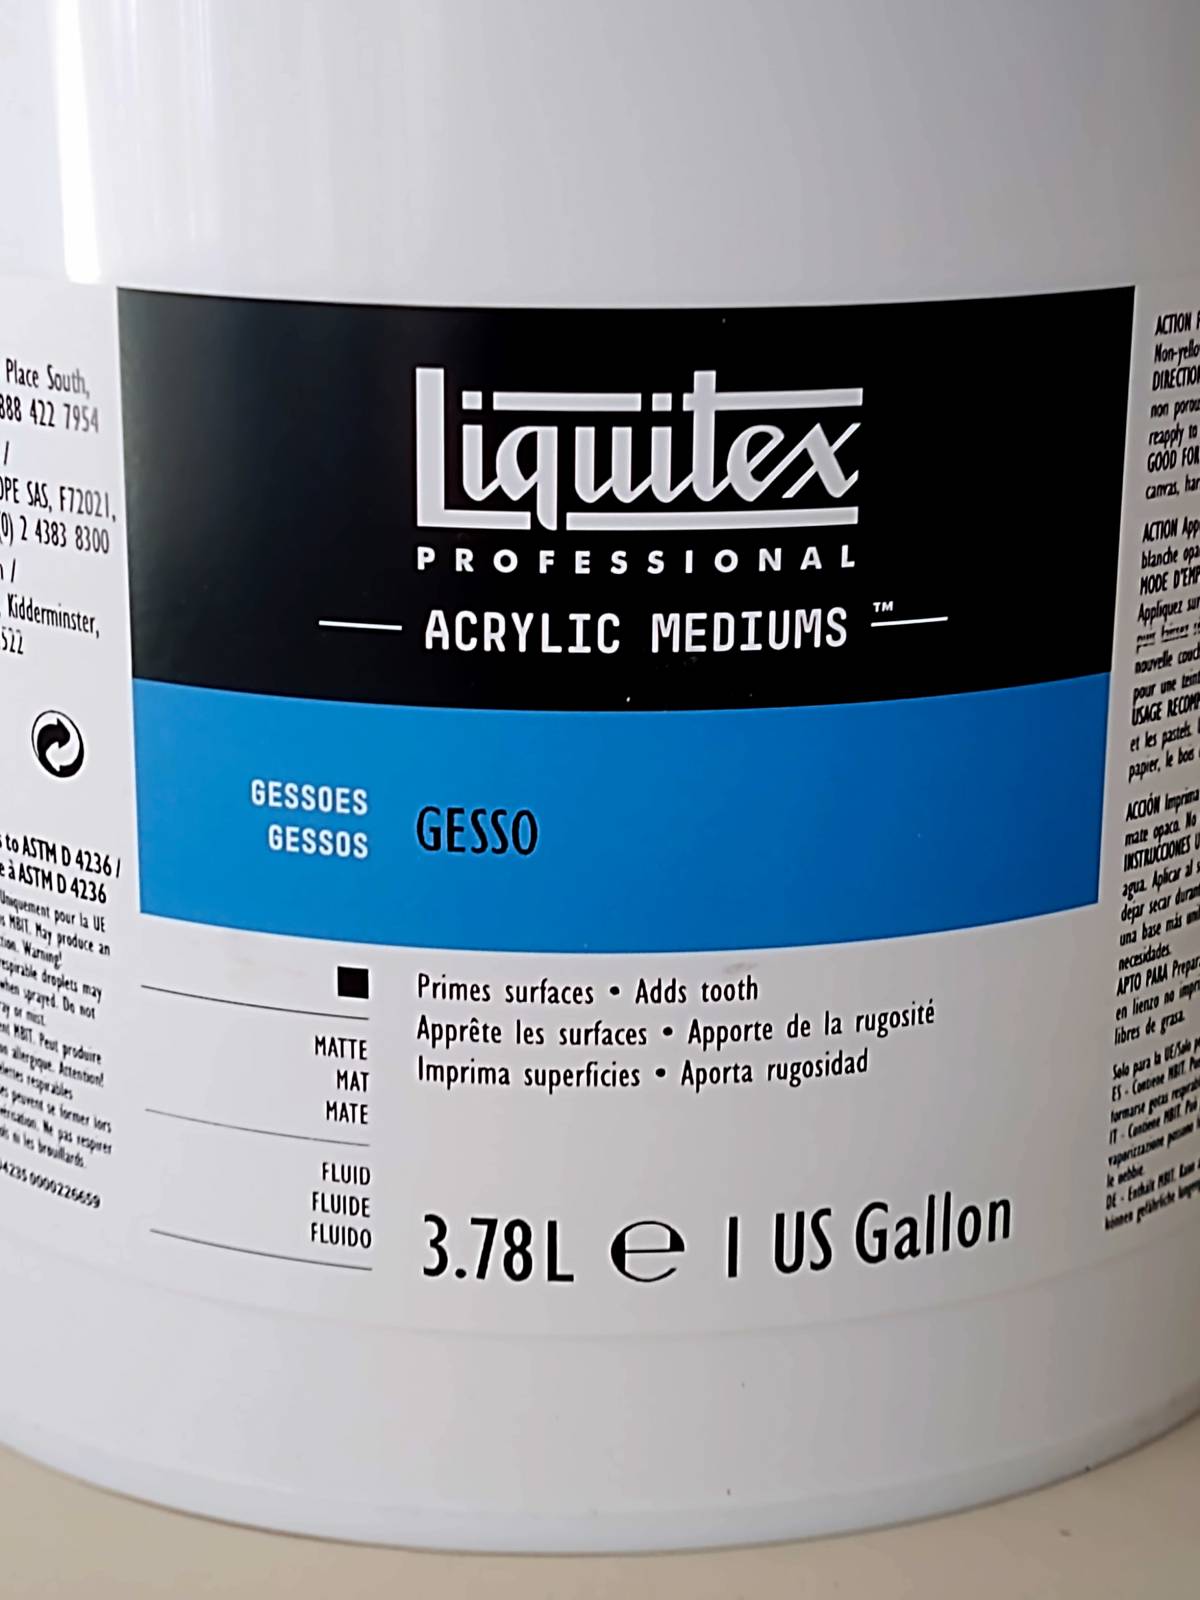 When it comes to primers, it is always a good idea to buy in bulk, as you will save money doing that. The gallon containers always have some kind of mechanism that you have to pry open in order to use the product for the first time. I’ve seen many artists struggle with this, so I thought I would show you how to open the large containers of product without getting frustrated.
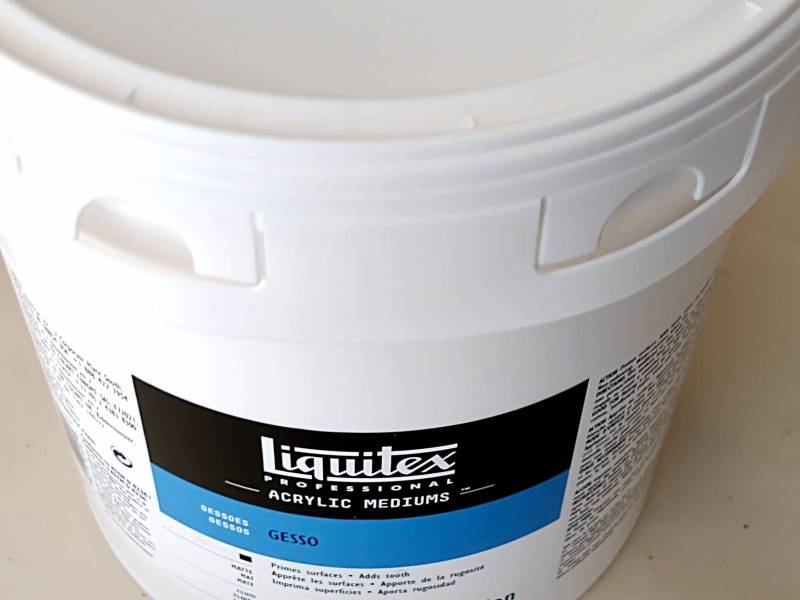
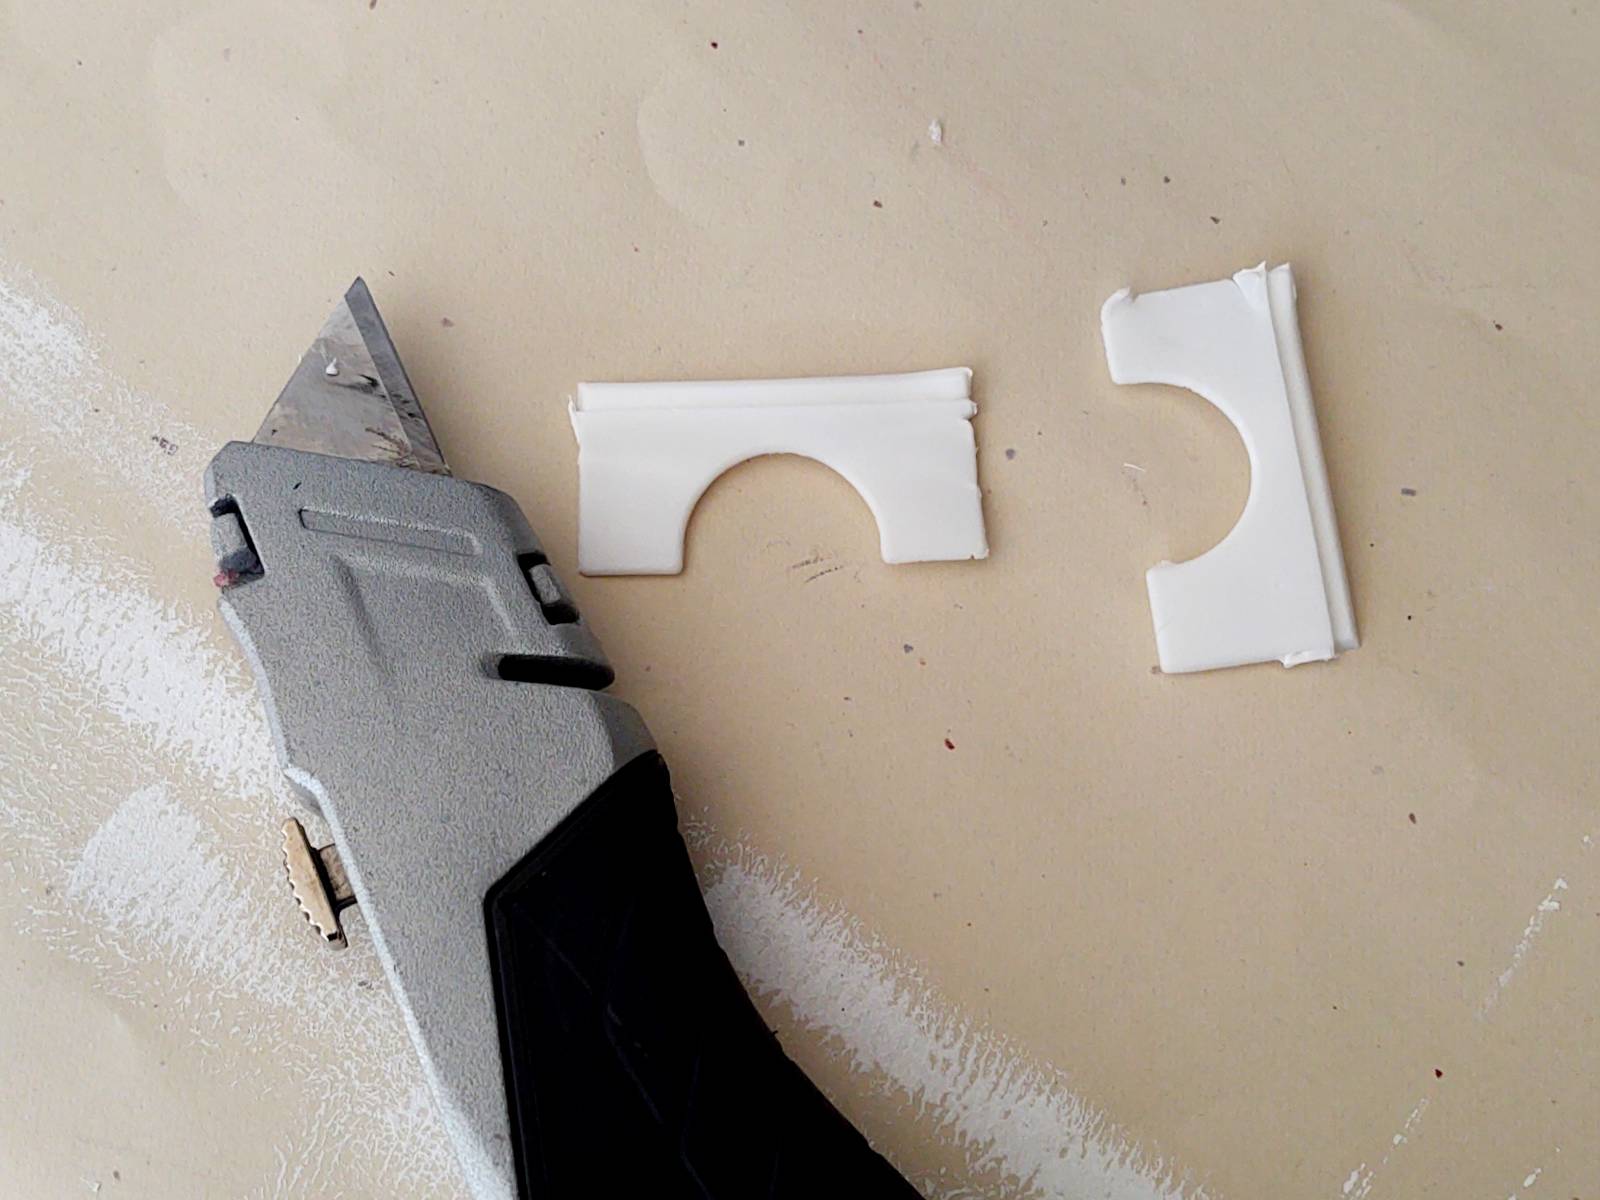
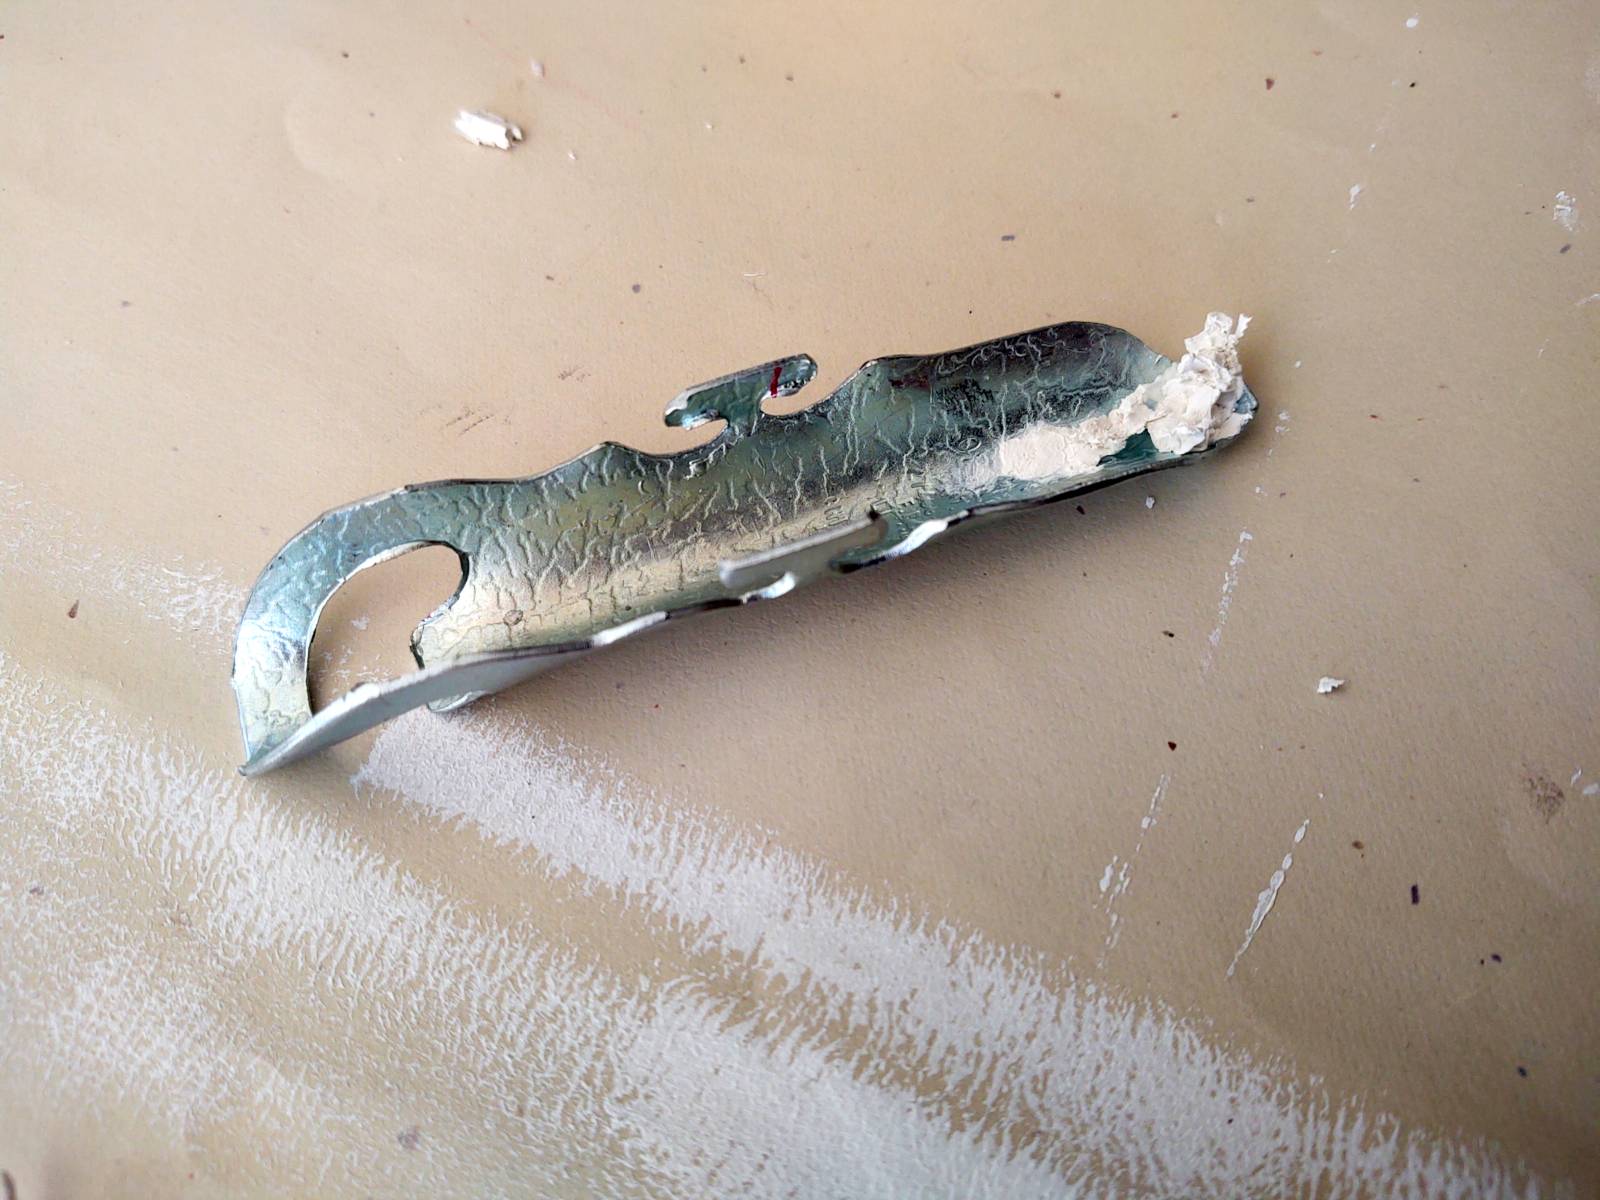
 You will notice on the container above there are two tabs that are sealed on the edges to the plastic lid of the container. You will need to cut the corner edges until the tab pops out, as shown in the picture below.
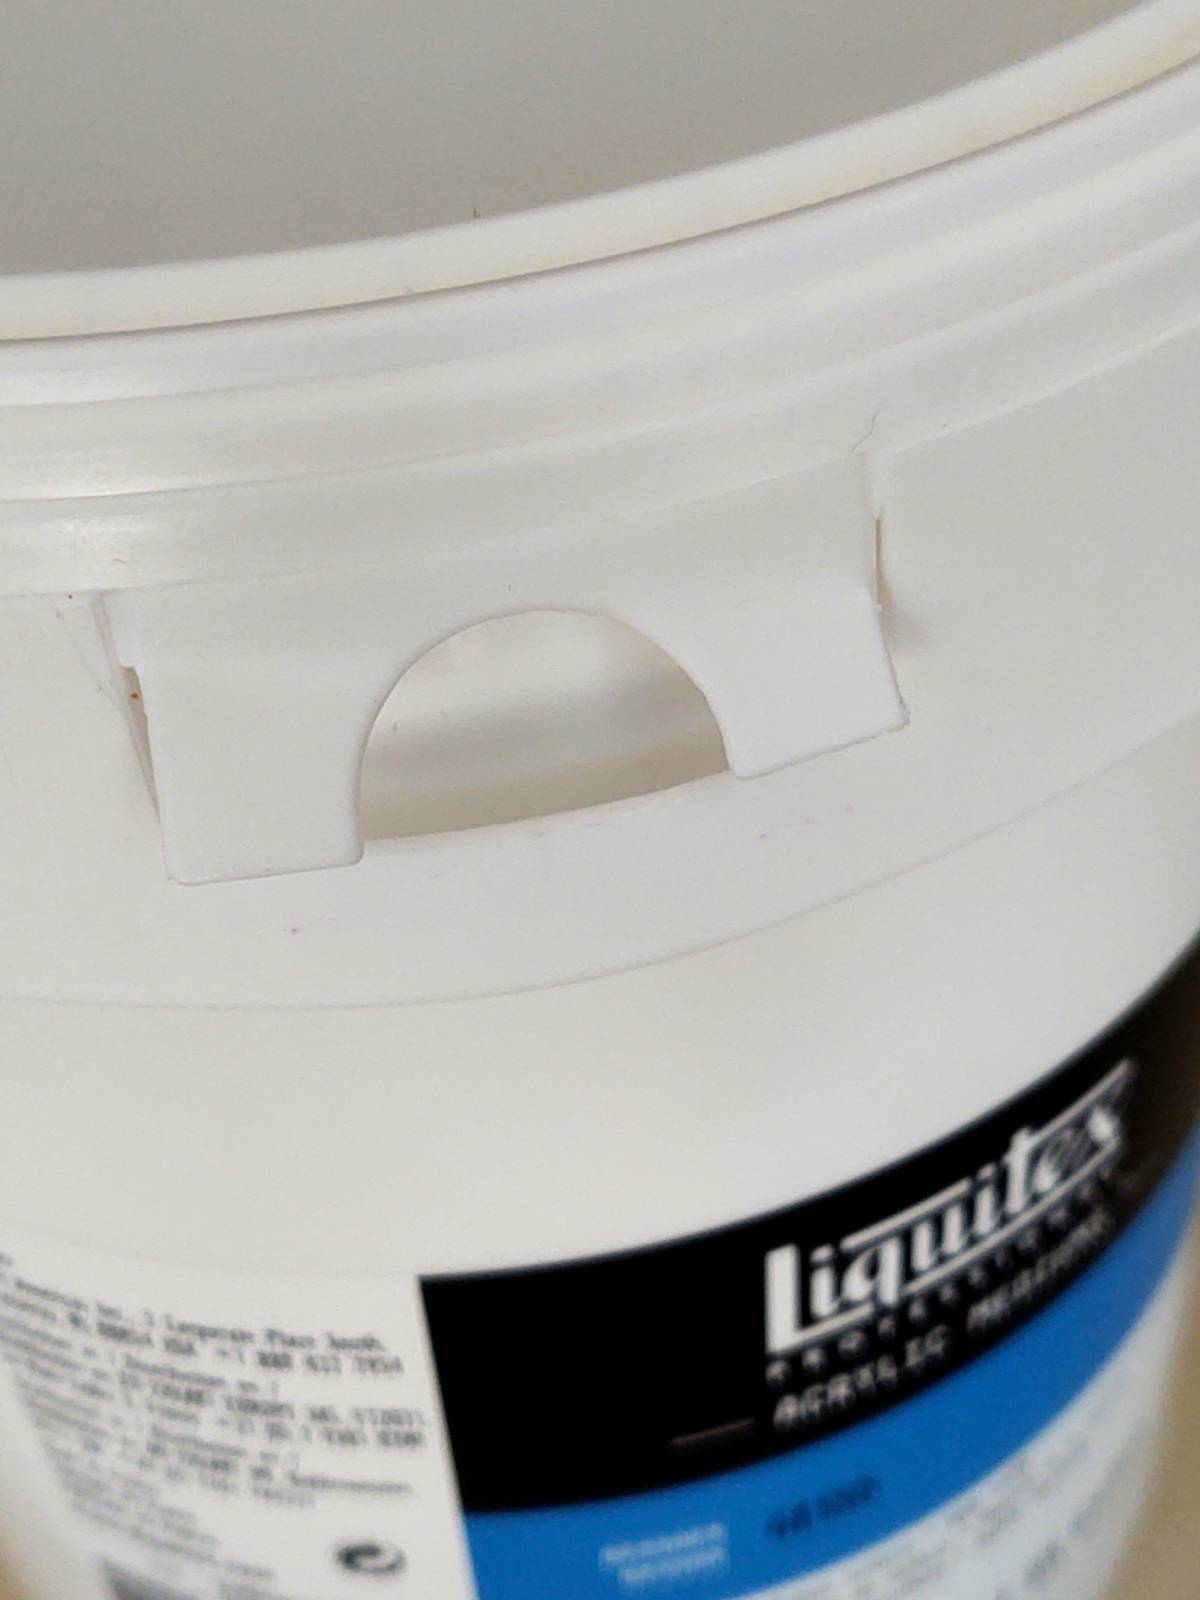
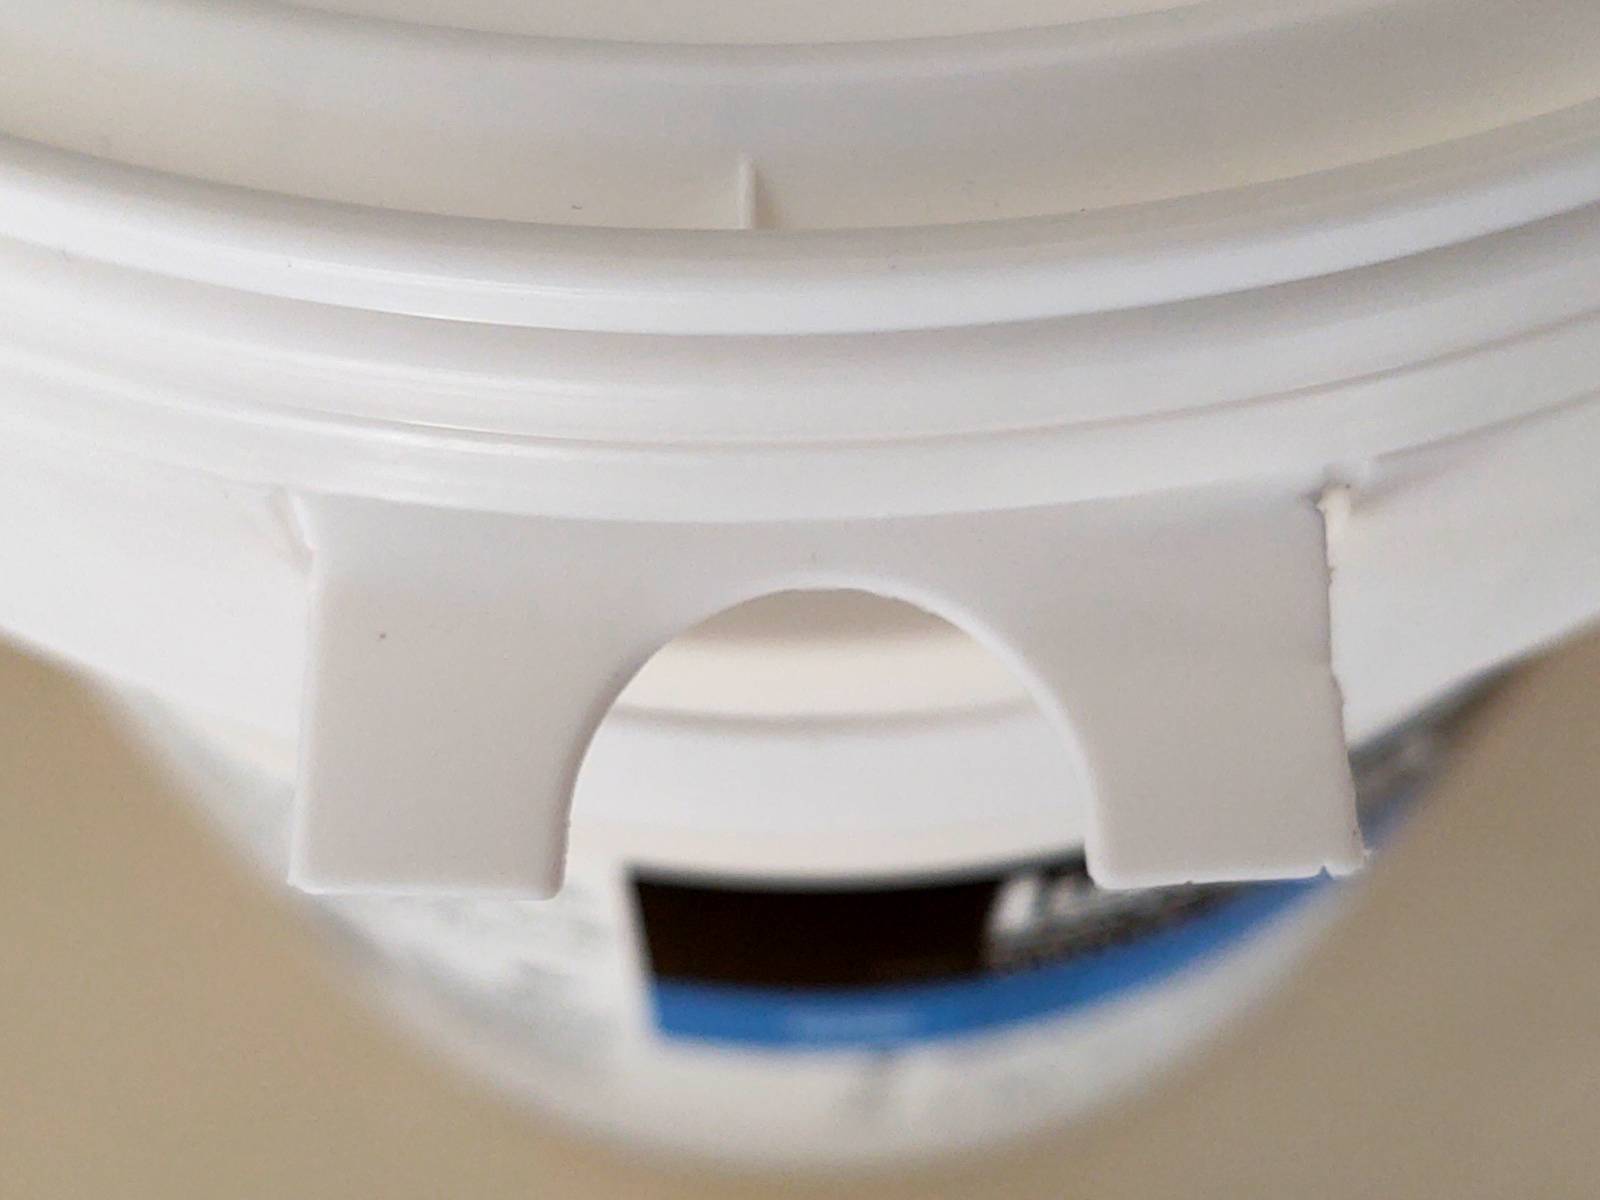
I use a utility knife to break the edge seals of both tabs. This will release the sides. The next step is to lift the tab upward. Moving it back and forth will snap the tab off. If it does not snap off, you can simply use your utility knife to help it along.
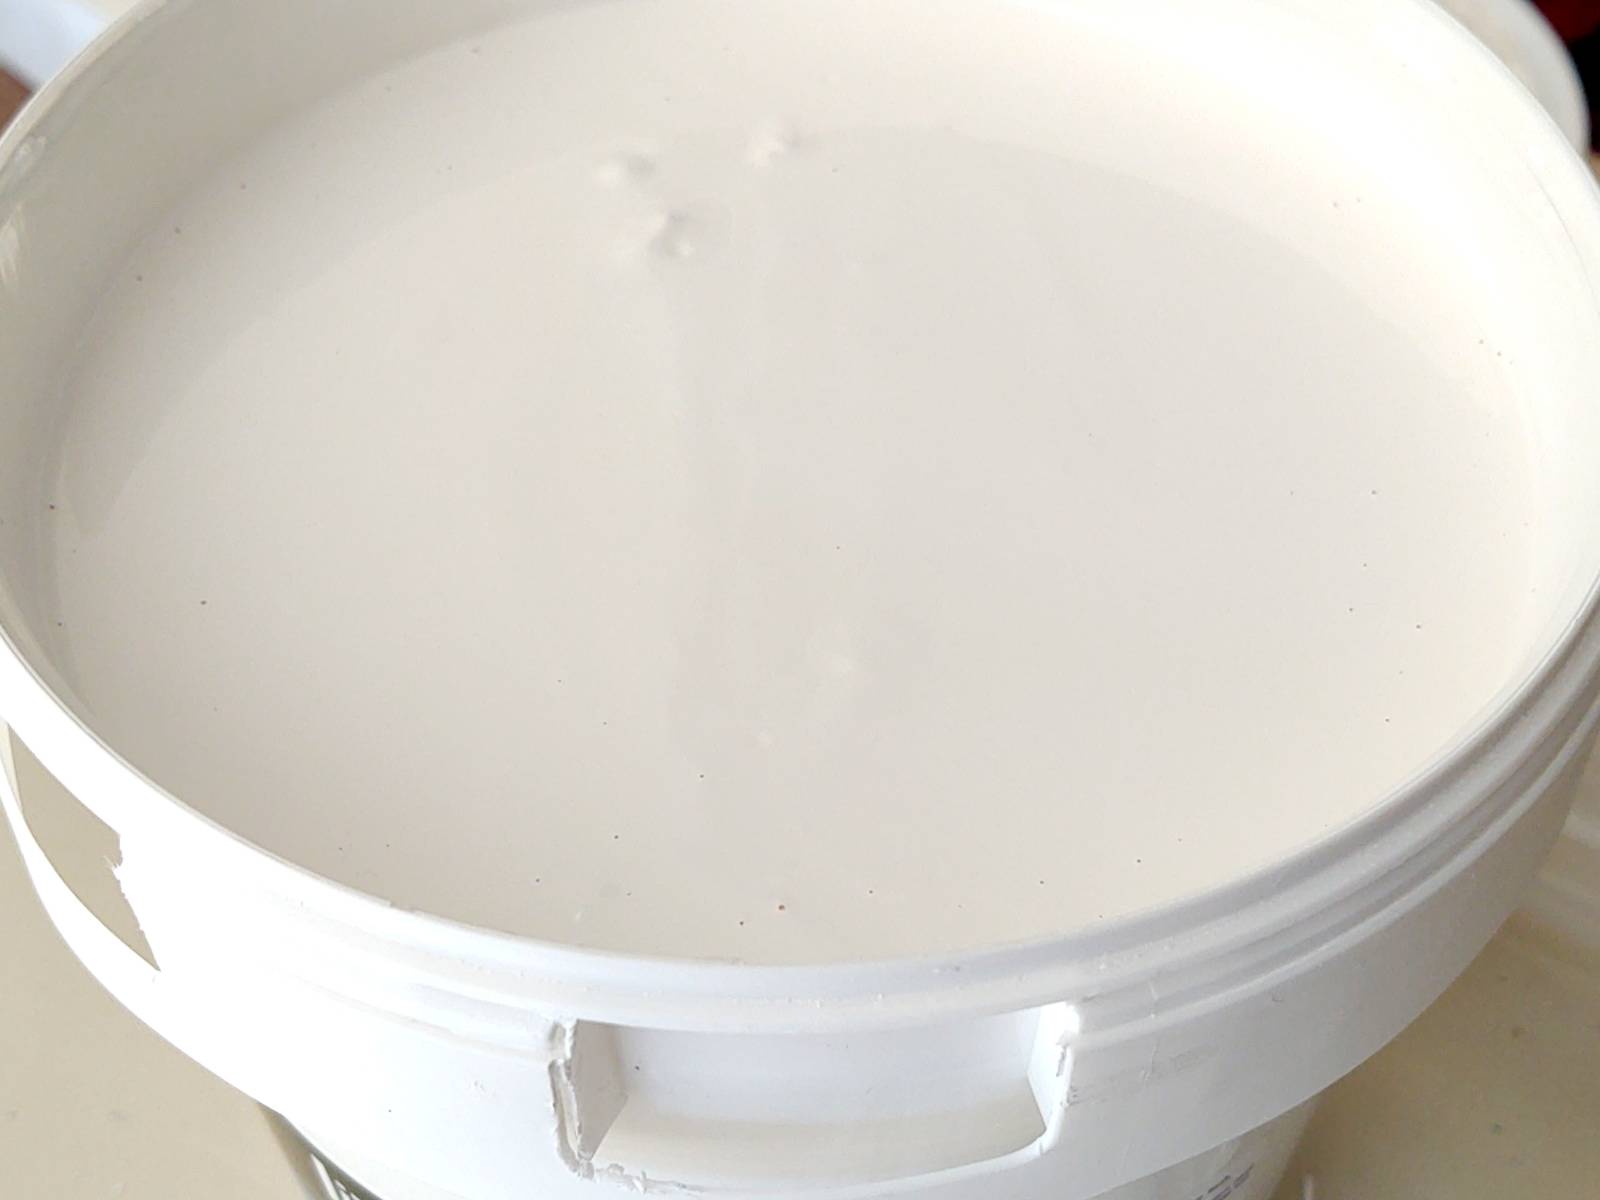
Once both the tabs are removed, the upper lid will separate from the lower area. This will allow you to put your fingers under the lid through the tabs, slowly lifting it to break the air suction seal. Move your fingers around the entire lid, slowly removing the lid from the base. Do not do this quickly, as you do not want product squirting out.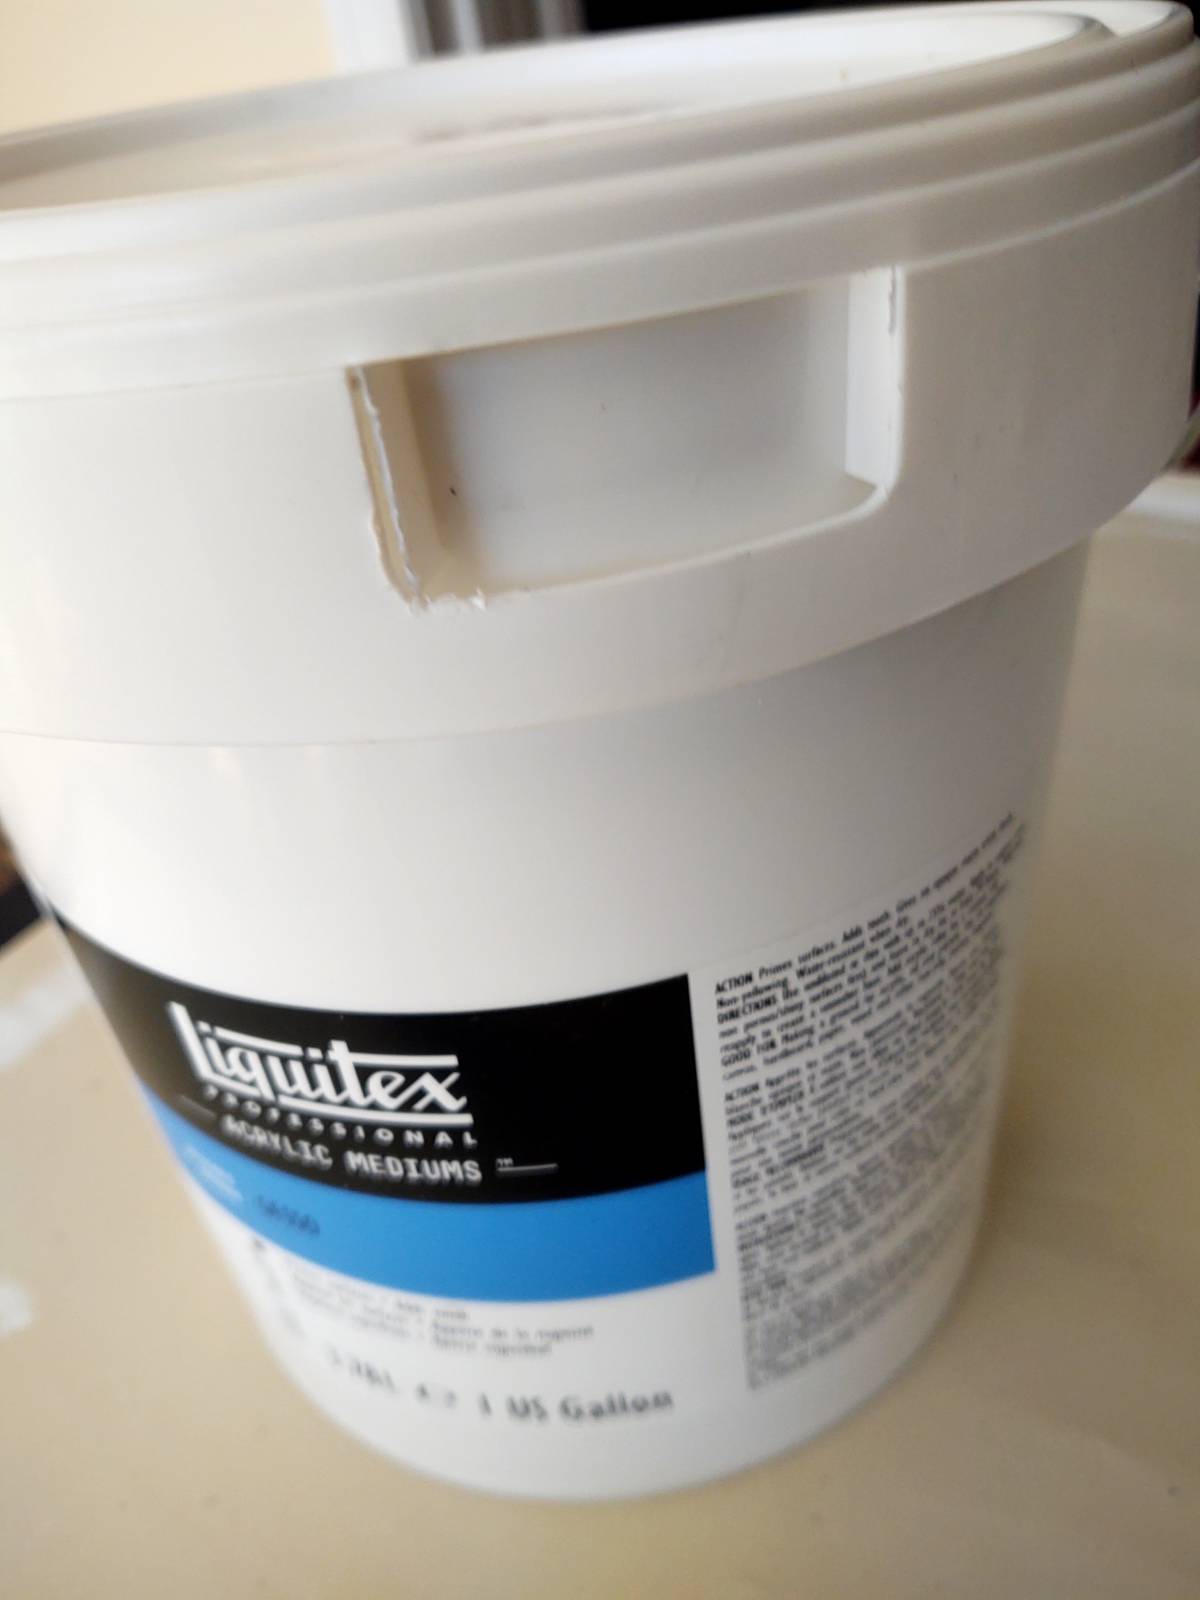 Once the lid is open, you will notice some dried product on the backside and along the rim of the lid. This is an unfortunate result of shipping. Product that is built up and dried will fall into the gesso, finding its way into your priming process. So, it is best to remove it right away.

 Take a wet cotton cloth and wipe the dried gesso that has accumulated on the rim of the container. Once it is clean, use plastic wrap to seal the container so that the product is not exposed to air while you remove the gesso from the backside of the lid and clean it.

Below is a picture of the backside of the lid. There is a lot of product in the middle that I do not want to waste.
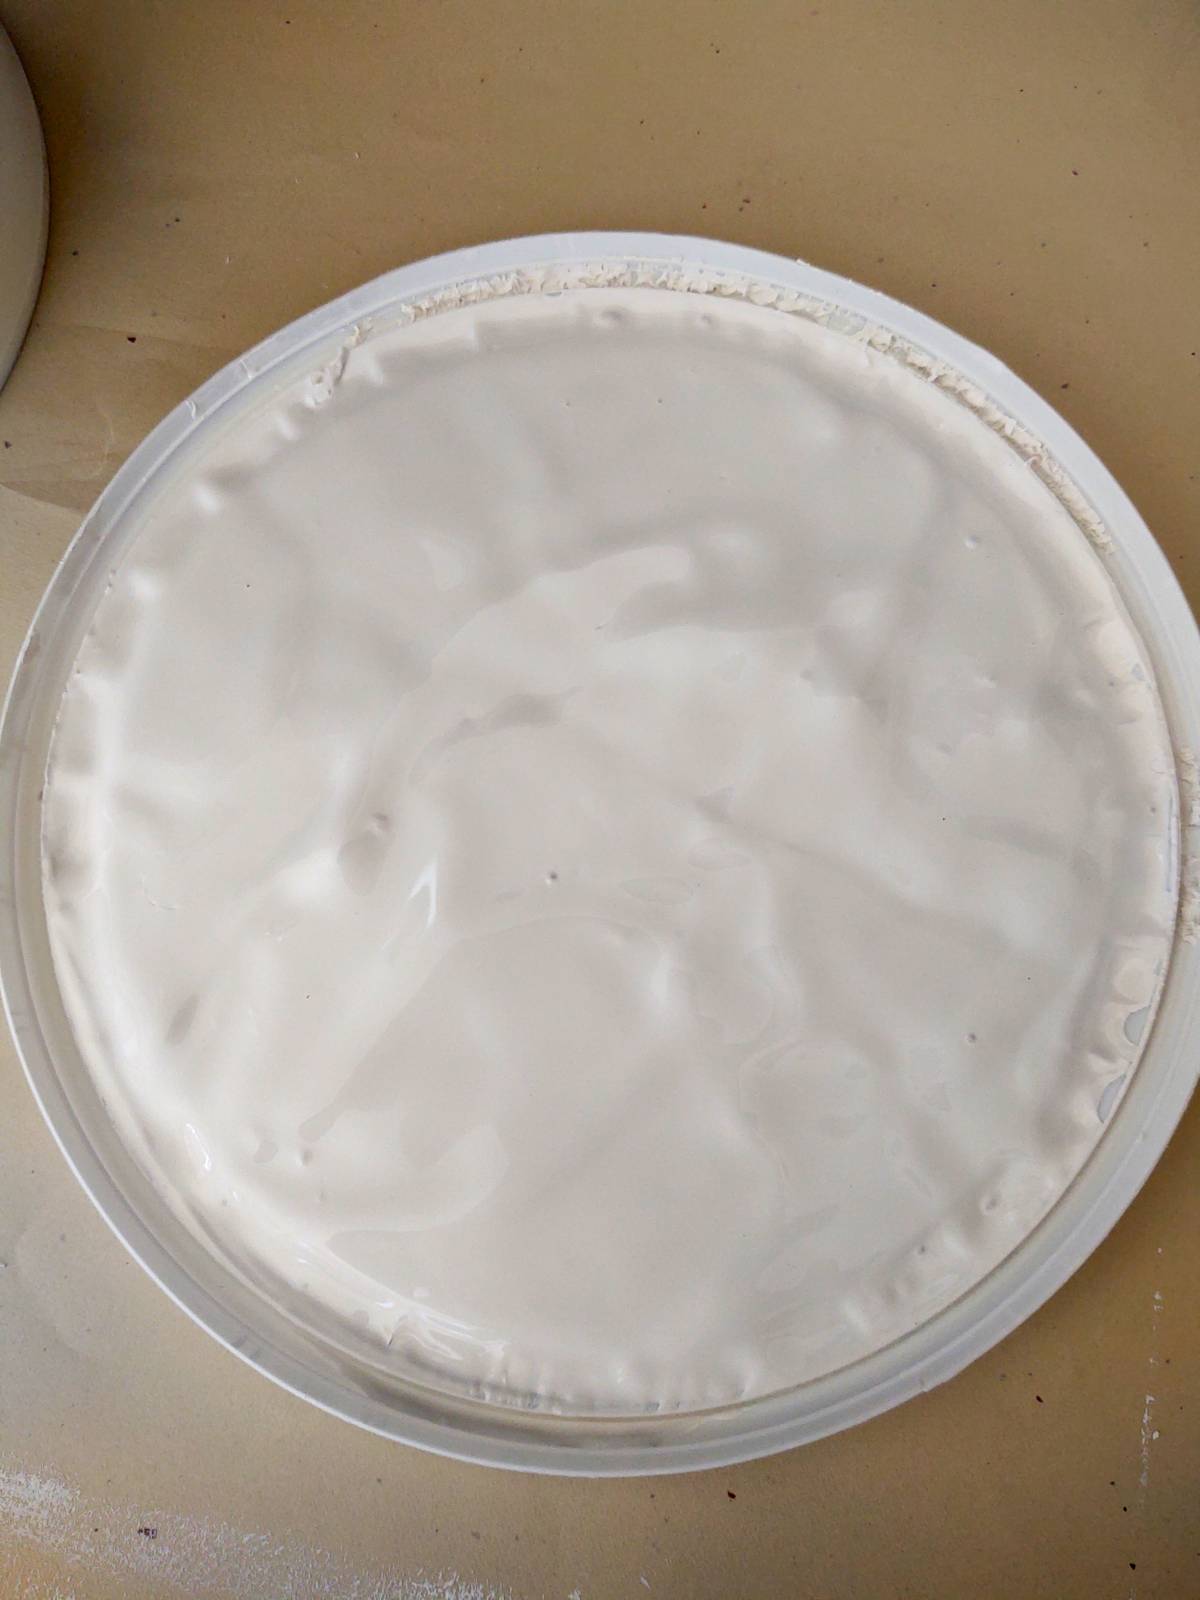
I use a flat painting knife and scrape the gesso that has not dried up. I scoop it into a very small container for use in texturing later on. Note, that this is a separate container from the one I will be using to gesso prime my two surfaces.
 While the large gallon container of gesso is still covered with the plastic wrap, I use the tool featured below to scrape out the gunk and dried product from the lid edge and cover. I then wash the entire cover and dry it thoroughly.
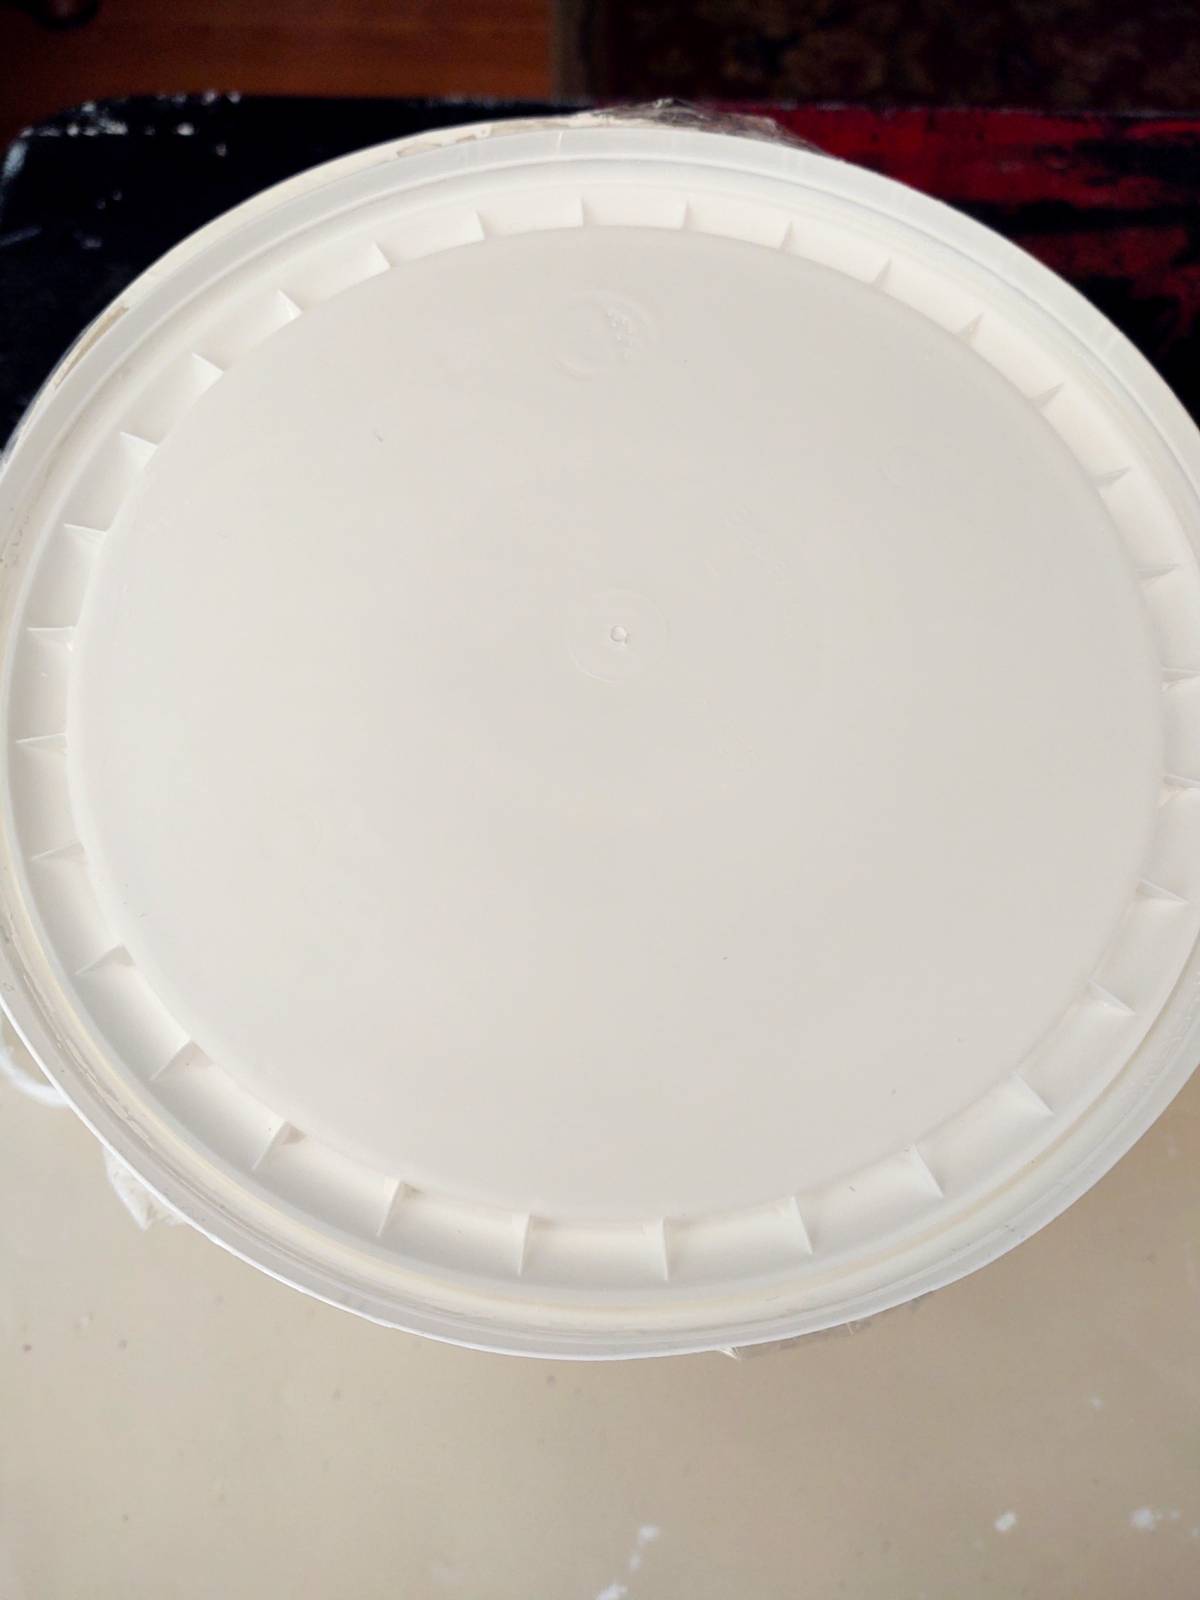
Below you can see the clean cover that I will use to store the rest of the acrylic gesso that remains in the gallon container.
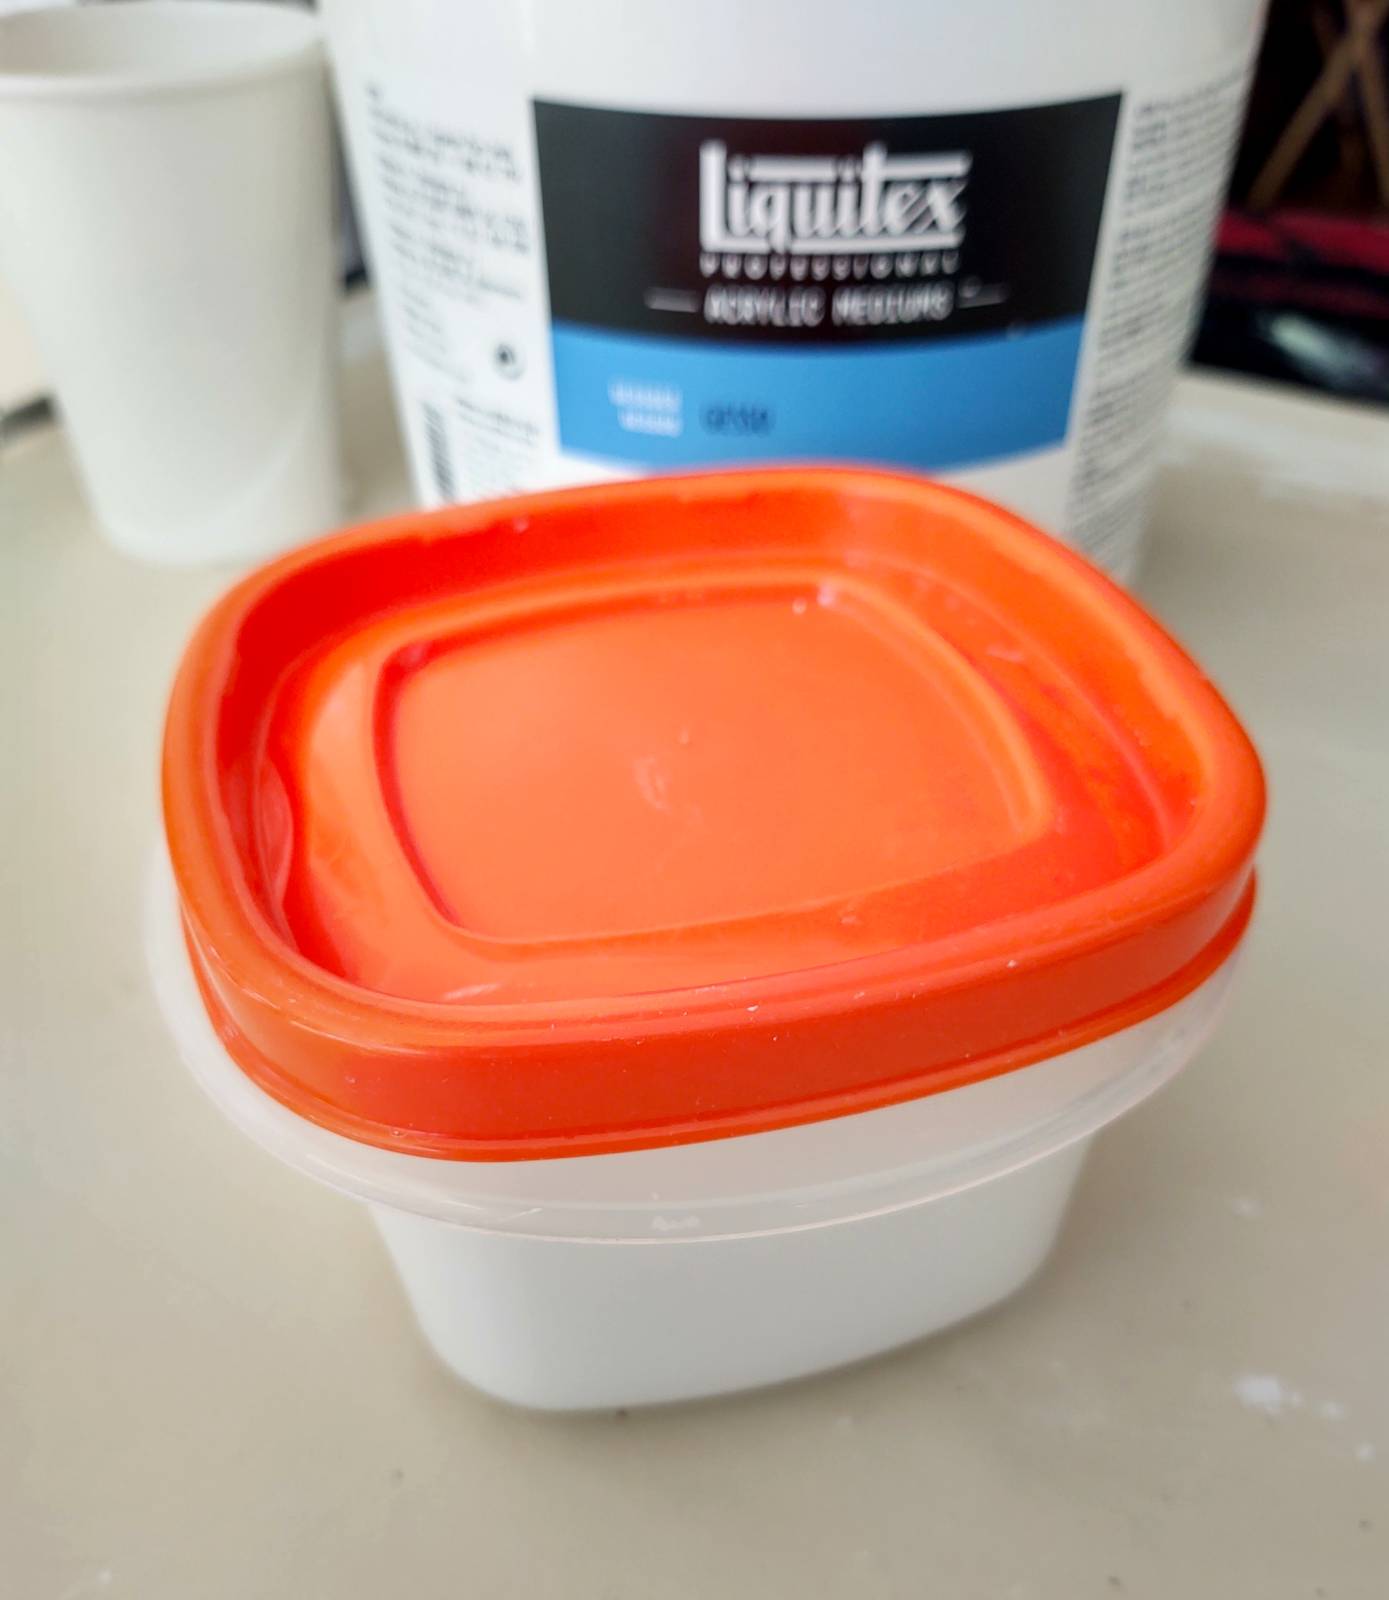
It’s always a good idea not to use your gesso directly from your large gallon container because it will expose the product to air. It is best to put a smaller amount in a smaller container so that you can limit the amount of product that is exposed to the air as much as possible. To do this, I use a cup to scoop out the gesso from the large gallon container and put it in the smaller, orange-lid container. If you are stronger than I am, you can simply pour your gesso from the gallon into the small container. When the gallon is really full, I struggle with the heaviness of it. So, I use a cup.
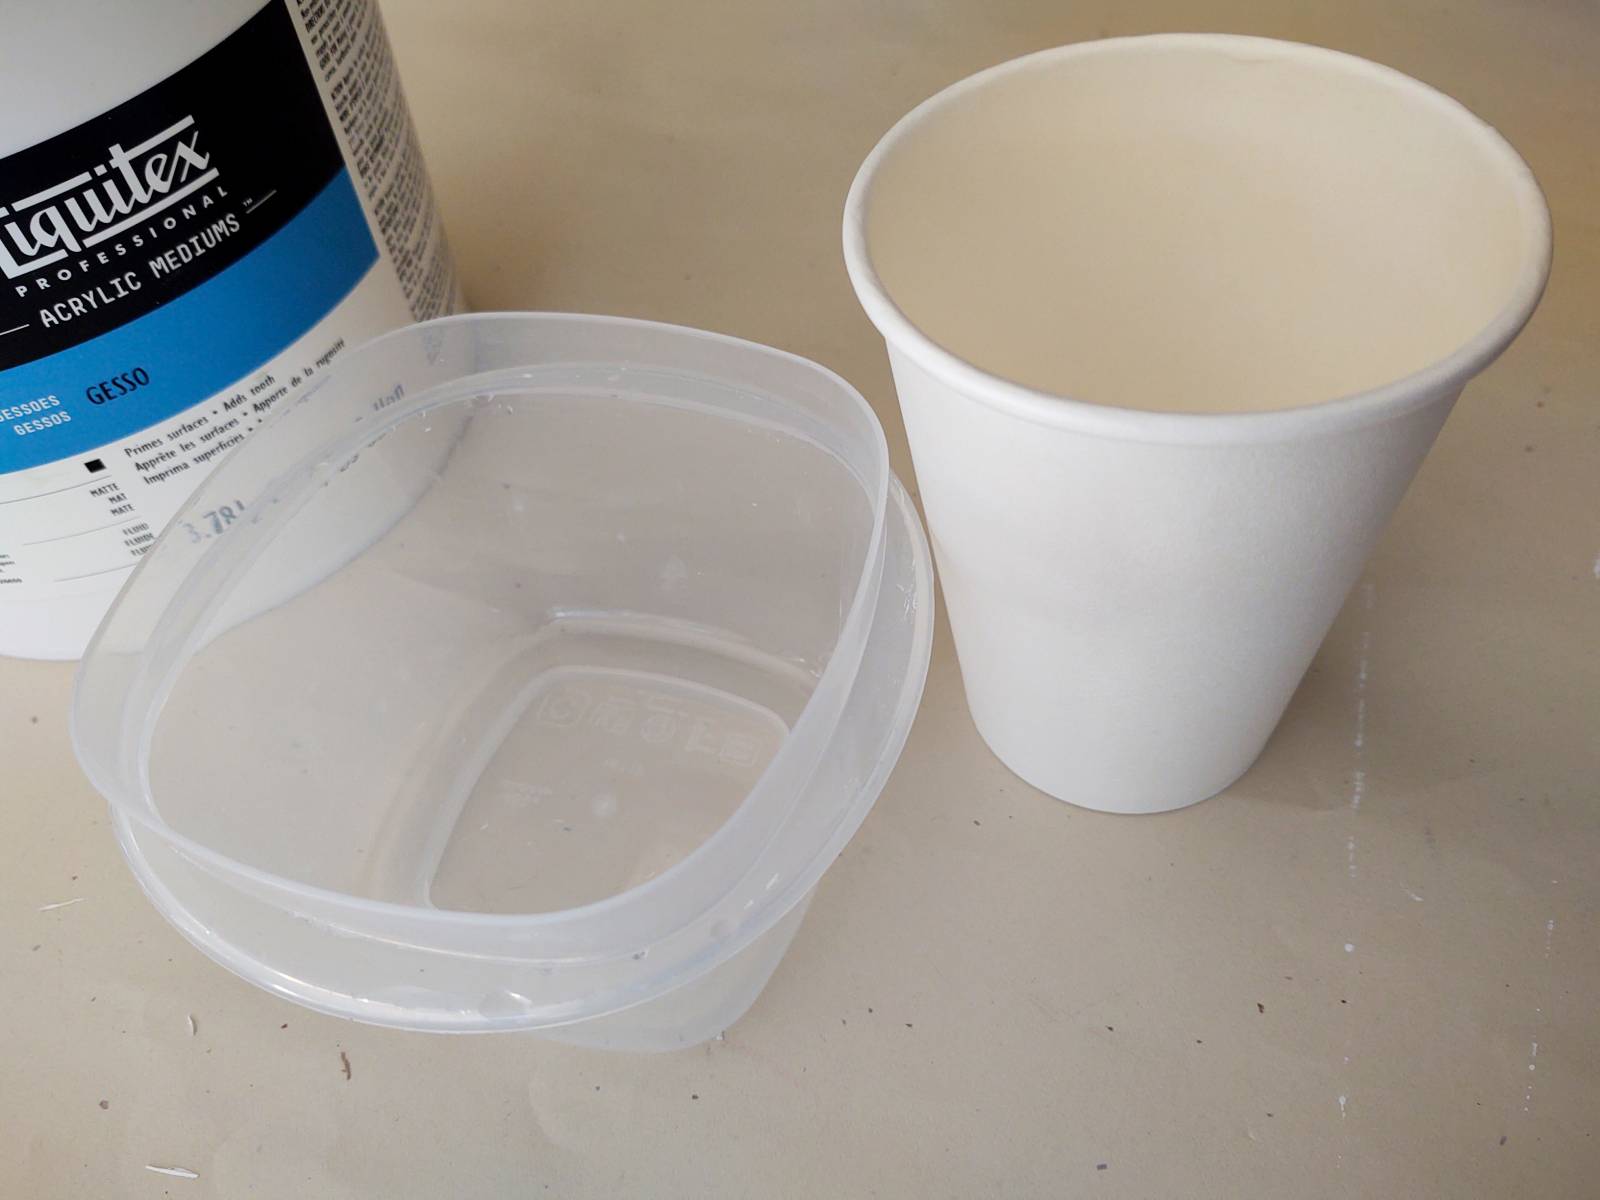
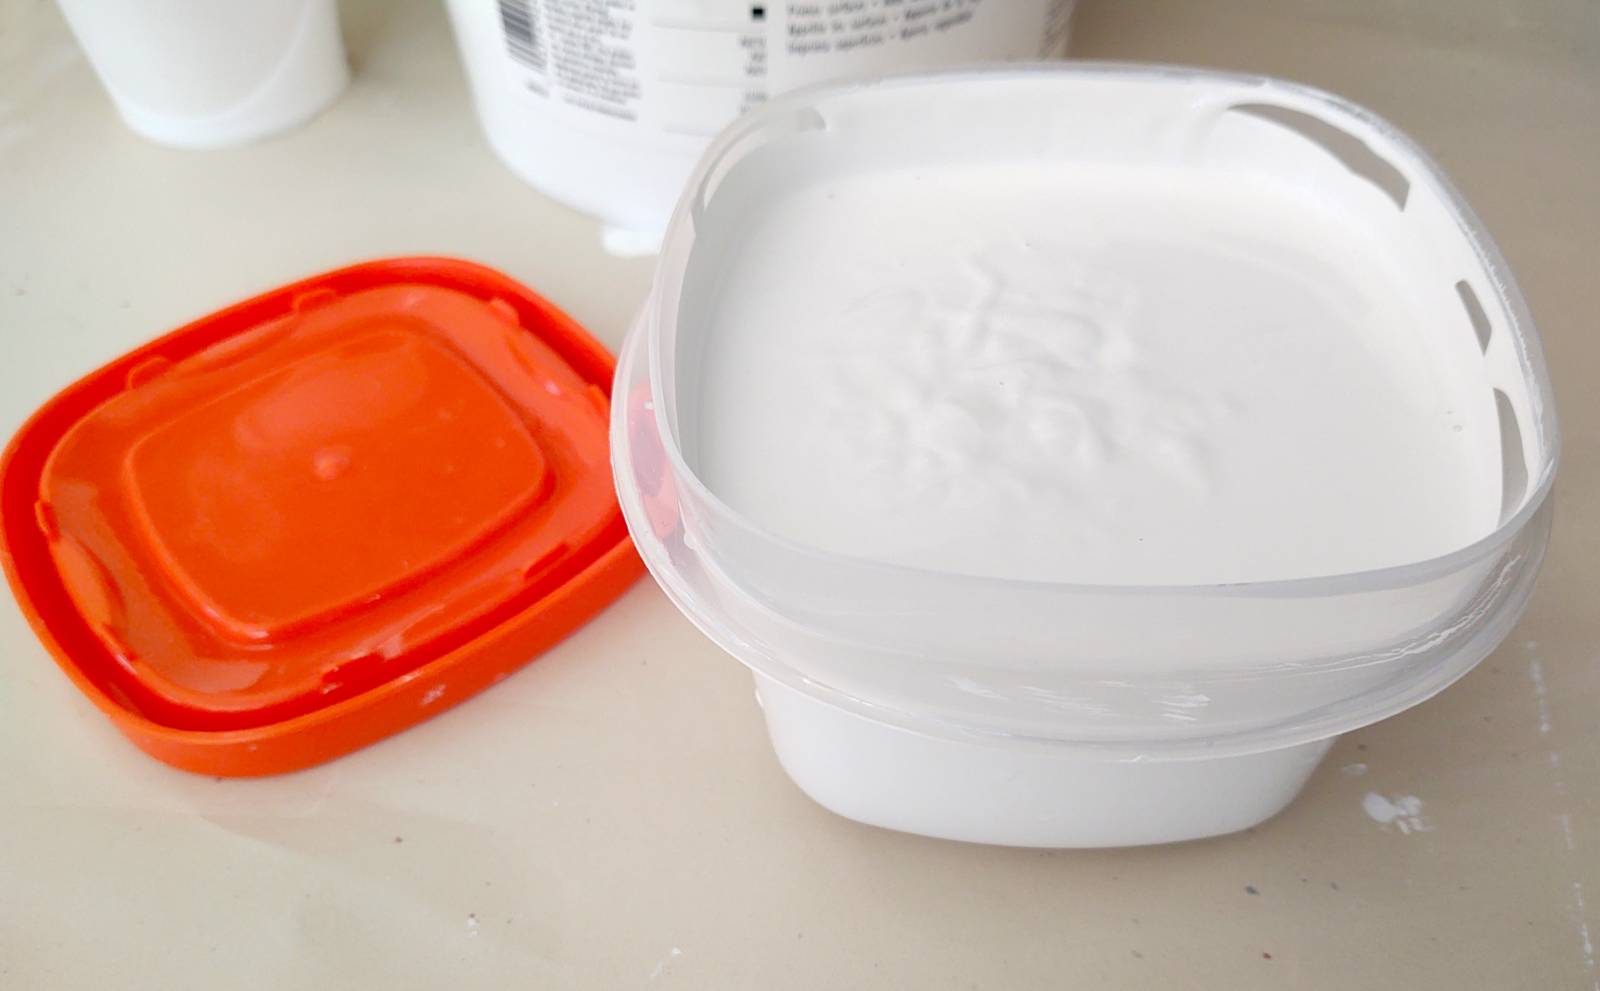
Always remember when you are done to immediately close your gesso so that air does not start to dry out the product. Shown below is my closed gallon container (plastic removed), a smaller container for priming and an even smaller container for texturing (gesso that I removed from the inside cover).

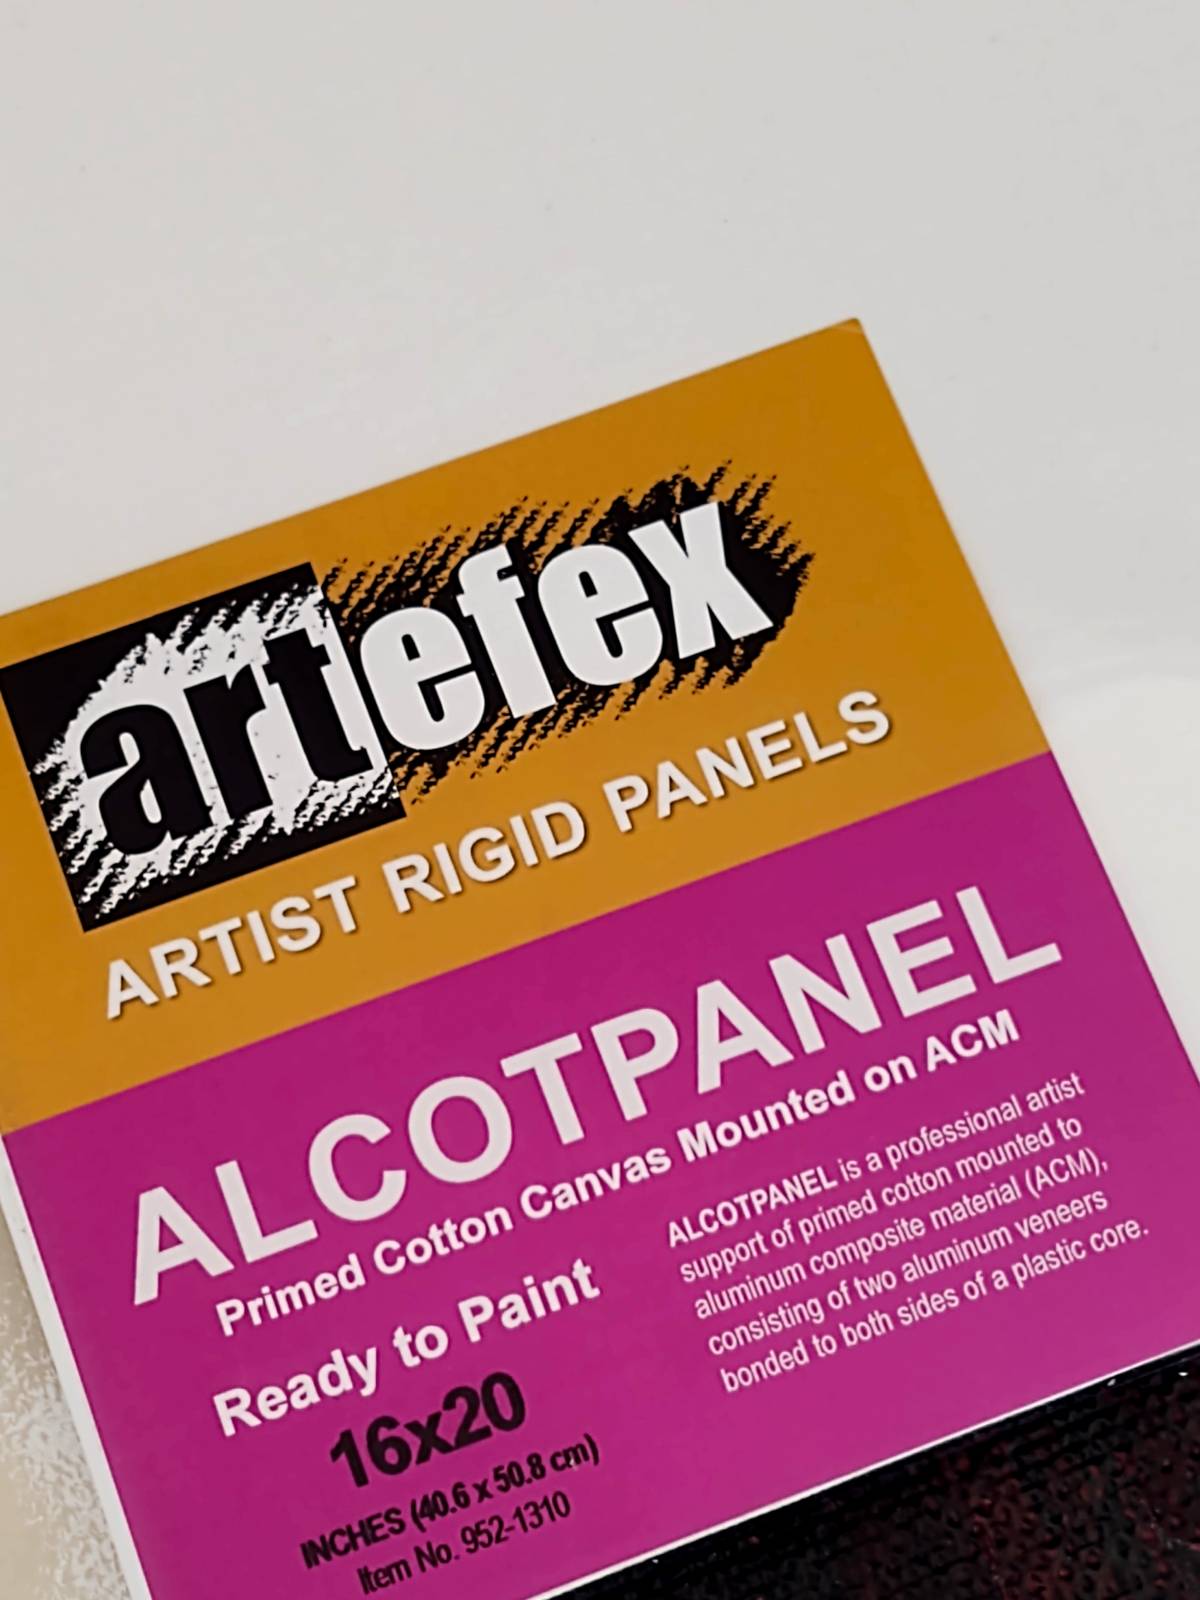
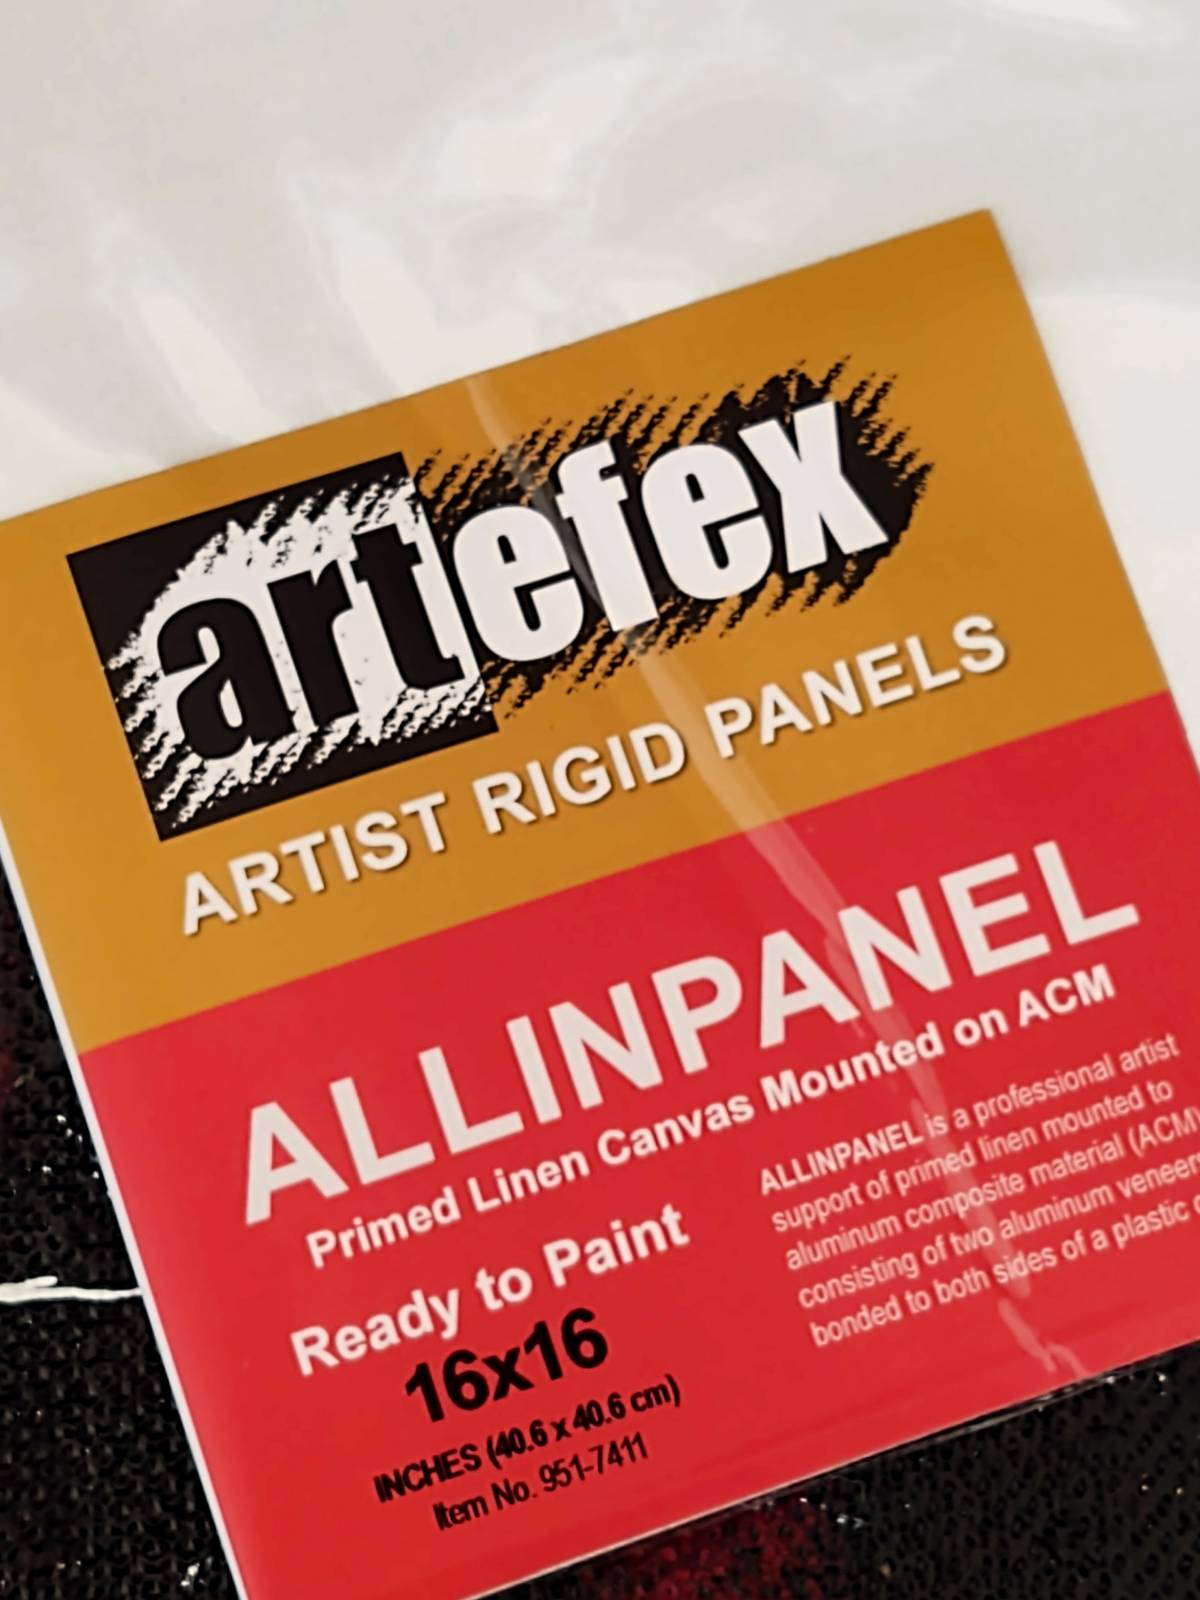
Now, it’s time to texture prime the panels. In this demonstration, I am using a cotton/polyester blend canvas attached to an ACM (aluminum composite material) panel and a linen canvas applied to an ACM panel. Both are manufactured and acrylic primed by ARTEFEX. I did not need to prime these surfaces, as they are primed and ready to paint. I am adding additional gesso mainly to create my own surface texture as well as maintain an absorbency that is consistent to my painting practice. For more about Preparing the Working Ground + Exploring Surface Techniques you can check out an article I wrote on the topic for Muddy Colors. Check out the Allcotpanel and the Allinpanel by Artefex!
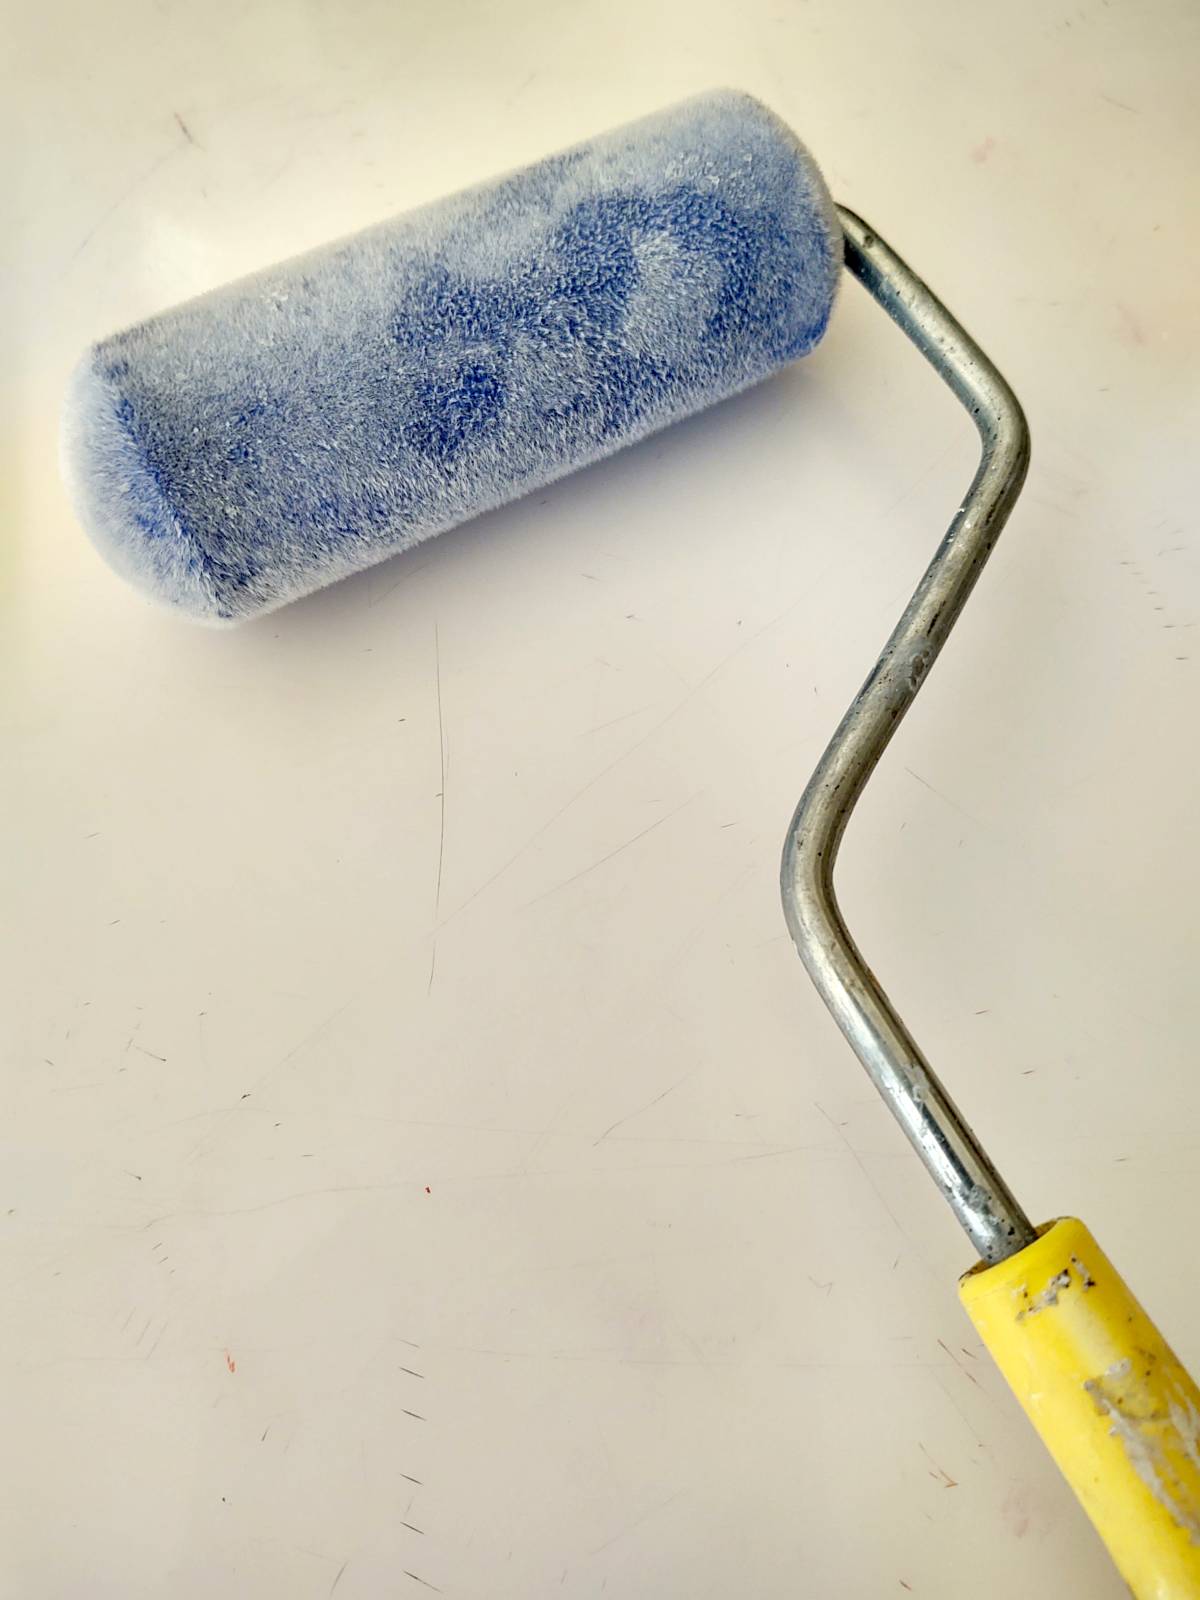
I like the texture of a sponge roller. It is easier to apply and creates an even surface. The specific roller that I use is shown below.
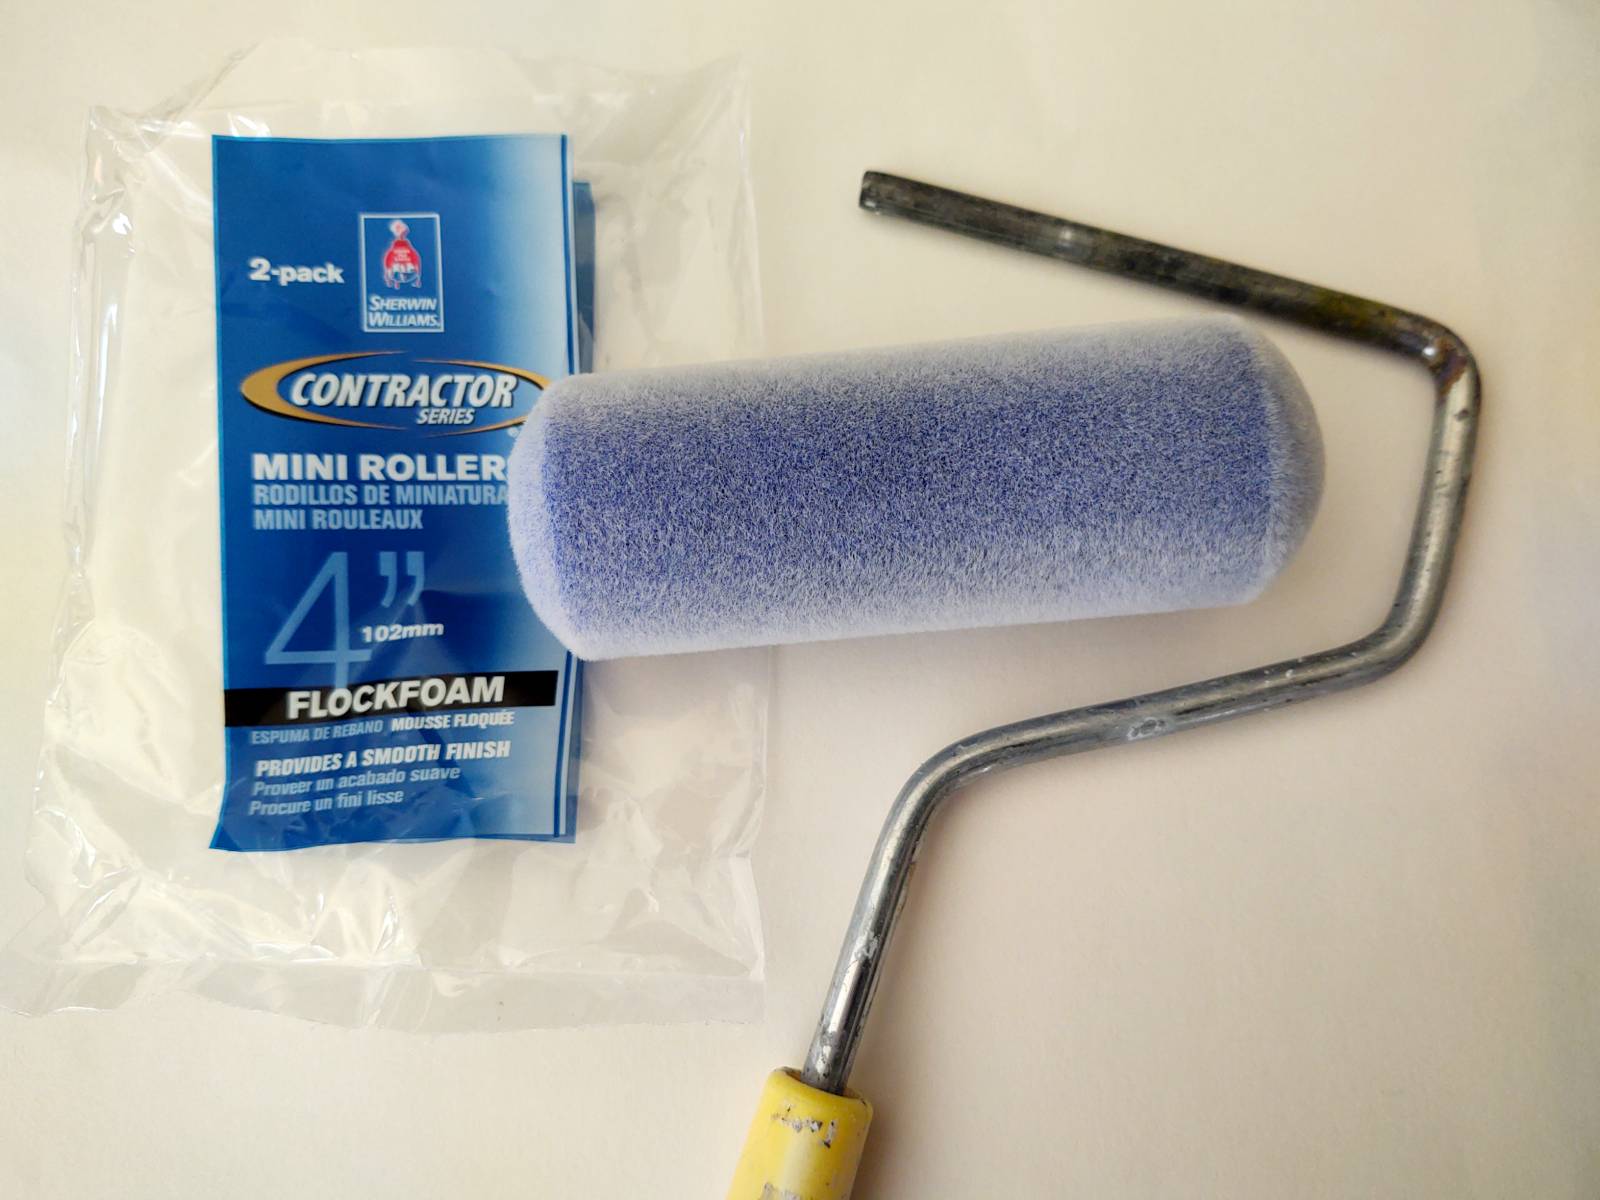 It is always best to rinse the roller out immediately after you open the package, so that any manufacturing debris is removed. Remove all excess water thoroughly before using the roller.
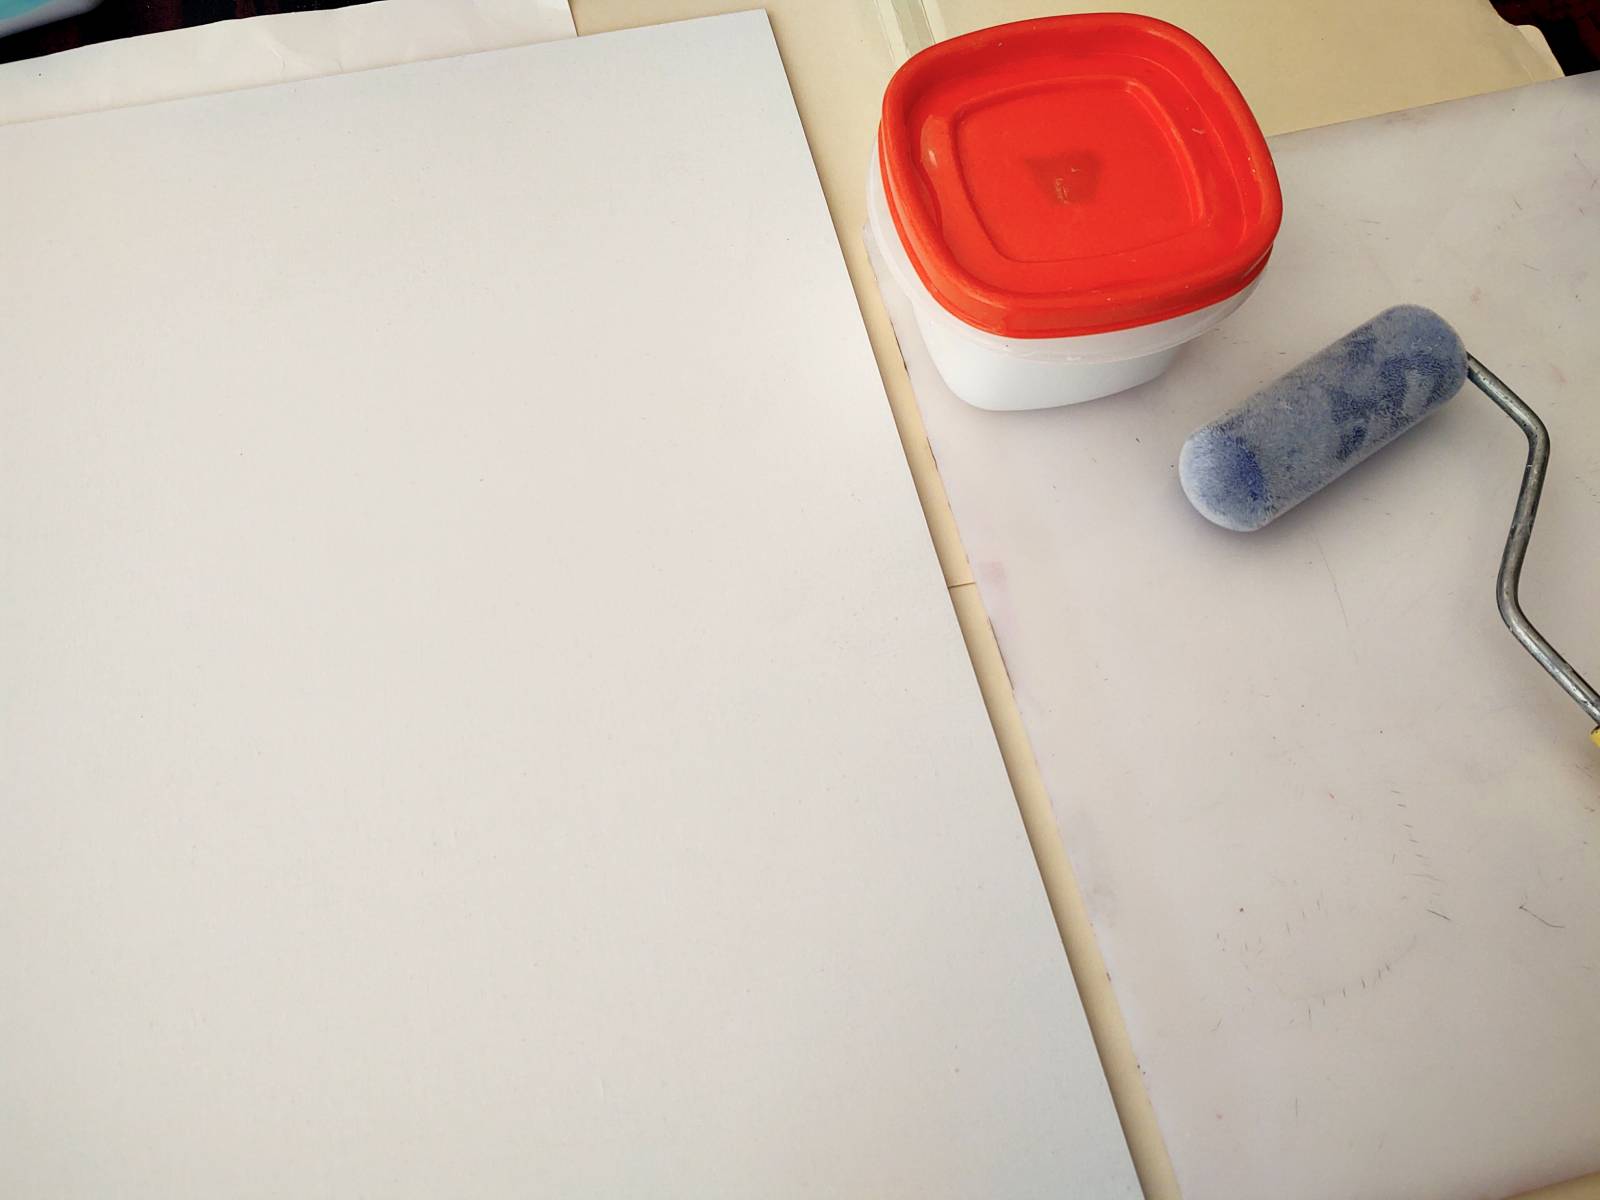
Using my small container of gesso, a sponge roller and a plastic pallete, I am ready to prime my panels.
It’s always a good idea to apply the gesso onto the roller, rolling it out so that you have a thin even coverage all around the roller. Do this before you apply the roller to your panel or surface.

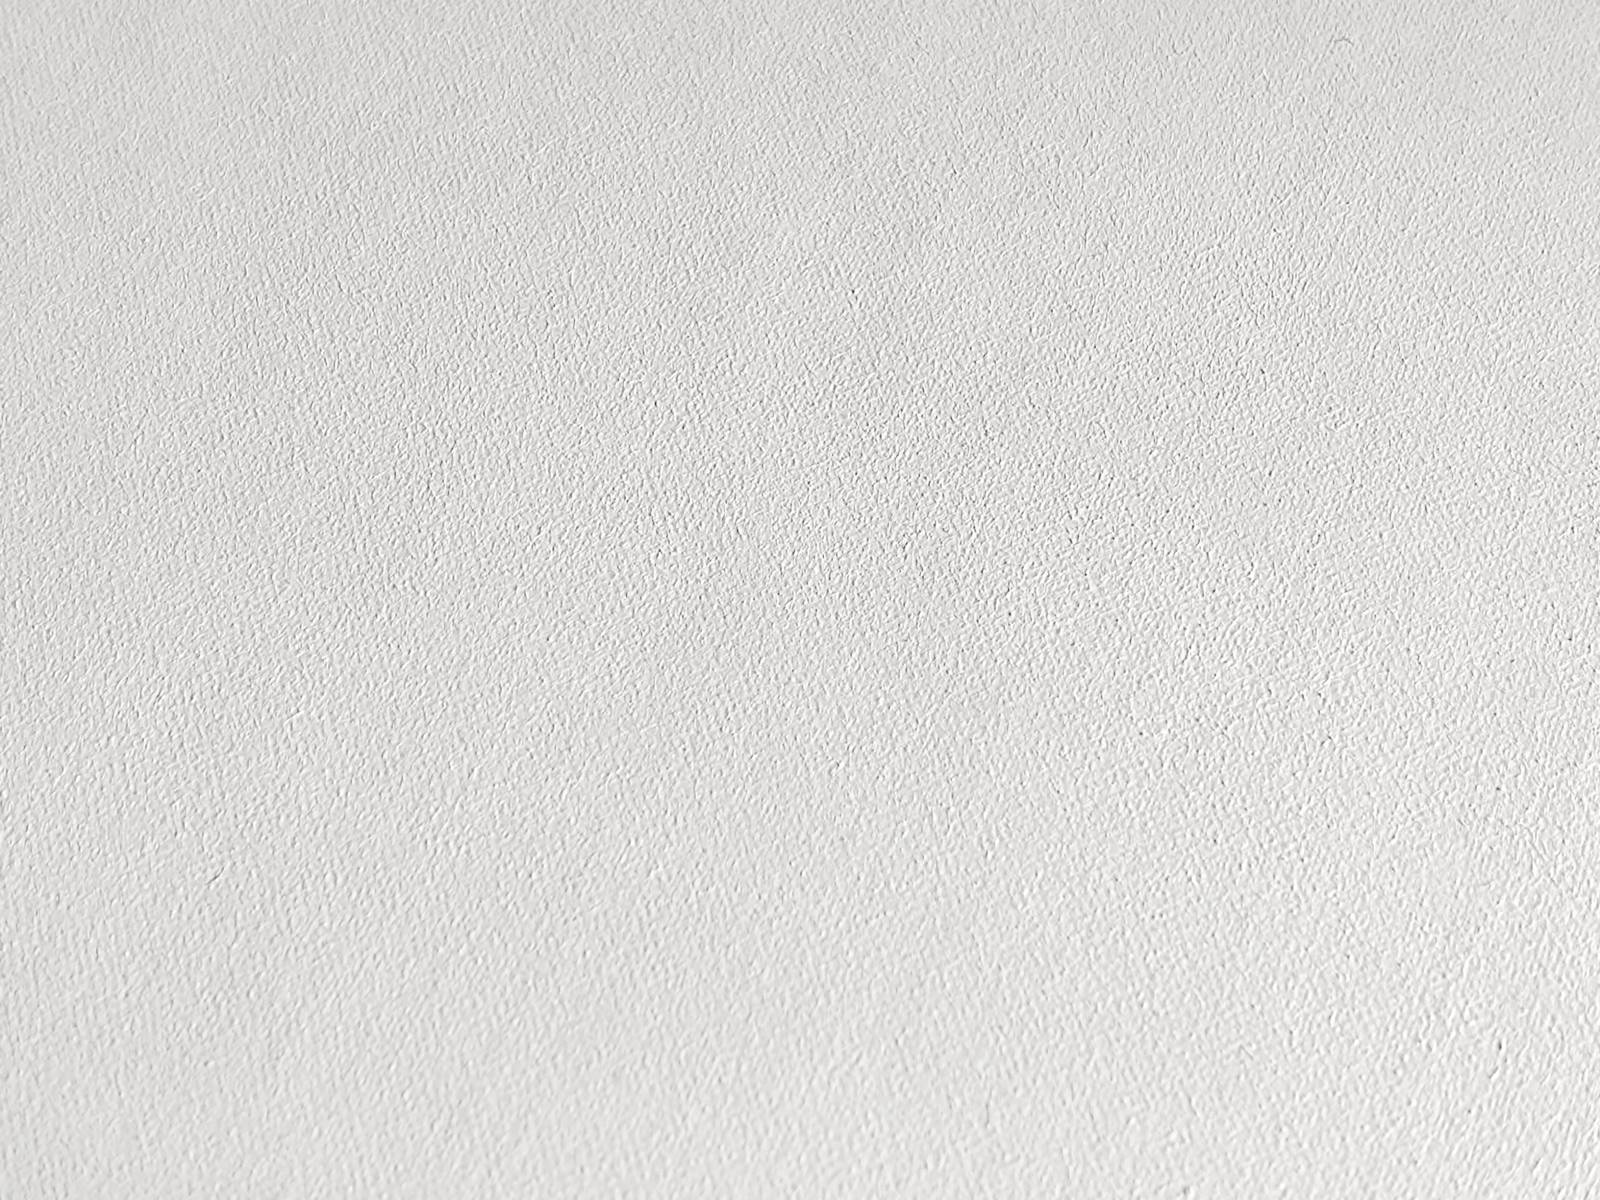
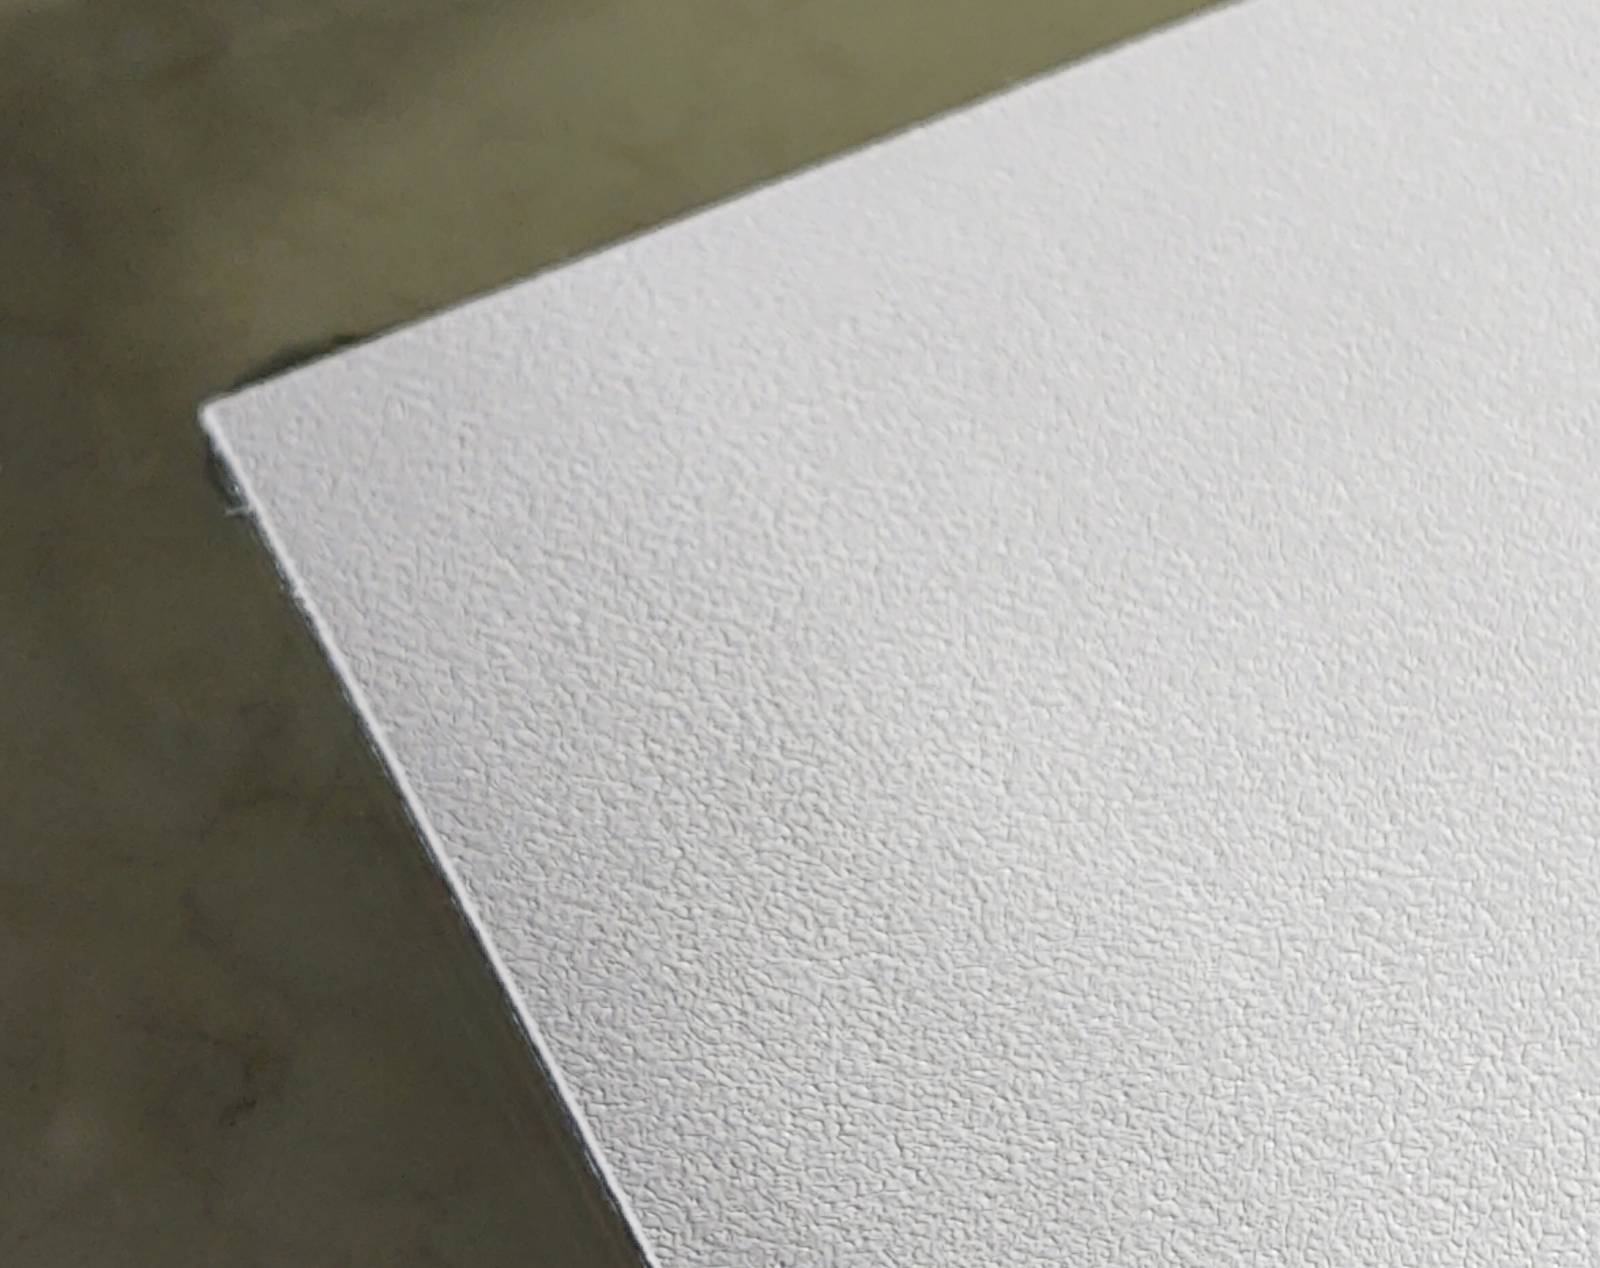
When applying the primer to the working surface, I start on one side and apply it with an even pressure throughout. Then, I start to lift the pressure off the roller, working in horizontal and then vertical stokes to the picture plane. This will ensure coverage as well as add a very fine, minimal texture to the working surface. See the texure on the roller above. It is very organic and I like that a lot!
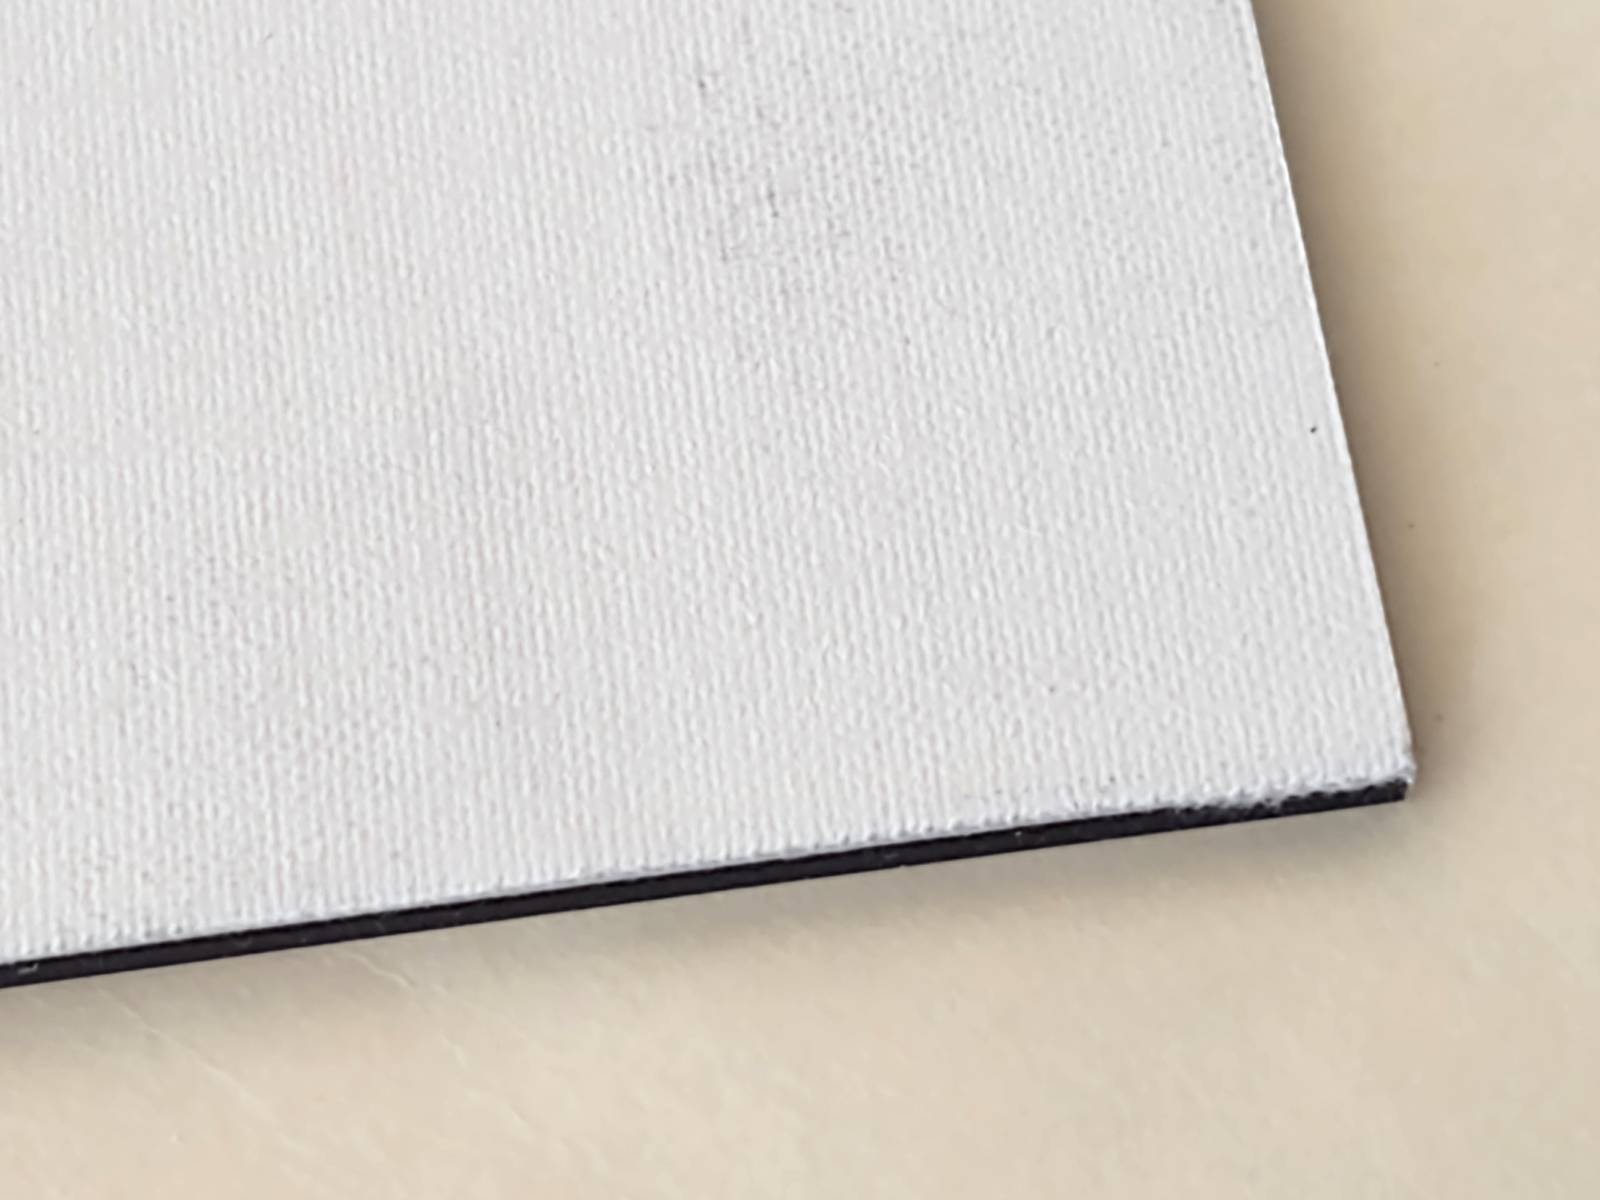
The above picture demonstrates the polyester/cotton canvas applied ACM panel after it has been additionally gesso primed with my roller. While the bottom picture shows the before picture. With two coats of gesso priming, I was able to soften the pattern of the canvas slightly, while introducing my own texture.
The above picture demonstrates the linen canvas applied ACM panel before it has been additionally gesso primed with my roller. While the bottom picture shows the after picture. I like the organic change in texture that the roller makes.
I will typically prime several panels at once, usually until the product is fully used up. I always allow the panels to dry naturally, giving them about 72 hours to fully cure (humidity depending).
In my upcoming posts, I will challenge you to Shake It Up with your artistic process and approach. Listen to the art challenge in this recent podcast!
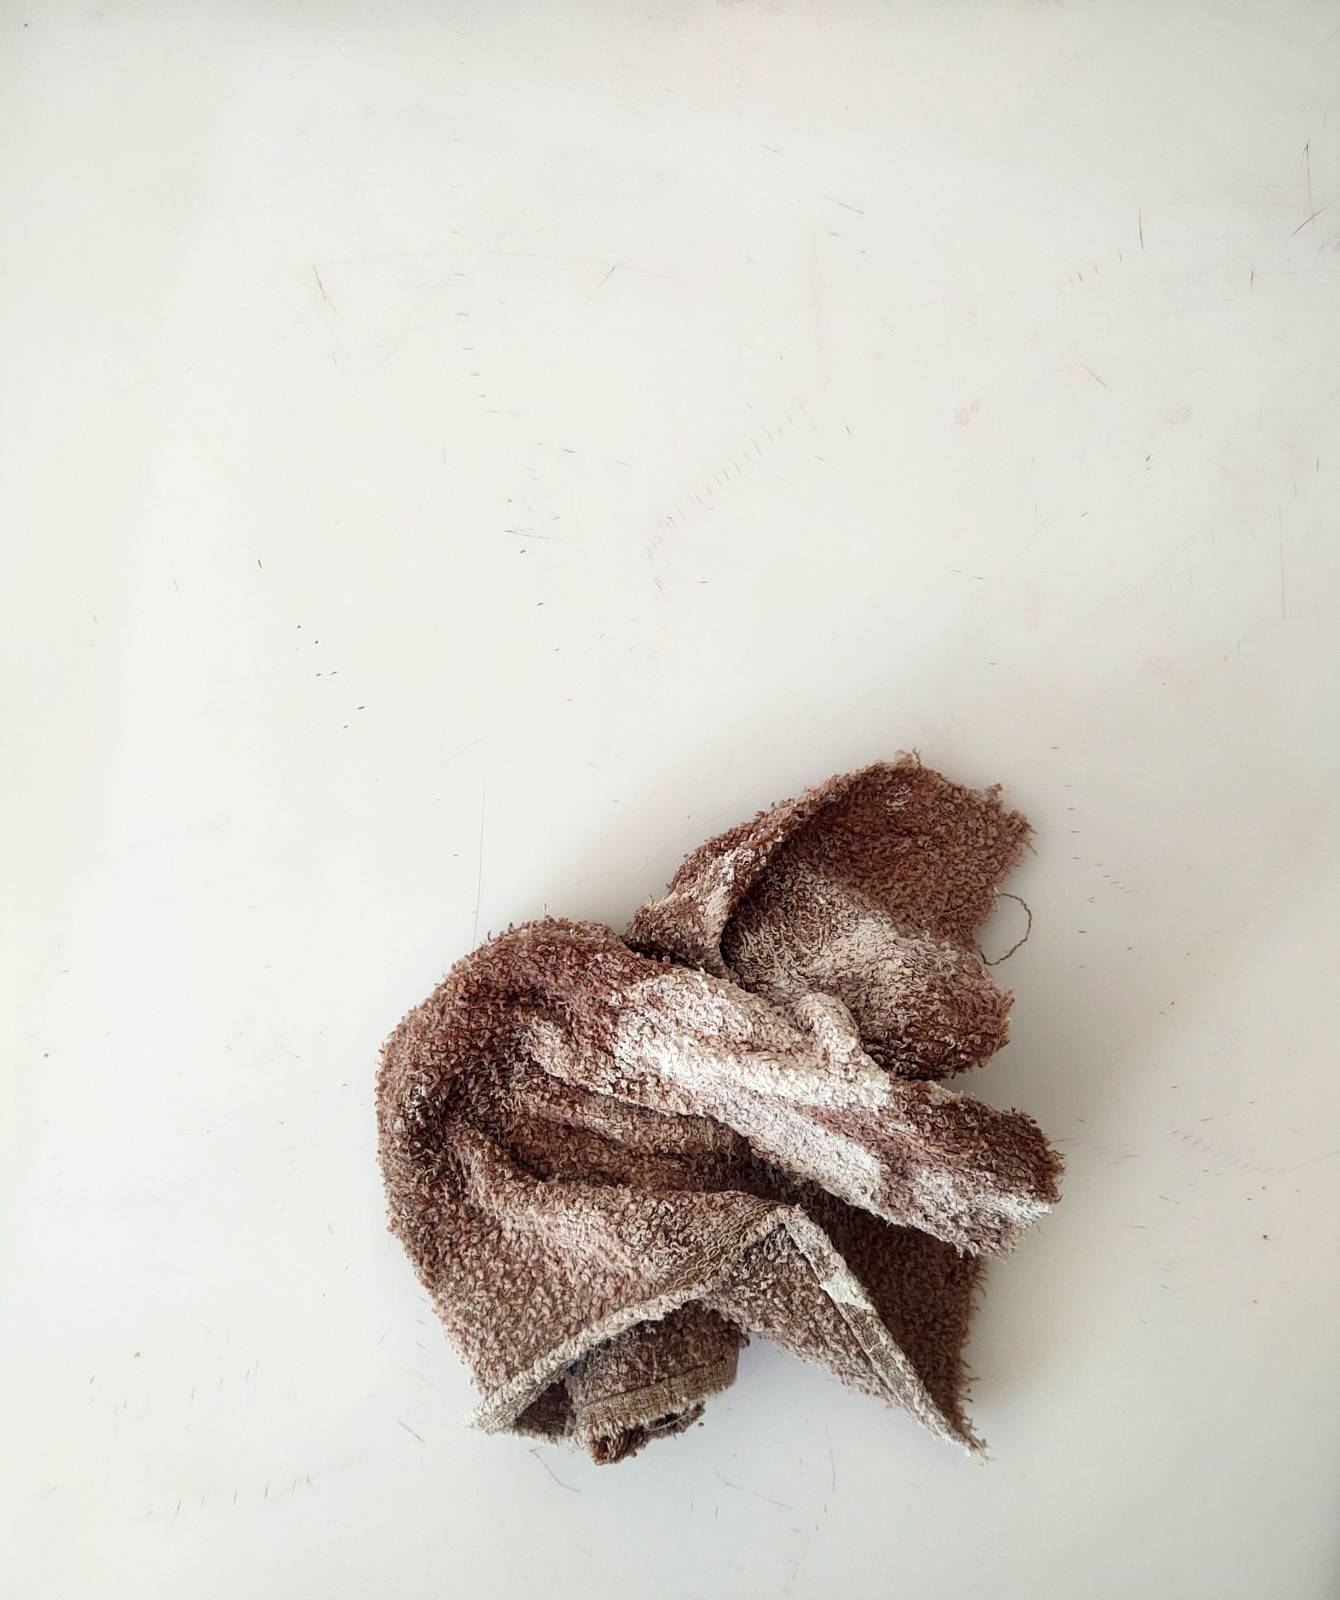
To clean the plastic palette, I simply wipe the surface with a wet towel. I do not reuse the roller for priming, as I like to employ a new roller for each session. I will use my old rollers for texturing, once they are cleaned completely.
Check out these STUDIO BASICS articles on further exploring the working surface:
Preparing the Working Ground + Exploring Surface Techniques
You can also listen to some podcasts on Composition + Art Making:
The Art of Cropping:
Check out the Rediscovering Your Creative Self podcast episode on using the art of cropping to create engaging and dynamic pictures.
Just Squint:
Check out the Rediscovering Your Creative Self poscast episode on how to use your senses to enhance your experience, adding to your overall creative process and potential.
Dreaded 50/50 Ratio:
Check out the Rediscovering Your Creative Self podcast episode on compositional strategies and how to create more graphicaly effective pictures.
Art of Editing:
Check out this week’s Rediscovering Your Creative Self podcast episode on using the art of cropping to create engaging and dynamic pictures.
If you want to join my Navigating the Labyrinth of the Creative Mind community, you can follow all my public posts for FREE! I have insightful posts to share every week! Join me!
If you are interested in learning more about working in relief on the painted surface or working in experimental mixed-media techniques, check out my Masterclass on patreon!
https://www.patreon.com/lisalcyr
copyright 2024 Lisa L Cyr, Cyr Studio LLC, all rights reserved


Recent Comments