I’m in the midst of working through my annual sketchbook and the subject matter this time around has me musing on rocks and how to draw them. More so than usual, it would seem!
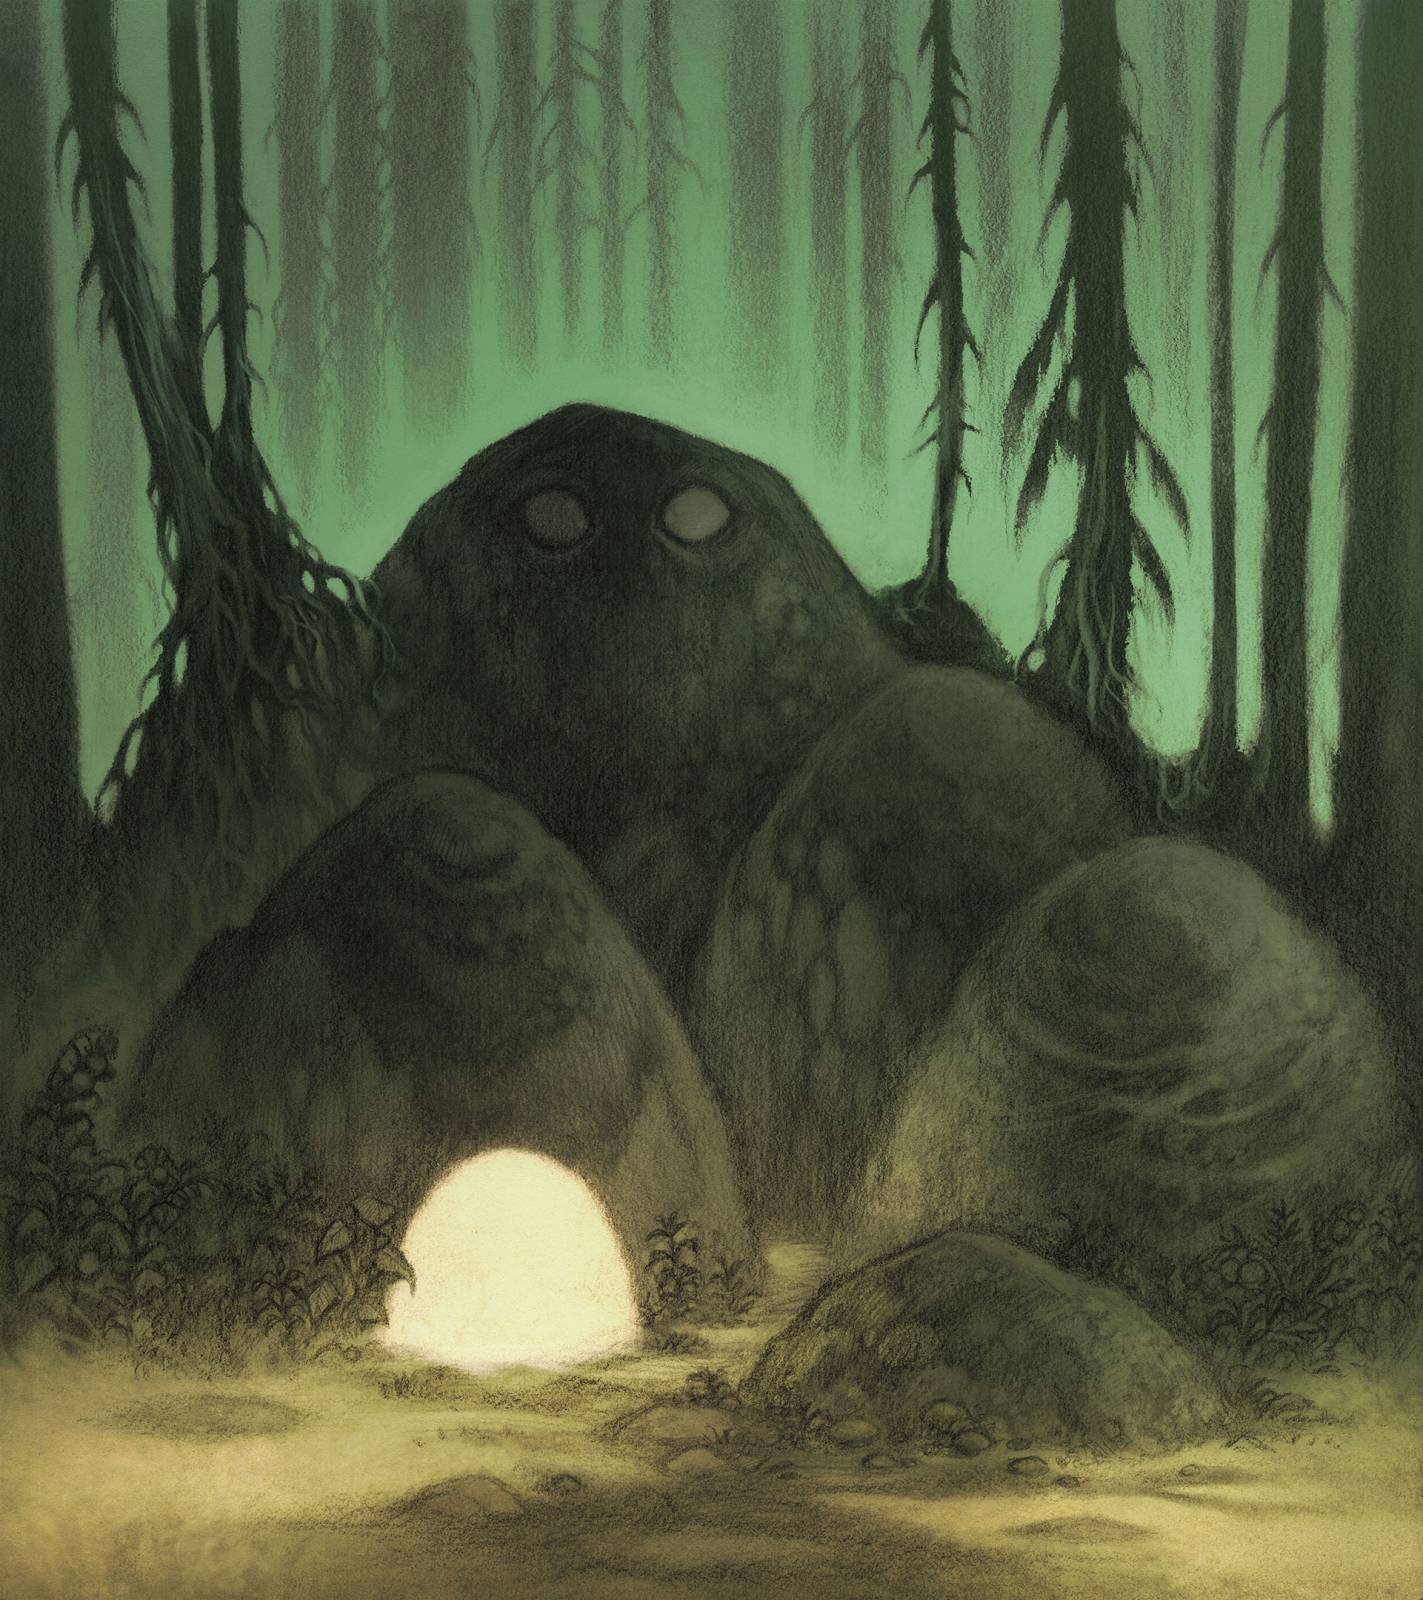
And we’re back this month with a further exploration of what looks to be a sentient pile of rocks sat down in a scraggly forest.
The first post in this set dared to ask the question, hang on a minute, if I like drawing things like this so much why is it such a struggle? Shouldn’t this stuff come easy?
Did we answer it? No! Not really! And yet I find myself endlessly tinkering, volunteering different answers to that question. Turning the results over and over in my mind, like a prism, catching the light and showing possible solutions in different, unexpected ways.
Which is a fancy way of saying while I’m really not sure, I still like it.
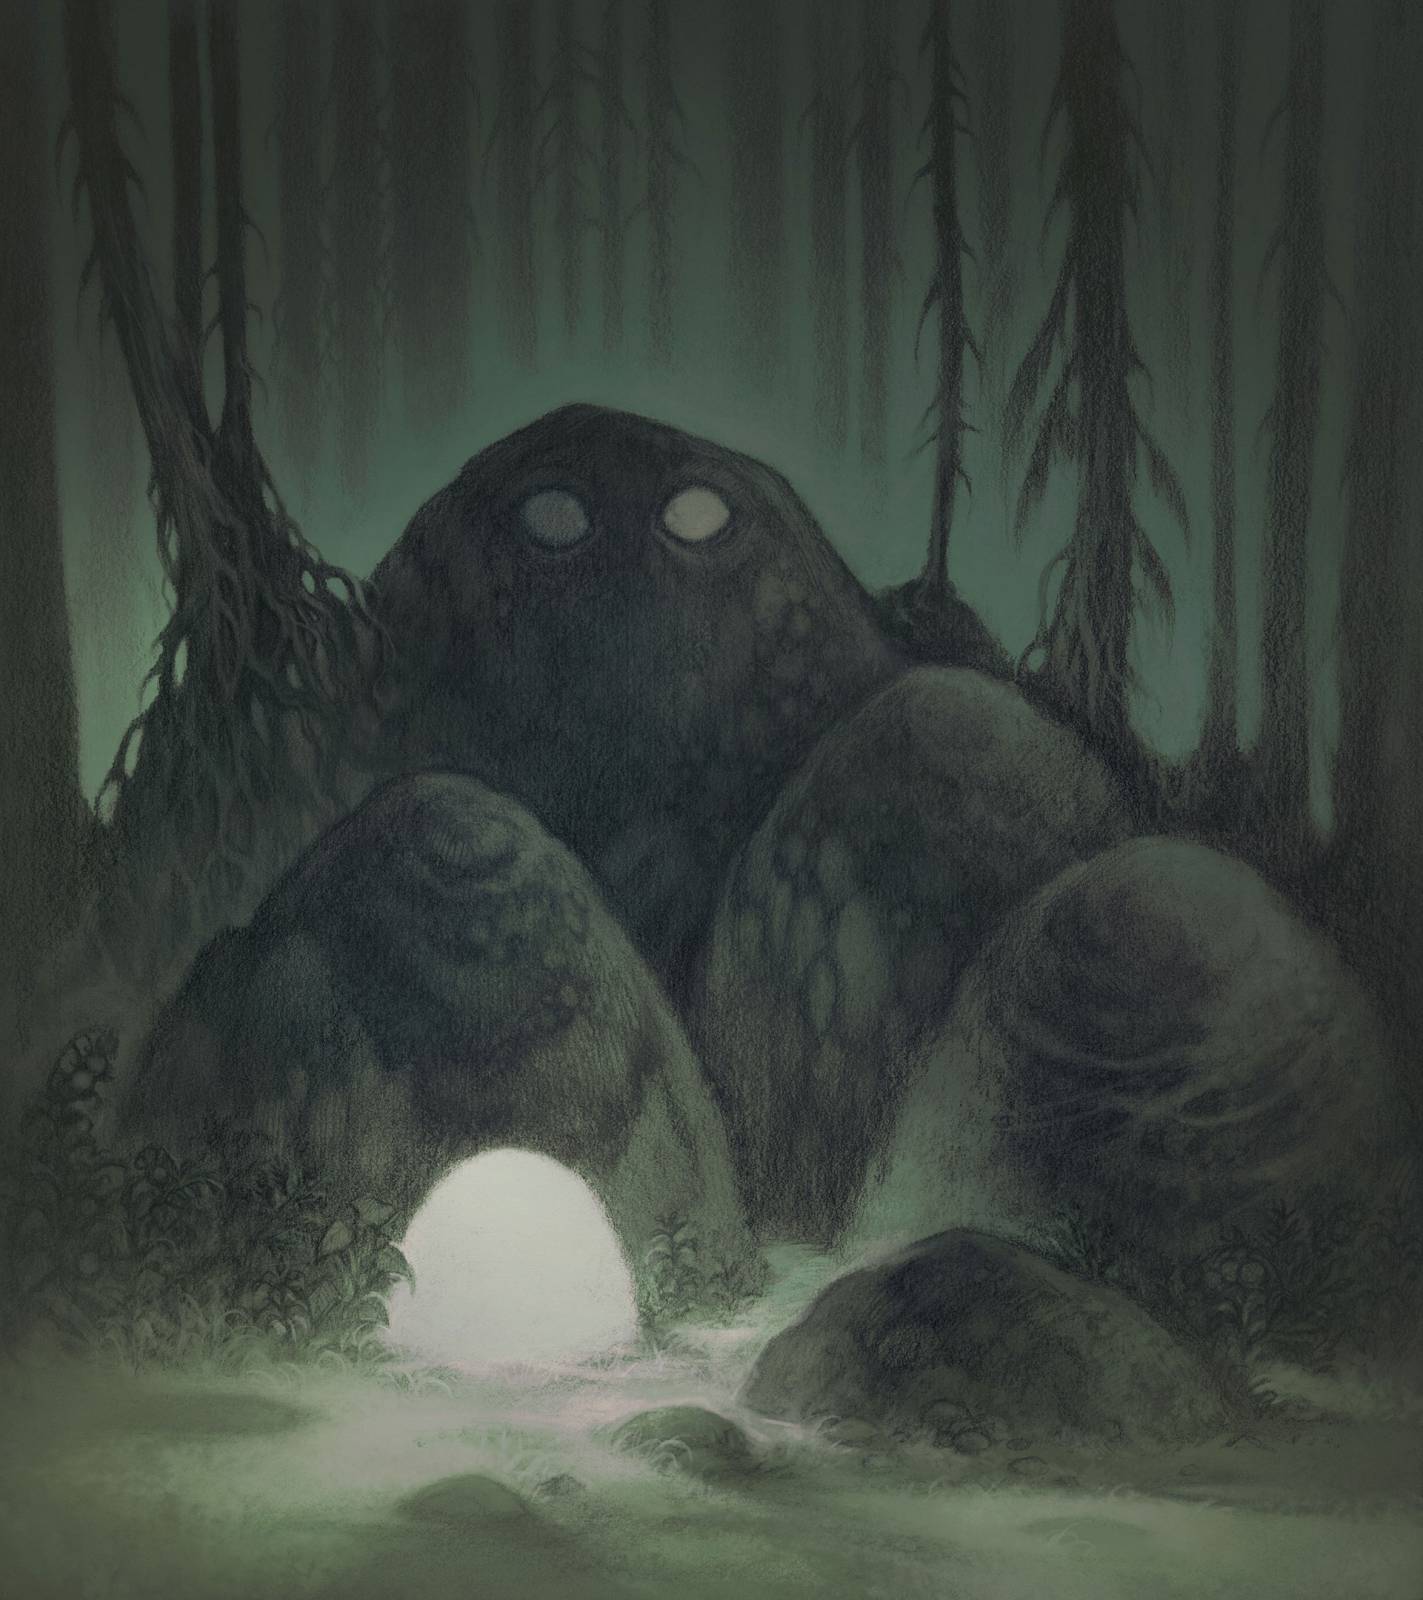
Last time we took a look through the stages of the drawing and this time we’ll see about some color. And just what to do with that empty negative space rock.
Let’s go!
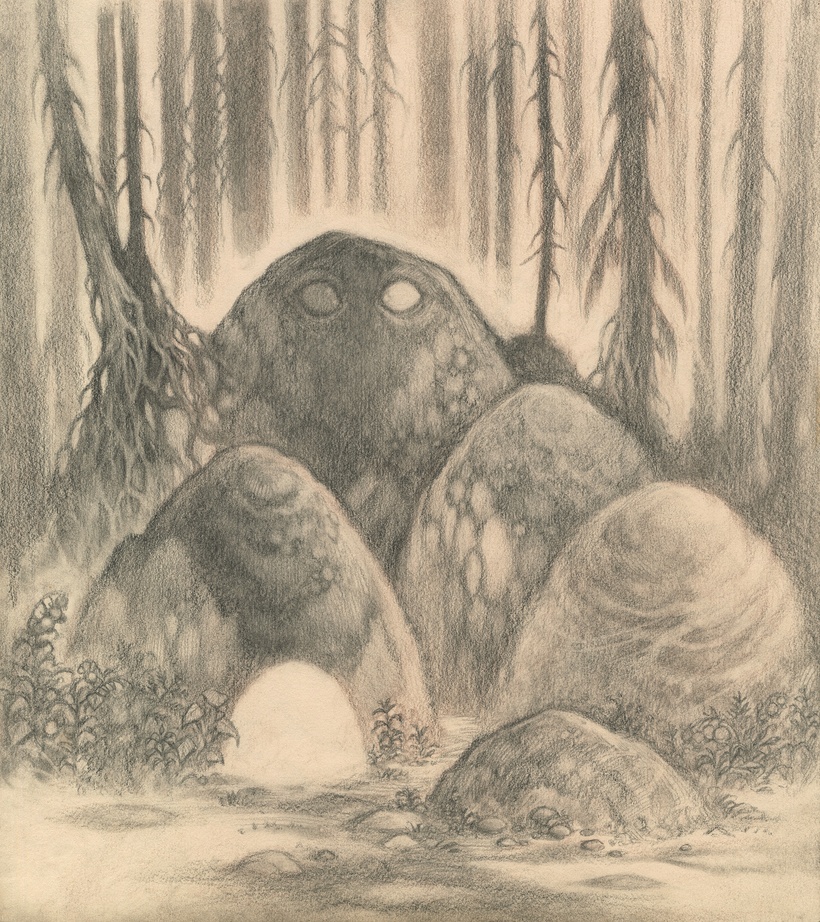
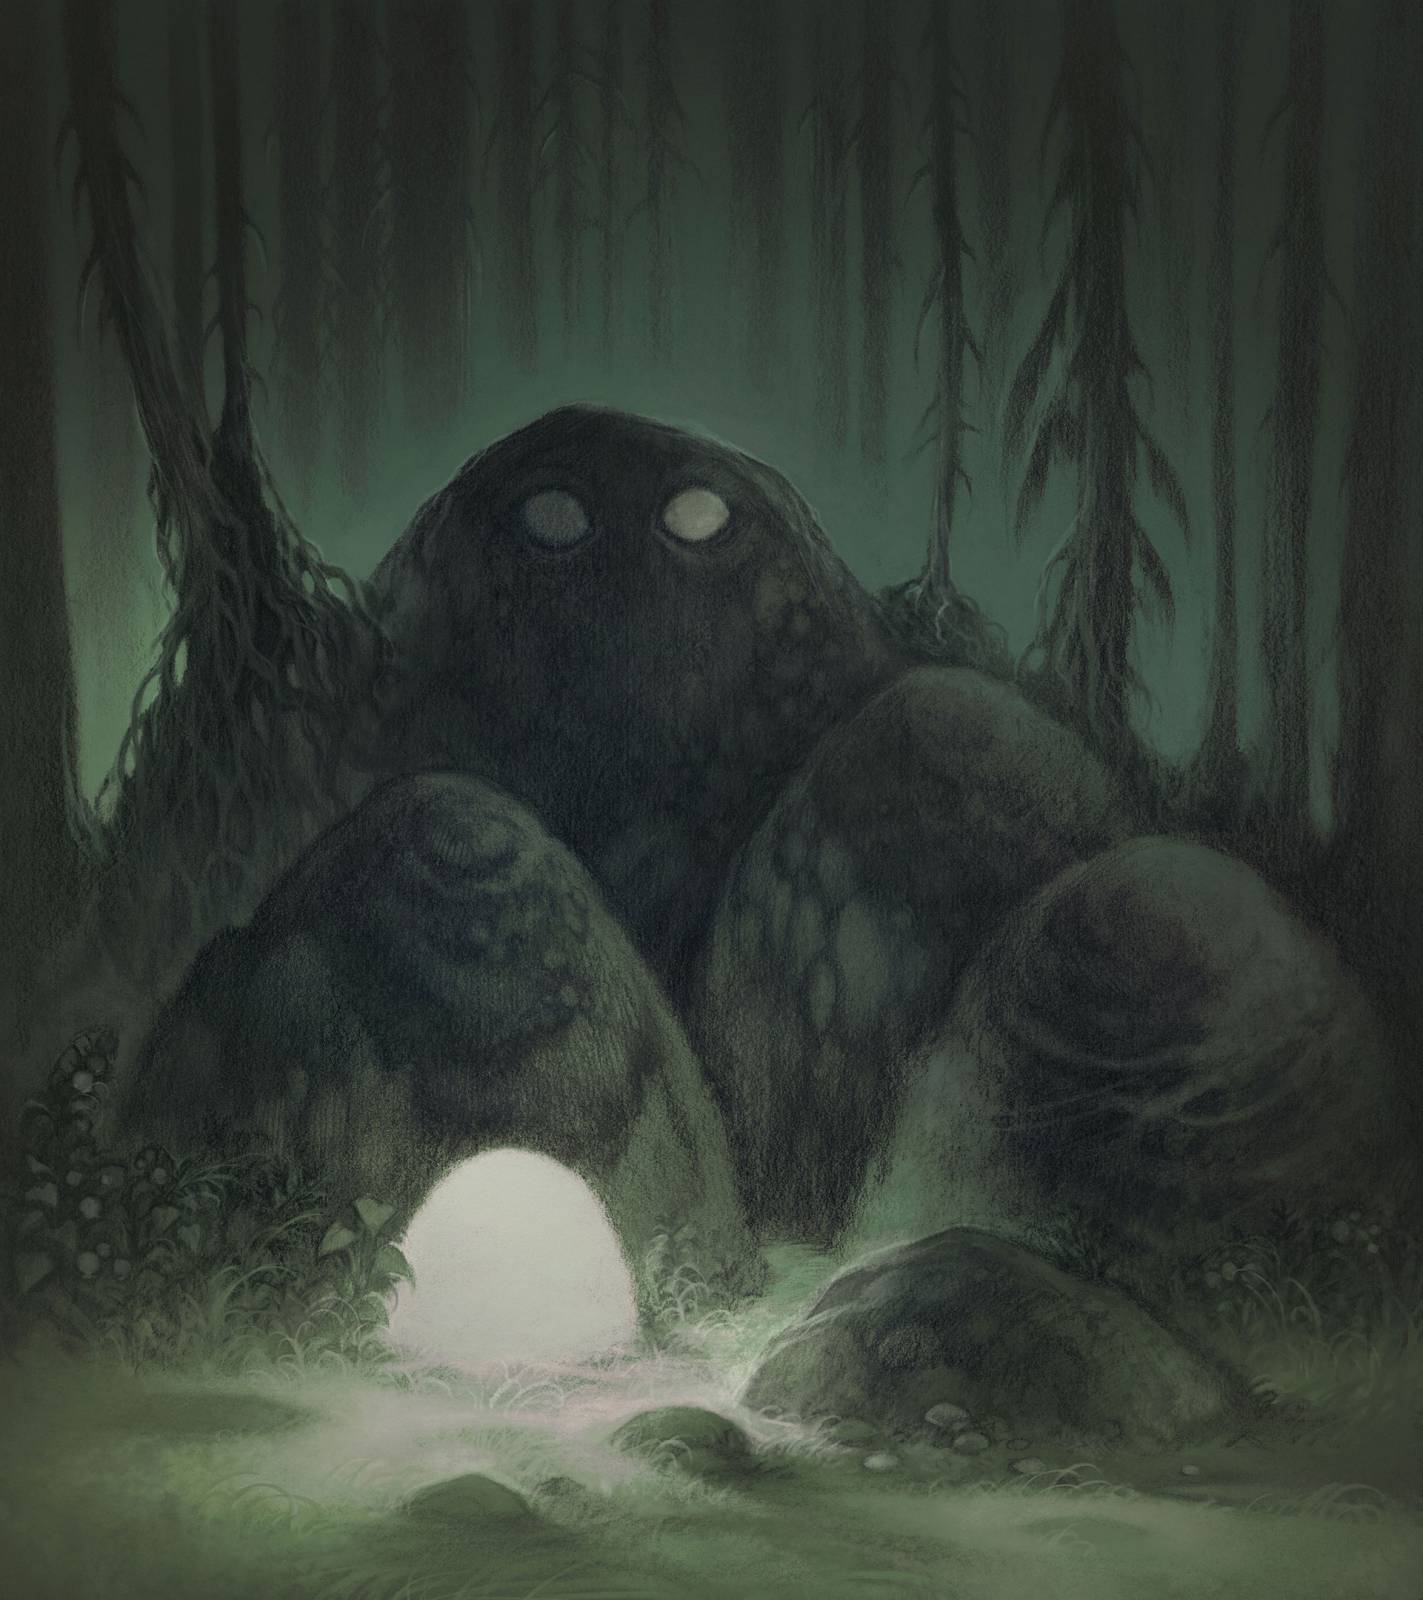
My first steps are almost always to establish the shapes.
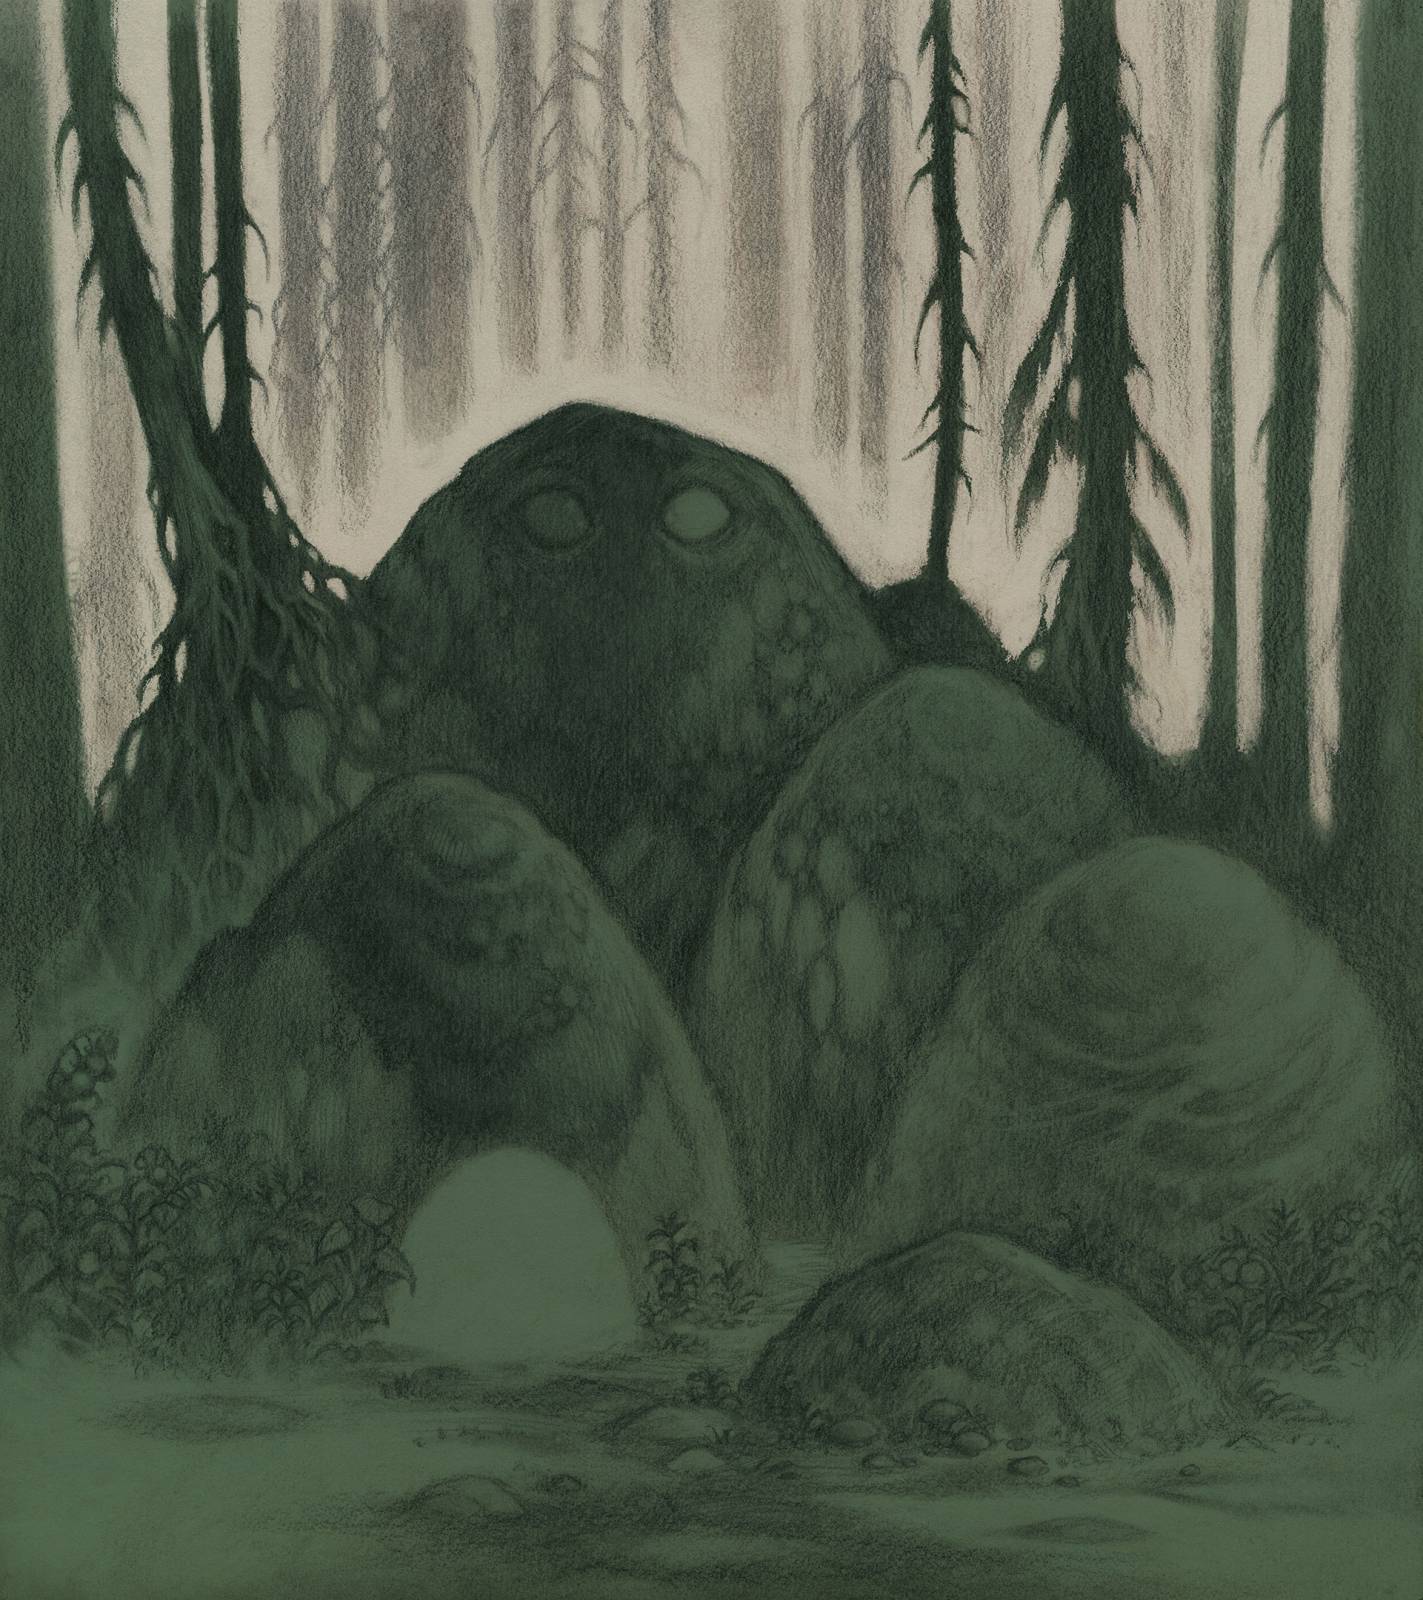

From there I’ll wander with the color work. I rarely plan these things ahead of time because for some reason I enjoy stumbling through and finding it along the way. You’d think it would make sense to do some color studies, wouldn’t it? It would!
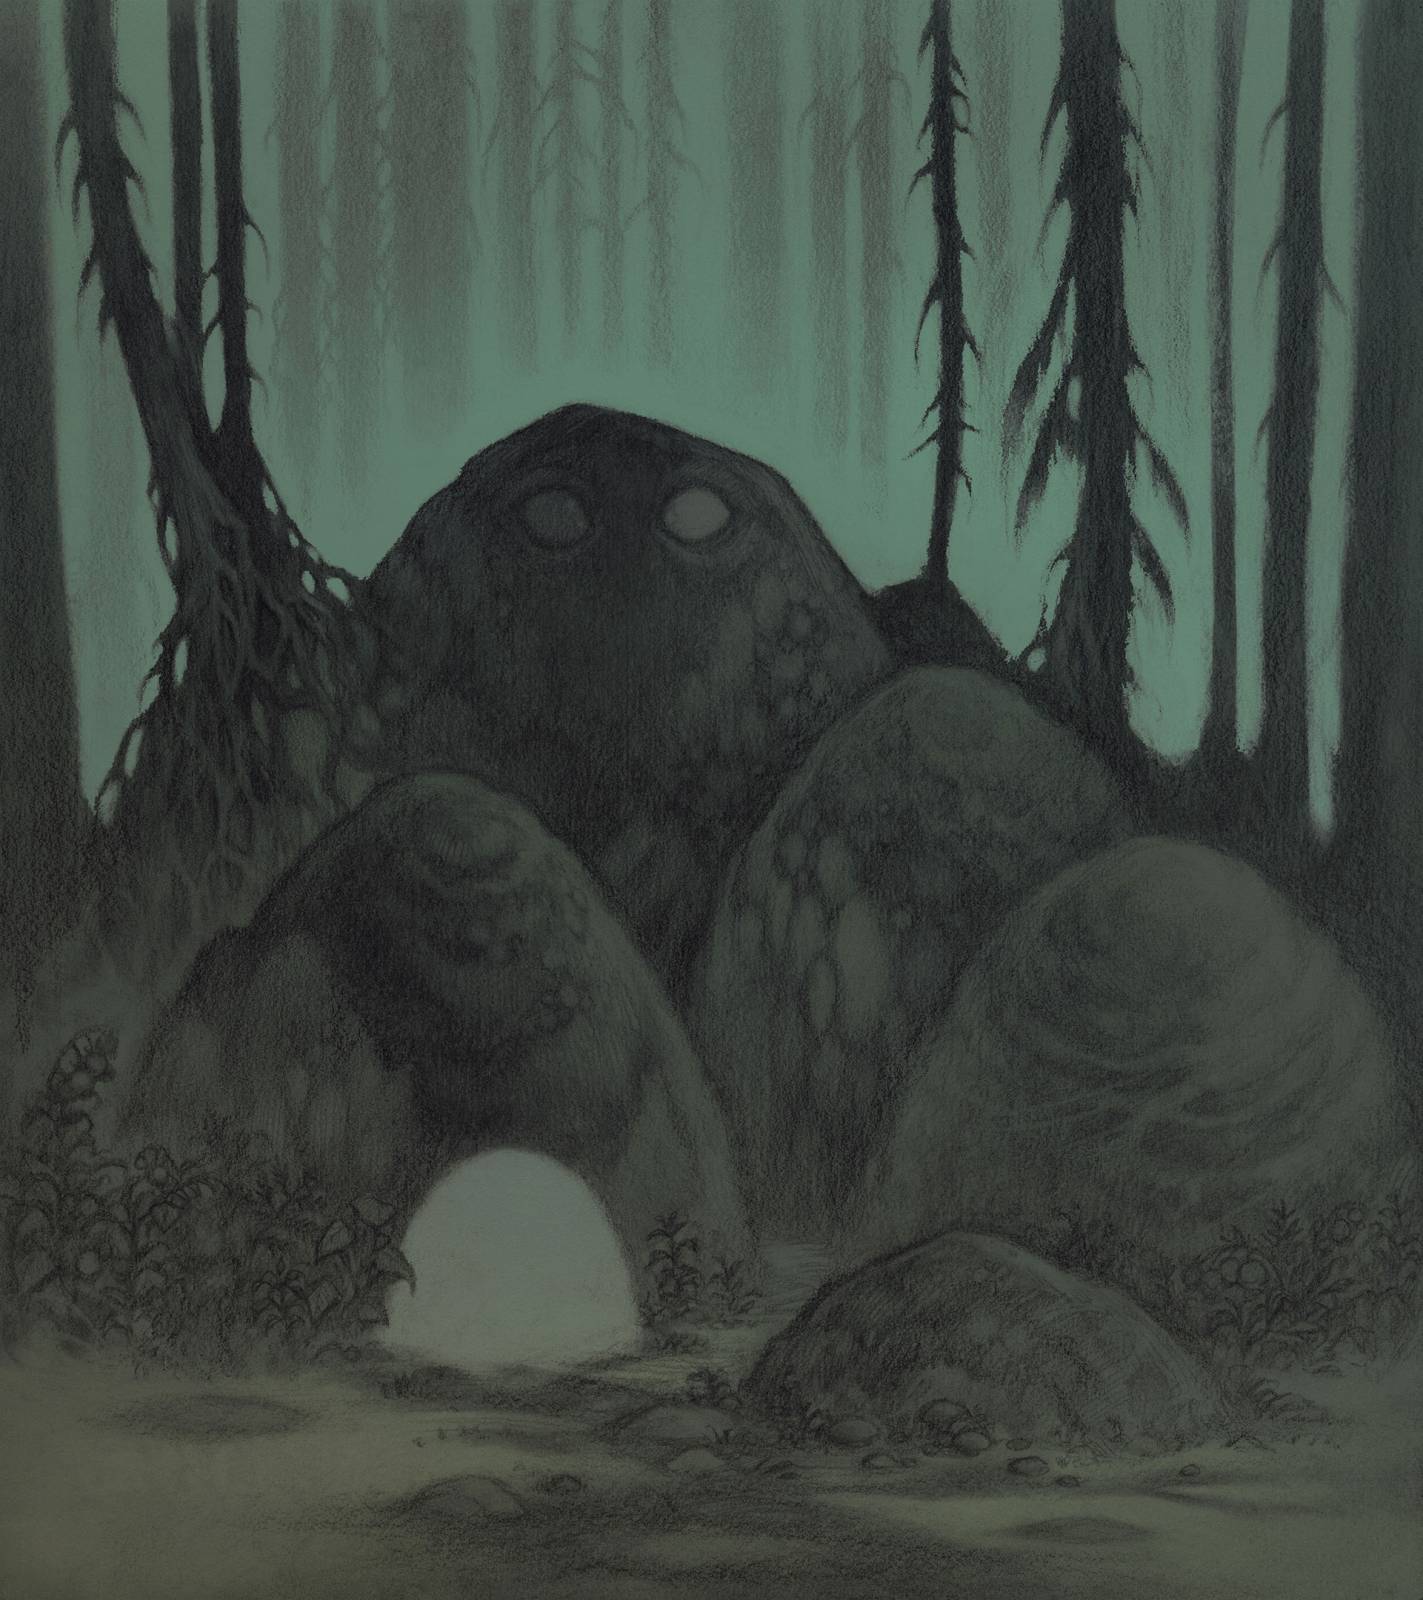
Once settled on a direction, however tenuous my grip on that direction is, I’ll then begin working with highlights.

I love drawing and I want it to do the heavy lifting for the piece. Everything else is in support of the drawing so I’ll rarely overwork anywhere that might conflict with it.
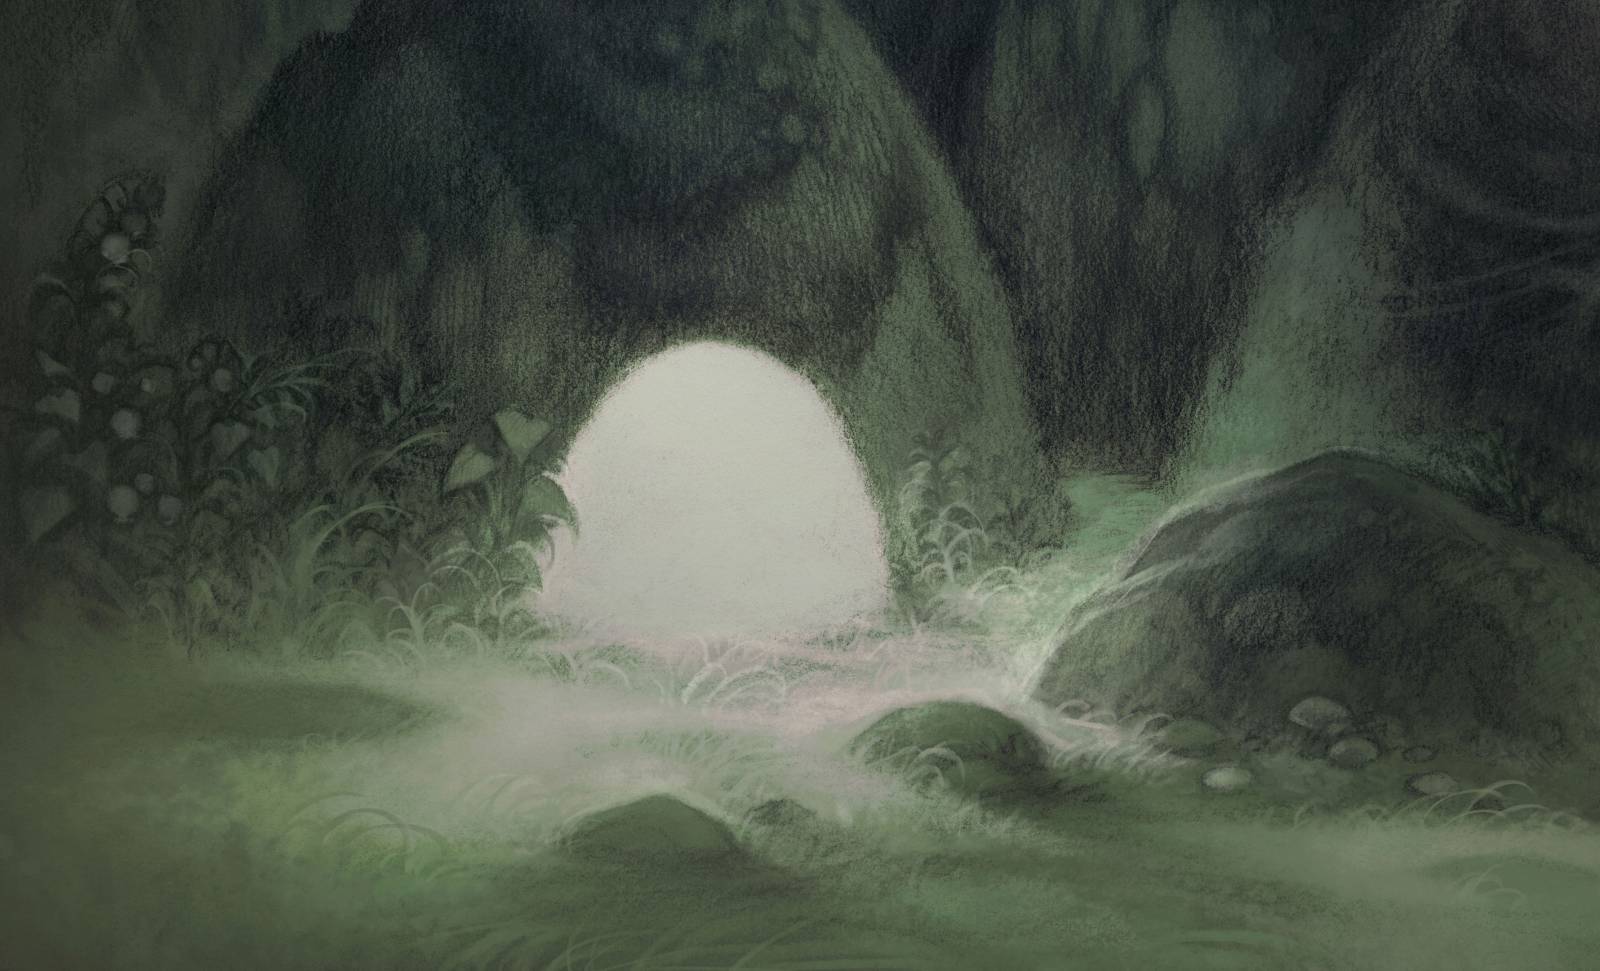
Well now. So what about this rock? Every now and again, I like having a somewhat graphic element in the piece that is a little unexpected in an otherwise very rendered drawing.
The idea to make it a light source didn’t occur to me until remarkably late in the process.
Further highlights to the grass and I think we are about done!
With more forests and more rock creatures, this new sketchbook collection continues apace!


Wonderful!
That’s great!