
After some recent conversations with a student, I started exploring my mental checklist for bringing a painting in for the landing. For the most part, I trust my process to leave me a fairly painless last leg. That’s the first 95% of it really: learn and trust a process that works for you.
My process, in brief, is:
Thumbnails – establish concept, compositional shapes, and design
Reference – inform all design elements. Shoot photos, pose 3D elements, scour the photo archive, etc.
Reference Assembly – photobash a bw “sketch.” A great deal of the key problem solving is happening between the thumbnails and here
Painted Sketch – translate my reference into a mini monochrome prelim. This is both a communication tool for clients and a proof of concept/final check to discover any weak spots
Underpainting – scale up and lay in a general indication of shapes, followed by tonal and color washes
Execution – with most design issues solved, I focus on strokes, value, color, and edges. Most pieces are done wet-on-wet as much as possible
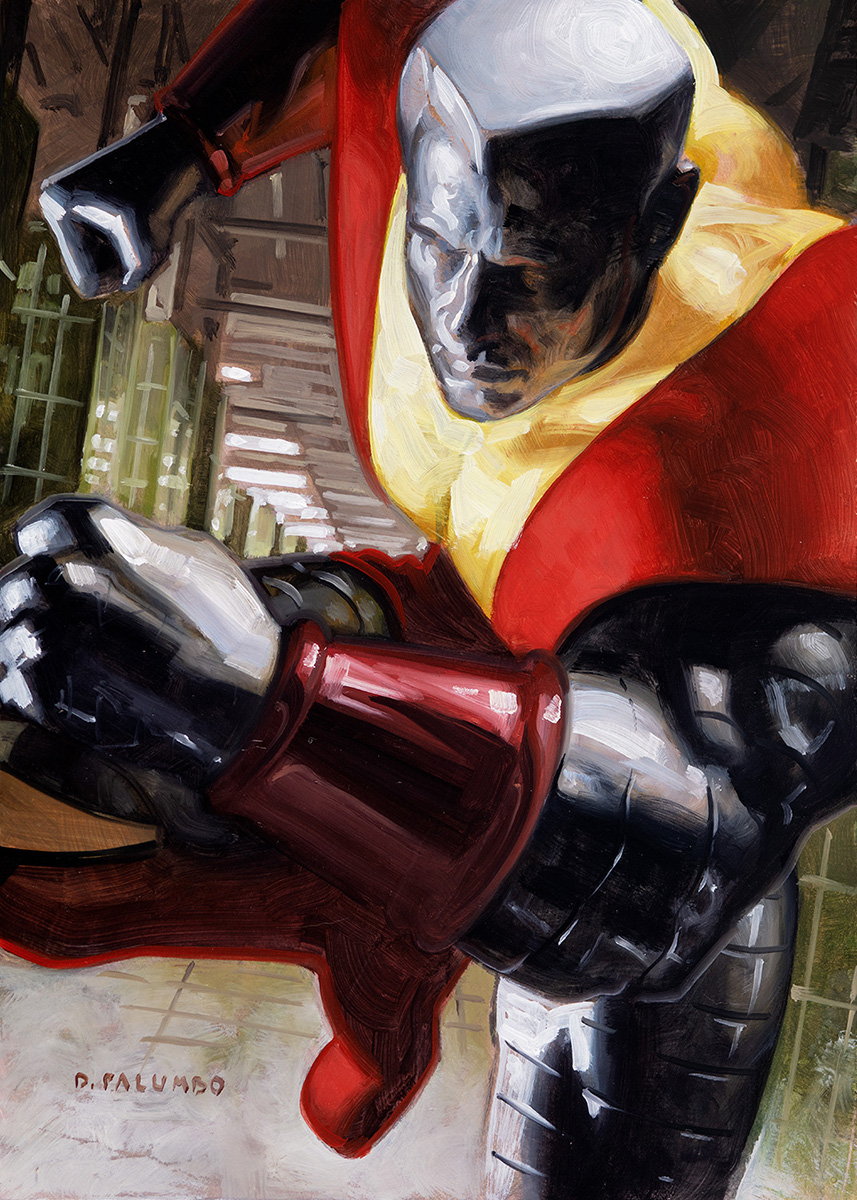
Colossus, 5×7 inches, oil on panel
My process has evolved to suit my needs over 20 years. It’s not THE way, it’s just my way. Obviously that’s pretty streamlined but, when I follow this process, the ending stage arrives naturally when I’ve resolved all the rendering that I feel is needed. I want to emphasize, ending a painting is far easier when you’ve done plenty of advance work and know roughly what the ending is going to look like. When this is the case, you have a clear objective and don’t spend time spinning in circles and second guessing peripheral details.
That all said, the last 5% is always a challenge. Sometimes the risk is thinking you’re there prematurely and denying the piece that extra little sparkle that will bring it to life. Sometimes it means overshooting and wringing the life out of it. I have been thinking of this and came up with something of a troubleshooting guide for bringing everything together.
1. Focal Points
This is the first check for me, because it’s where most viewers will spend most of their time. Identify and evaluate each focal point and see if they are standing strong and holding interest. If they feel weak or flat, the whole piece will feel weak or flat. Sometimes a broken or fixed painting comes down to a facial expression being ever so slightly off. If you can fix it here, you can stop belaboring those peripheral details.
The Doorway, 18×24 inches, oil on panel. This piece was started as a classroom demo and then more or less abandoned for a couple of years. When I decided to complete it, the distance of time let me appreciate the effect of unfinished space which I might otherwise have worked much further
2. Value Structure
If my focal points work as stand alone passages, my next check is to step back and look the whole piece over as a group. In particular, I’m looking to see if the value structure is strong. A solid prelim can be very helpful here. In the prelim, with everything simplified, the value structure should be very clear. And since the prelim is where I solve my problems, the value structure should be strong enough to carry the piece. Checking my final against this reveals where I might need touch-ups if, in rendering finer details, I lost some of that simplified punch. Shooting a photo and viewing in black and white can make deviations even clearer. Deviations aren’t necessarily bad, but they can be instructive to finding weak spots.
3. Render Contrast
If the focal points look good and the value structure is working, the problem often lies in render contrast, which means a lack of variety in the details and polish of focal and supporting areas. When everything is executed at the same level of finish, nothing stands out as special. Generally speaking, the focal areas will be a cut above, with supporting areas left to more suggestion. It could be the reverse though, with supporting areas packed with detail/pattern and the focal elements offering areas of rest. In either case, look to see what needs further developing or what needs simplifying. It’s easy to group this with value issues, but it is distinctly different as it’s specifically about rendering. Everything should be cared for, but the focal areas must carry their signal over the noise.
4. Attitude Problems
If I’ve passed these first three tests and still feel something is off, I check my attitude. This might be as simple as putting a piece aside for a couple of days. Sometimes a clear head reveals that the problems were just confidence or stress related, overwhelming me in the moment. I also consider if my relationship with the client is interfering. For example, if the client is micromanaging and obsessing on small details that I don’t consider important, I need to note if this is getting in the way of delivering my best work. In the end, it’s just me and the painting, and my name will be on it forever, so everything I do should be in service of a strong finish. It’s helpful to remind myself this sometimes.
5. Original Intent
If it still feels off, I need to revisit my earliest intentions for the piece. What was my core mood? What was I excited about? What did I want the viewer to feel? This is honestly more of a sketch stage check because these problems can have deep roots, but it is an important potential issue to investigate.
In performing these checks, it’s also helpful to do a palate cleanse by:
Looking at the piece in a mirror
Re-reading the original brief
Comparing against earlier sketches
And after all of that, it’s still not done? An outside opinion from a trusted peer might be in order. Most times though, I feel running through these checks will call out the rough bits that need dialing in. I find the last strokes to be the most satisfying, because that’s when it comes to life. And, judging by how often I keep painting just a tiny bit more after signing a piece, it probably does come down to just those extra few minutes of attention.

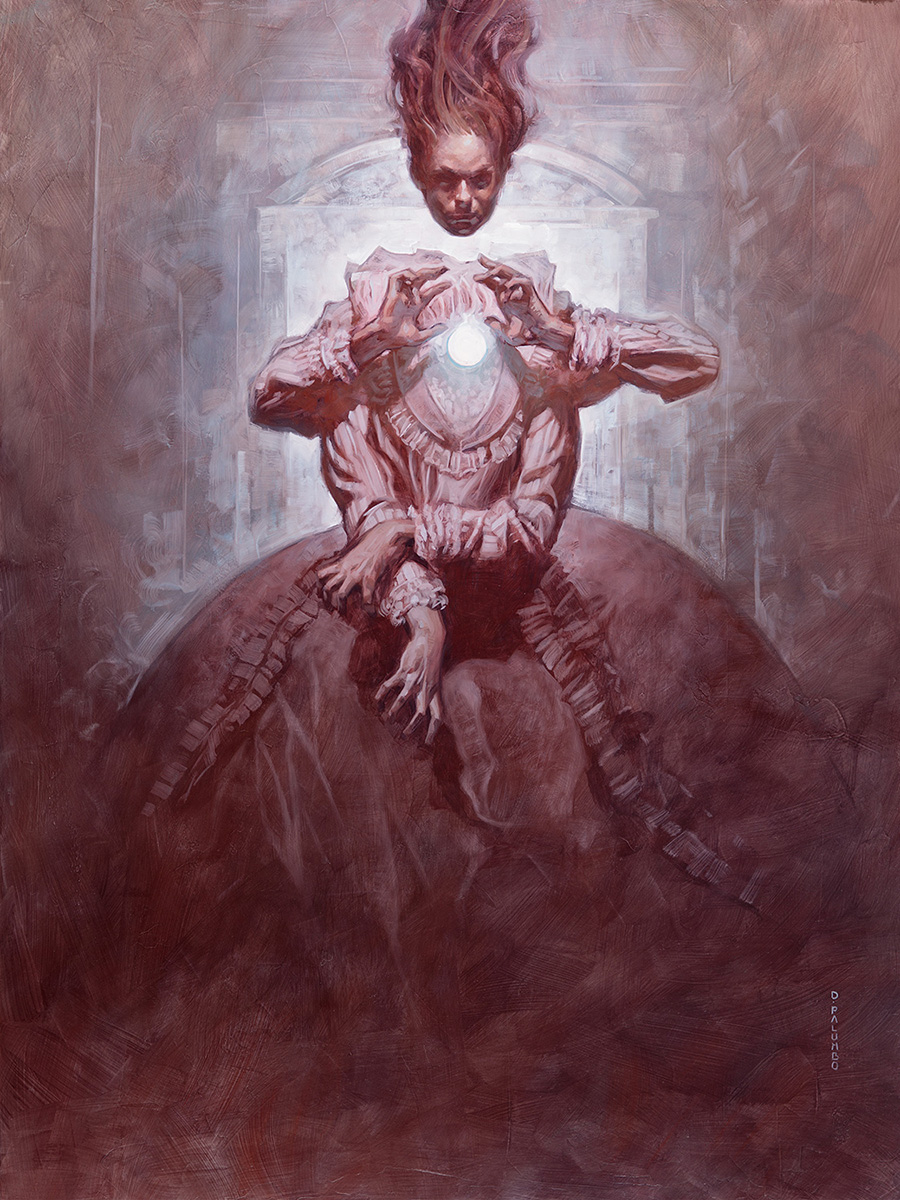
The Head Can’t Know What The Hand Has Done, 16×24 inches, oil on panel


I had been thinking about this very same topic yesterday on how to know with some basic gauge or system to help with that last mile. This is a great list to consult!
This is a great checklist, and some great work – I love it!
This is such a useful post – I’ll be returning to it regularly, to remind myself! Thank you so much!